
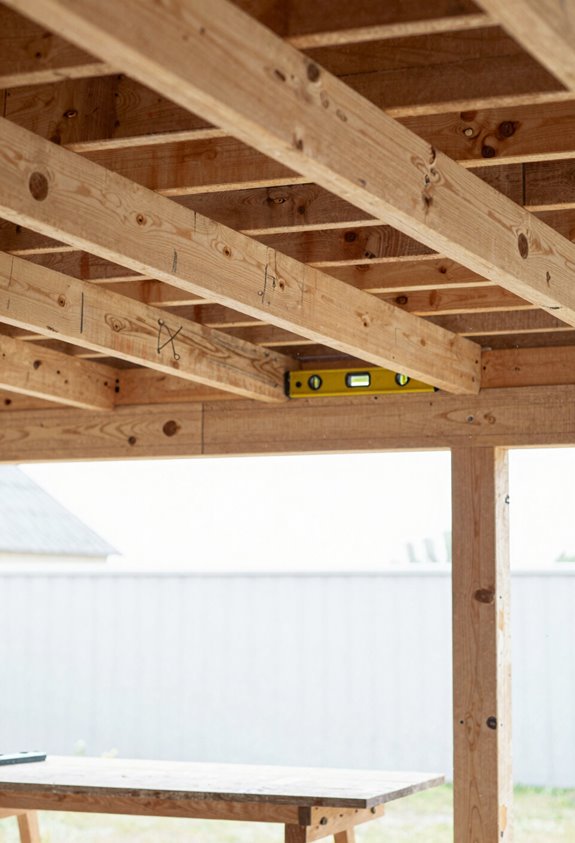
I’ll confess my first patio cover collapsed in a mild breeze because I skipped the birdsmouth cuts. Rafters slide, you see, when they bear on beams like wet lumber on a fence rail.
Now I set posts at 77 inches, measured twice, anchored with 5/8-inch lag bolts into concrete, and space everything at 16 inches so my decking doesn’t ripple like a bad sod job.
The OSB layer goes smooth, tar paper laps like shingles on a shed, and Onduline? That corrugated beauty survived three zones beyond my hardiness map. But here’s what the instructions won’t tell you about that slope verification…
Plan Your Patio Cover: Expose Rafters and Mark Attachment Points
Where exactly do you want this thing to land? I wrestled with that question myself until I realized planning a patio cover demands precision, not approximations.
First, you’ll expose rafters by pulling back fascia and roofing materials. I’ve mangled enough fascia removal jobs to warn you: work carefully, or you’ll compound repairs. Mark your attachment points where cross-beams meet existing structure; these connections anchor everything.
I position posts on my concrete patio using post mounts with 5/8-inch concrete lag bolts—four posts, six feet from the building. Notch them for brackets with 5 1/2-inch inside dimension; otherwise, you’ll fight slope headaches later.
Plan attachment by marking beam height at 77 inches for 85-inch total post height. Maintain 16-inch on-center rafter spacing from the building outward.
Measure twice, swear once.
Frame the Structure: Set Posts, Hang Beams, and Cut Rafters to Verified Slope
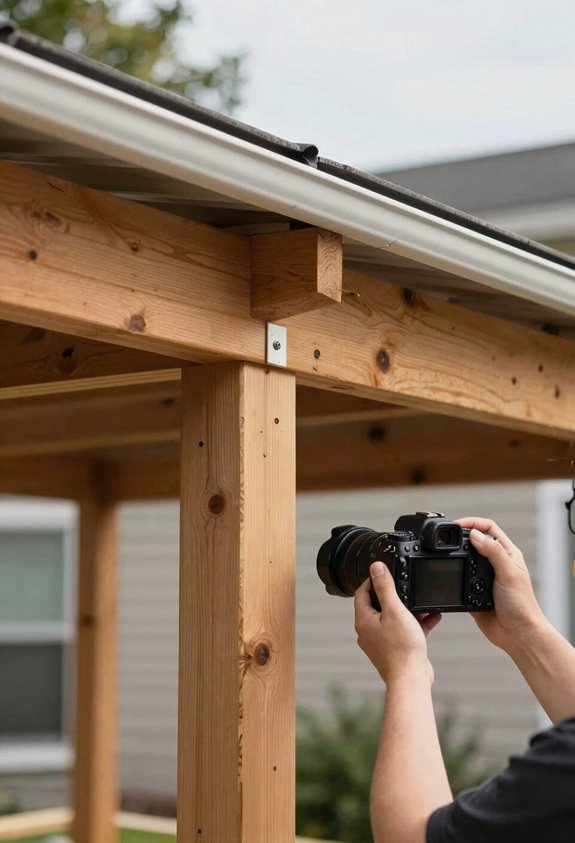
Once you’ve marked your attachment points and exposed those rafters, it’s time to turn your concrete slab into something that’ll actually hold a roof. I position four 6×6 posts six feet from the building, angle-cutting their bottoms for a 5° slope before notching them into brackets. The cross beam goes at 77 inches; that 85-inch total height clears most doorframes without looking like a carport.
I notch posts two inches deep for the cross beam, cleaning up with multiple passes and chiseling. For rafters, I use 2x4s set 16 inches on center, starting from the building end. I verify slope by measuring from the building each time; don’t make them identical. Birdsmouth notches seat on the cross beam, and I secure everything with joist hangers. That two-inch overhang? Purely decorative, like a gorgeous exlawn you secretly prefer to mow.
Close the Roof: Layer OSB, Synthetic Paper, and Onduline Tiles
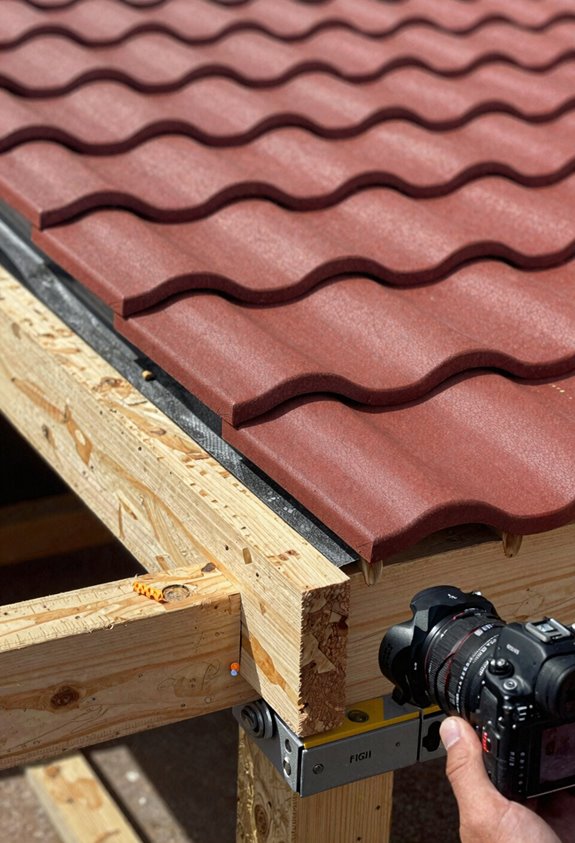
Because a roof is only as good as what’s underneath it, I start with 5/8″ OSB decking laid directly against the building’s existing roof line, letting those end edges land dead-center on a rafter, no guessing, no fudging. Decking installation demands precision; a sagging roof overhang invites disaster faster than my failed zucchini crop (USDA Zone 7, don’t ask).
I roll synthetic roofing paper uphill-over-downhill, hemming edges with a stapler and overlapping seams like shingles on a cedar. Waterproofing’s where I’ve learned humility, tar paper’s the gorgeous exlawn of roofing supplies.
Finally, Onduline tiles: foam-lined drip edge first (critter-proofing), then tiling rows beginning with a 2″ overhang, screws biting the corrugation peaks. Trim where drift occurs, align upper rows carefully, and you have shelter worth sharing.





