
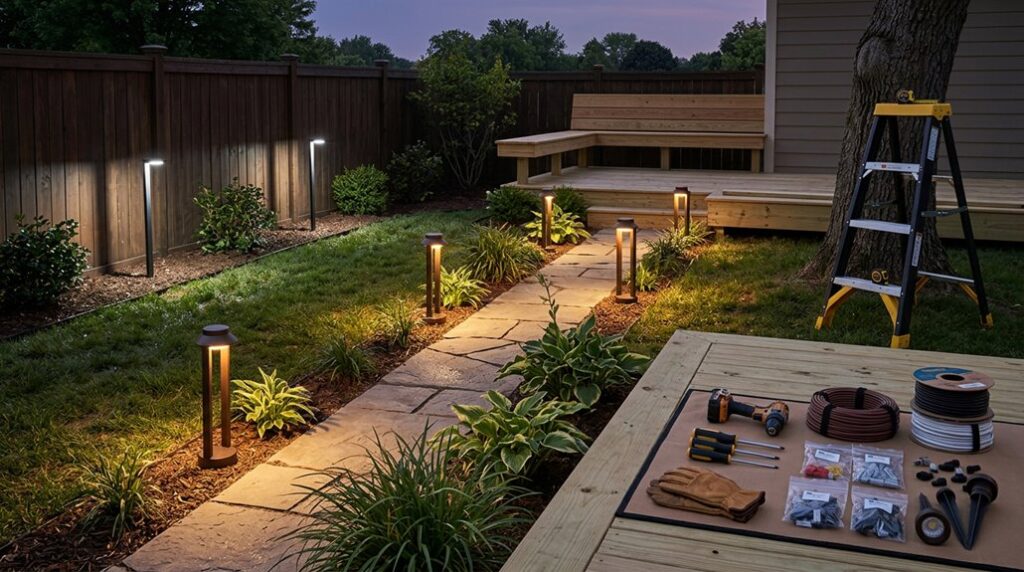
I’ve stood on a wobbly ladder at dusk, cursing a tangled string of LEDs, and I’ve also stood back at midnight, sipping lukewarm coffee, admiring a gorgeous lawn bathed in clean amber light. Both experiences taught me that installing permanent outdoor lighting is half botanical patience, half electrical stubbornness.
You’ll need a 50°F window, about six hours, and the tolerance for measuring your eaves twice; my two 100-foot kits plus one 50-foot extension ran roughly $340, but skimp on waterproof connectors and you’ll be back up that ladder before your hydrangeas hit USDA Zone 5 dormancy. I learned the hard way that 2.4 GHz Wi-Fi isn’t negotiable, and that five centimeters of wall clearance saves you from gutter drama.
What I didn’t learn until my third attempt, however, was why the app thinks my soffit is a strobe light at 2:00 a.m.
DIY Permanent Outdoor Lights: What to Know Before You Start
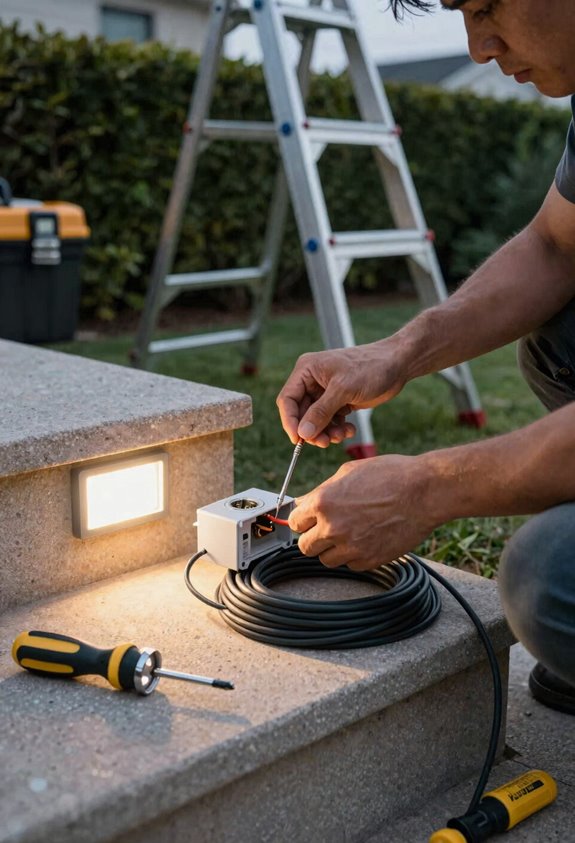
Why do we bother with ladders and adhesive strips when we could just string up some fairy lights and call it a day? Because permanent outdoor lights, my friend, turn your gorgeous exlawn into a neighborhood beacon where everyone wants to gather.
I’ve learned installation safety isn’t negotiable. I check weather, above 50°F for adhesive curing, no exceptions, then assess whether my ladder reaches or if I’m calling pros for scaffolding. I measure eaves precisely: two 100 ft kits plus one 50 ft kit covered my Liriodendron-shaded ranch.
Surface prep matters immensely. I clean soffits meticulously, mark placements carefully, and maintain 5–10 cm wall clearance for cords. I verify outlet access beforehand, and I always review my control box, power pack, and app setup, Govee Home’s my preference, before climbing. Preparation separates the dazzling from the disastrous.
Pick the Best Permanent Outdoor Light Kit for Your Setup
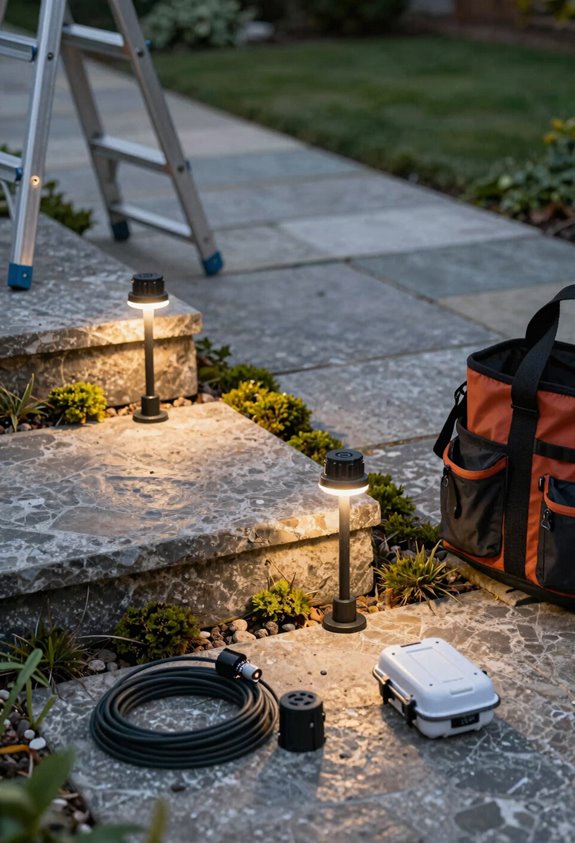
I’ll walk you through how I evaluate kits for my own installs, since picking between options like Govee and Lumary means weighing bundled power packs and app connectivity against whether you’re willing to risk warranty voids by cutting strands on the Elite versus ponying up for the Pro. I’ve learned the hard way that “budget” isn’t just sticker price; factor in the cost of stainless clips, waterproof connectors, and that 5–10 cm wall offset (2–4 inches, or roughly the spread of a mature hosta clump) if you want that clean scallop instead of a harsh glare washing up your soffit.
Before you commit, check that your router’s 2.4 GHz band works well with the app, because fighting with connectivity at dusk when you’re racing weather windows is a special kind of misery I’ve endured in USDA zones 5b through 7a.
Kit Selection Criteria
How do I avoid the rookie mistake of buying three kits and still coming up twelve feet short of my roofline? I measure every eave first, then add ten percent; my neighbor’s gorgeous exlawn became a cautionary tale when his permanent outdoor Christmas lights stopped three feet from the downspout.
I prefer kits bundling power packs, control boxes, remotes, six strands, two jumper wires, and installation accessories; otherwise I’m making midnight hardware runs. Weatherproof LED strands with solid warranties matter because I’ve trimmed sections only to void coverage. I verify 5–10 cm wall clearance for clean scalloping, and I check app compatibility; Govee Home or Lumary, so my patterns, schedules, and music-sync actually integrate.
Buy once, install right, join the club of us who learned the hard way.
Budget Considerations
Where exactly does five grand disappear when you’re just stapling lights to fascia boards? I’m here to tell you it vanishes into labor markups and middleman markup, but my budget stayed grounded when I grabbed a reasonably priced Lowe’s kit instead of swallowing that $5,000, $8,000 professional quote.
For your lights coverage, I’m budgeting two 100 ft strands plus one 50 ft piece; that configuration blankets typical eaves in one continuous run without gaps that’d derail your home’s look. The Govee-style pro kit hit my wallet at $599.99, down from $759.99 during 2024, 2025 sales, a good deal, frankly.
Extension cables ship in-box, so I’m stretching coverage twelve ways without buying more strands. One warning though: cutting Elite lights voids warranty, and I’ll upgrade to pro protection rather than risk my gorgeous exlawn investment shaking through a Midwest winter.
Feature Comparisons
When I’m weighing kits against each other, I start with the glow itself. Govee’s triangular light effect throws a scalloped wash that looks nothing like the flat hockey-puck blobs cheaper strands vomit across vinyl siding, and their warm-to-cool white range (2700K–6500K) actually matters when you’re lighting cedar fascia versus painted Hardie board. Their $599 kit hits that 2–4 inch placement sweet spot for clean scallops, though I’ve learned their app control and music sync tempt you into hours of preset-scene tweaking.
For your light installation, consider warranty traps: cutting Elite strands voids coverage, so Pro’s your safer bet. Lumary earns mentions in guides, but Govee’s waterproof connections and finishing caps keep the permanent outdoor lighting intact through Zone 6 winters. Six strands, two jumpers, one power pack. You’ll finish before dinner.
Plan Your Layout and Measure Your Eaves Accurately
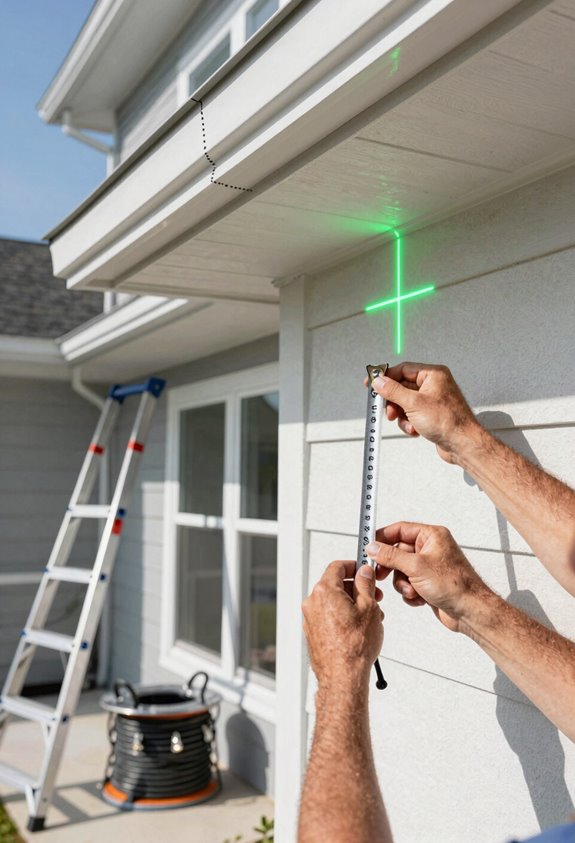
I’ll map your rooflines with a tape measure and a stubborn refusal to guess, because nothing ruins a gorgeous display like coming up twelve feet short on a dark December afternoon. I’ll help you size those kits precisely: two 100-footers and a 50-footer usually cover your typical suburban border, though I’ve learned the hard way that gables and dormers eat footage like bindweed colonizes a vegetable patch.
We’ll keep our feet planted, our ladders angled at seventy-five degrees, and our patience intact as I walk you through spacing those light heads exactly two to four inches off the wall for that scalloped effect that’ll make your neighbors take notice.
Roofline Mapping Basics
How do I know I’ve measured my eaves correctly? I grab my tape measure and walk the perimeter twice, accounting for every gable and dormer like I’m surveying a gorgeous exlawn for a new border. Roofline mapping isn’t glamorous work, but it’s the root system of your permanent outdoor lighting project. Get it wrong and everything wilts.
I sketch my house from the curb view, marking where soffits meet fascia and noting materials: wood takes screws, vinyl prefers adhesive. I position lights 5–10 cm from walls for that clean scalloped effect, checking my Wi-Fi reaches each zone.
Simple roof lines behave; complex ones demand patience. I’ve learned this through trial and error. My first install looked like a kudzu takeover until I embraced the plan.
Kit Size Selection
My tape measure still has the chalk dust from roofline mapping, and now it’s time to put those numbers to work. I measure every eave twice, once for the length, once for my sanity, because outdoor kit size selection demands precision, not guesswork. I mark wall distances at 5–10 cm for that clean scallop, then tally roof lines, soffits, and trims against available kits. Two 100-footers plus a 50-footer usually cover a typical run, but I always pad for extensions.
| Measurement | Kit Combo | Buffer |
|---|---|---|
| 150 ft | 100 ft + 50 ft | 10 ft jumper |
| 200 ft | 2 × 100 ft | 25 ft extension |
| 250 ft | 2 × 100 ft + 50 ft | 15 ft jumper |
| 300 ft | 3 × 100 ft | 20 ft extension |
| 350 ft | 3 × 100 ft + 50 ft | 25 ft jumper |
I mark placement points before touching a single clip. Nothing worse than a gorgeous installation interrupted by rerouted cords.
Measurement Safety Tips
Where exactly does one begin when the roofline sprawls like a mature wisteria that’s forgotten its trellis? I grab my tape measure and map every straight run, noting where the eaves bend like stubborn kudzu refusing taming. My measurement catches each irregularity; no guessing, or you’ll end up with gaps uglier than a Zone 4 garden in February.
I’ve learned wall distance matters: 5–10 cm, roughly 2–4 inches, yields that clean scallop my neighbors envy. I start installation from the nearest outlet, fitting power adapter and control box where measured lengths align. Marking placement points and cleaning surfaces before mounting clips saves gorgeous ex-lawns worth of headache.
My trial-and-error confession? Skip the cleanup and you’ll watch your handiwork peel like overwatered bark in July heat.
Check Your Roof Type and Gather Tools and Materials
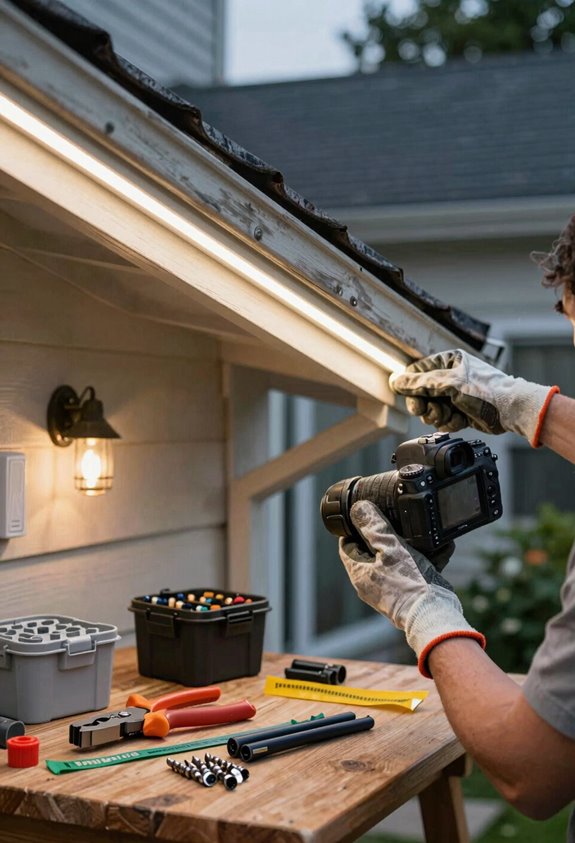
Before you’ve unpacked a single light strip, you’ll want to take a hard look at what you’re actually working with, because your roof’s personality dictates everything that follows. I learned this the hard way on my 1920s bungalow with its “gorgeous exlawn” of decorative gables.
For outdoor lighting, you’ll need mounting clips if your eaves are vinyl or metal, but adhesive works on clean painted wood, assuming temps stay above 50°F, which I ignored once and watched $80 of lights peel like old wallpaper. Straight ranch roofs? You’re golden. Complex angles? Budget extra hours.
I always gather my ladder, drill, tape measure, pencil, and Govee kit beforehand; nothing kills momentum like hunting for a Phillips head at dusk. Scout your outlet now, continuous lighting demands strategic power placement, and extension cords across walkways are tripping hazards waiting to happen.
Prep Surfaces and Mount Your Permanent Light Strings
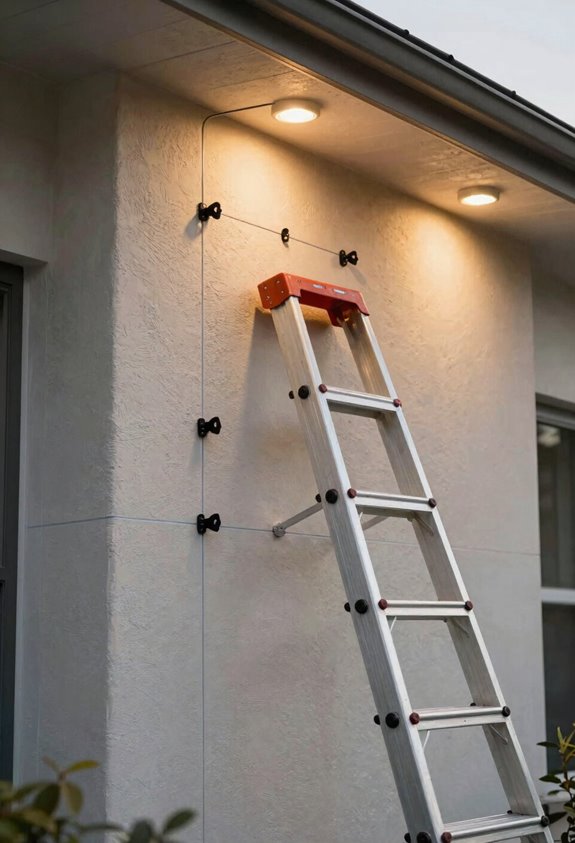
How much cord does one eave actually hold? I measured mine twice and still ordered three kits, two 100-footers and a 50, because running short mid-project is a special kind of misery I don’t revisit.
Measure twice, order thrice—running short mid-project is a special misery I never revisit.
Before attaching anything, I clean surfaces like I’m prepping for grafting citrus in Zone 9: thoroughly, obsessively, knowing adhesion fails where grime lingers. My permanent lights demand respect.
Here’s what separates elegant installations from gorgeous exlawn disasters:
I mark placement first, spacing bulbs with a 24-inch block, roughly 5–10 cm from walls, to prevent that crowded, desperate look. I peel backing and seat each head carefully, rechecking balance like pruning for symmetry. I press mounting clips firmly, feeding cords flat through side slots until they’re untwisted and secure.
Connect Power, Seal Waterproof Joints, and Test Everything
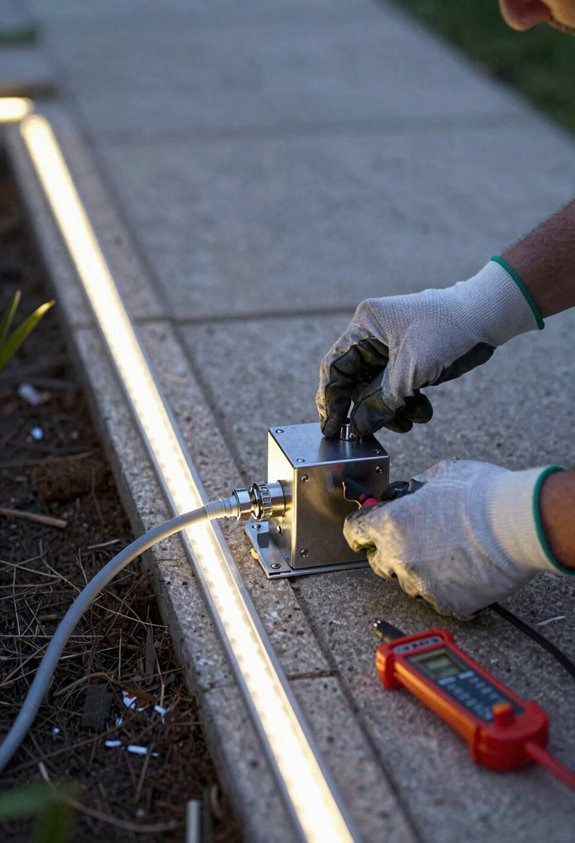
Why gamble with a midnight ladder climb when you can catch failures early? I always test first: I connect my light strings to the power pack, plug into 120V, and watch every diode glow before I touch a ladder.
Once mounted, I join sections with waterproof connectors, capping each junction to seal against rain and frost. No shortcuts, or you’ll be pruning out failure like a diseased branch. I’ve learned to position lights 3–8 cm from the wall, four screw clips per run, pressing VHB backing for five seconds minimum.
I check every waterproof joint twice, making certain that final cap sits tight as a graft union. Then I test again: dry hands, full circuit, weather shielded. Belonging in the DIY crowd means doing it once, doing it right.
Configure Smart Controls and Fine-Tune Your Lighting Effects
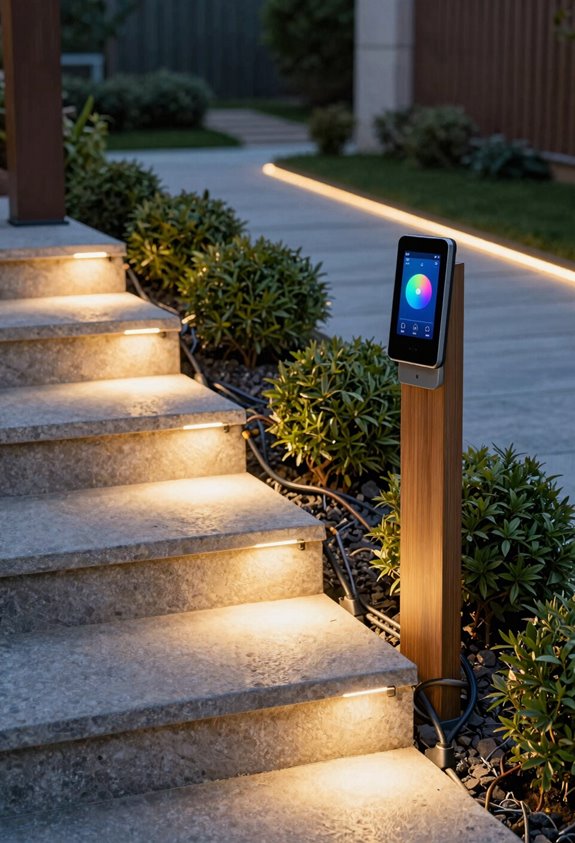
Once the last waterproof cap is twisted tight and the circuit hums alive in the rain, I reach for my phone; the real control box sits in my pocket now. I fire up the Govee Home app, enable Bluetooth to pair with my H705C Pro, then hop onto 2.4 GHz Wi-Fi (the 5 GHz band will ghost you every time). I’ve learned to park my router within 30 feet, dodging metal siding like it’s poison ivy.
- Schedule sunset-to-sunrise automation so your gorgeous exlawn glows without lifting a finger
- Sync Music Mode to your phone mic for impromptu patio parties
- Troubleshoot dead zones with a range extender; firmware updates save hours of cursing
Test waterproof caps if LEDs sulk; reset Bluetooth when the app throws tantrums.





