
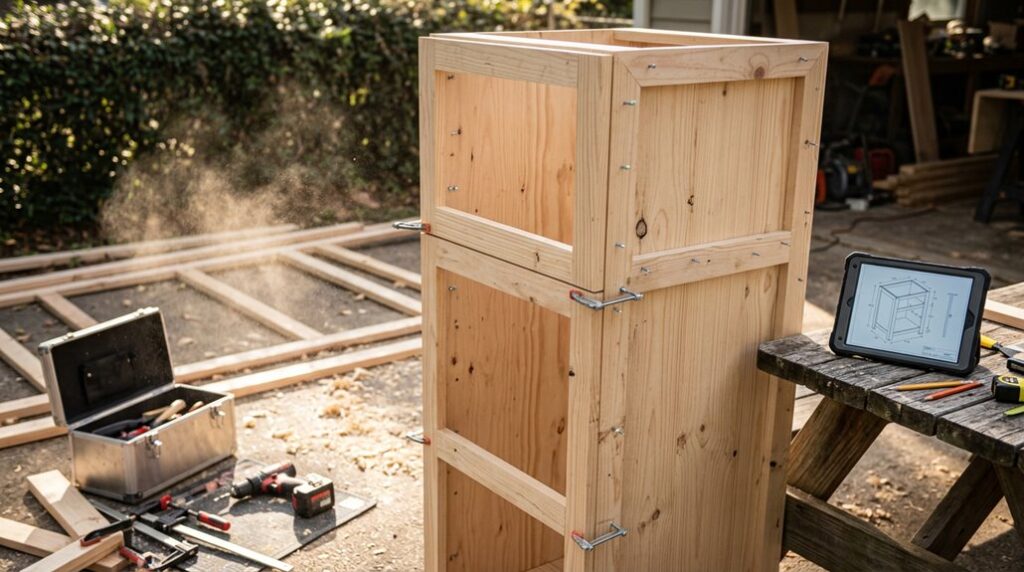
My first attempt at outdoor cabinetry collapsed in a June thunderstorm, turned out untreated pine and ambition don’t share the same tensile strength. I’ve since built seven kitchens across USDA zones 5b to 8a, and I’ve learned that your foundation matters more than your grill’s BTU rating. Here’s how to avoid my soggy mistakes.
Plan Your DIY Outdoor Kitchen Layout and Build Method
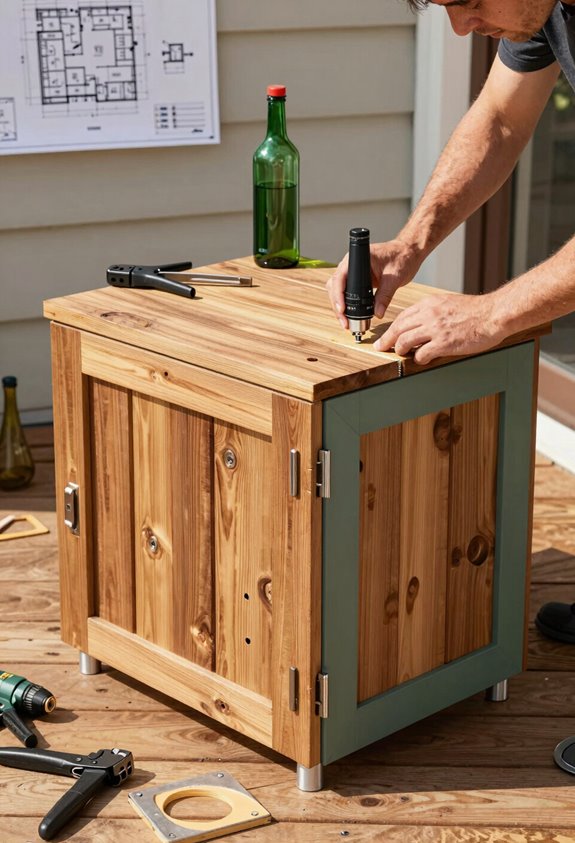
Where exactly should I put the grill so I don’t singe my hydrangeas or trap smoke against the house? I learned this lesson the hard way in USDA Zone 7b, where my gorgeous ex-lawn became a cautionary tale.
I start every outdoor kitchen layout by mapping the footprint first: L-shaped for corners, U-shaped for islands, or galley for tight spaces. I’ll check wind patterns, sun exposure, and proximity to the house before committing to anything.
For DIY cabinet construction, I choose my method early: traditional lumber framing with cement board exterior, or concrete panels for faster assembly. This determines how weather-resistant cladding attaches later.
I gather hardware catalogs immediately: doors, drawers, built-in appliances need precise cabinet openings, and there’s no forgiving “ish” in masonry. I mark gas line planning and utilities integration on every sketch, knowing I’ll hire pros for final connections.
Frame, Sheathe, and Seal the Outdoor Structure
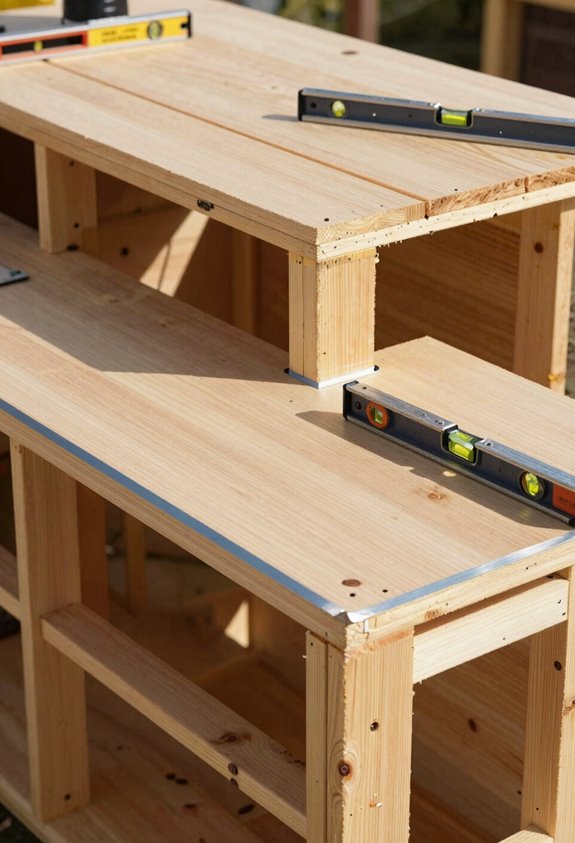
Although I’d love to tell you this part goes faster than the planning, I’d be lying through my teeth, so let’s get that base frame dead level before the first sheet of cement board goes up.
I anchor my outdoor structure with treated lumber: your well-kept lawn won’t forgive a wobble, and I sheath everything twice. Cement board beneath veneer, exterior plywood where paint suffices. Here’s my battle-tested sequence:
- Frame and level the base; lag-bolt to concrete or use buried piers in zones below 7B frost lines
- Map appliances openings and ventilation cutouts before sheathing; retrofits are murder
- Staple moisture barrier behind cement board, overlapping seams 6 inches like shingling
- Seal built-in cabinets with silicone at every penetration; water’s patient and I’m not rebuilding in two seasons
Install Countertops, Appliances, and Heat-Safe Grill Surrounds
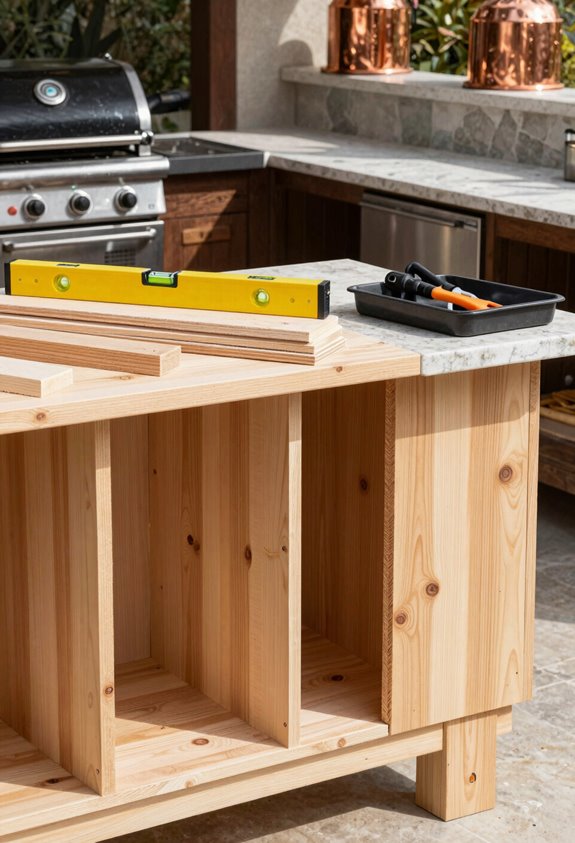
How do you know when it’s time to stop fussing with the frame and actually bolt down the goods? Once your sheathing’s sealed and you’ve panelled that gorgeous ex-lawn into submission, I install countertops before anything else, this lets me mark cutouts for appliances with surgical precision against the island openings.
I’ve learned to dry-fit every grill, side burner, fridge and sink twice, measuring twice and cutting once because nobody wants a $2,000 refrigerator marooned half an inch shy of glory. Size each aperture to factory specs plus ventilation clearance; I’ve seen cabinets smoulder from neglected airflow.
Around the grill zone, I line with cement board first, your heat-safe surrounds demand this backbone. Stone or tile goes over top, maintaining even thickness so cabinet fronts don’t gape like crooked teeth. Secure everything with brackets, then fire it up.





