
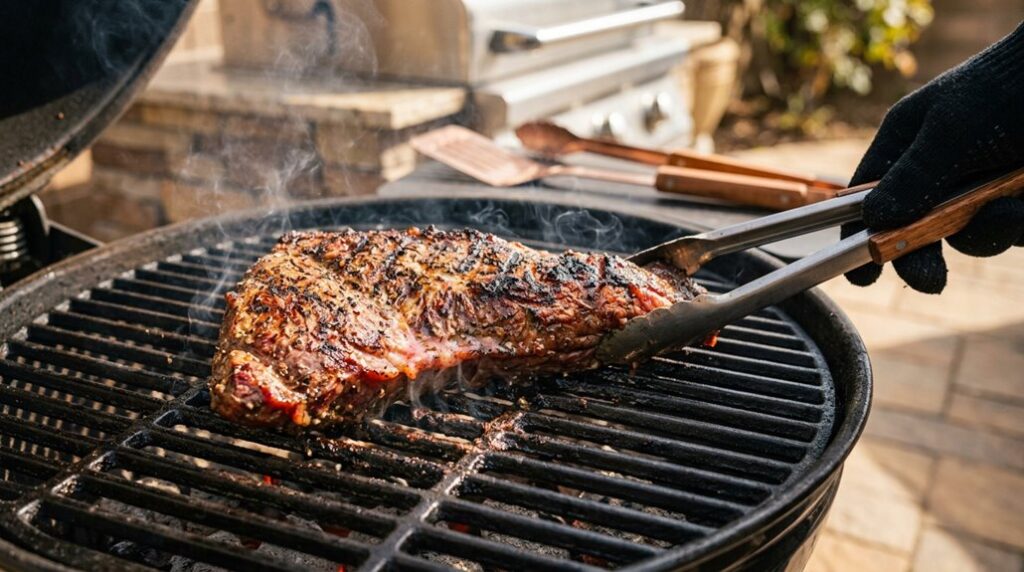
Tri-tip is the sphinx of the grill, mysterious, rewarding, and capable of ruining your afternoon if you disrespect it. I’ve watched $45 of beautiful Santa Maria beef turn to tire rubber because I treated it like a brisket, and I’m not eager to repeat that performance.
The cut demands a two-zone fire, a thermometer you trust, and the patience to pull it at 125°F before carryover cooking betrays you.
Here’s how I finally cracked the code.
How to Grill Tri Tip: The Complete Method
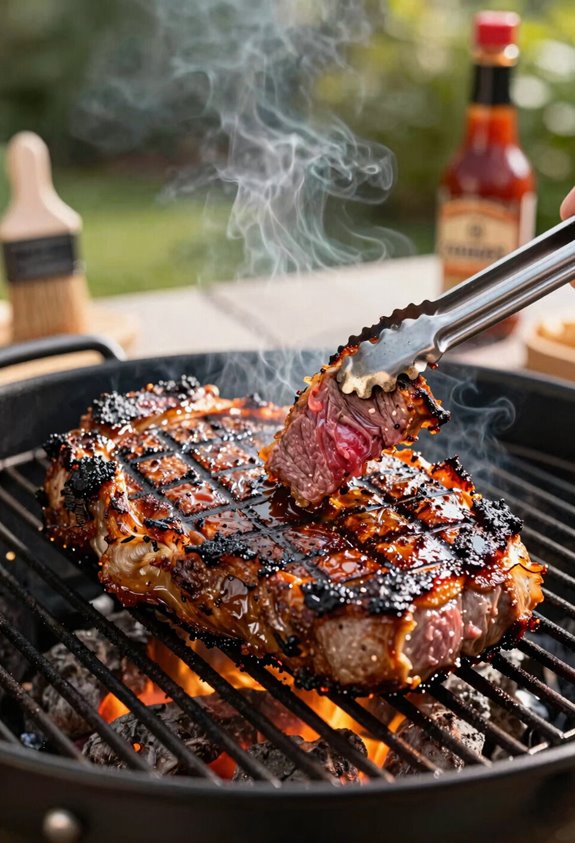
Where exactly does one begin with a cut that looks more like a boomerang than dinner?
I start by setting up my grill for two-zone cooking, because tri tip demands finesse, not brute force. I cook this 2 to 3 pound sirloin beauty over indirect heat first, letting gentle warmth work through the meat while I keep my thermometer handy. Doneness levels matter here: rare hits 115°F, medium rare 125°F, medium 140°F, and I’ll pull it early every time.
Then comes direct heat: four to five minutes per side for that gorgeous crust. I always rest the meat ten to fifteen minutes; patience rewards me with juice locked inside. Finally, I slice against the grain, not with it, turning every bite from potentially chewy to tender.
What Is Tri Tip (And Why the Hype)
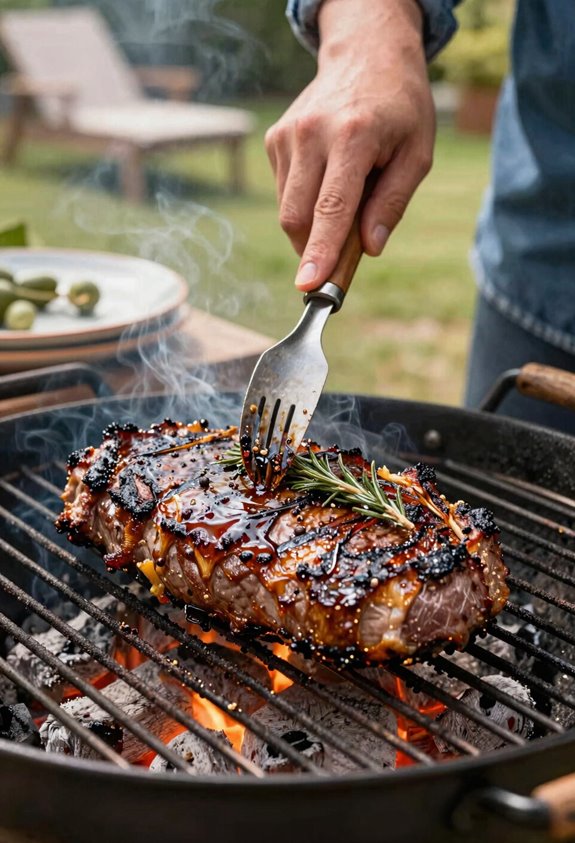
Why does a single cut of beef inspire such fierce regional loyalty? I discovered the answer when I first sank my teeth into a properly grilled Tri-tip, that gorgeous triangle of beef roast cut from the bottom sirloin. This lean cut, weighing two to three pounds with an optional fat cap, emerged from Santa Maria, California in the 1950s, where grilling over red oak became gospel.
The name itself didn’t stick until the 1960s, but the technique, searing hard, then pulling at the right internal temperature for that pink center, never changed.
Here’s what makes this cut worth your attention:
- It’s forgiving enough for beginners yet rewards precision with deep, beefy flavor
- Santa Maria tradition pairs it with simple sides, letting the meat speak
- One pound per person feeds a hungry crowd without breaking the bank
Charcoal vs. Gas: Choose Your Setup
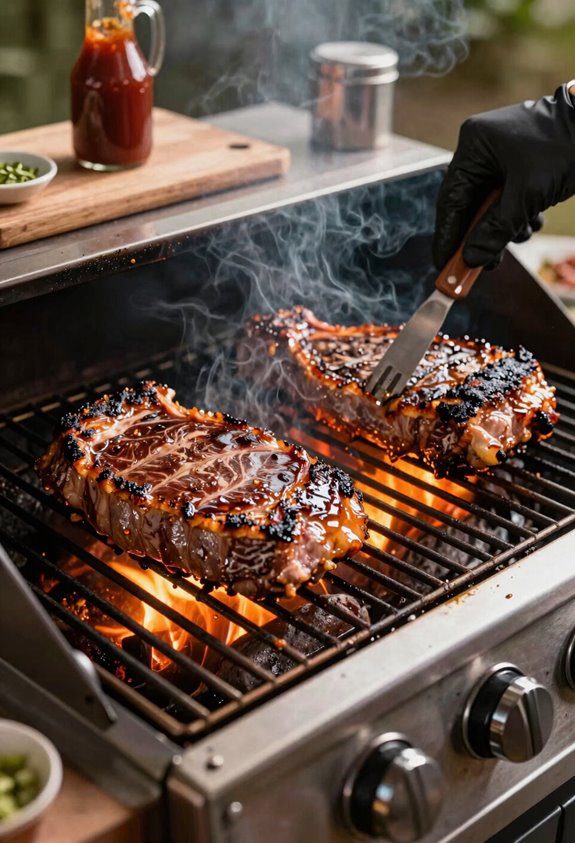
You’ve got your tri-tip in hand, and now you’ve got to decide how to fire it. I’m partial to charcoal for that gorgeous smoke character, but I’ll level with you: either works if you respect the method.
With charcoal, I build a two-zone setup, heaping hardwood lump (Fogo’s my go-to, though Rockwood performs admirably) on one side, nothing on the other. No lighter fluid crimes; that flavor taints the meat. I sear four to five minutes per side over the coals, then shimmy it to indirect cooking until my digital meat thermometer reads 125°F for medium-rare.
Gas grill? Preheat to 500°F, sear identically, then throttle to 400°F and flip every four to six minutes. Same target internal temperature. Both setups demand that thermometer, guessing’s for show-offs, and failed tri-tips haunt me still.
Season Your Tri Tip: Dry Rub or Marinade
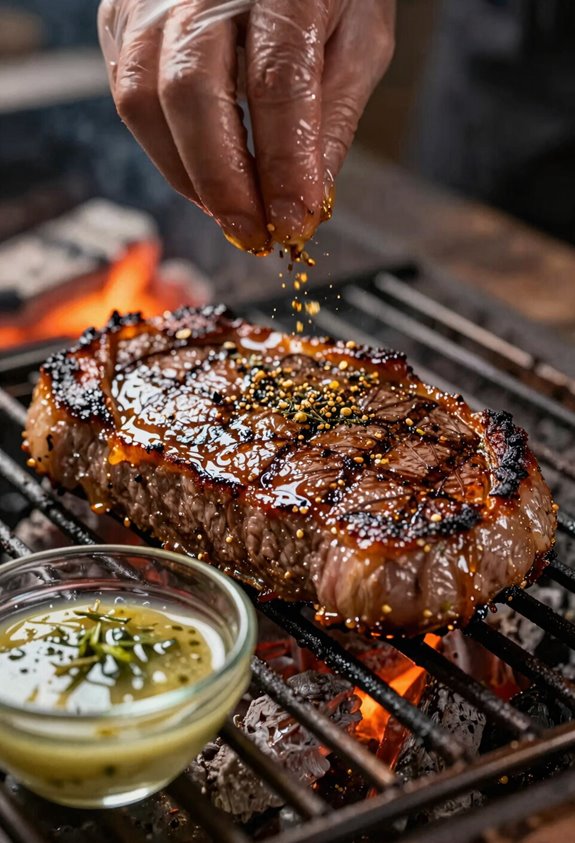
I’ve settled on my tri tip’s fate by weighing dry brining methods against marinade preparation steps, and I’ll walk you through both since each demands a different commitment of time and technique. Dry brining means rubbing salt, pepper, and garlic powder directly onto the meat; letting it rest uncovered in the fridge for up to 48 hours draws out moisture that reabsorbs as seasoned brine.
A marinade of olive oil, red wine, and crushed garlic requires submerging the cut for anywhere from one hour to two full days to build that rich, savory depth I’m after. Whichever path you choose, pull the meat from the cold an hour before grilling and let it rest at room temperature. I’ve learned the hard way that ice-cold centers cook unevenly and waste all that careful preparation.
Dry Brining Methods
What’s the simplest way to turn a decent cut into something memorable? I dry brine my tri tip, and it’s changed my grilling approach entirely.
Unlike a marinade, which pools around the meat, a dry brine draws moisture out then back in, concentrating flavor at the cellular level. Here’s my method:
- Pat the tri tip dry, then coat all sides generously with kosher salt or a beef rub, forty-eight hours max in the fridge, though two hours works in a pinch.
- Let it rest at room temperature for one hour before grilling; uneven cooking haunts those who skip this step.
- Apply your final rub just before the fire hits, garlic powder, black pepper, whatever speaks to you that day.
The result? Deep flavor penetration and a crust worth lingering over.
Marinade Preparation Steps
How do you coax real character out of a cut that’s already halfway to stardom? I reach for a marinade or dry rub, depending on my mood and timeline.
For marinade, I combine olive oil, garlic powder, and my acid of choice in a measuring cup, omitting the salt if I’m dry brining first, which I’ve learned the hard way. I seal the beef in a zip-lock bag, working out air pockets like I’m handling a stubborn seed packet. Marinating time ranges from one hour to forty-eight; I prefer overnight for this dense cut.
If I’m in a hurry, a dry rub with those same aromatics works well. Either way, I rest the tri tip at room temperature for an hour before grilling, optional, but my failures have made it habit.
Set Up Two-Zone Heat for Your Grill
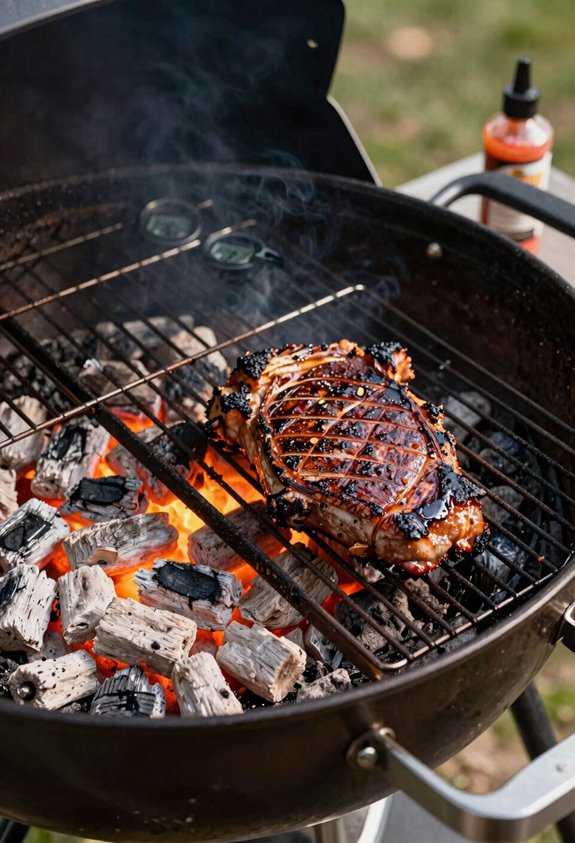
Why force a $25 piece of beef into a one-size-fits-all grilling suicide when you can outsmart the flames with two zones? I’m setting up two-zone heat because it separates the gorgeous crust-searing from the gentle interior work that indirect cooking demands.
Here’s how I build my fire:
- Pile coals or burners on one side for scorching direct heat, leaving the other side empty; that’s your safety zone.
- Sear the tri tip over the flames first, then shuttle it to the cooler side and clamp the grill lid down to let convection work.
- Monitor internal temperature obsessively; I pull mine at 125°F for medium rare, then begin the resting ritual.
After those fifteen minutes of patience, I’ll slice against the grain and watch the smoke rise from something I didn’t ruin.
Grill Tri Tip Step by Step
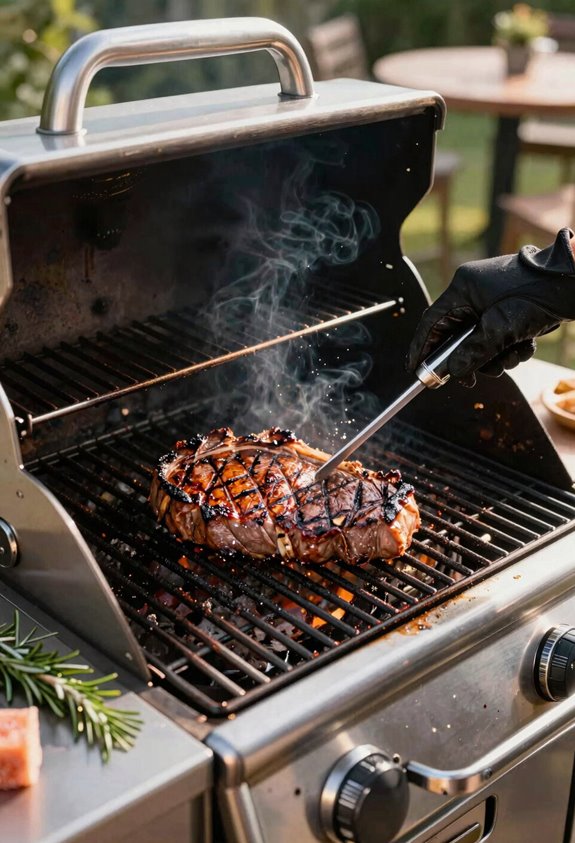
With my two-zone fire still holding steady, I’m ready to put this tri tip through its paces. I’ve pulled the meat from its marinade, room temperature now, which helps even cooking, and I’m laying it directly over the hot coals. Four minutes, flip, four more: that’s your sear, gorgeous crust forming while the fat cap renders down.
Now I slide it to indirect heat, lid closed, and let two-zone grilling do its work. I’m watching for my target doneness, probing the thickest part. Once it hits my mark, I pull it; no peeking, no slicing yet. That 15-minute rest is non-negotiable; juices redistribute, or you’ve wasted your fire. Finally, I’m slicing against the grain, each cut revealing the payoff of patience.
Target Temperatures: When to Pull and Rest
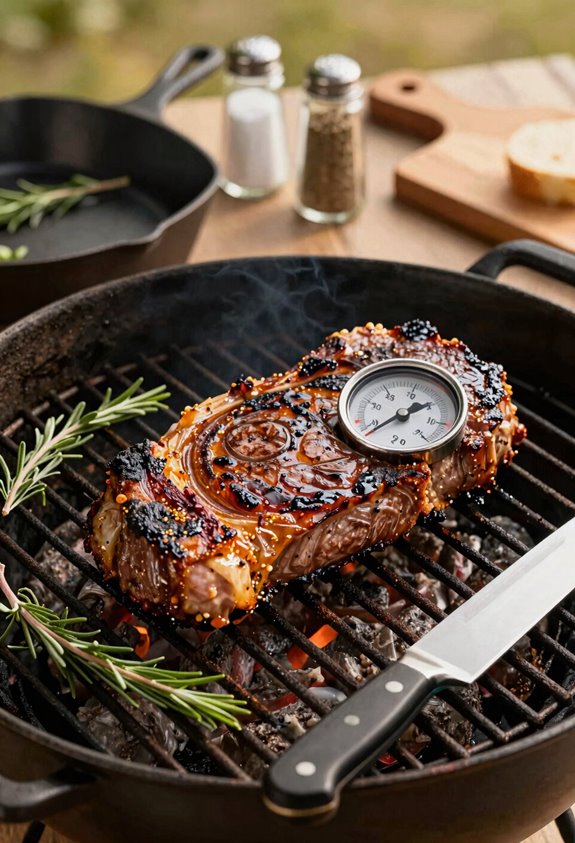
Because tri tip keeps cooking after you pull it, that carryover heat will bump your internal temp another 5-10°F, I set alerts 10 degrees shy of where I actually want to land. I trust my digital meat thermometer implicitly, inserting it into the thickest part and resisting the urge to peek; every lid lift costs me precious heat and momentum.
My pull temperatures are precise: 125°F for rare, 135°F for medium rare, 145°F for medium, 155°F for medium well, and 160°F for well done. The resting period is non-negotiable, 10 to 15 minutes wrapped loosely in foil lets juices redistribute while I prepare to rest and slice.
Smoke low until 5–10°F below your target doneness, then sear hard to finish. Rest 15 minutes minimum; patience separates the committed from the impatient. Locate the grain direction before slicing, you’ll thank yourself later.
The payoff? Beef that respects your effort.
Slice Against the Grain for Tender Bites
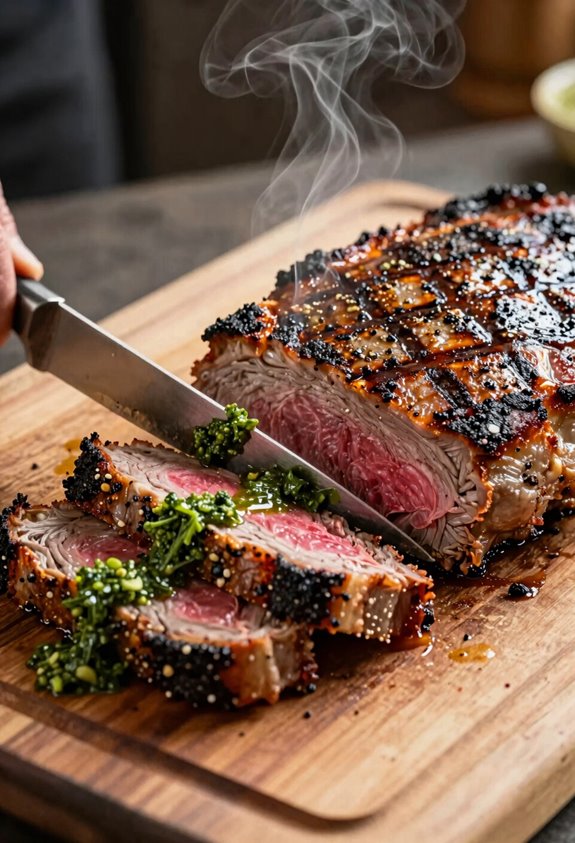
I can’t slice a tri tip blind, you’ll butcher the texture if you ignore the grain, which runs in two directions like a forked river and needs that thick black fat line as your map. After 10–15 minutes of rest, I’ll cut perpendicular to those lines, changing what could be stringy shoe leather into sandwich-ready sheets that don’t fight back.
It’s the difference between a gorgeous bite and a chewing marathon, and I’ve learned the hard way that serving it without grain direction visible is like planting tomatoes without knowing your USDA zone, technically possible, practically foolish.
Why Grain Direction Matters
How often have you carved into a gorgeous tri tip only to find it chewy and stubborn, resisting your molars like wet leather? I’ve been there, and the culprit is always the grain direction. Tri tip’s muscle fibers run in two directions, and slicing without noticing this guarantees tough bites.
Here’s what I’ve learned matters most:
- Cut perpendicular to the grain, never parallel, so you’re shortening those long muscle fibers
- Split the roast at the thick fat section to expose where the grain shifts direction
- Slice thinly across, never with the grain, to maximize tenderness in every bite
When you cut opposite grain, you’re transforming potential shoe leather into butter-soft morsels. Get your slicing right, and you’ve earned your seat at every backyard gathering.
Finding the Grain Pattern
Spotting the grain pattern isn’t rocket science, but it does require looking at your tri tip with fresh eyes before you start hacking away. I’ve learned that the tri tip grain runs in two different directions, split by that thick fat cap running through the middle. You’ll want to separate the roast there and address each section on its own terms.
Slicing against the grain shortens those tough muscle fibers, turning potentially chewy bites into tender ones. Always rest before slicing; ten minutes minimum lets juices redistribute rather than pooling on your cutting board. My kitchen knife technique improved dramatically once I stopped rushing this step.
Identify the grain pattern by spotting the parallel lines of muscle fibers, then cut perpendicular to them. Thin, sharp slices reward your patience every time.
Proper Slicing Technique
Where exactly should the knife land once you’ve tracked those grain lines? I’ve learned the hard way that guessing ruins dinner, so here’s my method.
- Rest after grilling, 10 to 15 minutes lets juices redistribute; slice too soon and you’ll watch your work bleed onto the cutting board.
- Roast split at that thick black fat seam, since the grain runs two directions in tri tip; separate the sections where alignment stays consistent.
- Cut across the grain perpendicular to those lines, never parallel; your knife should bisect the muscle fibers, not follow them.
I pull mine at 125–135°F internal temperature for that gorgeous pink center. Slicing against the grain transforms chewy into tender; skip this step and you’ll wonder why the neighborhood pitmasters never invite you back.
Serving and Sizing: Sides and Portions
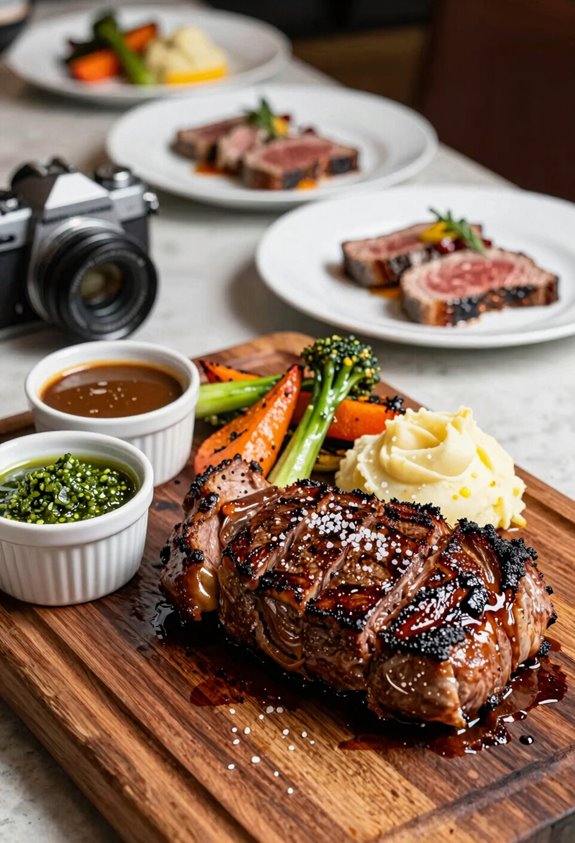
Why does one pound of raw tri-tip barely feed a single hungry gardener when the final yield shrinks like a gorgeous exlawn under August sun? I’ve learned this the hard way: moisture loss and fat rendering reduce tri tip servings significantly, so I plan two to three pounds for typical gatherings where appetites run aggressive.
Serving size expands when I slice against the grain direction, thin cuts stretch portions while maximizing tenderness. For side dishes, I rotate between Santa Maria beans (the authentic pinquito variety), creamy mashed potatoes, and crisp green salads. In California’s Central Coast tradition, I’ve even paired with macaroni and cheese, though purists grumble. These combinations expand portions into complete meals where no guest leaves hungry, and everyone belongs at the table.





