
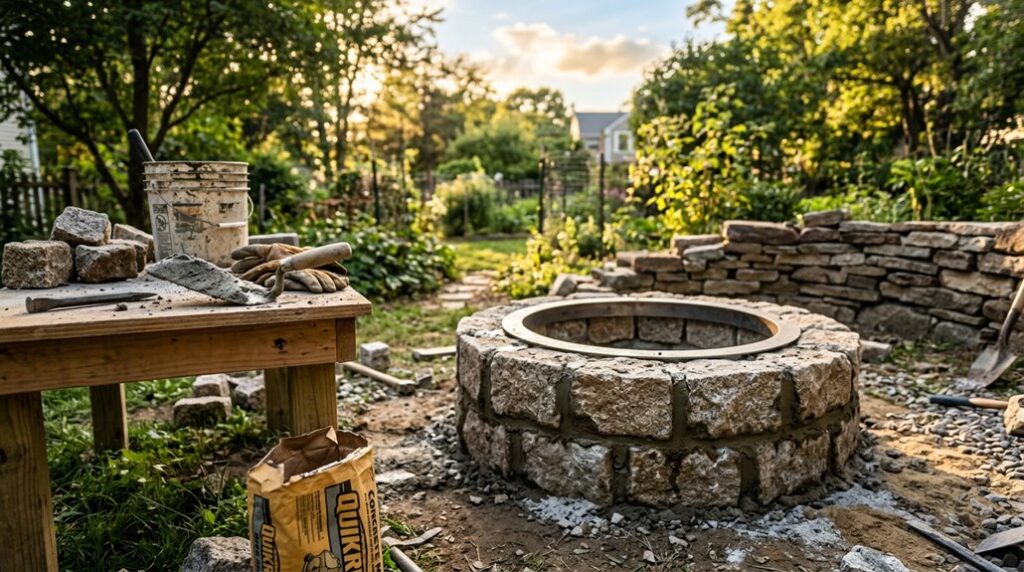
Most fire pit failures happen not from bad design, but from siting them in “beautiful” spots that violate code. My first attempt toasted a neighbor’s fence because I eyeballed clearances. You’ll need exactly 15 feet from structures, 10 from property lines, and a wind-check that would’ve saved me a $200 replacement panel.
The real trick comes before breaking ground.
Pick a Safe Fire Pit Location and Check Local Codes
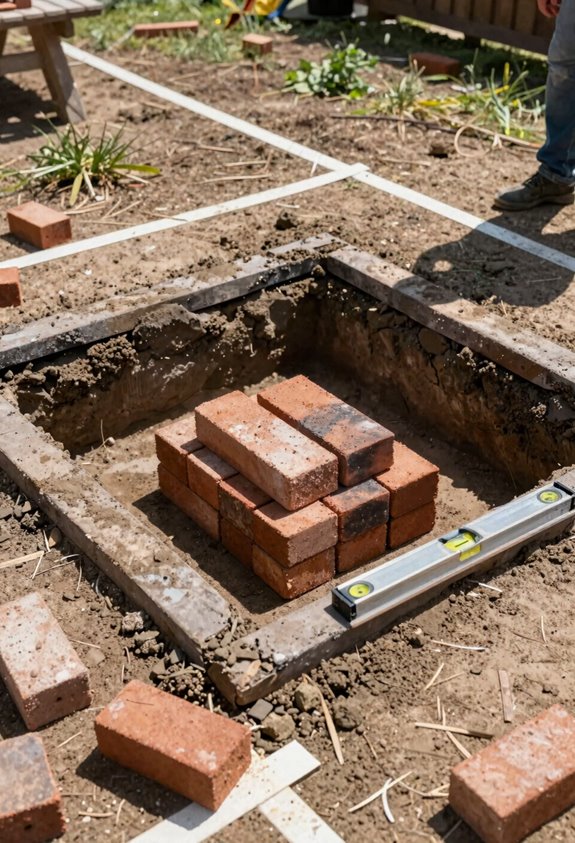
Where exactly should you plant this thing so you don’t torch your gorgeous ex-lawn or your neighbor’s prized *Acer palmatum*? I’ve learned fire pit location matters more than aesthetics, so start with at least 15 feet from your house and 10 feet from property lines, keeping clear of sheds, overhanging branches, and buried gas lines.
You’ll want to check local fire codes and HOA rules before breaking ground; some jurisdictions require permits for wood-burning pits while giving gas installations a pass. I once assumed my rural lot meant freedom, then discovered my county mandates specific clearances from combustible structures regardless of fuel type.
Factor drainage and prevailing winds too; nobody invites friends over to smoke out their seating circle. Get your paperwork sorted, confirm your clearances, and you’ll sleep soundly knowing your insurance agent won’t be calling.
Calculate Stones and Gather Your Materials
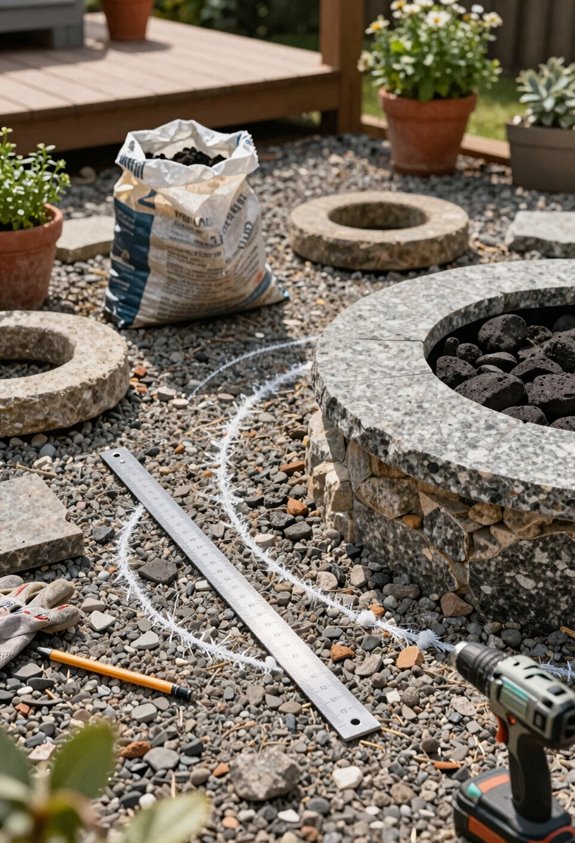
Once you’ve staked out a spot that won’t turn your insurance policy into kindling, it’s time to figure out exactly how much stone you’re hauling home.
Location first, then load calculation—skip either step and you’ll be making two trips.
My fire pit materials list breaks down like this: 96 blocks total, 48 trapezoids and 48 minis, stacked across 4 block courses with landscape adhesive between each layer. For stone sizing, I chose twelve trapezoid blocks per ring to hit that sweet ~33-inch inner diameter, which hugs a 30-inch fire pit ring with just enough breathing room.
Here’s what you’re gathering:
- 48 trapezoid blocks and 48 mini blocks for alternating courses
- Landscape adhesive tubes for bonding between layers
- Gravel and sand for your drainage base and final leveling
- A 30-inch fire pit ring to guide your circle geometry
Don’t skip the math, or you’ll make two trips.
Mark and Excavate the Fire Pit Footprint
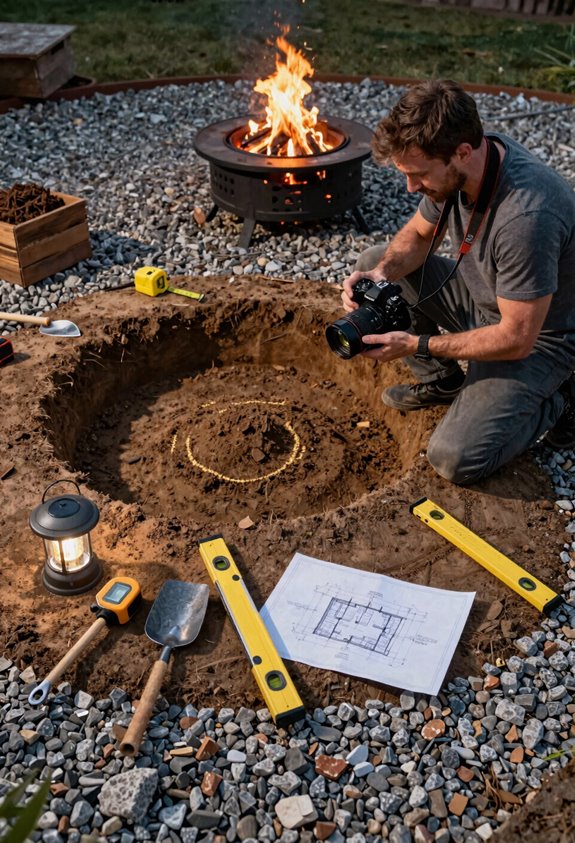
I’ll stake out where this fire pit’s going before I start moving dirt, because nothing’s worse than realizing you’ve carved a gorgeous exlawn crater in the wrong spot. I drive a stake in the center, tie a string half my desired diameter plus six inches, and scratch a circle through the turf with spray paint so I know exactly where my trap and mini blocks will sit.
Then I grab a mattock and start peeling back the sod, digging down about eighteen inches in the middle for drainage and tapering to six inches at the edges, which in my heavy clay soil (USDA Zone 6b) keeps the pit from becoming a mosquito pond every spring.
Locating the Fire Pit
Why start digging only to realize you’ve bisected a sprinkler line or positioned your masterpiece where the prevailing wind funnels smoke directly into your kitchen window? I’ve learned the hard way that location determines whether your fire pit becomes a gathering place or a gorgeous exlawn regret.
Here’s how I mark and excavate properly:
- I outline the footprint first, marking a circle with spray paint or stake-and-string to visualize size before touching soil.
- I dig a 6-inch excavation for stable footing, checking level frequently; nothing worse than a tipsy first course.
- I layer gravel for drainage, then sand, stopping 2–3 inches below grade.
- I position stones in alternating trap/mina pattern, verifying level as I build upward.
Precision now prevents rebuilding later.
Marking and Digging
The perfect spot means nothing if I can’t translate it into actual geometry, and I’ve squinted at enough lopsided circles to know that guessing is where backyard dreams go to become expensive fill projects.
I lay my stones dry first, then trace their circular diameter with spray paint; that’s my marking done. Stones come off, and I’m digging the fire pit footprint six inches down, plus a drainage trench eighteen inches deep beneath. I keep sides straight and level the base like I’m frosting a cake I’d actually eat. Two inches of gravel, then sand, packed flat with a two-by-four until I’ve got two fingers of depth remaining.
I check level across the circle obsessively; that first course of alternating trap-and-min stones won’t forgive my laziness, and neither will your former lawn.
Build a Level Gravel and Sand Base
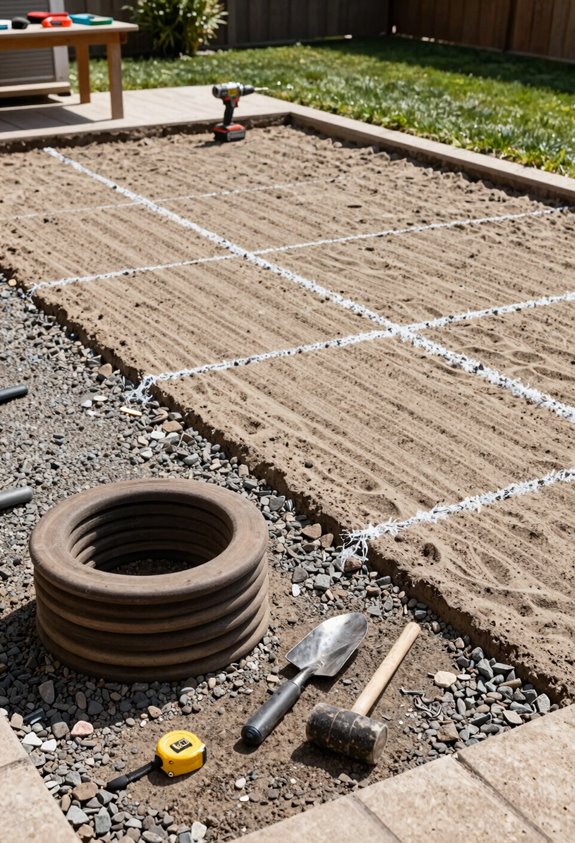
I dig down about 18 inches for proper drainage, learned that the hard way after my first attempt turned into a mosquito pond, and pack a 6-inch gravel bed topped with 2–3 inches of mason’s sand, which I screed level with a 2×4 until it’s flat enough to set a level bubble dead center.
The trick isn’t just depth; it’s working the sand in lifts, tamping between passes, because rushing this step means your first course of blocks will wobble like a table at a cheap diner. Get this base right, USDA Zone 5 frost heave taught me that lesson, and the rest of your fire pit practically builds itself.
Excavation Depth
Before you set a single block, you’ll need to get intimate with your shovel, because excavation depth is where most fire pits either rise to glory or sink into seasonal mud. I’ve learned the hard way that skimping here turns your gorgeous ex-lawn into a mosquito pond by August.
Here’s my battle-tested formula:
- Dig 18 inches deep for proper drainage and frost protection
- Pack 6-8 inches of gravel as your drainage layer; no shortcuts
- Add 2 inches of sand bedding for that forgiving level base
- Leave a 2-3 inch buffer above the sand for your first course
That sand layer is your insurance policy; brush it between stones later, but don’t overfill. Your back will hate you today, but your fire pit won’t heave come spring.
Leveling Technique
How deep you’ve dug matters little if what sits at the bottom resembles a skate park, so here’s where I spend my most obsessive twenty minutes of the entire build: transforming that lumpy gravel bed into something a spirit level actually respects. I pack that base until my arms ache, then I pour sand, two inches, no more; I drag a 2×4 across it like I’m frosting a cake, checking every diagonal. This leveling ritual determines whether your fire pit leans like Pisa or stands proud through freeze-thaw cycles.
| Layer | Purpose |
|---|---|
| Gravel | Drainage, 1.5 ft deep |
| Sand | Final leveling, 2–3 in |
| First course | Alignment check |
I keep sides straight but obsess over the base; one wobble here multiplies upward. After setting blocks, I brush sand between joints: compact, level, done.
Lay the First Course With Airflow Gaps
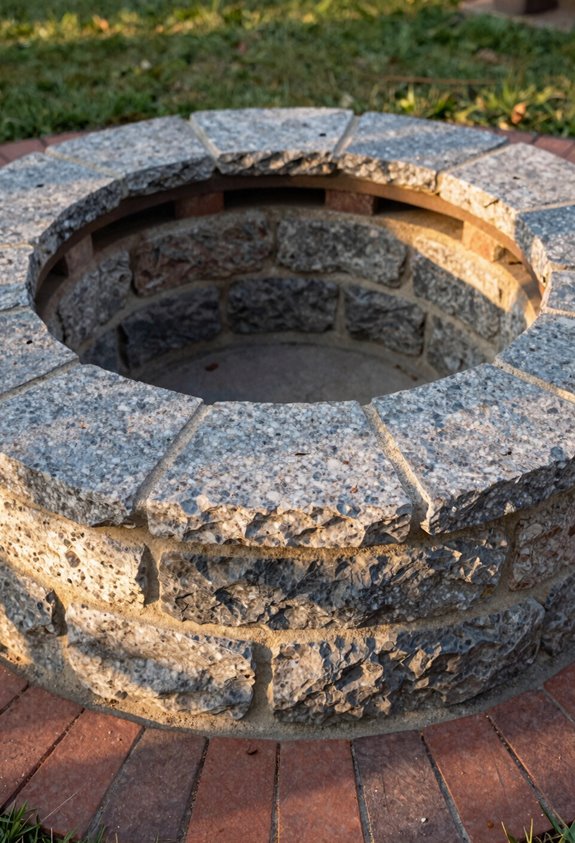
Where exactly should you start when you’re staring at a ring of sand and a pallet of blocks that suddenly looks enormous? I’ve been there: sweaty, overwhelmed, wondering if I’ve bit off more than my gorgeous exlawn can chew. You begin with the first course, and you don’t rush it.
Here’s how I build the foundation that’ll make or break your fire pit:
Pack your sand base with a 2×4 until it’s smooth as a putting green, then check with a spirit level twice, because sand shifts when you’re not looking.
Alternate trap blocks and mini blocks, twelve each, leaving 1-2 inch gaps between stones for airflow channels that’ll keep your fires roaring, not smoldering.
Maintain 2-3 inches of top material exposed while keeping those gaps open; oxygen needs a path in, or you’ll have a smoke pit, not a fire pit.
Run landscape adhesive in a zigzag bead on each joint, secure enough to hold, but don’t glob it where air needs to flow.
This ring is your foundation. Get it right, and you’re building something that’ll outlast your mortgage.
Stack Upper Courses With Adhesive and Staggered Joints
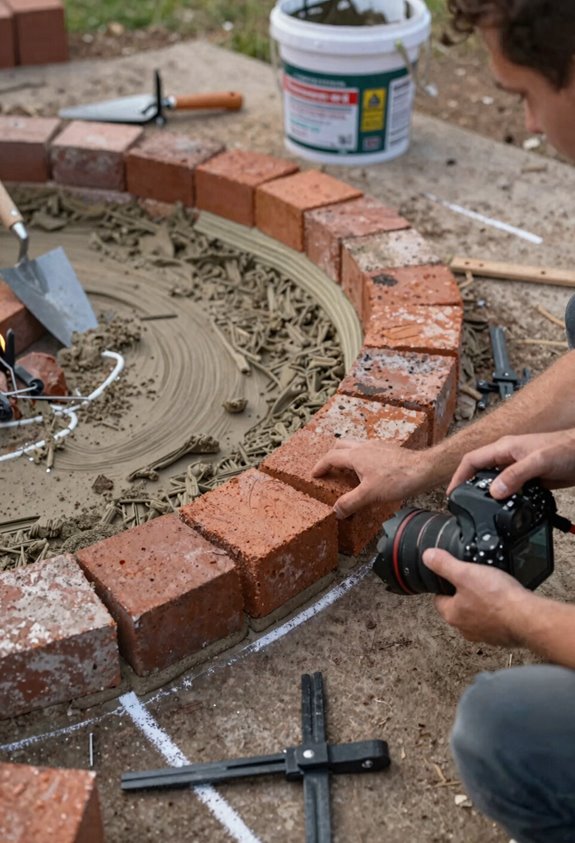
That first ring is set, and now the real stacking begins. I run a zigzag bead of landscape adhesive between each course, pressing stones firm so staggered joints lock the wall together like masonry’s stubborn handshake. No seam should line up with the one below; I’ve learned that straight vertical cracks invite wobbling disaster when frost heaves arrive in USDA zone 5b.
I brush sand into gaps after every layer, sweeping excess before it cakes into a gorgeous exlawn souvenir. Every third course, I measure inside and outside diameters; my first pit wandered oval because I trusted my eye. Patience matters: let adhesive cure fully before adding weight above. That airflow gap at the base breathes easier when upper courses stay true and level.
Brush Sand and Add Seating With Lighting
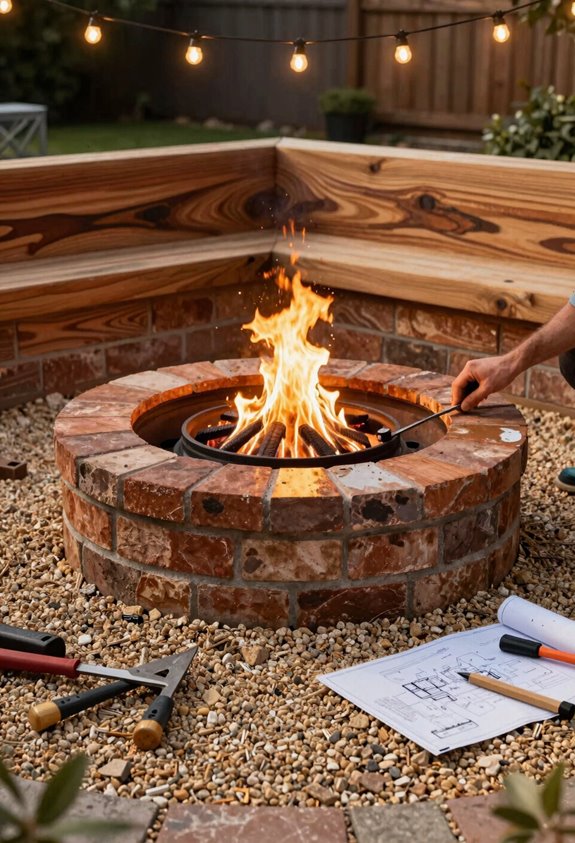
Why stop at a pit when you can build a whole evening around it? I brush sand into every crevice of my fire pit, letting it settle like a promise between stones, then sweep the excess toward the drainage gravel below. Water must escape, or winter cracks everything you’ve built.
My seating area takes shape with Adirondack chairs arranged in a semicircle, close enough for warmth, far enough for safety. I lay landscape fabric first, pin the edges, and admit I’ve skimped on weed barrier before; the gorgeous exlawn always revenges.
- Brush sand between RumbleStone courses for stability
- Verify 2, 3 inches of sand covers drainage layer
- Position seating 6, 8 feet from flames
- Install solar path lights and citronella torches for ambiance and insect defense
Maintain Your Fire Pit and Prevent Cracking
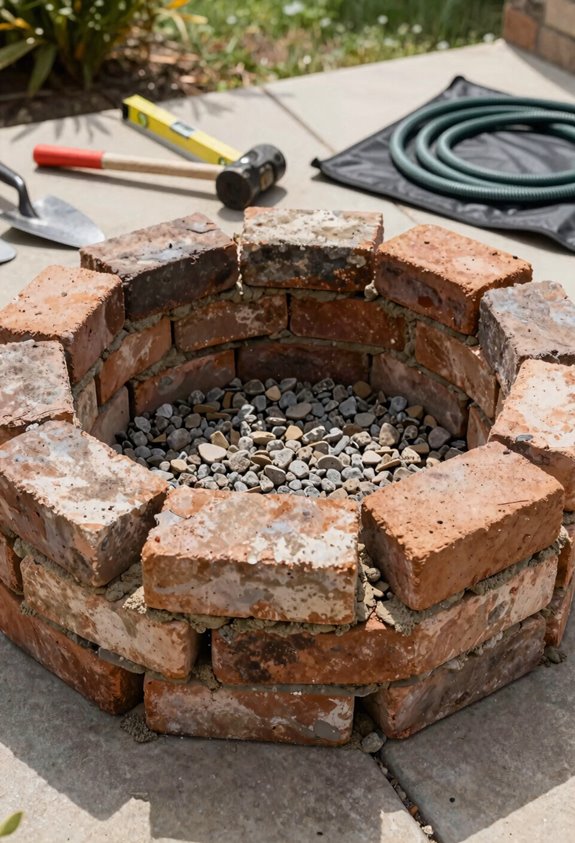
The chairs are arranged and the torches lit, but my work isn’t finished; it’s just entered its longest phase. I’ve learned that masonry maintenance separates the weekend warriors from the true fire pit faithful, and I check mine monthly for fire pit cracks in mortar and stone, patching hairlines with high-temp caulk before they become gorgeous exlawn ornaments.
My burn tests hit 550–700°F with dry hardwood, achieving secondary combustion that minimizes smoke and thermal shock. After each session, ash removal is non-negotiable; I scoop or shop-vac debris to preserve airflow through my upper and lower vents, preventing oxygen starvation that warps the structure. I reapply landscape adhesive between courses semi-annually and brush sand to stabilize stones while keeping gaps clear. This rhythm keeps my gathering place crack-free and welcoming.





