
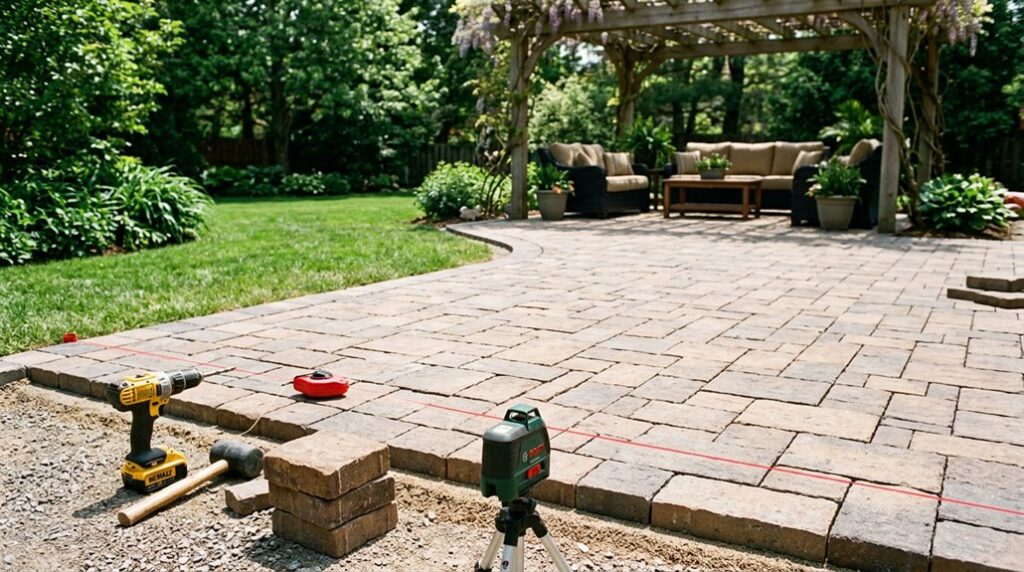
I’ve buried three patios in my gardening career, two from skimping on gravel, one from hubris with drainage, and I’m here to save you the backbreaking do-over. A 400-square-foot paver patio runs $3,200–$6,000 in materials, demands 6 inches of excavation below grade, and rewards the obsessive with two decades of weed-free entertaining.
The catch? Most homeowners stop at “pretty pattern” and miss the part where their yard heaves through freeze-thaw cycles. I’ll walk you through what actually works, starting with the graph paper moment that determines whether you’ll be sipping lemonade or cursing sunken bricks.
Plan Your Paver Patio Layout and Budget
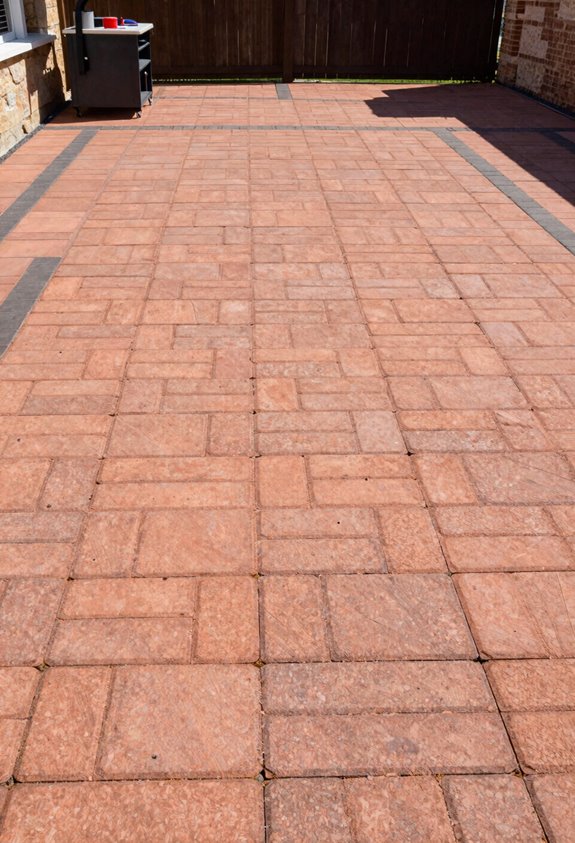
Where exactly does one begin when staring down a 400-square-foot expanse of crabgrass that dreams of becoming something respectable? I start with paver layout on graph paper, sketching stacked bond for simplicity or herringbone if I’m feeling ambitious, though basketweave patterns consume 30% more cutting time, I’ve learned the hard way.
My backyard patio budget accounts for $8–$15 per square foot in materials, plus edging (steel or concrete) that’ll run another $2–$4 linear foot. I’m banking on that 20% home value bump to justify cobblestones over concrete, even if pavers sting upfront. Six to fourteen days with my brother hauling stones beats contractor labor costs. Fire pit? Maybe next season.
Clear, Grade, and Excavate to Proper Depth
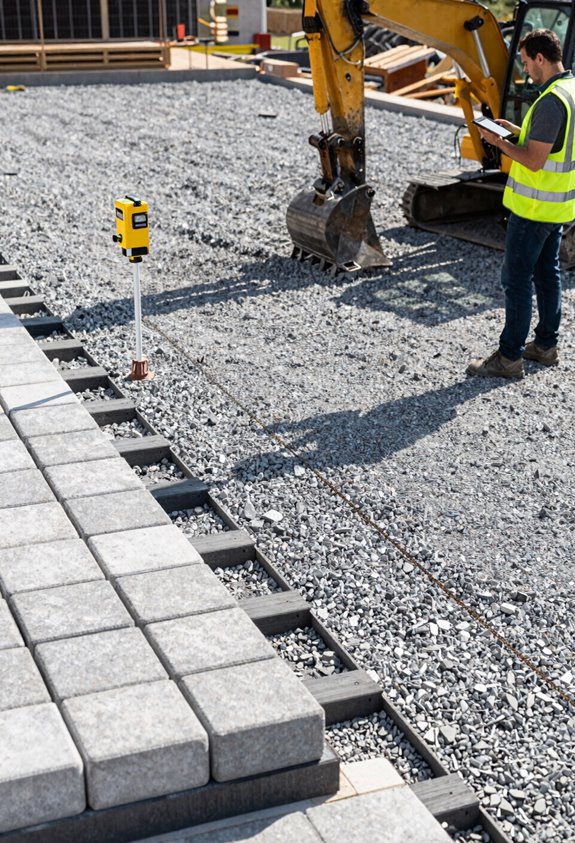
How deep do you really need to go? For your paver patio layout, I excavate to the precise excavation depth that accommodates pavers plus 4 inches of gravel and 1 inch of sand, so measure twice, curse once when you hit a root.
Measure twice, curse once: dig deep enough for pavers, 4 inches of gravel, and 1 inch of sand, or you’ll be fixing it next spring.
Here’s my proven sequence:
- Dig to calculated depth, accounting for that granular base sandwich
- Check leveling with a 4-inch PVC pipe and level; your knees will hate you
- Tamp the native soil firm; this isn’t the place for shortcuts
I’ve learned the hard way that skimping on excavation depth means frost heave and wobbly stones. That gorgeous ex-lawn becomes your foundation, so respect the math.
Get this wrong, and you’ll be pulling pavers next spring, wondering why you didn’t dig deeper when you had the chance.
Install Edging and Build the Gravel Base
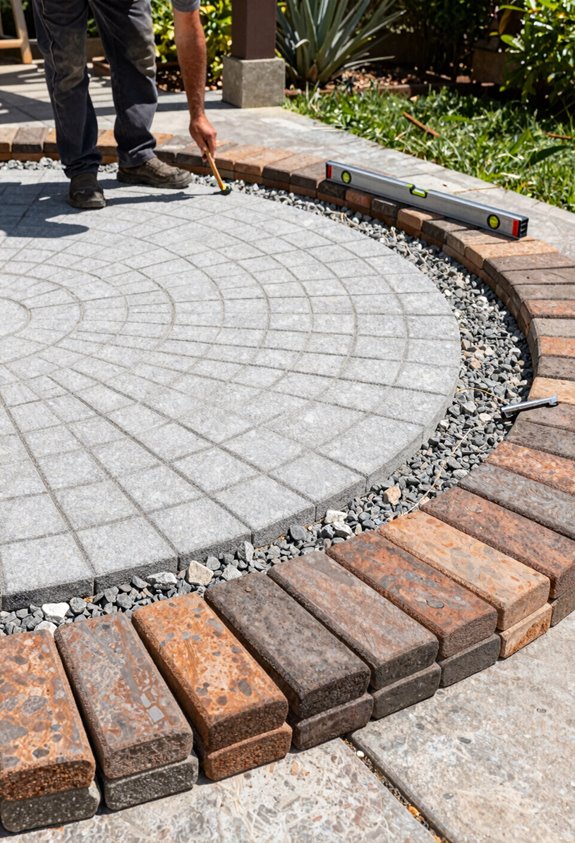
I’ll walk you through edging and gravel base prep, which separates a patio that lasts from one that heaves like a gorgeous exlawn after the first freeze. First, I dig a trench 2–3 inches below my finished surface line and set my edging, steel or plastic, your call, checking with a string line because “eyeballing it” once cost me a weekend of rework.
Then I roll out landscaping fabric with 6-inch overlaps, dump 4 inches of #57 gravel, and compact it in 2-inch lifts with a plate compactor I rented for $65/day. Skip this step, and you’ll be releveling pavers before the next growing season.
Edging Installation Steps
Why does edging matter so much? Without it, your gorgeous ex-lawn creeps back, frost heaves your pavers into abstract sculpture, and your gravel base migrates like confused geese. I’ve learned this the hard way, twice.
Here’s how I lock in my borders:
- Dig trenches 2–3 inches below final surface height, keeping them straight and level with obsessive precision
- Install edging along the perimeter, then lay weed mat underneath, overlapping seams 12 inches and stapling aggressively
- Backfill with gravel and begin tamping/compacting before the base layer proper
I remove or cap sprinkler heads now, mapping their locations for drip-line resurrection later. This edging installation isn’t glamorous, but it’s what separates weekend warriors from patio professionals. Your future self will thank you when nothing shifts.
Gravel Base Preparation
Once you’ve got your edging locked in place, it’s time to build the foundation that’ll keep your patio from becoming a topographical map after the first hard freeze. I roll out landscaping fabric over the dirt, overlapping pieces by a couple inches and trimming to shape; this barrier keeps my gorgeous ex-lawn from staging a comeback through the gravel base.
I spread four inches of crushed stone, checking depth with a straightedge because inconsistent spots are where frost heave turns your summer party into an obstacle course. Tamping comes next, and I don’t skimp here; a plate compactor or hand tamper transforms loose stone into something that won’t shift underfoot. After tamping, I add the sand layer; one inch, leveled and tamped again, creating the smooth bed where my pavers will rest for decades.
Lay Weed Barrier and Compact the Base
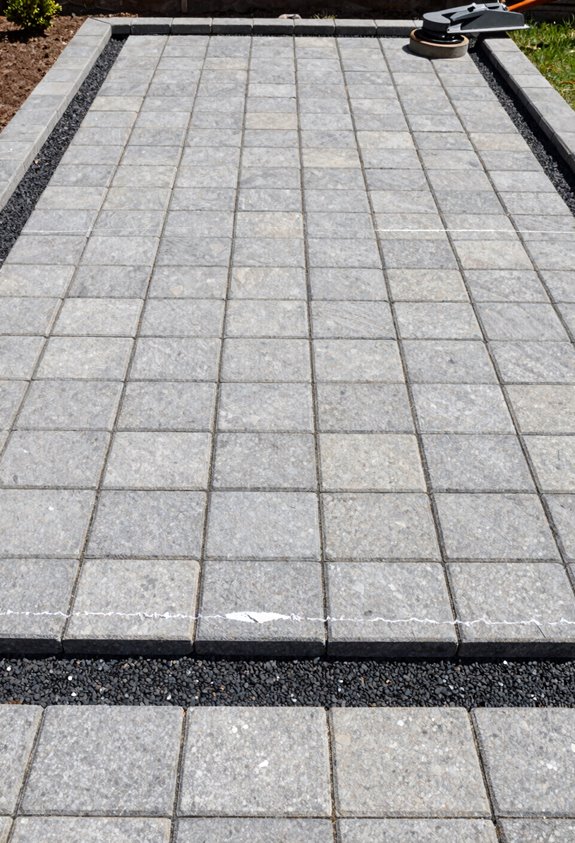
How does one transform a patch of bare earth into something that won’t betray you with dandelions six months later? You start with a proper weed barrier, and you don’t cut corners.
Here’s how I lock in that foundation:
- Lay the fabric: I roll out landscaping fabric over bare dirt, overlapping pieces by 12 inches, none of that skimpy two-inch business, and secure it with landscape staples every few feet.
- Build the layers: I spread 4 inches of gravel, then add a 1-inch sand layer, leveling with a 2×4 on its side.
- Compact everything: I run a plate compactor over the base until it’s dense and uniform; your pavers will hold steady when they don’t sink next spring.
That former lawn stays weed-free, and I’ve got the stable base my patio deserves.
Level Sand for a Flat Paver Bed
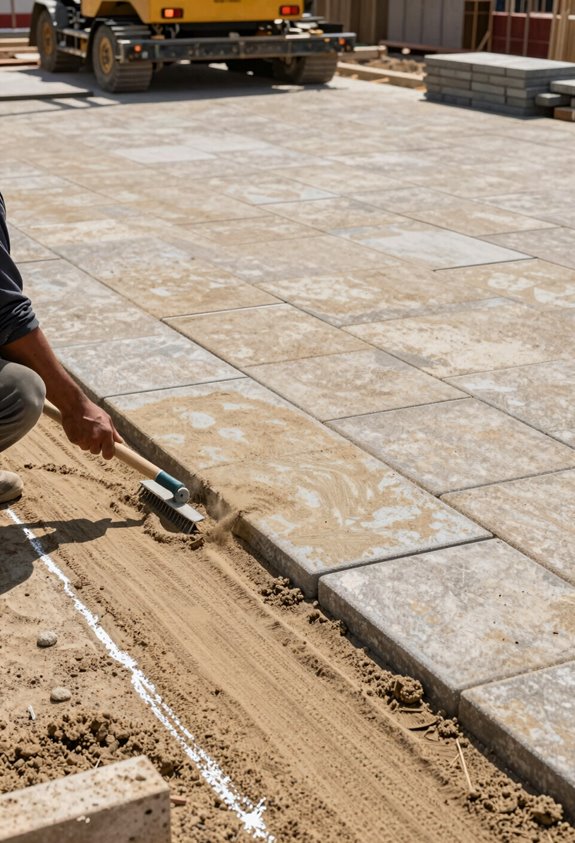
I’ll spread exactly one inch of coarse concrete sand over my compacted gravel base, then drag a 10-foot 2×4 across screed pipes to achieve that glass-flat surface my knees will thank me for later. I’ve learned the hard way that mason’s sand packs too tight and paver sand drains poorly, so I stick with ASTM C33 aggregate that costs about $45 per ton here in Zone 6b.
Don’t skip the final tamping. My “gorgeous exlawn” started as a lumpy disaster because I rushed this step and spent three weekends releveling after frost heave.
Sand Selection Criteria
Where exactly does a flat patio begin? I’ve learned it starts with choosing the right sand, not whatever’s cheapest at the yard.
For your paver patio, I use a 1-inch layer of concrete sand: angular grains lock together, unlike beach sand that shifts. Here’s what matters:
- Bedding sand goes beneath pavers, screeded flat with a 2×4
- Joint sand fills gaps after placement, activated with water to cure hard
- Never substitute masonry sand for bedding; it compacts poorly and cracks
I tamp my gravel base first, then spread bedding sand, level it precisely, and tamp again before laying stones. The joint sand comes last, swept in and wetted until gaps stay filled. Skip these distinctions and you’ll be relaying your gorgeous exlawn by spring.
Leveling Technique Options
I’ve got my sand picked out, but now I’ve got to make it flat, really flat, or I’m building a trip hazard with a view. I spread exactly one inch of sand over my compacted gravel base, then grab a long 2-by-4 laid on its side as my trusty straightedge. I drag it across the surface, checking and adjusting until the sand is uniformly level, no dips, no crowns, just a gorgeous exlawn-to-be waiting for its pavers.
I tamp everything down and re-check levelness across the entire area because inconsistent height means wobbly furniture and sprained ankles. As I place pavers, I use a rubber mallet to snug each one against its neighbors, maintaining that even surface while working toward my edging. Once set, I lightly water to activate the joint sand, helping my patio stay level after curing.
Common Mistake Prevention
How often have you admired a friend’s patio only to stub your toe on a rogue paver that shifted after the first frost? I’ve learned that common mistake prevention starts with the sand bed itself. Here’s what separates gorgeous exlawns from tripping hazards:
- Compact your gravel base religiously, four inches of aggregate, then one inch of sand, with no voids tolerated.
- Level with precision tools, I run a 4-inch PVC pipe and level across the surface, screeding with a 2×4 for uniformity.
- Lock in your edging installation before sweeping jointing sand; without restraint, your paver patios wander like drunkards.
Wet that jointing sand and pray for twenty-four dry hours. Your toes, and your pride, will thank you.
Lay Pavers With Consistent Spacing
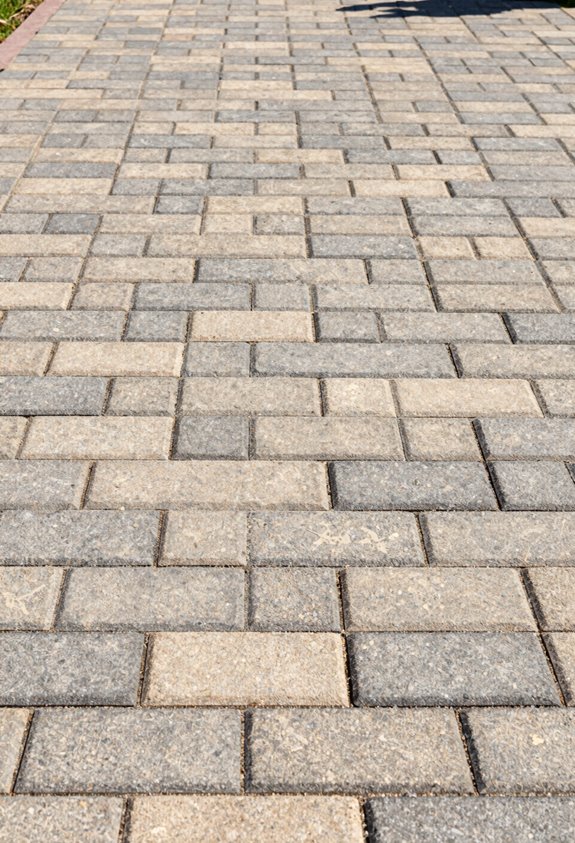
Why bother with fussy spacing when you could eyeball it and hope for the best? Because nothing says “amateur hour” like a wobbly grid that’ll haunt you every time you fire up the grill, that’s why.
I snap a chalk line every four courses to keep my pavers honest, and I always rig stakes and string for the first row. Once that edging goes in crooked, you’re committed to chaos. I maintain four inches between centers horizontally and two vertically; it sounds obsessive until you’re cutting filler pieces for some botched diagonal nightmare.
| Task | Tool | Pitfall |
|---|---|---|
| Establish alignment | Chalk line/string | Drifting off-square by course three |
| Set spacing | Tape measure | “Close enough” compounding errors |
| Seat pavers | Rubber mallet | Edging gaps inviting weed intrusion |
I mark cuts with lumber crayon, wet-saw the edging soldiers, and snug everything tight. Your future self, admiring that gorgeous exlawn, will thank you.
Fill Joints and Finish the Surface
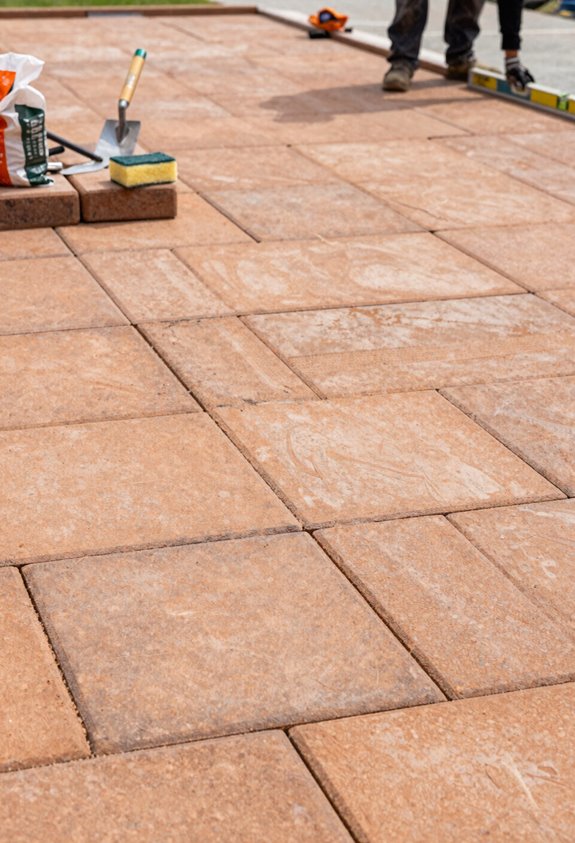
Where exactly does a patio find its locked-in strength? I’ve learned it hides in the gaps we fill. After laying pavers with consistent spacing, I grab my compactor and edging tools, because there’s no shortcut here.
I run a hand tamper across the surface to settle units against the edging, then sweep polymeric sand deep into every joint. I re-sweep after the first pass; joints drink more sand than you’d guess.
I blow excess off with a leaf blower, mist lightly with water, and wait 24 hours for activation, no white haze allowed.
That dry, satisfying crunch underfoot? That’s your patio locking together, properly cured and ready for barefoot belonging.





