
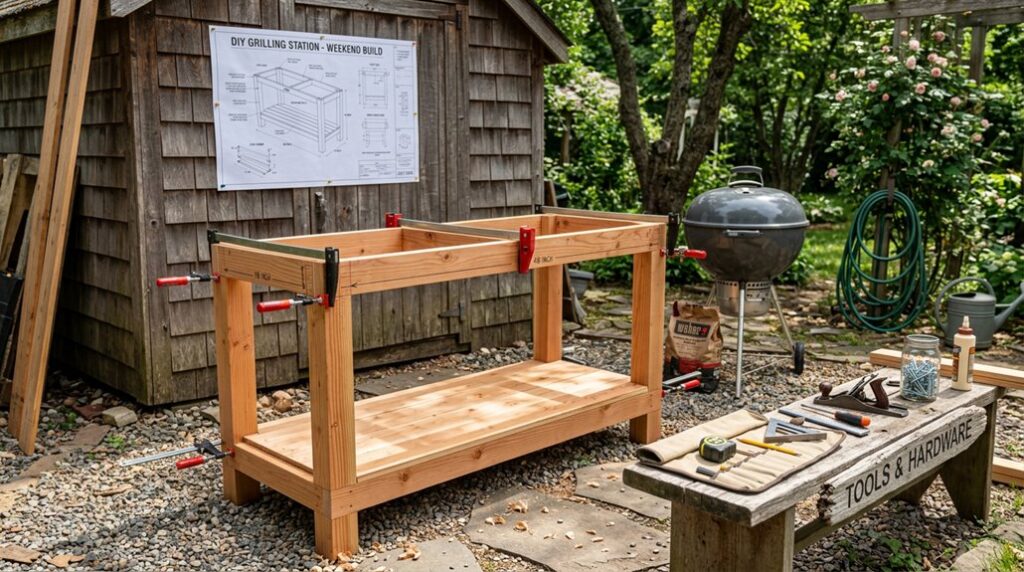
I built my first grilling cart from warped pine in 2019, and it twisted like a pretzel by July.
Cedar 2x4s run about $45 at my Asheville lumberyard, and I’ve learned the hard way that green wood shrinks unevenly across USDA zones 6a through 8a, so I stack and sticker boards for two weeks minimum before cutting the 32-inch legs with their 15-degree half-lap joints.
You’ll need that bottom stretcher; I skipped it once and watched my brisket slide across the yard.
The slatted top uses eight 1x4s with 3/8-inch gaps for drainage, and I’m still testing whether marine spar varnish outlasts Penofin in Carolina downpours, though three coats of either gets you through two seasons minimum.
Eight casters aren’t negotiable on rough flagstone, unless you enjoy hernia jokes. I finish the frame assembly Saturday morning, let the glue cure overnight, and slot the cedar slats Sunday; no workshop required beyond a miter saw and patience I don’t always possess.
The trick I haven’t mastered yet involves keeping that top perfectly flat after the first hard rain, but there’s a method involving quarter-sawn stock and blind tenons that costs twice as much and takes another weekend.
Build the Grill Cart Frame and Leg Assembly
Why start with the frame? Because I’ve watched too many gorgeous ex-lawns host wobbly disasters, and I want your DIY grill cart to outlast your enthusiasm.
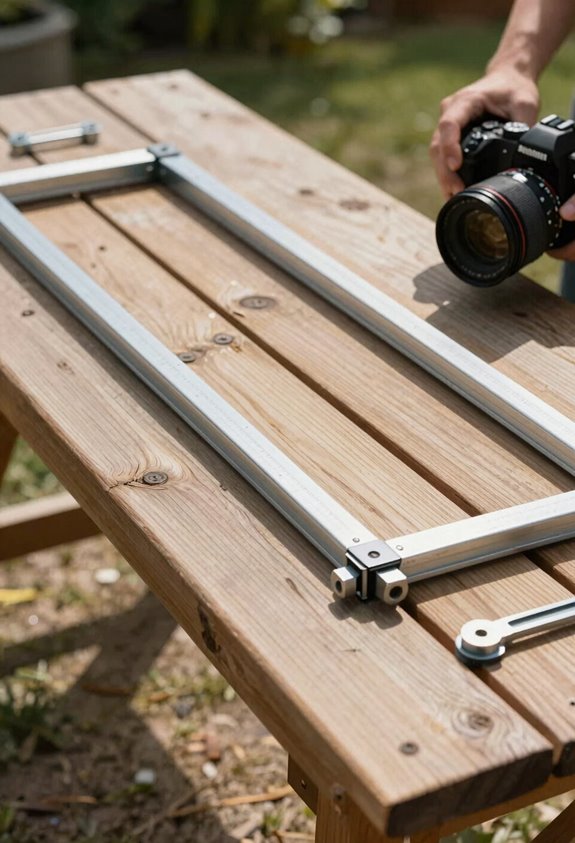
I build my grill cart frame from 2×4 construction and 2×6 frame stock; USDA zone irrelevance here, but precision matters. I cut pieces per Step 1, then assemble the leg assembly with a bottom stretcher between legs in Step 3; that stretcher prevents the rackety sway that betrayed my first attempt in 2019.
Step 6 marries the leg assembly to the top frame, and I insert the bottom tray there; no premature slat work, patience. I mount caster wheels last: two swivel-lock front, two fixed rear. Mobility transforms this outdoor grilling table from anchor to companion. Trust the sequence.
Complete the Cart With Slatted Top, Casters, and Weatherproof Finish
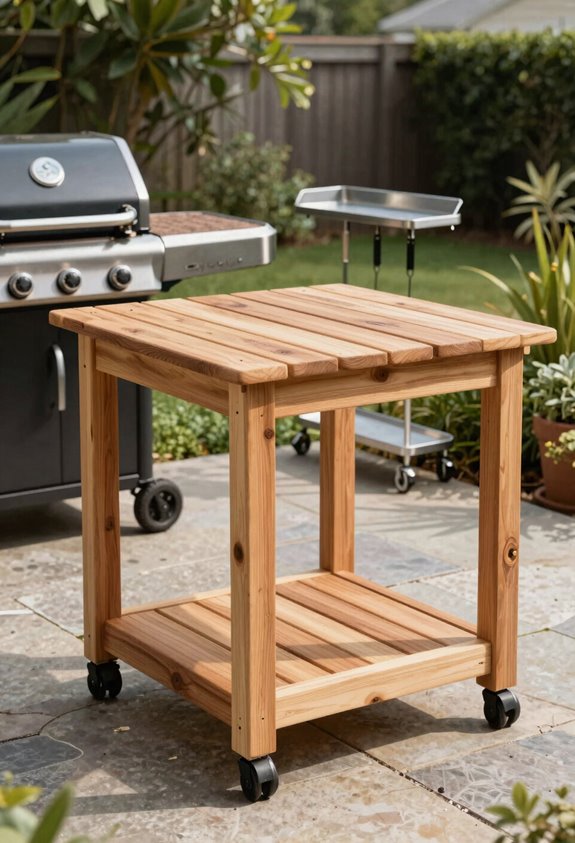
With the frame locked square and the leg assembly married to the top rails, I’m ready to skin this cart with cedar and set it rolling. I lay sixteen slats, eight top, eight bottom, leaving gaps for airflow and drainage; this slatted top won’t pool water or trap burger grease. For the outdoor grill station’s mobility, I bolt two locking swivel casters up front and fixed ones aft, so it tracks straight but pivots when I’m cornering around the patio.
I brush on three coats of weatherproof finish, marine spar varnish on my cedar, though exterior stain works if you’re impatient. The 2D/3D plans and complete cut list kept my lumber bill sane, and now this storage-loaded outdoor kitchen rolls wherever the coals demand.





