
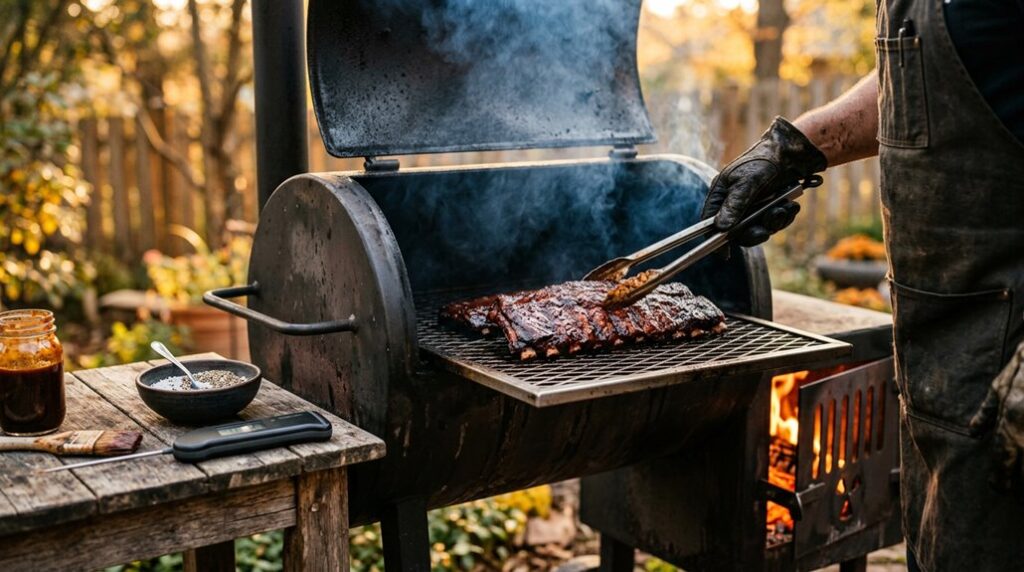
Most backyard charcoal grills outperform entry-level smokers because you’re already familiar with their vent behavior. That’s fifty dollars of insight I paid a full pellet rig to learn. I’ll walk you through ten steps I’ve burned through two USDA zones worth of pork shoulder to refine, starting with why your chimney starter matters more than your rub recipe. I’ve ruined gorgeous bark at 11 PM enough times to know where beginners actually stumble.
Pick Your Setup: Smoker or Grill
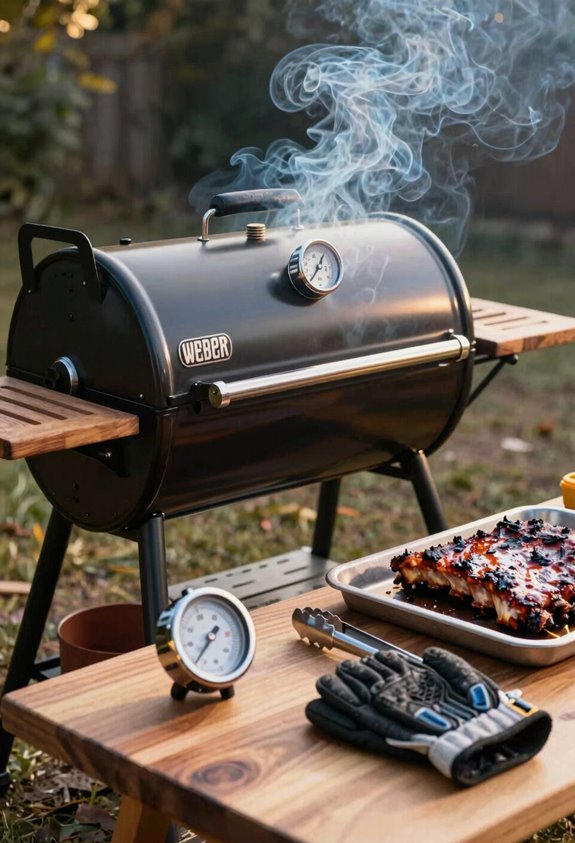
Where do you start when every pitmaster swears by a different rig? I’ll tell you where I started: with a beat-up Weber kettle and a prayer. You don’t need a dedicated smoker setup to join this tribe; any charcoal or gas grill converts beautifully for indirect heat cooking.
I learned two-zone grilling fast: pile coals on one side, place meat on the other, and you’ve got a 225–250°F zone that won’t torch your dinner. The biscuit test, arranging dough across the grate, maps your hot spots before you commit protein.
Here’s what separates weekend warriors from the pack: a digital thermometer. Built-in gauges lie like politicians. I monitor ambient temperature at grate level and track internal meat temps with dual probes. No guessing, no shame, just smoke-ringed victory.
Grab These 5 Tools, Skip the Rest
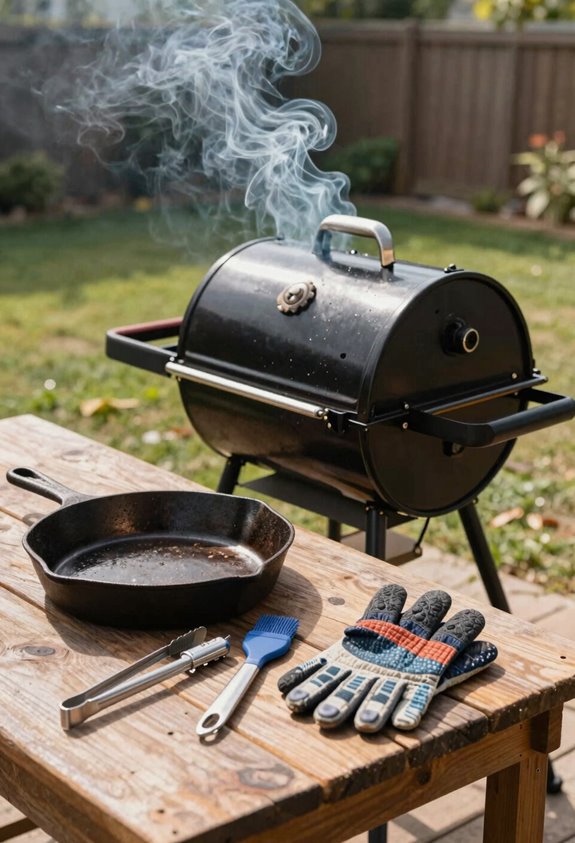
Why blow your paycheck on gadgets that’ll gather dust? I’ve learned that five tools get you into the smoke ring club without the clutter.
First, you need a reliable smoker thermometer; don’t trust that factory dial that reads “warm-ish.” Grab long tongs for maneuvering meat without piercing it, and invest in heat-resistant BBQ gloves because 225°F metal teaches harsh lessons. Foil or butcher paper handles the stall when wrapping becomes necessary.
Finally, master your heat management before adding food; I run my smoker empty first, mapping hot zones like a cartographer charting unknown valleys. This low and slow foundation matters more than any gizmo. Remember, indirect cooking demands patience, not equipment. Your wood choice comes later; right now, focus on reading temperatures and controlling airflow. That’s the real initiation.
Match Your Wood to Your Meat
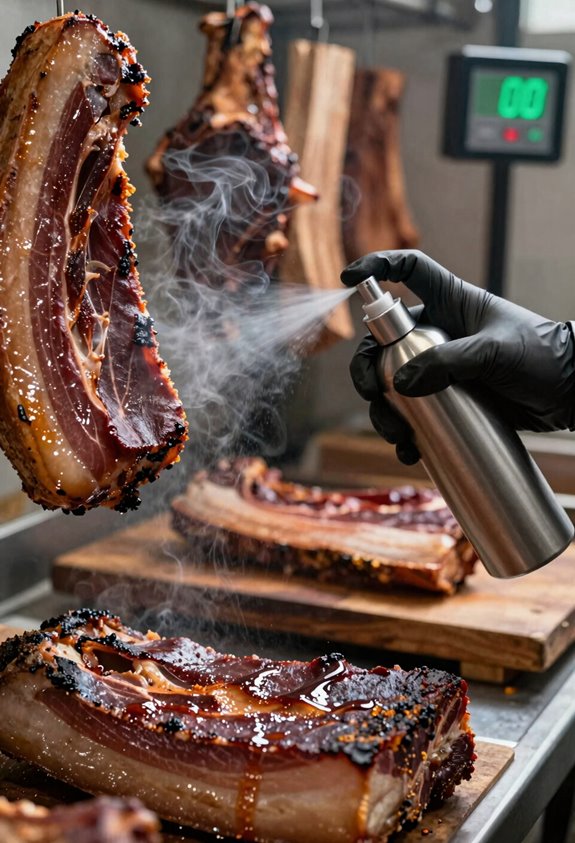
I learned the hard way that tossing mesquite on a whole chicken turns dinner into an ashtray, so I stick to fruit woods like apple or cherry that kiss the meat with sweetness without bulldozing its delicate flavor.
Pork and beef can handle harsher smokes: hickory loves a rib, oak tames a brisket. But I always keep milder pecan or apple nearby, knowing fat carries smoke aggressively and I’d rather under-season than serve barbecue that tastes like a campfire mishap.
I consult pairing charts when I’m uncertain, though I’ve burned enough meals to treat them as suggestions, not scripture, adjusting for how much bark I want and whether my neighbors will smell my experiments three blocks away.
Wood Flavor Profiles
How exactly do you pair wood with meat without creating an ashtray’s worth of regret? I’ve learned that wood chips are your paintbrush, and smoke flavor is your medium. Fruit woods, apple, cherry, peach, gift a delicate sweetness that flatters chicken without bullying it. Hickory delivers that classic bacon-wrapped nostalgia, but I’ve overshot it once and turned brisket into a campfire casualty. Mesquite? Gorgeous arid intensity, yet it demands restraint or your pork becomes bitter bark. There’s no rigid gospel here: my oak-plus-apple blend for ribs succeeded only because my rub was mild that day.
| Wood | Profile | Best Partners |
|---|---|---|
| Apple | Mild, sweet | Poultry, pork |
| Cherry | Fruity, subtle | Chicken, turkey |
| Pecan | Nutty, mellow | Pork, beef |
| Hickory | Bold, smoky | Beef, pork |
| Mesquite | Intense, earthy | Beef, lamb |
Meat Pairing Basics
Which cut sits on your smoker determines the wood you’ll reach for, and I’ve learned this pairing dance through enough missteps to fill a compost bin. Wood pairing isn’t guesswork: it’s matching intensity to flavor density.
Pork plays beautifully with oak plus peach, apple, cherry, or pecan; those fruit lignins in Prunus species like ‘Black Tartarian’ cherry (USDA zones 4-8, $35-50 per bareroot whip) add subtle sweetness without overwhelming the fat. I’ve found pork butt’s marbling forgives rookie temperature swings that’d crucify leaner cuts.
Poultry demands restraint. Fruit or nut woods only, as hickory’s phenolic compounds turn chicken skin into gorgeous exlawn territory.
Beef, particularly brisket, tolerates heavier smoking wood: maple for subtlety, mesquite for Texas swagger, hickory for that bacony midrange, or oak as your steady workhorse.
Track every smoke in a journal. My 2019 hickory-over-chicken disaster still haunts page three.
Build a Clean Fire Without Lighter Fluid
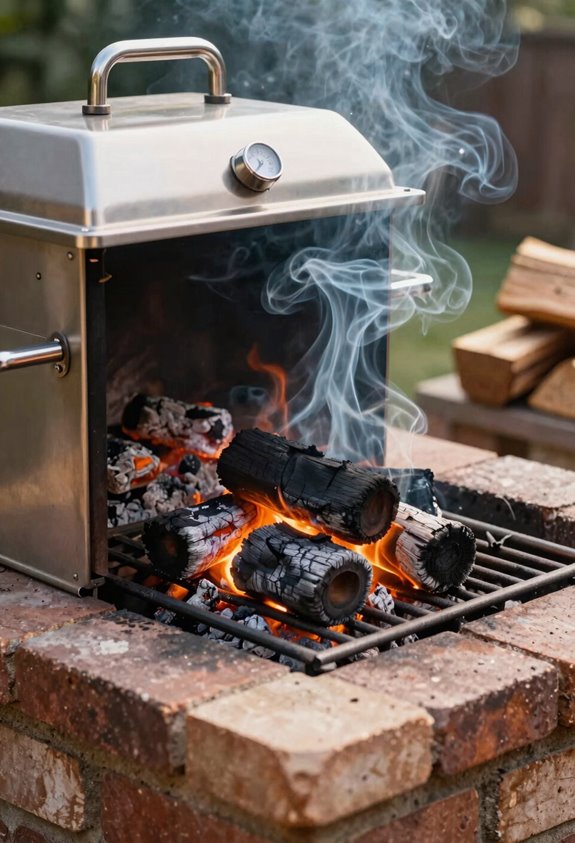
I’ll build a clean fire by choosing quality fuel. Briquettes cost me $18 for a 20-lb bag last season, and they burned 25 minutes longer than the bargain stuff. I’ll get it started with a chimney starter, which runs about $15 but saves you from that petrochemical tang lighter fluid leaves on your pork shoulder.
I’m patient with the process, waiting until those coals glow bright orange and wear a light gray ash coat, about 15–20 minutes depending on humidity. Then I dump them into a two-zone setup that lets me hold 225–250°F like I’m tending a tobacco-curing fire back in USDA Zone 7 where I learned this.
Be sure to maintain that steady burn by adding unlit coals and fresh wood every 30–45 minutes. I’ll confess I once let my temperature crash to 180°F during a brisket cook because I got distracted admiring a gorgeous espaliered apple tree. Don’t be me; keep your eye on the vents and your drip pan full.
Choose Quality Fuel
Every single batch of barbecue I’ve ruined taught me the same lesson: what we burn matters just as much as what we cook.
Fuel quality determines everything. I choose lump charcoal or premium briquettes; no bargain brands that crumble into dust. These coals burn 15–20 minutes until that gorgeous watermelon glow, then I add them to unlit fuel for marathon cooks.
Heat management lives or dies by your vents: intake controls oxygen, exhaust pulls smoke. I adjust them in quarter-inch increments, watching the thermometer like a hawk.
Wood fuel placement comes last; only after I hit 225°F, I nestle splits on top, never buried where they’ll smolder and bitter the meat.
- Select dense, hardwood-derived charcoal with uniform carbon content
- Preheat your smoker by layering unlit coals beneath the lit bed
- Position wood chunks above the fire line, not submerged in ash
Use Chimney Starter
Quality fuel’s only half the battle; you still have to light it without torching your dinner with chemical aftertaste. I grab my chimney starter, the best fifteen bucks I’ve spent, and fill it three-quarters full with charcoal. That’s roughly four quarts, enough for a solid burn without overcrowding.
| Chimney Starter Step | What Happens |
|---|---|
| Load charcoal, light top evenly | Clean ignition starts, no fluid aftertaste |
| Wait 15–20 minutes | Gray ash coats coals, temperature control locks in |
| Pour into smoker bed | Foundation set for low-and-slow mastery |
Lighting charcoal this way keeps things steady. I’ve watched lighter fluid send flames sky-high and ruin brisket; never again.
Once those coals glow gray, I pour carefully, the initial heat is strong, but it settles into the long haul we’re after. No flare-ups, no benzene bouquet. Just fire doing its job.
Maintain Steady Burn
A clean fire’s the difference between barbecue and burned offering, and I’ve sacrificed enough briskets to the latter to know the altar matters. I ditch lighter fluid entirely; that chemical tang lingers like regret. I trust my chimney starter to birth coals glowing orange with ash.
- Master the two-zone setup: I bank lit coals to one side, creating a sanctuary of indirect heat where meat rests safely away from flare-ups.
- Lock in your smoker temperature: I aim for 225–250°F, sliding a drip pan of water or beer beneath the grate to buffer spikes and humidify the chamber.
- Practice fuel management with vents adjustment: I crack bottom vents to throttle oxygen, adding a small handful of lit coals every 30–45 minutes when steady heat wavers; the Mississippi method saves my gorgeous ex-lawn ambitions.
Prep Your Meat: Trim, Rub, and Rest
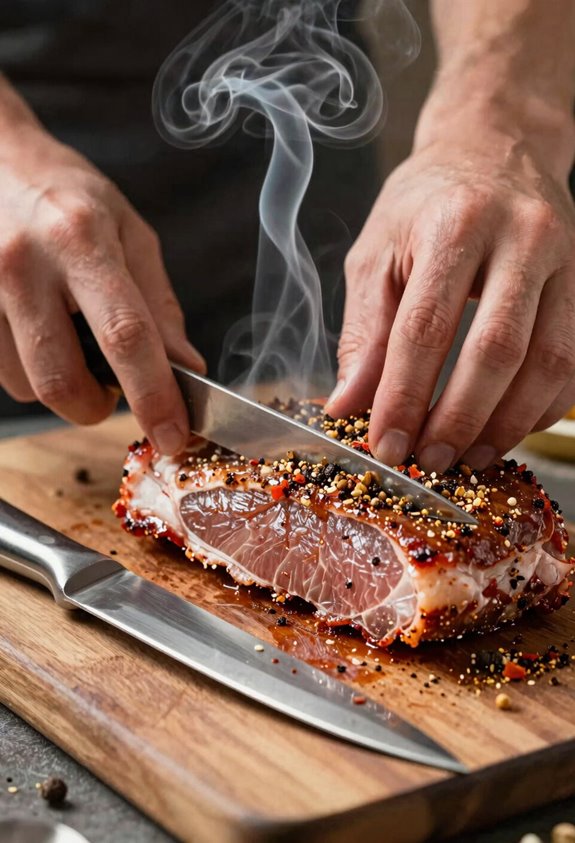
Before I’d even think about firing up the smoker, I grab my boning knife and get to work trimming, because uneven fat caps and ragged edges are the enemy of consistent heat penetration. Leaving too much fat means you’ll get pockets of unrendered grease, while hacking it down to nothing loses that protective moisture barrier I’ve learned the hard way. I trim to a quarter-inch cap, then rub generously with my dry rub, kosher salt, brown sugar, lemon pepper, black pepper, and chili flakes for pork.
The rest period matters: I let it sit at room temperature or refrigerate overnight for dry brining, which locks in moisture retention. Here’s what each step actually does for your smoke:
| Step | Purpose |
|---|---|
| Trim | Even heat, no grease pockets |
| Rub | Bark formation, flavor crust |
| Rest | Dry brine, moisture retention |
Skip any of these, and you’re fighting your meat instead of working with it.
Set Up for Indirect Heat at 250°F
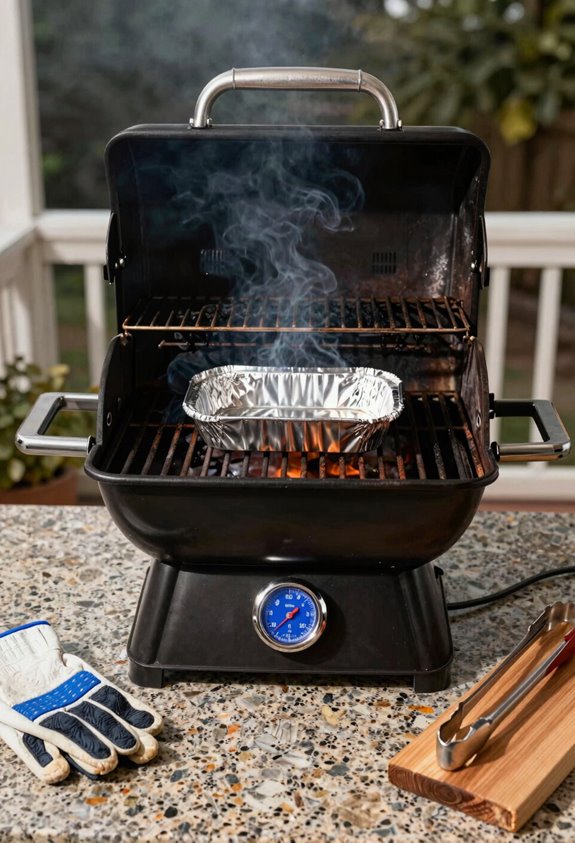
I position my meat beside the heat source, never above it, and I chase that sweet spot of 250°F like it’s a stubborn heirloom tomato refusing to set fruit in zone 7B. I adjust my vents the way I’d prune for airflow, small, deliberate tweaks, not dramatic slashes, because wild swings in temperature will wreck a pork shoulder faster than a late frost kills tender seedlings.
I’ve learned to let the smoker settle before adding wood, and I keep that lid shut tight, resisting the urge to spritz and peek like I’m fussing over a delicate graft that’s already taken.
Target Temperature Selection
Why does 250°F matter so much? It’s the sweet spot where collagen breaks down without drying your meat into jerky, and I’ve learned through plenty of drier-than-desert briskets that temperature control separates barbecue from backyard mistakes. I set up for indirect heat at 250°F by positioning coals to one side and the meat on the opposite, creating a convection oven that kisses rather than chars.
Monitoring becomes your religion here; you’ll need a reliable thermometer tracking both ambient and internal temps, because guessing leaves you in 165°F purgatory or 300°F hell. I aim for steady 225–250°F, knowing my cooker will flirt with 220°F early as cold meat steals thermal energy.
- Preheat until your smoker stabilizes at 250°F before the meat touches grates; impatience costs consistency
- Add fuel every 30–45 minutes; temperature swings betray the tender you’re chasing
- Adjust gradually when readings drift; aggressive vent corrections overshoot every layer of bark you’re building
Vent Placement Adjustment
Once you’ve coaxed your smoker to that 250°F sweet spot, the vents become your throttle and brake, not your afterthought. I keep my bottom damper wide open to light and preheat, then feather it down like a gorgeous exhaust valve, roughly one-third open, to hold that temperature steady in my indirect heat zone.
Here’s the thing: airflow feeds fire, and fire kills your low-and-slow dreams if you let it run wild. I position coals on one side, meat on the other, drip pan in between. My thermometer watches like a hawk while I adjust that vent every fifteen minutes until the needle steadies.
I add fuel sparingly, small doses every 45 minutes, and keep the lid sealed. No peeking. USDA prime patience, zone 9 stubbornness. Temperature spikes betray beginners; damper discipline makes you one of us.
Add Wood and Hold Steady
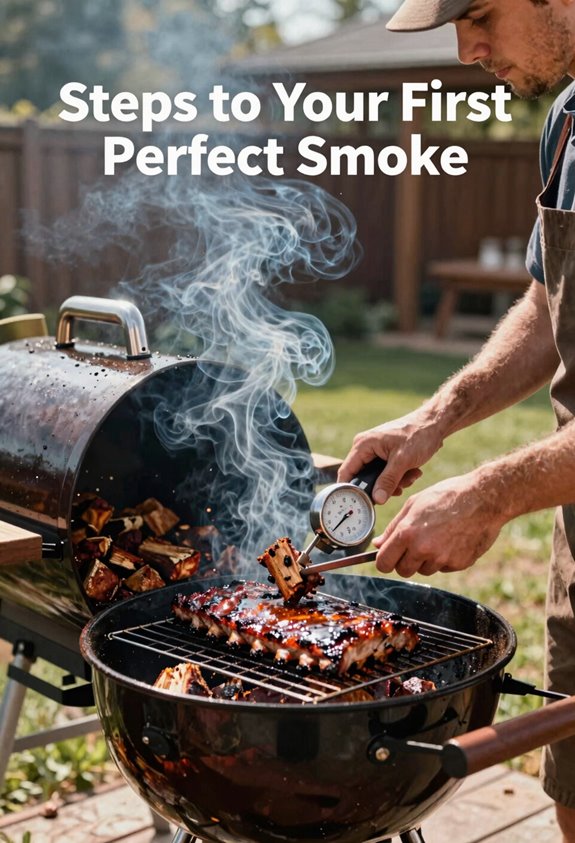
The heat’s finally dialed to that sweet spot, about 250°F if my thermometer’s telling the truth this time, and now I’m ready to throw on the wood. On my charcoal grill, I nestle wood chunks directly onto the coals, letting smoke curl up like a question mark around the meat. I’m chasing that steady temperature, adding fuel every 30–45 minutes, because temperature swings betray beginners faster than cheap thermometers.
Here’s what I’ve learned through gorgeous exlawn disasters:
- Choose oak or fruitwoods—apple, cherry, peach—for balanced smoke; save hickory for when you’re feeling bold, and avoid mesquite until you’ve earned your stripes.
- Place wood where airflow carries smoke evenly; my first brisket tasted like regret because I crowded the firebox.
- Soak chips only if your rig demands longer burn; otherwise, dry chunks give cleaner smoke.
Keep the Lid Closed: No Peeking
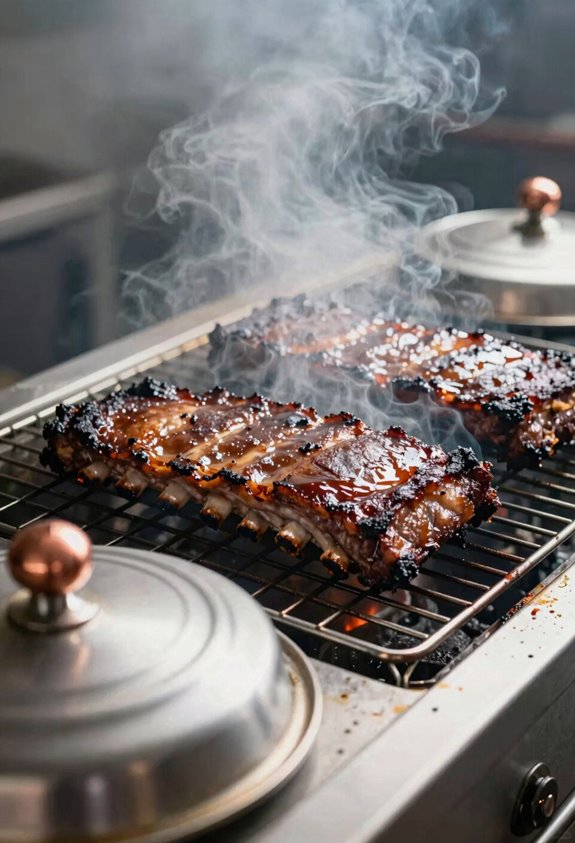
Although I’ve spent years coaxing flames into submission, I still fight the urge to lift that lid and sneak a peek at my brisket’s progress like it’s Christmas morning. We’re all guilty, but keep that lid closed.
Every peek sabotages your cook. Heat loss spikes, your temperature drops like a stone, and you’re adding thirty minutes of cooking time for five seconds of curiosity. Worse, you disrupt the steady smoke flow that’s building your bark, that gorgeous mahogany crust we crave. The vacuum-like environment inside your smoker lets smoke adhere to the meat, developing flavor and texture you can’t rush.
I check for doneness only after four hours minimum, sometimes six. If I must spritz, I’m in and out faster than a raccoon in a henhouse. Your patience pays off.
Check If Your Ribs Are Actually Done
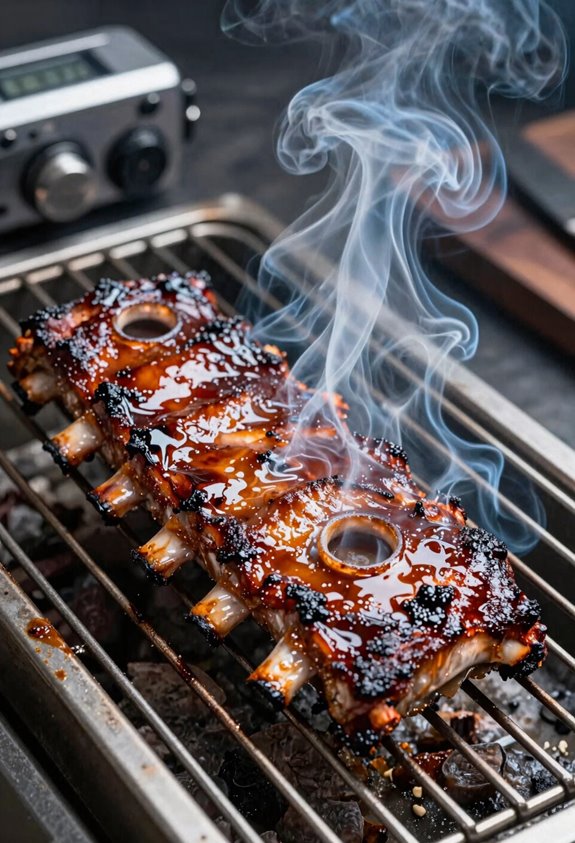
How do you know when those ribs are ready to leave the smoker and grace your plate? After about four hours at that steady 220°F, I start hunting for doneness clues without becoming a lid-lifter.
- Look for meat pulling away from bone, about a quarter-inch of exposed bone at the ends means you’re getting close, like bark pulling back from a maple trunk.
- Perform the jiggle test, I lift the slab with tongs; proper tenderness shows as a slight wobble, not a stiff board or a split disaster.
- Check the bounce, if the ends spring back like an overwatered zucchini, those ribs need more time; if they sag gracefully, you’ve hit that silky collagen breakdown we crave.
Trust these cues, and you’ll nail it.
Glaze, Slice, and Serve
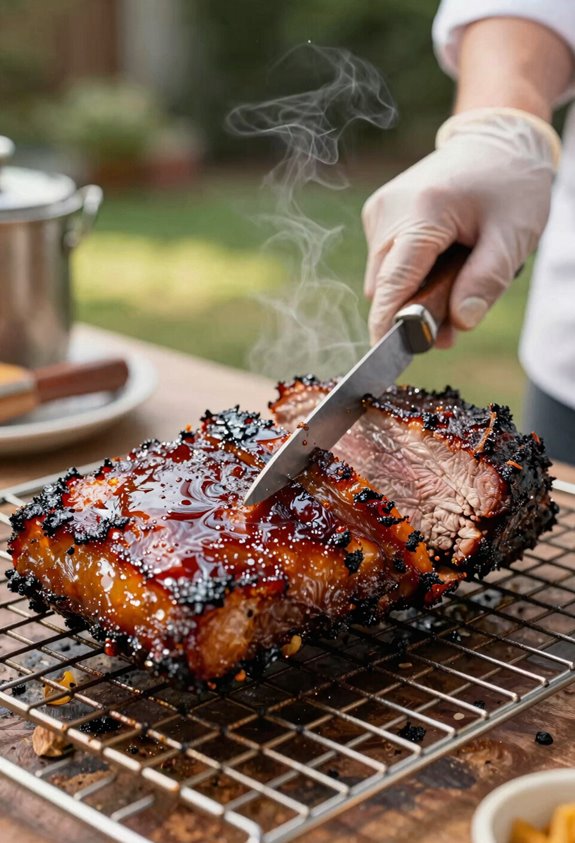
Once those ribs pass the doneness tests, I’m ready to finish them with something sticky and sweet. Glazing happens in the last 10–20 minutes, or I’ll pull them, sauce them, and return them to set; never overcooking that gorgeous bark I’ve nurtured like a stubborn perennial in USDA Zone 7.
Resting isn’t mandatory for ribs, but I’ll give them 5–10 minutes; it redistributes juices before slicing, much like letting compost settle before planting. That slight limp and gentle jiggle means collagen’s broken down into silky mouthfeel perfection.
For slicing, I don’t butcher through bones like some amateur with dull shears. I cut along the bone line into manageable two- or three-bone portions, bone-end down, wet naps at the ready. We’ve earned this messy, glorious finish together.





