
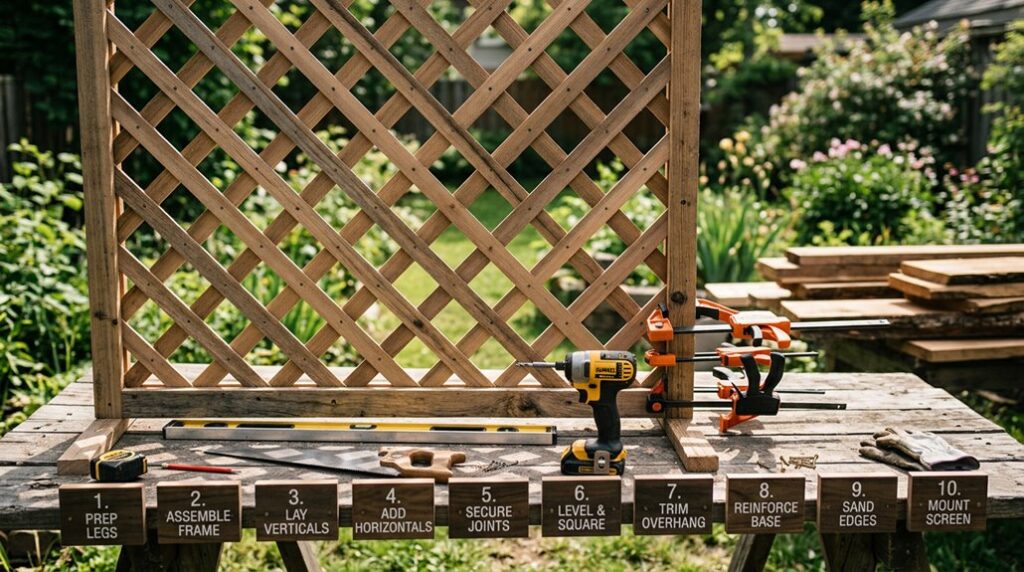
My first attempt at screening the neighbor’s gorgeous ex-lawn, now a mud pit with seasonal dogs, ended with a panel that leaned like it had opinions. I’ve since built seven of these properly, and there’s a trick to keeping lattice square through three seasons of freeze-thaw that nobody mentions in the big-box tutorials. You’ll want to know it before you sink those posts.
Measure Your Space and Plan the Layout
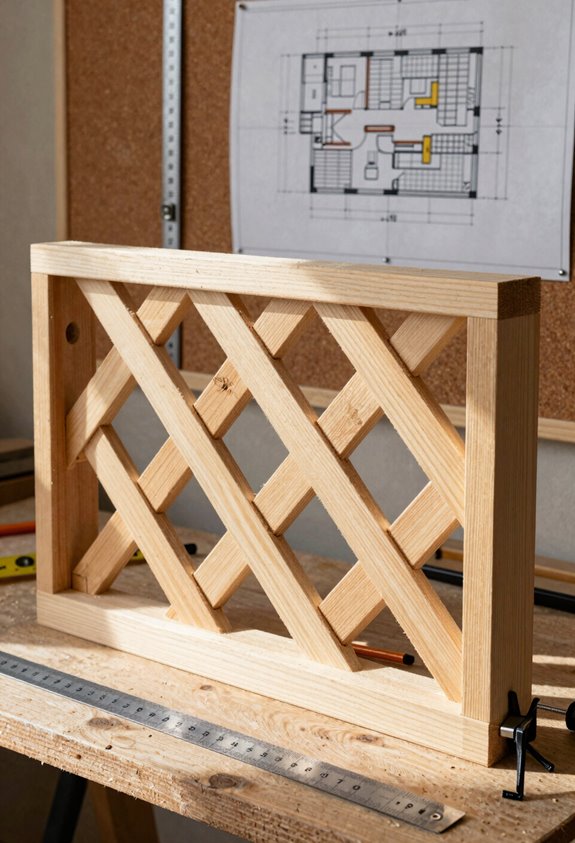
Where exactly will your lattice privacy screen live? I always start with my tape measure and a healthy dose of skepticism about my own spatial judgment. You’ll want to capture width, height, and depth; yes, depth matters when you’re sandwiching three layers of frame boards around that 42″ by 72″ panel. I learned this the hard way on my gorgeous ex-lawn, where a “minor” slope turned my first attempt into modern art.
Map your post locations now, accounting for any ground irregularities that’ll mock your plumb bob later. Wall-mounted or freestanding? Decide before you buy a single board. That three-layer frame, two pocket-holed boards plus one solid, needs precise clearance, or you’ll be trimming on-site like a fool. Measure twice, belong once.
Choose Your Post Anchoring Method
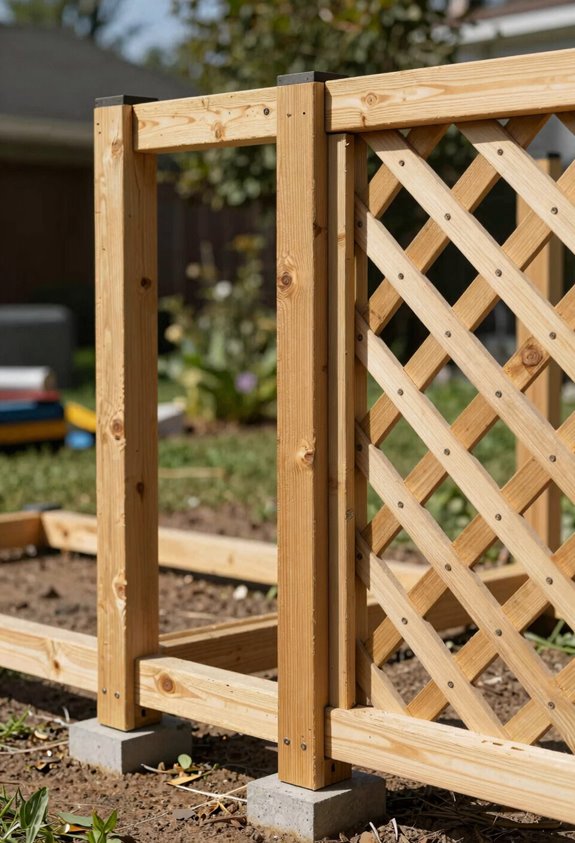
I’ve found that ground spikes save you from mixing concrete in USDA zones 6b through 8 where frost heave isn’t trying to murder your gorgeous exlawn every spring, though you’ll need to drive three 8-foot 4x4s plumb with scrap wood leveled across the steel heads, takes about 45 minutes and costs $12 per spike versus $40 in quick-crete per hole.
If you’re in heavier frost zones or dealing with clay that shifts like a politician’s promises, concrete footings dug 24 inches deep with 6-inch gravel beds become your insurance policy against a screen that lists like a drunk sailor by year two.
Either way, I set my post height by running a taut mason’s line between batter boards, which beats eyeballing it and discovering your lattice frame tilts enough to annoy anyone with a spirit level and standards.
Ground Spike Installation
How deep does a secret need to go before it stops trying to surface? You’ll want your steel ground spikes driven 24 inches minimum, deep enough to hold your lattice frame steady through frost heave and summer storms.
I clear debris first; rocks and roots betray even the best plans. I position each spike at my planned post center, then drive it plumb using a sledge and patience. Scrap wood spacers keep me honest on level and vertical alignment before I commit.
| Task | Timeframe |
|---|---|
| Clear and verify soil | 15 minutes |
| Drive spikes plumb | 20 minutes per post |
| Final check and tighten | 10 minutes |
I re-check after a week of settling. Wobble means rework, and nobody wants a tipsy privacy screen betraying their gorgeous ex-lawn to the neighbors.
Concrete Footing Setup
A solid concrete footing is the anchor for everything that follows, and I’ll pour it only when I’ve accepted that this screen isn’t moving for the next fifteen years. I’m choosing concrete footings because I’ve watched too many fences lean like tired drunks after three winters of frost heave.
Here’s how I commit:
- I dig holes 24 inches deep and 10 inches wide, checking spacing with a tape measure until my temples throb.
- I set posts plumb, bracing them with 2×4 scraps while concrete sets around the base like geological cement.
- I wait 48 hours, no cheating, before even thinking about attaching frames, because green concrete betrays your squareness.
My gorgeous exlawn bears the scars of impatience; yours doesn’t have to join the club.
Post Height Adjustment
Concrete cures on its own schedule, but once it hardens, you’re stuck with whatever height you poured, so I measure twice and cut once before the mix hits the hole. I mark my posts with a laser level, accounting for slope; nobody wants a drunk-looking privacy screen.
For steel ground spikes, I clamp scrap wood across the tops as I drive them, checking the bubble until every spike kisses the same plane. Concrete footings demand more patience: I set my posts, brace them plumb, then snap lines for the frame before the mud stiffens. I always leave twelve inches excess below grade if I’m running lattice close to the ground; learned that in USDA zone 7b when my “gorgeous exlawn” became a rotted mess.
Calculate Materials and Cut to Size
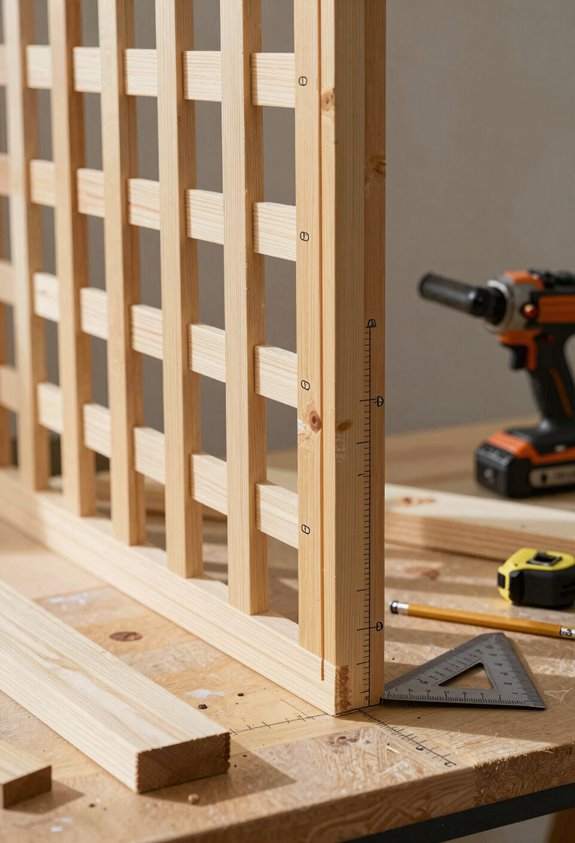
Before I commit to a single cut, I take stock of every board like I’m counting tomato stakes after a hard frost, twice, because I’ve learned that “eyeballing it” turns into a second trip to the lumber yard. I measure my space and settle on 42″ wide by 72″ tall for each lattice panel, that size works well between coverage and wind resistance.
Measure twice so you don’t end up counting your mistakes on a second trip to the lumber yard.
Then I get careful with my speed square, marking true 90-degree lines because racked frames cause problems. My cut list runs like this:
- One lattice sheet at 42″ x 72″ for the screen face
- Three 1x3s at 72″ for vertical frame stiles, plus two at 43 1/2″ for rails
- Two back supports at 72″ and two cross-pieces at 38 1/2″
I dry-fit everything on the ground, trim any proud lattice edges, and only then commit with fasteners.
Build the Three-Layer Lattice Frame
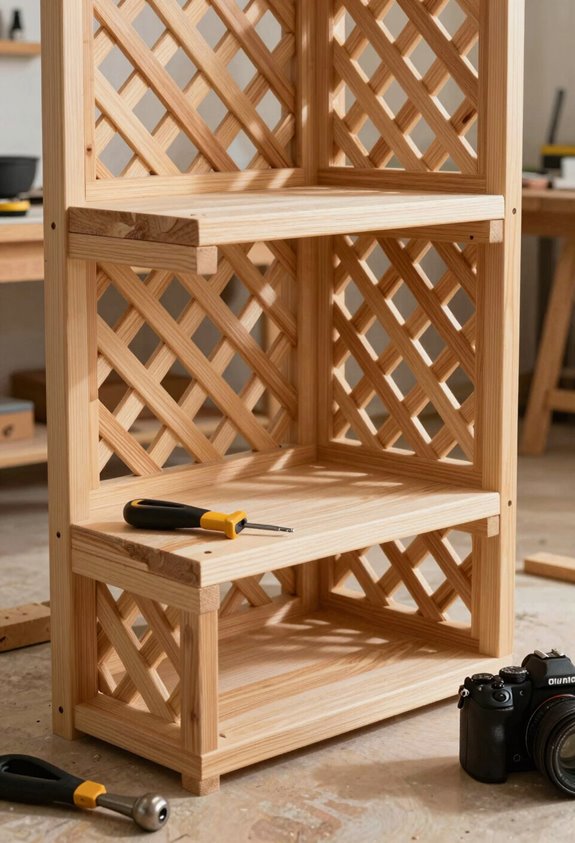
I’ll construct the three-layer lattice frame by sandwiching composite lattice between two pocket-holed boards and one solid face board, a method I’ve learned hides fasteners while creating the rigid structure your hydrangeas will eventually climb. My fence-board spacers center each panel on the posts before I drive 1¼-inch screws to trap the lattice; I’ve snapped brittle lattice enough times to recommend dry-fitting everything on the ground first. Keep those pocket holes facing your property line, not your neighbor’s peering eyes, and you’ll thank yourself when the morning glories cover what little hardware remains visible.
Frame Layer Assembly
So how do you build a frame that’ll actually keep your lattice from warping into a potato chip three seasons later? I’ve learned the hard way that a three-layer lattice frame is your insurance policy against regret.
Here’s what actually works:
- Rip two boards with pocket holes facing outward, your invisible anchors
- Cut one solid board as the sandwich’s backbone, no holes needed
- Clamp spacers made from fence scraps to center everything on your posts
I attach the frame using exterior-grade fasteners, triple-checking that pocket holes align on the same face across every panel. Uniformity matters when you’re standing back appraising your handiwork. The composite lattice slips between layers, secured with 1¼” screws that bite without splitting. This isn’t rocket science, it’s just patience measured in sixteenths.
Lattice Sandwich Technique
Where exactly does the lattice sit so it doesn’t buckle or twist when the humidity swings? I’ve learned the hard way that composite lattice needs room to breathe, which is why I sandwich it between two frame layers like a horticultural Oreo.
I build my frame from three 1×3 pieces and four frame pieces, dry-fitting everything on the ground first, discovering your lattice is half-inch too wide after you’ve started screwing is a special kind of gorgeous exlawn moment. I trim any excess, then center the lattice using spacers cut from two fence boards.
The pocket holes face away from viewers, all on the same face so your panels match. I secure the sandwich with 1 1/4-inch screws, and suddenly that wobbly lattice becomes rigid enough for Zone 7 winds.
Sandwich the Composite Lattice Inside
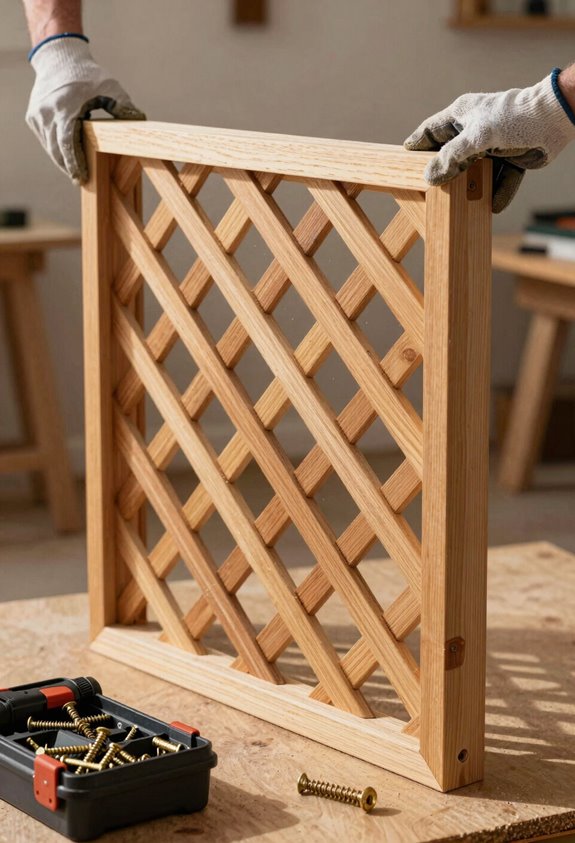
How do you hide the ugly side of a project without hiring a magician? You sandwich the lattice between layers, and I’m about to show you how we do this together.
How do you hide the ugly side of a project without hiring a magician? You sandwich the lattice between layers, and I’m about to show you how we do this together.
I build a three-layer frame: two boards with pocket holes facing outward, one solid board in the middle. Then trap that composite lattice inside using 1¼” screws. Here’s the picture:
- Dry-fit your lattice on the ground first, trimming any overhang for that glove-tight fit
- Flip those pocket holes away from viewers so fasteners vanish like morning glory
- Slip spacers—two fence boards thick—between posts to center each frame perfectly
Keep every panel’s pocket-hole orientation identical; uniformity matters when you’re creating something good-looking from your former ex-lawn. This isn’t complicated, but precision separates the neighbors who belong from those who merely observe.
Space and Set Your Posts
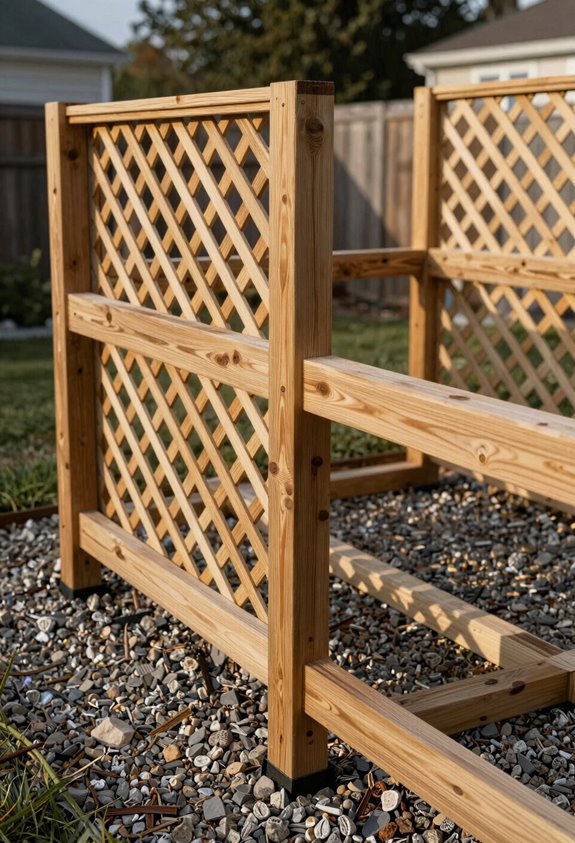
Why guess at spacing when three posts and a handful of steel spikes will lock your lattice privacy screen into submission? I’ve learned, the hard way, that proper anchoring separates gorgeous ex-lawns from leaning disasters.
I drive three steel ground spikes into packed soil, then seat my 4x4x8 posts, checking plumb with a level while the concrete sets in my imagination (or actual footing, if you’re fancy). Each post becomes a sentinel for my lattice privacy screen, positioned to carry weight without complaint.
I verify height across all three—uneven posts broadcast amateur hour louder than my neighbor’s leaf blower. Two fence boards serve as spacers, centering each frame with surgical precision. Pocket-hole sides face away from prying eyes, letting the frame sandwich lattice cleanly. Mine’s level now; yours will be too.
Mount Frames and Check for Level
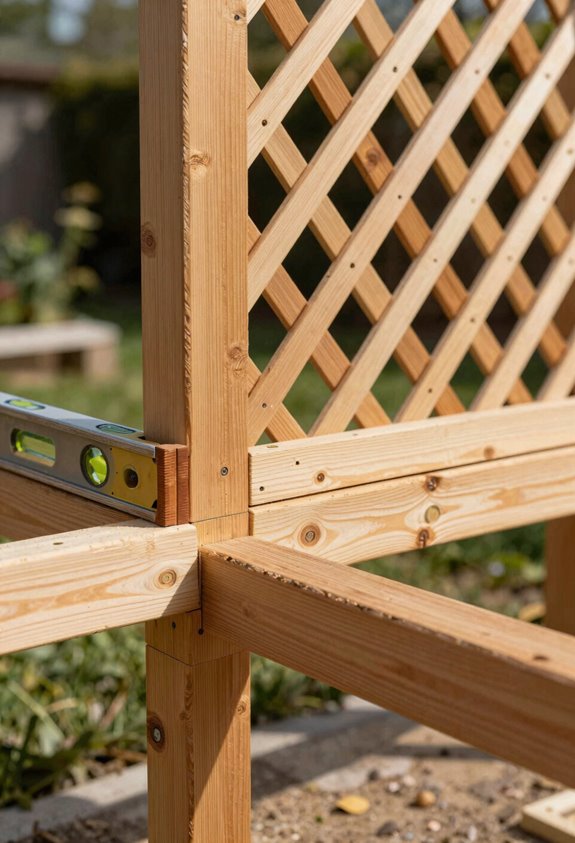
I position each frame using dual fence-board spacers—exactly 11 inches—to center the lattice on 4×4 posts, and I always verify plumb with a 4-foot level before driving screws, because nothing ruins a “gorgeous exlawn” faster than a privacy screen that leans like my first attempt in USDA Zone 7b.
You’ll want to check level across all three panel tops simultaneously with a straightedge or laser level, correcting post height with composite shims before securing subsequent frames; fixing this after the fact costs an extra Saturday and $23 in replacement lumber.
I build each three-layer frame assembly on the ground first, pocket holes facing inward for that seamless exterior face, then lift and attach; it’s faster than wrestling 8-foot boards overhead while your spouse questions your life choices.
Post Positioning Methods
Where precisely you drive those spikes sets the tone for everything that follows, so I take my time laying out three 4x4x8 posts per section with steel ground spikes driven at the exact frame mounting points; measure twice, dig once, as my neighbor likes to say while watching me backfill my second attempt. Once those posts stand plumb, you’re ready to turn raw lumber into something that’ll make your formerly bare yard feel like home.
- Mount with intention: I center each frame on its post using spacers ripped from two fence boards, maintaining consistent daylight gaps that’ll have passersby asking who you hired
- Leveling matters: I lay scrap wood across those spikes as my reference plane, adjusting until water wouldn’t pool even in a thunderstorm
- Hide your tracks: pocket holes face away from view, because nobody needs to see my hardware, and the second screen fastens to that shared middle post for rigidity against summer storms
Level Verification Techniques
How precisely do you trust your eye when eight feet of cedar frame hangs in the balance? I don’t, and neither should you. I lay a scrap plank across my three ground spikes first, checking that each post sits at identical elevation before committing a single screw.
Then comes the leveling: my carpenter’s level rides the top edge, bubble centered in both planes, while I tweak posts or slip shims beneath. I check plumb along vertical edges too; warped frames telegraph every mistake through those lattice gaps. For my 8-foot panels, I measure from ground to a fixed reference line on each post, confirming even height across sections.
Here’s the kicker: I recheck level after final screwing. Tightening shifts things, and I’ve learned that lesson in lopsided silence before.
Stain or Paint for Full Coverage
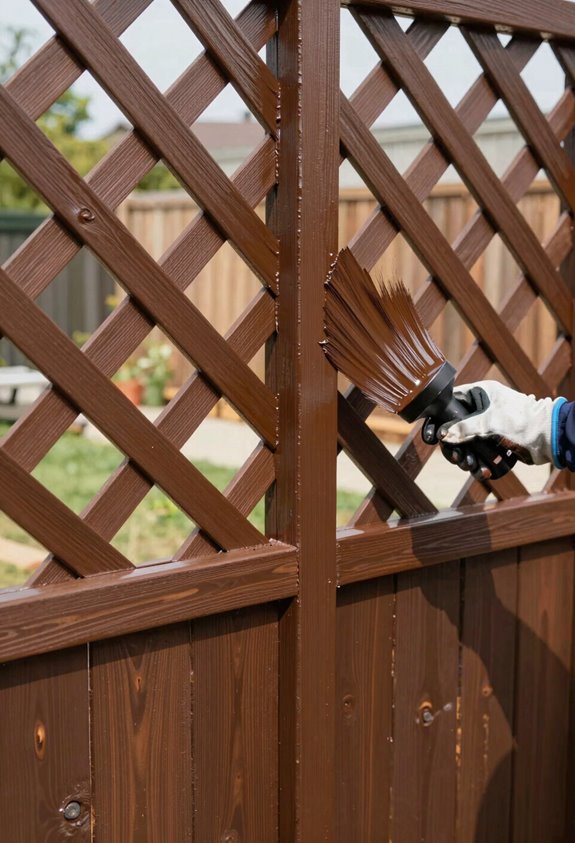
Why wrestle with brushes when a sprayer turns a weekend project into a Tuesday evening? I grab my Wagner FLEXiO 4000, dial in the variable speed, and I’m covering an 8’x10′ section in one minute flat with stain, five if I’m painting latex. No thinning needed, minimal overspray, and I’m back inside before dinner.
Here’s what changes your lattice from hardware store beige to backyard magazine spread:
- YellaWood Protector semi-transparent stain with water-repellent sealer for longevity
- Behr Natural Cedar on lattice boards paired with Behr Chocolate framing for contrast
- Two nozzles swapped between precise edges and broad coverage
The stain penetrates deep, revealing grain while protecting against rot. I’ve learned the hard way that skimping on sealer costs you replacement boards in three years.
Clean Your Sprayer and Touch Up
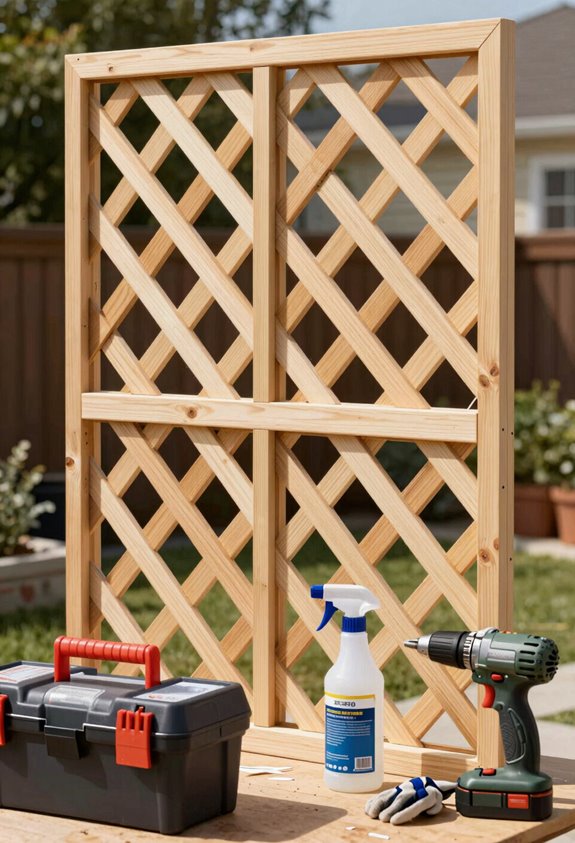
I always clean my FLEXiO 4000 the same evening I finish spraying, letting stain cure overnight in the nozzles turns tomorrow’s five-minute rinse into a forty-minute archaeology dig with toothpicks. I detach the canisters and spray heads immediately, running water through until the stream runs clear; clogs form fast, and I’ve learned that prevention beats excavation.
I grab the garden hose and rinse the exterior, keeping pressure gentle on the delicate bits while blasting overspray from the lattice edges I’ve inevitably hit. The nozzles need attention with the included tools until the pattern sprays consistent again, that’s my signal to reassemble.
I wipe the paint cup, handle, and fittings with a damp cloth before anything cures. Then I store my sprayer in a cool, dry spot, hoses coiled neatly, ready for the next project.
Install Post Caps and Final Hardware
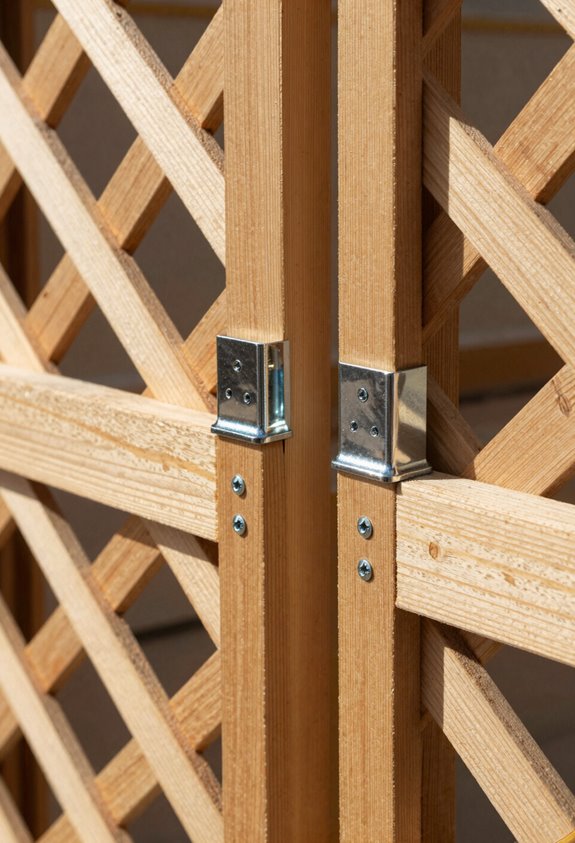
Once the sprayer’s packed away and the stain’s had its overnight cure, you have something that looks like a privacy screen but still needs its armor. I cap every post with decorative toppers on all four sides; moisture and UV won’t crack my handiwork now. Then I brace each frame corner with National Hardware 2 ½” corner braces, four per post, because a wobbly screen invites neighborhood pity.
Here’s what separates weekend warriors from folks who belong in the finished-project photos:
- Drive 1 ¼” screws and pocket screws with faces hidden from view; beauty demands deception
- Stain main boards Behr Chocolate, lattice Behr Natural Cedar for that two-tone contrast
- Level, tighten, and verify plumb across the entire screen system
Your yard awaits.





