
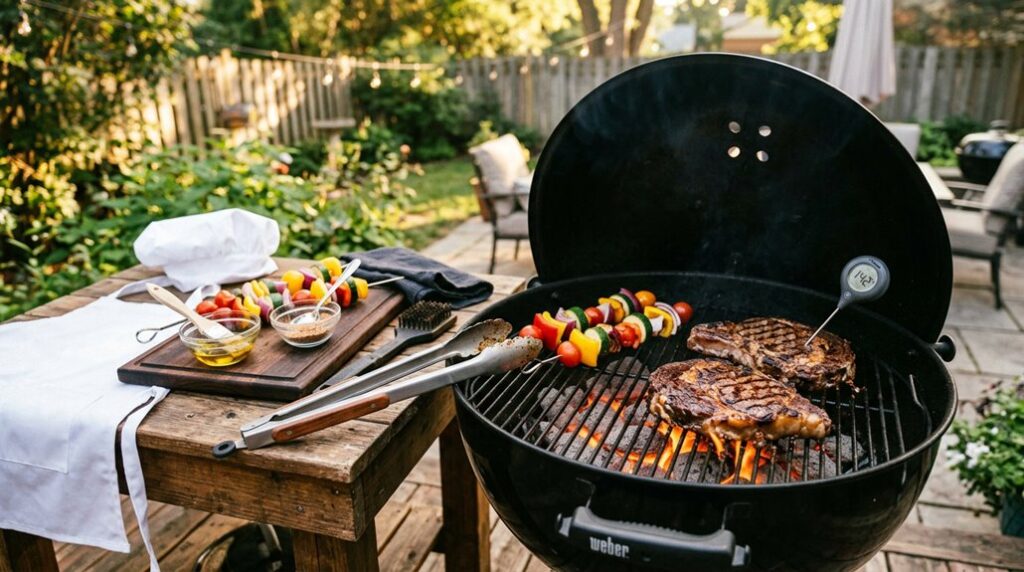
I’ve singed my eyebrows, incinerated chicken, and once created a flare-up that could’ve been spotted from USDA Zone 9B, so believe me when I say grilling is less instinct and more engineering than most folks admit.
You’re standing at the threshold of seven techniques that’ll keep your eyebrows intact and your steaks precisely at 130°F internal, but the first decision you make before striking any match determines whether dinner happens at 6 PM or you’re ordering pizza by 8.
I’ll start with the ignition protocol.
Light Your Grill: Gas and Charcoal Starting Methods
How do you coax fire from cold metal without singeing your eyebrows or your pride? I’ll walk you through grill safety and ignition, because we’ve all fumbled a match at dusk.
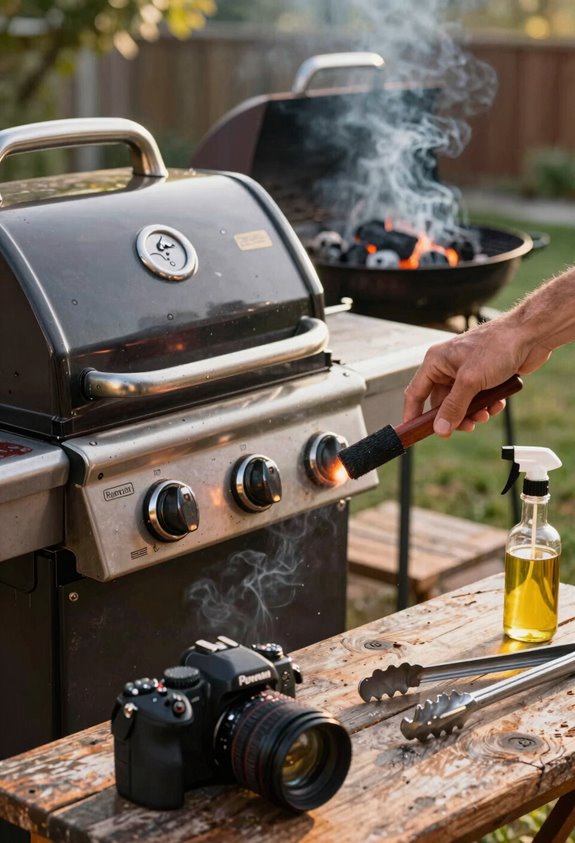
For gas grill ignition, I always open the lid first; trapped gas explodes, not welcomes. I turn one burner to high, hit the ignitor, then roll through lighting gas burners one by one. When my automatic starter died mid-July, I used the match hole; kept my knuckle hair intact.
Charcoal demands patience. I ditched lighter fluid risks years ago for a charcoal chimney starter: newspaper below, coals above, fifteen minutes to white ash perfection.
You’ll preheat grill zones differently: gas needs five to fifteen minutes, charcoal until that gorgeous gray coat forms. Master indirect heat setup now, and you’re already inside the circle.
Prep Your Grill: Clean, Oil, and Preheat for Success
I learned the hard way that a dirty grate ruins more dinners than bad recipes, so now I build my fire around the habit of scraping first, oiling second, and waiting third.
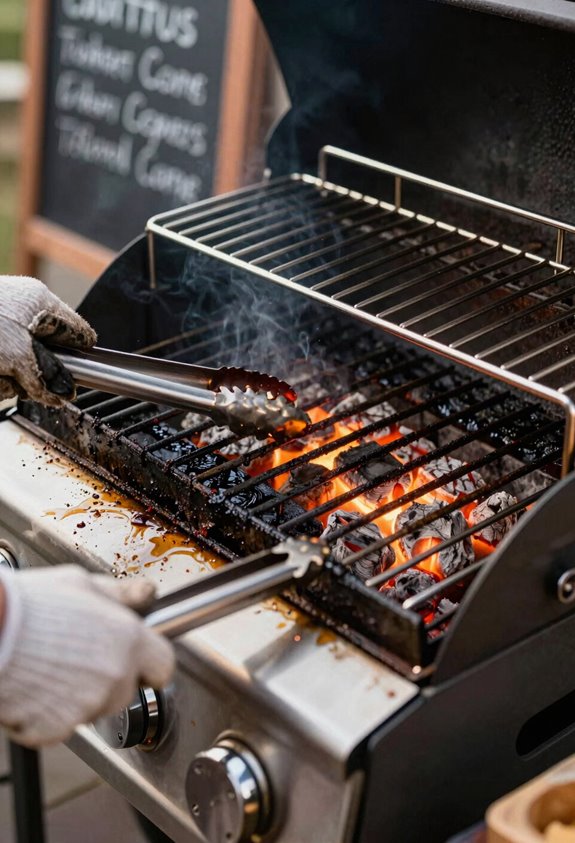
I crank my BBQ to high, let the grates blister for ten minutes, then attack them with a wire brush, no mercy for last week’s burger remnants. I oil grates by gripping tongs around an oiled rag; aerosol cans flare dangerously near open flame. I preheat another ten to fifteen minutes until the metal whispers readiness.
Scrape hard, oil safe, wait patient—grates blistered clean and whispering hot before the first flame ever touches meat.
Here’s what separates weekend warriors from the pitmaster circle:
- Clean grates mean food releases without sacrifice
- Oil grates after heating, never before
- Preheat until you can’t hover your hand above direct heat
- Indirect heat zones wait for thicker cuts
- Sear marks signal you’re finally cooking with gas or charcoal
Build Two Heat Zones on Your Grill
Once the grates are clean and screaming hot, I start thinking like a chess player, not an arsonist. Precision wins games, and your grill setup defines every move hereafter. Master two-zone cooking and you’ve got the secret handshake every pit crew recognizes. This separates the weekend warriors from the ones who get invited back.
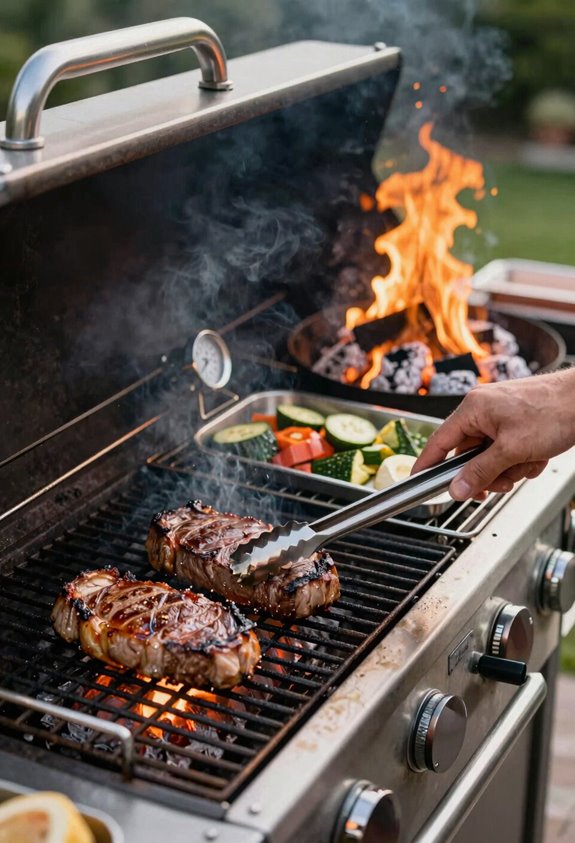
For my gas grill, I preheat everything wide open, then kill the burners on one side to carve out indirect heat while the other blazes with direct heat. On my charcoal grill, I rake live coals to one edge like I’m edging a border bed, leaving the other side cool and welcoming for slower finishes.
These heat zones rescue thick cuts from carbonized exteriors and raw centers. I watch for grill marks, feel for firmness, and slide proteins between zones like I’m transplanting tender seedlings. Deliberately, never rushing the transfer.
Grill With the Lid Open or Closed
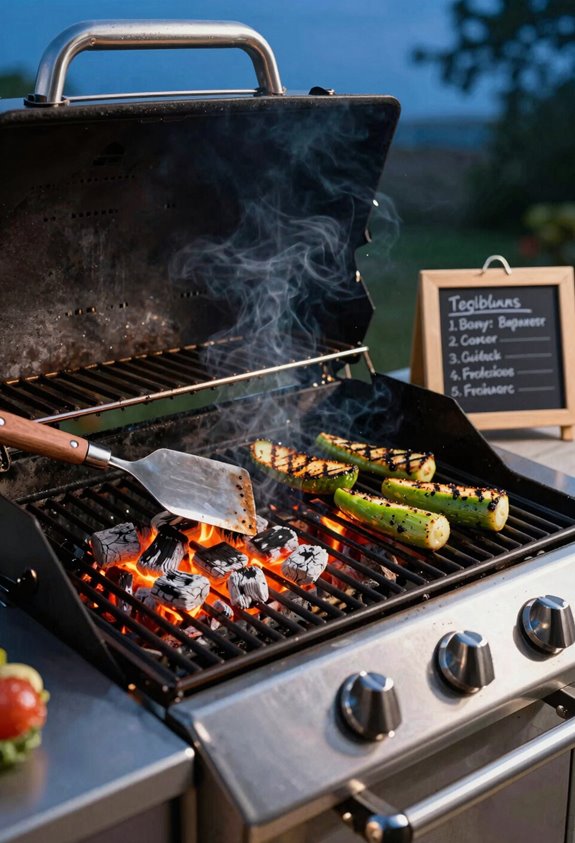
I keep the lid open when I’m grilling thin cuts under ¾ inch, burgers, chops, asparagus, because I need to watch that direct heat like a hawk and flip before they turn to leather. When I’ve got a thick ribeye or bone-in chicken breast on the grate, though, I shut that lid tight to trap moisture and build an oven around the meat. It finishes the center without torching the outside.
It’s a simple rule I’ve learned from plenty of dry pork chops and gorgeous, juice-running steaks: thin foods open, thick foods closed.
Thin Foods Open
For thin cuts under three quarter inch, I keep the lid up and the heat direct. No point trapping steam around a flank steak that’ll gray out before it browns. Open lid grilling lets me nail those crosshatch sear marks without turning dinner to shoe leather.
Here’s how I handle thin foods without losing my cool:
I crank one burner to inferno level and lay fish fillets right over the flame. Direct heat browns before the center overcooks.
I flip fast for even grill marks; thirty seconds too long and I’ve got charcoal.
I keep a thermometer holstered. Thin foods shoot from raw to ruined in sixty seconds.
I brush vegetables with oil so they sear, not stew.
I manage direct heat like a dimmer switch, sliding food to cooler zones when smoke signals danger.
Thick Foods Closed
Why fight physics when you can harness it? I’ve learned that thick foods demand the grill closed; that lid transforms your grill into an oven that penetrates meat without torching the surface.
Here’s my two-zone setup: sear briefly over direct heat with the lid open if you must, then shuttle everything to indirect heat and clamp down. Thick cuts need time at lower temps; that closed environment cooks evenly, retains moisture, and prevents flare-ups that’ll ruin a gorgeous exterior.
I keep an instant-read thermometer handy because lid-closed cooking behaves unpredictably; your grill’s personality plus ambient conditions dictate speed. Trust the temperature, not the clock. Heat penetrates methodically when you stop fiddling, peeking, and flipping. The pros know patience yields juicier, healthier results every single time.
Flip, Move, and Rest at the Right Time
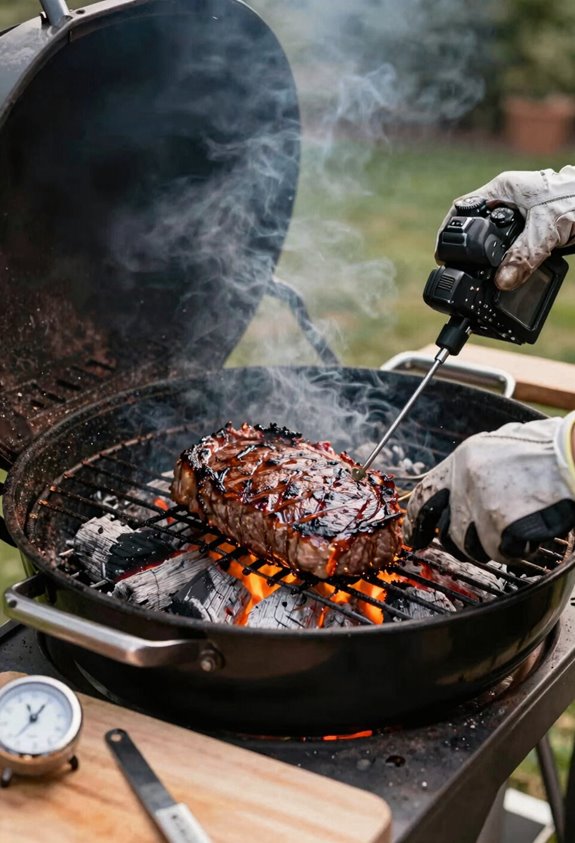
Mastering the flip separates weekend warriors from pitmasters who actually get invited back. I learned this the hard way: trust your flip timing and resist the urge to poke and prod. Let food release on its own; when it doesn’t stick, you’ll know.
Here’s my zone strategy:
- Sear on direct heat for gorgeous grill marks
- Move thick cuts to indirect heat to finish without charring
- Rotate 90 degrees mid-cook for crosshatch mastery
- Monitor grill temperature constantly—hot spots betray the unwary
Resting meat 5–10 minutes under loose foil saves every precious drop. I check progress with my thermometer, never a knife. USDA zones for doneness exist for good reason. Your crew will taste the patience in every bite, and they’ll keep coming back.
Check Meat Temperatures Like a Pro
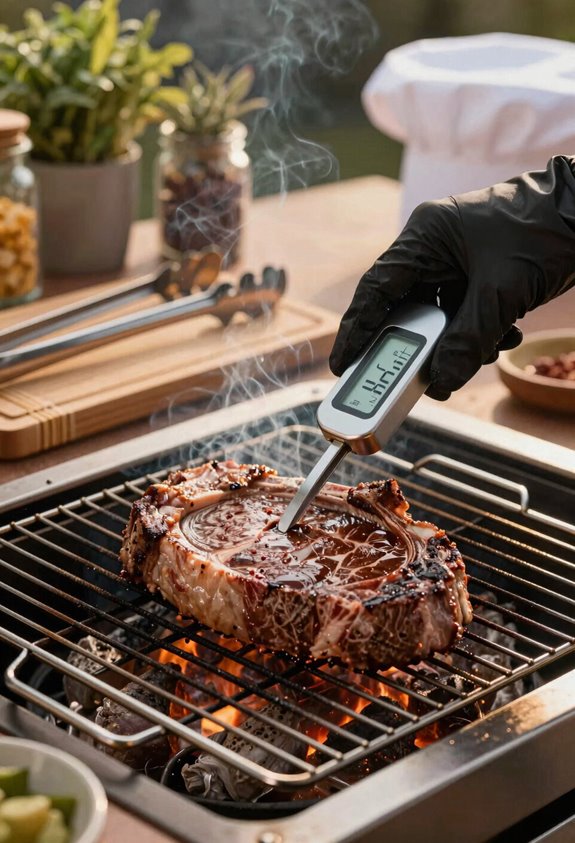
I’ll grab my instant-read thermometer and check that beef hits 145°F for medium-rare, ground meat reaches 160°F, and poultry climbs to 165°F, no guessing, no cutting corners. I insert the probe into the thickest part without dragging it through fat or bone, and I hit multiple spots on larger cuts because one reading lies like a cheap rake.
Once it’s done, I let it rest; those juices need time to settle back in, or I’ve just spent twenty minutes turning a gorgeous steak into a pool on the cutting board.
Target Safe Internal Temps
How do I know when it’s actually done? I’ve learned that guessing by color or juice flow invites disaster, so I trust my instant-read thermometer for reliable meat doneness. Safe temps vary by cut, and I never wing it anymore.
I’ve memorized a few key numbers after some ugly mishaps. Whole cuts temps: 145°F for beef, pork, and lamb roasts with a 3-minute rest. Ground meat temps: 160°F for beef/veal/lamb, 165°F for any ground poultry. Poultry (whole or pieces): 165°F internal temperature, no exceptions.
A few more details worth keeping in mind. Carryover cooking: pull proteins 5 to 10°F early since they’ll coast upward. Insert the probe into the thickest part, avoiding bone and fat, and sanitize between meats.
I rest my steaks religiously now, and I’ve stopped serving poultry that “looks done.” Precision beats pride every single time.
Use Instant-Read Thermometers
Memorizing safe internal temperatures is one thing, but I learned the hard way that my eyes and fingers lie worse than a clearance-sale price tag. That’s why I never grill without my instant-read thermometer.
For proper doneness verification, I insert the probe into the thickest part, steering clear of bone, fat, or gristle, and wait for that digital readout. Target temperatures matter: 145°F for rare beef or pork, 160°F for ground meat, and 165°F for poultry.
Meat safety isn’t negotiable, so I pull proteins a few degrees early, letting carryover cooking finish the job without overshooting. Probe cleanliness keeps my cookout from becoming a bacterial garden party; I sanitize between every check.
Trust the thermometer, not the clock, and you’ll join the ranks of pitmasters who nail it every single time.
Rest Meats Properly
Why rush the finish line when you’ve already won the race? I always rest my meat after pulling it off the grill; skipping this step means watching precious juices spill onto the cutting board instead of staying where they belong.
Resting meat isn’t optional; it’s the difference between dry and dazzling. Here’s what I’ve learned through years of trial and error:
- Check doneness with a thermometer before resting, 145°F for steaks, 160°F for ground beef, 165°F for poultry
- Allow 5–10 minutes rest time for steaks; larger cuts need 15–20
- Tent with foil loosely to hold warmth without steaming the gorgeous exterior
- Trust food safety, but don’t fear the brief cooling, internal temps stay safe
- Restrain your knife; cutting too early betrays every minute of your efforts
The payoff belongs to the patient.
Get These 5 Must-Have Grilling Tools First
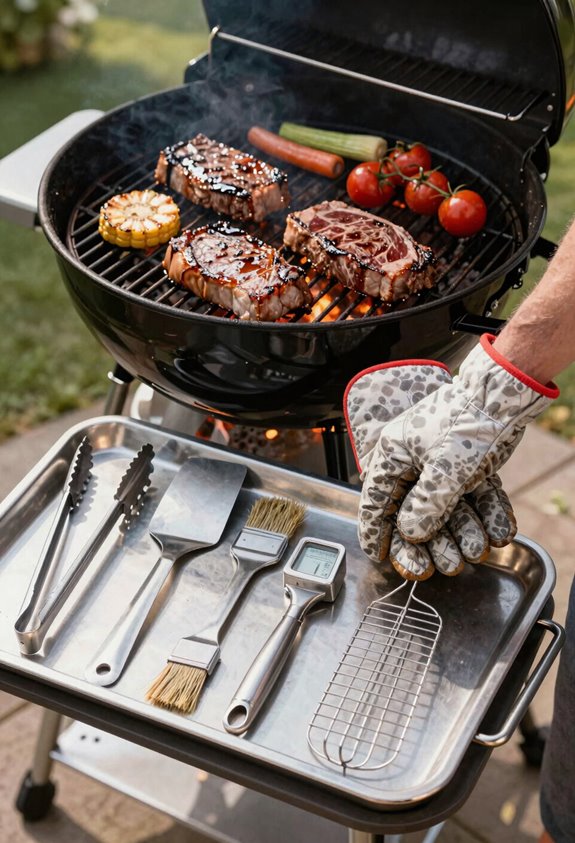
Where exactly does one begin when the grilling aisle stretches longer than a summer afternoon? I’ve narrowed it to five essentials that’ll get you cooking alongside the rest of us without breaking the bank or your spirit.
I grabbed my long-handled tongs first; twelve to sixteen inches keeps my knuckles uncharred. My heavy-duty grill brush scrapes last week’s mistakes clean. For charcoal, I’m a chimney starter convert; no lighter fluid aftertaste, just glowing briquettes in fifteen minutes flat.
My instant-read meat thermometer eliminated my guesswork anxiety: 145°F for rare beef, 160°F for ground meat, 165°F for poultry. I’ve learned that lesson the hard way.
Heat-resistant gloves handle the hot stuff, while a grill basket corrals shrimp that’d otherwise plunge into the coals. I slide aluminum drip pans beneath for indirect cooks; cleanup becomes nearly civilized.





