

I’ve pressure-washed enough cedar to know that 1500 PSI strips grime without fuzzing grain, and that skipping the 48-hour dry window before staining invites peeling disasters; learned that one the hard way in Zone 6b last spring.
Two thin coats of Sherwin-Williams SuperDeck in “Coffee” runs about $35/gallon and fools neighbors into thinking I splurged on ipe.
The real secret starts before the first brushstroke, though, and it isn’t what you’d expect.
Start With a Deep Clean to Reveal Your Deck’s Potential
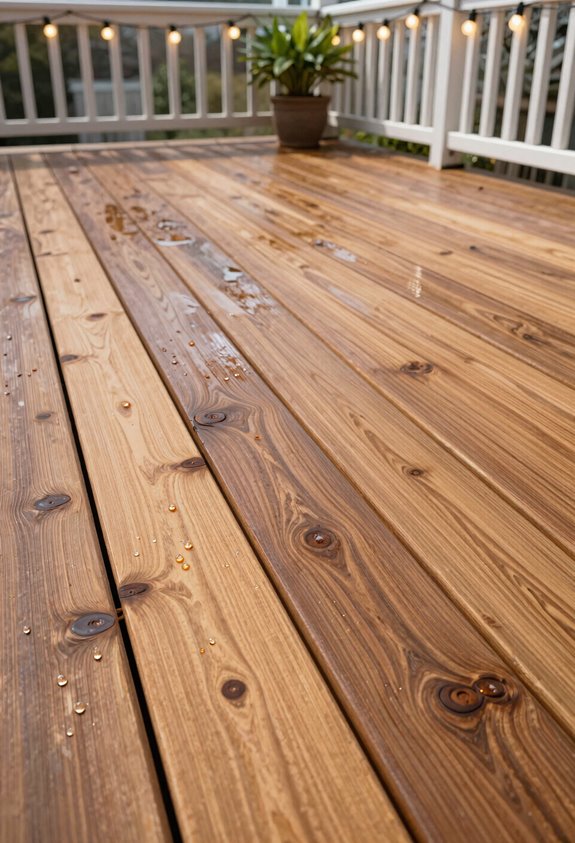
I’ve etched permanent tiger stripes into enough cedar planks to know that 3,000 psi doesn’t discriminate between mildew and wood fibers. I’ve learned this the hard way so you don’t have to.
A proper deep clean strips away the gray oxidation and fungal colonies that turn your gorgeous ex-lawn into a liability, revealing the raw potential hiding beneath years of neglect. For maintenance that actually extends your deck’s lifespan, you’ll want to match your power washing technique to the species; softwoods like cedar or pine demand a gentle 500-600 psi, while dense ironwoods laugh at anything below 1200-1500 psi.
Once you’ve stripped it bare, sealing/staining isn’t optional; it’s the necessary armor that locks in your deck’s budget-friendly transformation. This isn’t just cleaning, it’s resurrection.
Stain or Paint Your Boards to Mimic Premium Hardwood
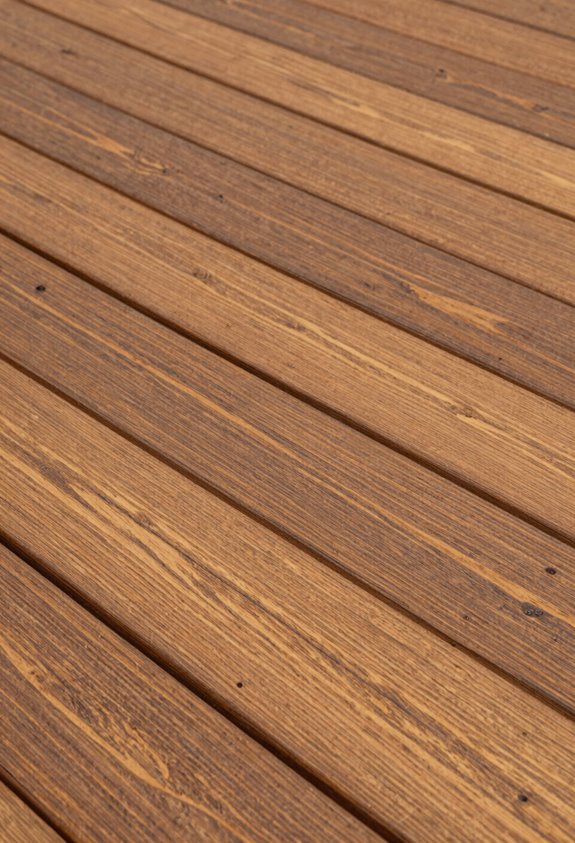
I’ve learned that a $45 gallon of Cabot’s acrylic stain beats replacing boards any day, especially when you’re trying to fake the rich, red-brown glow of ipe or teak on weathered pine. You’ll want to wait a full 48 hours after cleaning. I’ve rushed it and watched my “mahogany masterpiece” peel like sunburned skin by August.
Oil-based sealants hold up better in USDA zones 7 and up, but acrylic wins if you’re fighting humidity. Either way, two thin coats beat one thick disaster.
Choosing Cost-Effective Coatings
A single coat of the right finish can transform pressure-treated pine into something you’d swear was ipe, and I’ve spent enough weekends testing products to know which ones actually deliver.
I follow Barbara Hedden’s advice religiously: start with a quality sealant or oil-based stain with sealant built in. For stubborn climates, Cabot’s acrylic stain wins my loyalty; it’s the exterior finish that actually survives three winters without peeling like a bad sunburn. The durability matters because nobody wants to re-coat every June.
Here’s where I’ve failed so you won’t: I once stained too green, too eager. Wait. Let pressure-treated lumber gasp and dry for six weeks minimum, or you’ll trap moisture and watch your gorgeous exlawn investment warp by August. Pick colors that flatter your siding, not fight it, and you’ve bought yourself five years before the next round.
Mimicking High-End Wood
Why do I keep a splintered sample of genuine Burmese teak in my toolshed? It’s my benchmark for foolery, specifically, the alchemy of making pressure-treated pine pass for aristocracy. I’ve learned that smart deck finishing, not wood replacement, builds the hardwood look we’re all after.
I start with oil-based outdoor stain carrying built-in sealant, working in thin coats across boards dry forty-eight hours minimum. Barbara Hedden taught me this preserves grain while faking pedigree. Cabot’s acrylic stain runs me about $45 per gallon, budget-friendly compared to ipe at $8 per linear foot, and survives three Chicago winters before touch-ups.
I wait exactly twenty-four hours between coats, no exceptions; impatience yields tacky gorgeous failures that peel by June.
Build a Custom Bench From Scrap Wood or Budget Lumber
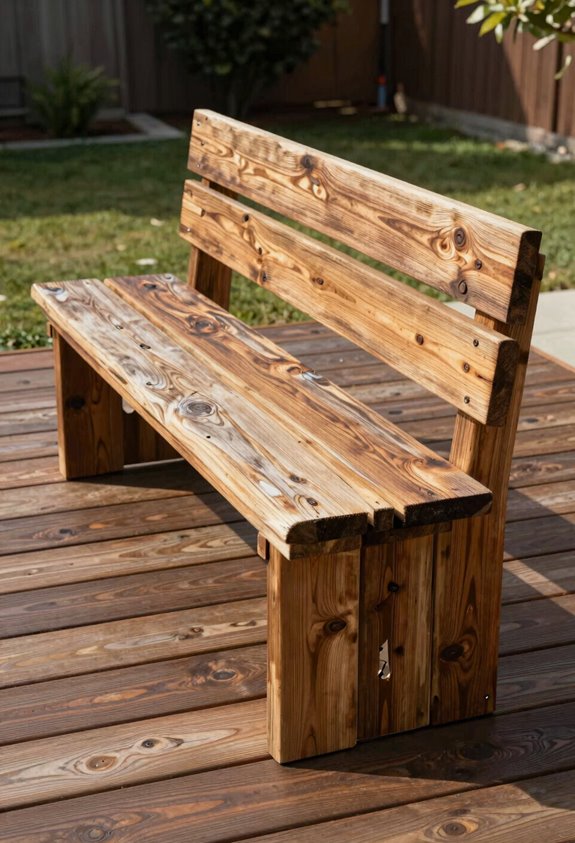
How many times have you stared at a stack of warped deck boards and wondered if they deserve a second act? I repurpose mine into a bench that anchors my deck without draining my budget, a weekend project with real payoff.
| Material Source | Typical Cost |
|---|---|
| Leftover deck boards | $0 |
| Budget 2×4 framing lumber | $8–$12 |
| Exterior screws (1 lb.) | $6 |
| Sandpaper/stain remnants | $0–$5 |
I learned the hard way: measure twice, or you’ll mill gorgeous ex-lawn-to-be boards into kindling. Plan your cuts to minimize waste; I sketch everything on graph paper first. TimberTech leftovers work well here; their composite resists rot better than my first attempt with untreated pine, which warped by August.
Pair your bench with repurposed planters and weather-resistant cushions. Suddenly your deck feels intentional, curated, welcoming. We gather there now, and nobody guesses the bench cost less than lunch.
Turn Old Ladders and Crates Into Deck-Side Storage and Display
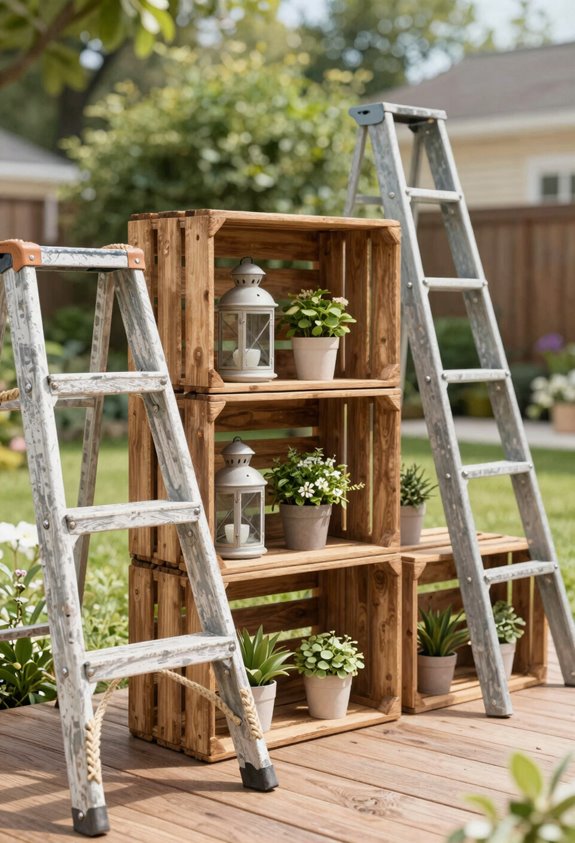
I’ve found that an old garage ladder, say, a 6-foot aluminum or wood step ladder you’ve retired from house projects, makes an elegant tiered plant stand when leaned against deck railings, letting me cascade trailing pothos (USDA zones 10–12, though I treat them as annuals here in zone 7) and compact succulents across three levels without spending a dime.
Wooden apple crates, the 18-by-12-by-9-inch variety I scavenged from a neighbor’s yard sale for $2 each, flip upside-down into instant storage for potting soil bags or stack with 2-inch deck-board scraps (leftover from my bench project) to create modular seating that’s held up through three humid summers. The trick I learned through one spectacular collapse involving a crate full of terra-cotta pots is securing everything with exterior-grade screws and keeping weight loads under 25 pounds per tier. Otherwise you’re just building a gorgeous lawn decoration.
Ladder Plant Stands
Where does one stash the ever-expanding collection of nursery impulse purchases when floor space runs thin? I’ve solved this exact crisis with upcycling: an old garage ladder becomes a ladder-plant-stand, and suddenly I’ve gained vertical-gardening space without sacrificing my cocktail zone.
| Run | Plant Height | Pot Size |
|---|---|---|
| 1 (top) | Under 12″ | 6-8″ |
| 2 (middle) | 12-24″ | 8-10″ |
| 3 (bottom) | Trailing | 10-12″ |
This budget-friendly approach elevates my nemesis (peppermint, Zone 5, gorgeous exlawn escapee) alongside annuals in terracotta I scored for $3 each. I learned the hard way: secure that ladder at 15 degrees, or you’ll discover physics at 2 a.m. during a thunderstorm.
Pair colorful pots with the structure, and you’ve built focal points that draw the eye across your entire deck without crowding the floor.
Crate Storage Solutions
Since my ladder is already earning its keep overhead, I needed somewhere to stash the overflow: those flats of annuals that haven’t met soil yet, the cushions that melt in rain, the grilling tools that otherwise wander off. I flipped wooden crates upside down for crate storage, and suddenly I’ve got rustic bins that swallow the chaos whole.
This repurposed decor cost me exactly zero dollars, which feels like winning at budget-friendly living. I stained mine to match the deck, Cedar Naturaltone, one coat, 24 hours dry time, so the outdoor diy reads intentional, not improvised. The crates corral my garden gloves, seed packets, and that half-dead rosemary I’ll revive (I won’t). It’s storage that winks at visitors, inviting them into the secret: expensive-looking decks start with seeing potential in what you’ve already got.
Repurposed Seating Ideas
How does a garage ladder become the deck’s most photographed feature? I lean a weathered 6-foot aluminum step ladder against the southern rail (Zone 6-9 hardy), stack terra cotta pots across its rungs, and suddenly I’ve got vertical garden architecture without spending $200 on boutique shelving. This upcycling trick turns forgotten garage junk into the season’s gorgeous exlawn backdrop.
For repurposed seating, I invert sturdy wooden apple crates, I scout these at thrift stores for $4 each, and arrange them into low-profile benches with built-in storage for zone-appropriate bulbs. It’s budget-friendly ingenuity: zero new lumber, zero guilt, total victory. My creation cost exactly $12 and twenty minutes of rearranging yesterday’s trash into tonight’s ideal gathering spot where everyone wants to sit together and feel at home here.
Ground the Space With a Patterned Rug and Plush Cushions
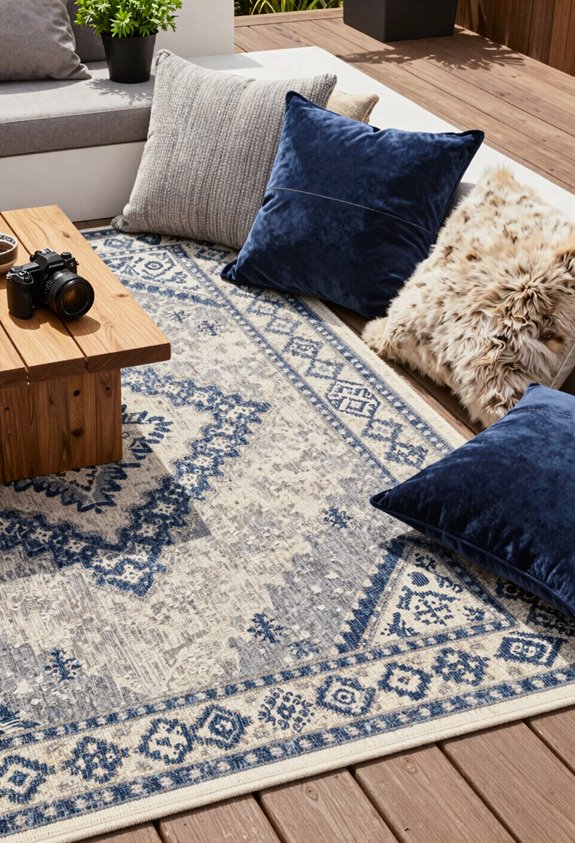
My three non-negotiables for pulling this off:
- Match throw pillow colors to accent tones in your rug for instant harmony
- Layer seasonally appropriate accents to keep the refresh feeling intentional
- Prioritize budget-friendly textiles that weather well in your USDA zone
The result? A seating area so inviting, people linger longer, and you haven’t demolished a single wall.
Hang Budget-Friendly String Lights for Evening Ambiance
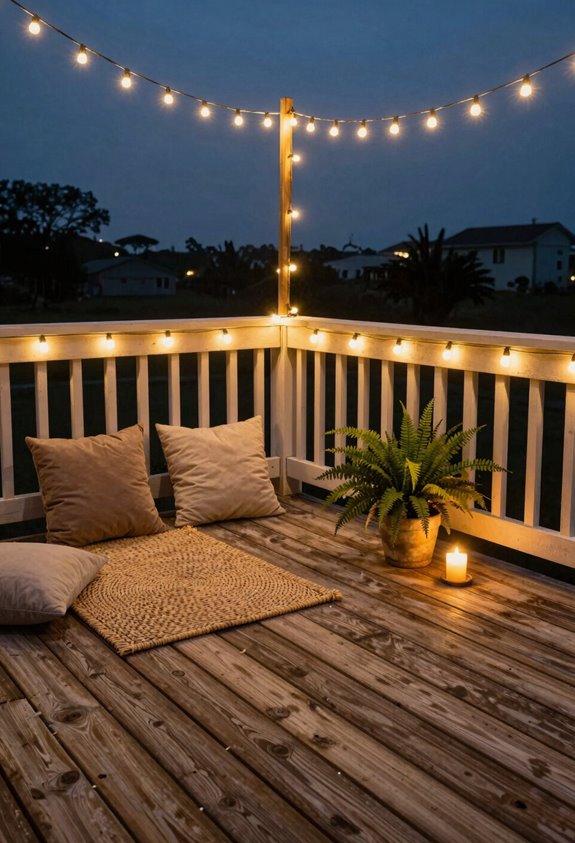
If i’ve learned anything from three summers of trial and error, it’s that solar string lights are the single most effective deck upgrade per dollar spent, though I won’t pretend my first attempt wasn’t a disaster. I draped them haphazardly across my cedar railing and called it “whimsical”; my neighbor called it “spaghetti.”
Now I map layouts with precision, securing solar-powered strands along pergola beams or zigzagging between 8-foot galvanized poles I sunk 18 inches deep in concrete, total cost, $34 per pole. The photovoltaic cells need 6 hours of direct sun, so I position panels south-facing at 15-degree tilts.
| Mistake | Fix |
|---|---|
| Random draping | Measured zigzag at 24″ intervals |
| Battery panels in shade | South-facing 15° tilt mounting |
| Cool white bulbs | Warm 2700K for inviting outdoor ambiance |
| Single strand failure | Parallel wiring multiple runs |
| Ignoring wind load | 14-gauge wire, tensioned at 15 lbs |
This budget-friendly lighting makes your deck into the gathering spot everyone gravitates toward after sunset.
Anchor Your Palette With Strategic Potted Plants
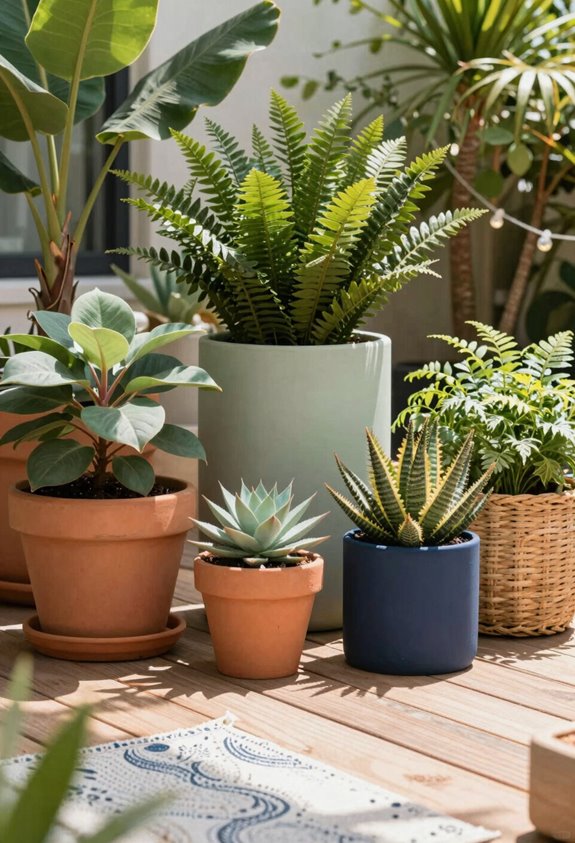
Why do the most expensive-looking decks always seem to have something living in the corners?
The secret to expensive-looking decks? Strategic life in the corners.
I’ve cracked it: strategic potted plants anchor your cohesive palette without the landscape architect invoice. Container gardening lets you orchestrate color like a maestro with a 12-inch trowel.
- Coordinate terracotta or charcoal pots with your cushions for instant unity
- Cluster tall cannas (Zones 7-11) near railings to soften vertical lines
- Refresh found ceramic with $8 exterior paint in your accent shade
This budget-friendly decor trick, buying annuals at season-end clearance, repurposing cracked planters, costs under $40 yet reads intentional. I learned the hard way: mismatched containers make it look like a yard sale, but three matching pots? You’re suddenly in the club.





