
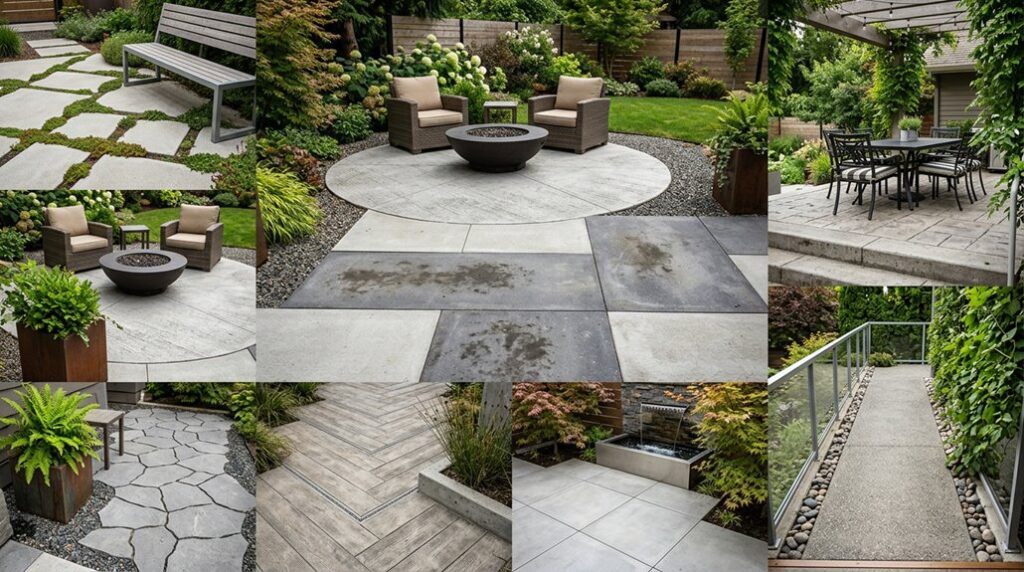
A concrete patio is the blank canvas of the backyard. Functional, yes, but often as inspiring as a parking stall. I’ve spent fifteen years proving otherwise, turning 300 square feet of cracked, gray slab in USDA Zone 7b into something that fooled my neighbor into asking which mason I’d hired.
The trick isn’t dumping money. It’s knowing which 20% of effort yields 80% of visual impact, and which “budget” upgrades are actually money pits in disguise. I’ll show you seven moves that cost under $4 per square foot but photograph like $15, starting with the repair work most people skip and ending with the phased expansion that saved my marriage and my bank account.
Some of these I learned from a 73-year-old contractor in Tulsa. Others I discovered after ruining 400 square feet with the wrong sealer in a rainstorm. You’ll want to know the difference before you mix your first bag.
Repair or Resurface Your Concrete Patio First
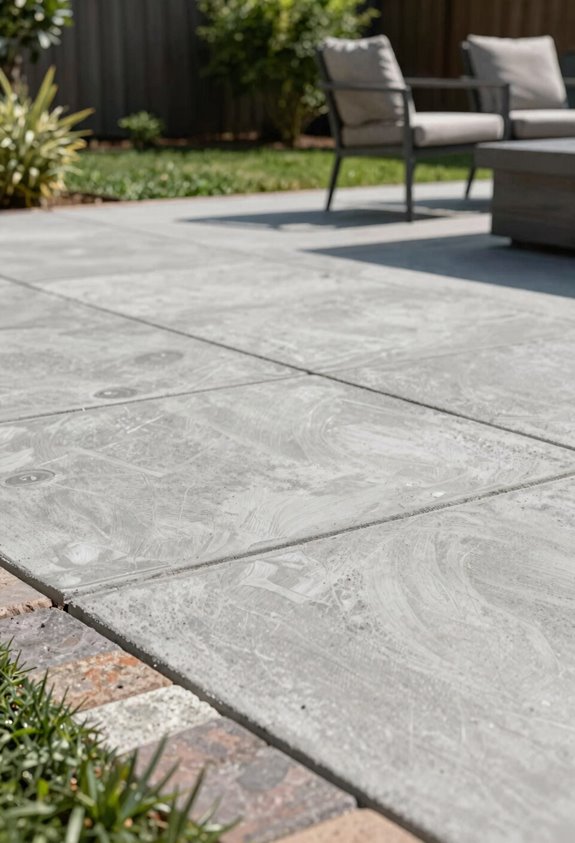
Before I start dreaming about flagstone patterns or acid-stained geometries that’ll make my neighbors weep with envy, I take a hard look at what’s already poured, and nine times out of ten, that existing slab just needs some tough love rather than a jackhammer funeral. I’ll tell you straight: concrete patio repair beats replacement every time.
I tackle crack repair first, chiseling out loose debris like I’m excavating fossils, then flooding the fissure with resurfacer or patching compound so it bonds tight. Concrete resurfacing spreads a thin overlay, think 1/16 to 1/8 inch, transforming my pitted, spalled disaster into something worth showing off.
That budget-friendly finish costs maybe $1.50 per square foot versus $8–$15 for tear-out days, and I’m sipping lemonade while the demolition crew haunts someone else’s driveway.
Broom-Finished Concrete: The Most Affordable Option
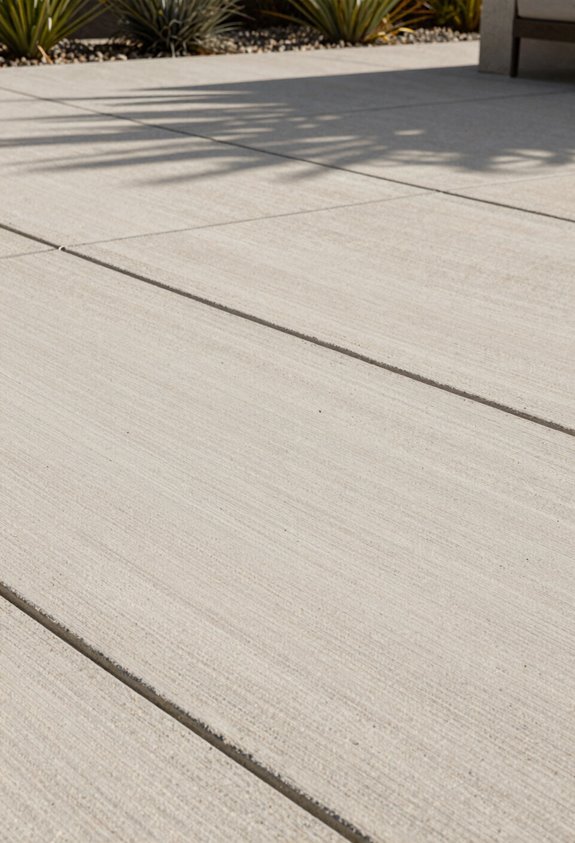
Once I’ve coaxed my existing slab back from the brink, I’m ready to talk about what happens when I’m pouring fresh concrete on a shoestring. Broom-finished concrete is my go-to for a budget-friendly patio that doesn’t scream “I settled.” I drag a stiff-bristled broom across the fresh pour, creating a textured surface that delivers serious slip resistance, essential when my gorgeous exlawn becomes a dew-slicked hazard at dawn.
| Cost Factor | DIY Approach | Contractor Price |
|---|---|---|
| Basic broom finish | $3-4/sq ft materials only | $8-12/sq ft |
| Integral color add | +$0.50-1/sq ft | +$2-3/sq ft |
| Simple band accents | Free with timing | +$4-6/sq ft |
DIY installation keeps my wallet intact, though I learned the hard way that brooming too early tears the surface. Wait until the bleed water disappears, usually 30-60 minutes after screeding, depending on humidity and concrete temperature.
Exposed Aggregate: Texture That Hides Wear and Stains
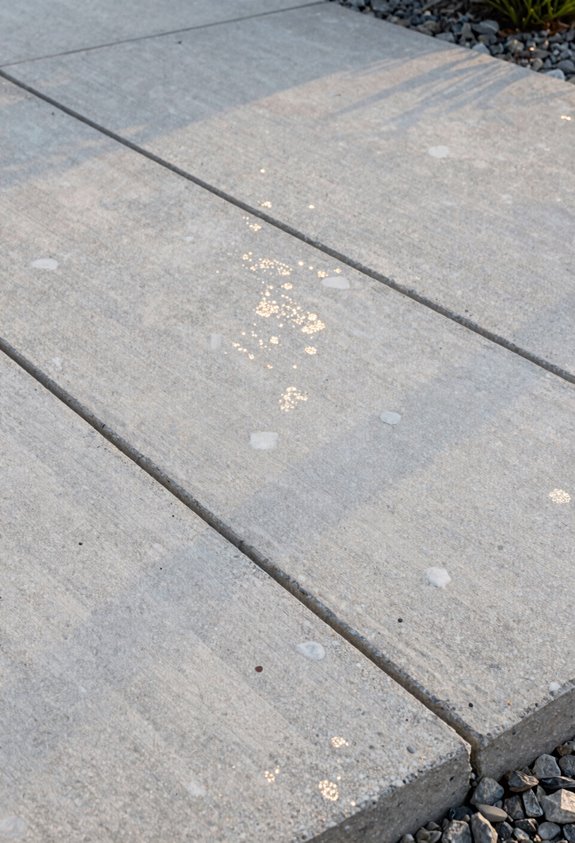
I love how exposed aggregate gives you that gorgeous, rugged texture without the premium price tag of stamped concrete, and I’ve found its slip-resistant surface hides scuffs remarkably well around my Zone 7 pool area. You’ll embed decorative stones, typically 3/8 to 3/4 inch river rock or crushed granite, into a standard 4-inch pour, then wash away the top paste within 6-24 hours to reveal the aggregate. This technique costs roughly $8-12 per square foot versus $15-25 for stamping.
Just don’t cheap out on sealer like I did that rainy spring; unsealed aggregate traps algae in the crevices, turning your “low-maintenance” patio into a scrubbing nightmare that demands annual resealing to keep those stones looking sharp.
Textured Surface Advantages
Three summers back, I poured my first exposed aggregate patio after watching a smooth-finish slab turn into a skating rink every November rain, and I’ve never looked back at plain concrete since. Exposed aggregate delivers a textured finish that’s slip-resistant when wet, critical for poolside areas in USDA zones 8-10 where December drizzle lingers.
I’ve found the durability exceptional; my 12-by-16-foot installation shows zero spalling after three freeze-thaw cycles. The stone matrix hides tracked mud and leaf stains that would’ve scarred broom-finished concrete by month two. By selecting 3/8-inch river rock in warm amber tones, I achieved a premium look neighbors mistake for poured limestone at roughly $8.50 per square foot, finished, sealed, and ready for Memorial Day grilling.
Cost Versus Aesthetics
Why pay stamped-concrete prices when you can get ninety percent of the visual punch for sixty percent of the cost? I’ve installed exposed aggregate patios for fifteen years, and the aesthetics never fail to impress guests who assume I splurged on premium materials.
The texture delivers serious value:
- Visual depth from varied aggregate sizes creates movement that flat concrete can’t match
- Traction that keeps your footing secure around pool decks and rainy climates
- Camouflage for minor stains and wear between cleanings
You’ll spend roughly $8–$12 per square foot versus $12–$18 for stamping. The maintenance stays modest; occasional sealing preserves that exposed surface without demanding constant attention. For budget-conscious homeowners who refuse to look cheap, this finish belongs in your backyard arsenal.
Maintenance Comparisons
How does a patio surface look better the more you abuse it? I’ve found exposed aggregate answers that riddle. Its textured, stone-rich surface conceals scuffs and discoloration like a gorgeous exlawn hiding brown patches; function becomes camouflage.
| Feature | Plain Concrete vs. Exposed Aggregate |
|---|---|
| Stain visibility | High vs. low |
| Traction in wet zones | Moderate vs. excellent |
| Annual sealing need | Optional vs. recommended |
| Long-term durability | Standard vs. superior |
I reseal mine every 2-3 years, which preserves color and boosts stain resistance with minimal maintenance. The upfront cost stings less when you’re not power-washing every spring. For poolside USDA zones 7-10, where algae thrives, that texture saves ankles and dignity alike.
Integral Color: Uniform Hue Through the Slab, Cheaper Than Stamping
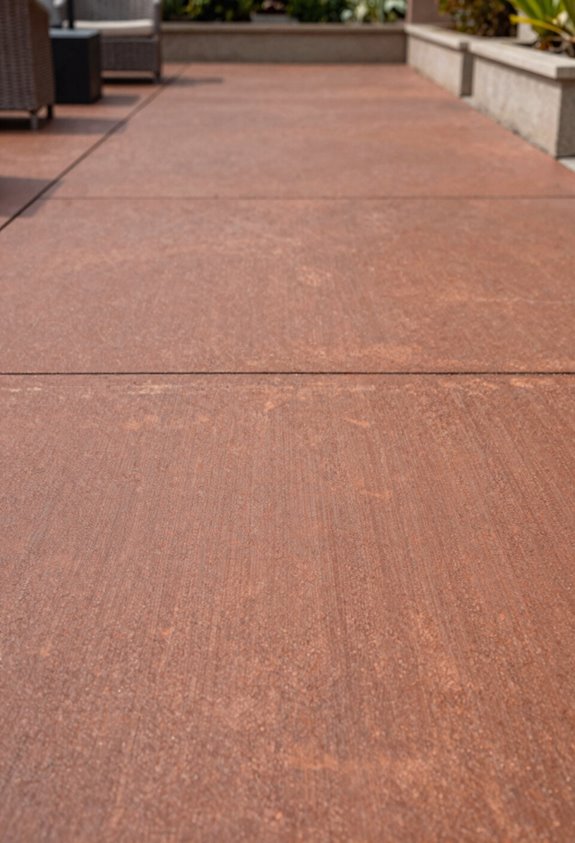
Where exactly does your patio’s color live when the surface starts spalling? I learned this the hard way on my first concrete patio project in USDA Zone 7b. With integral color, the pigment blends through the entire mix before pouring, giving you a uniform hue that won’t betray you when the top layer chips.
This approach is cheaper than stamping, running roughly $8-12 per square foot versus $12-18 for stamped finishes, and it’s wonderfully budget-friendly for DIYers willing to rent a mixer.
The color runs 4 inches deep, so wear merely exposes more of the same tone. There’s zero resealing schedules or topical coatings to maintain. Choose wisely at install; there’s no “oops” button once the truck arrives.
My charcoal-gray slab still looks cohesive after six winters of freeze-thaw abuse.
Stained Concrete: Natural Stone Look on a Budget
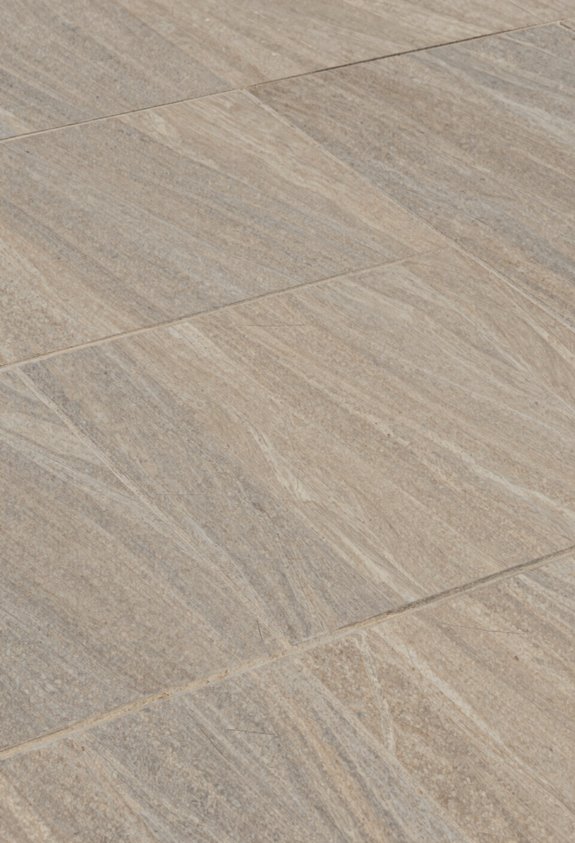
When’s the last time you looked at flagstone prices and laughed until you cried? I nearly choked on my coffee, $15 per square foot before labor. That’s where stained concrete saves your wallet and your dignity. You get that natural stone look without selling your kidney, and the color options let you fake everything from slate gray to terra cotta.
Here’s the breakdown I wish I’d found sooner:
| Stain Type | Best For | Watch Out For |
|---|---|---|
| Acid-based | Marbled, variegated stone effects | Blotchy application if rushed |
| Water-based | Consistent, predictable color | Less “organic” variation |
| Budget combo | DIY-friendly projects | Skipping prep causes disaster |
| Sealant topcoat | UV protection, depth enhancement | Reapply every 2-3 years |
Apply to clean, prepped concrete, no shortcuts. The stain integrates permanently, so unlike paint, it won’t peel when your former lawn becomes a patio you actually want to spend time on.
Selective Stamping: Pattern Borders, Plain Centers to Cut Costs
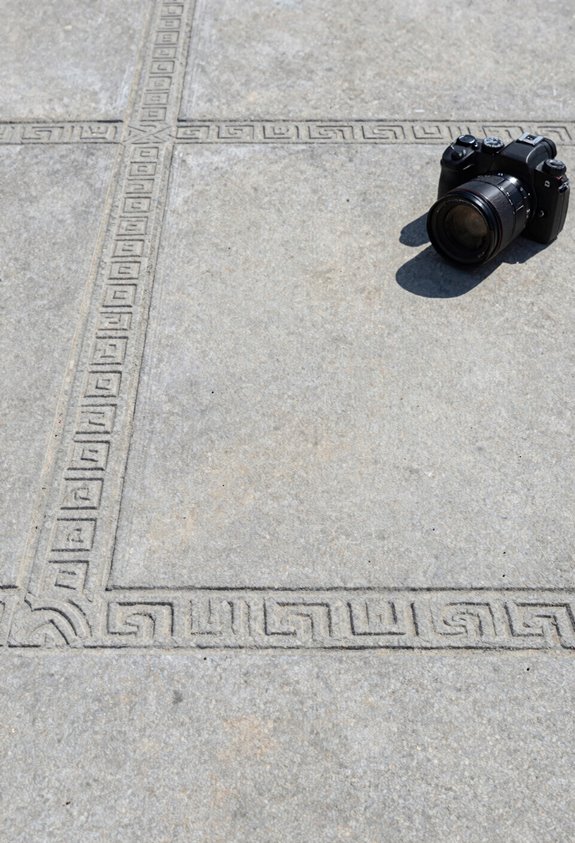
Staining gave my patio a respectable disguise, but I still wanted texture, something that said “I planned this” rather than “I inherited a slab.” Full stamping runs $12 to $18 per square foot, which meant my 400-square-foot dream would cost more than my first car. Selective stamping saved me.
I chose border patterns around the perimeter, easier to align than full-field work, leaving the plain center broom-finished. The contrast tricks the eye into reading luxury without the labor bill.
- Stamped 18-inch borders: manageable shapes, minimal alignment headaches
- Plain center: no pattern matching, no stamp rental marathon
- Single earth-tone release agent: cheaper than multi-color schemes
This budget conscious approach delivered affordable upgrades at roughly $6 per square foot. My neighbors assume I went premium; I know I went surgical.
Enlarge Your Concrete Patio in Manageable Phases
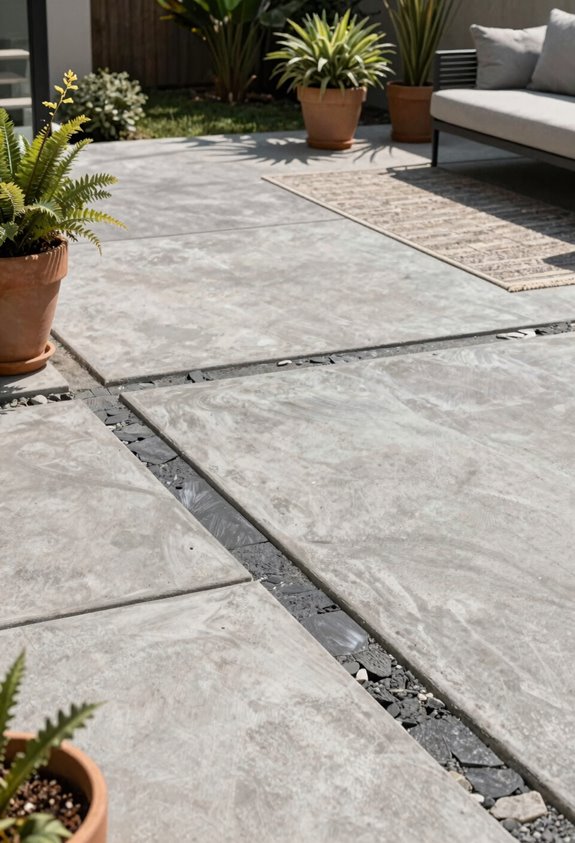
Why demolish a perfectly adequate slab when you can outsmart it instead? I’ve stretched my existing concrete patio across three summers, and you can too.
Why demolish a perfectly adequate slab when you can outsmart it instead?
Start with budget-conscious finishes. Broom-finished or integrally colored surfaces cost roughly $3–$8 per square foot versus $15+ for full replacement. Then expand outward using red pavers or pea gravel at $1.50–$4 per square foot, creating a staged expansion that won’t wreck your savings.
I laid a 12×16-foot platform deck beside my slab for under $800 during an off-peak October; contractors dropped quotes by 20 percent. Define zones with outdoor rugs ($50–$120) and container plantings in USDA zones 5–9 hardy perennials. String lights overhead complete affordable outdoor spaces without permits or poured concrete.
Plan phases around shoulder seasons, and you’ll belong among homeowners who’ve mastered patience.





