
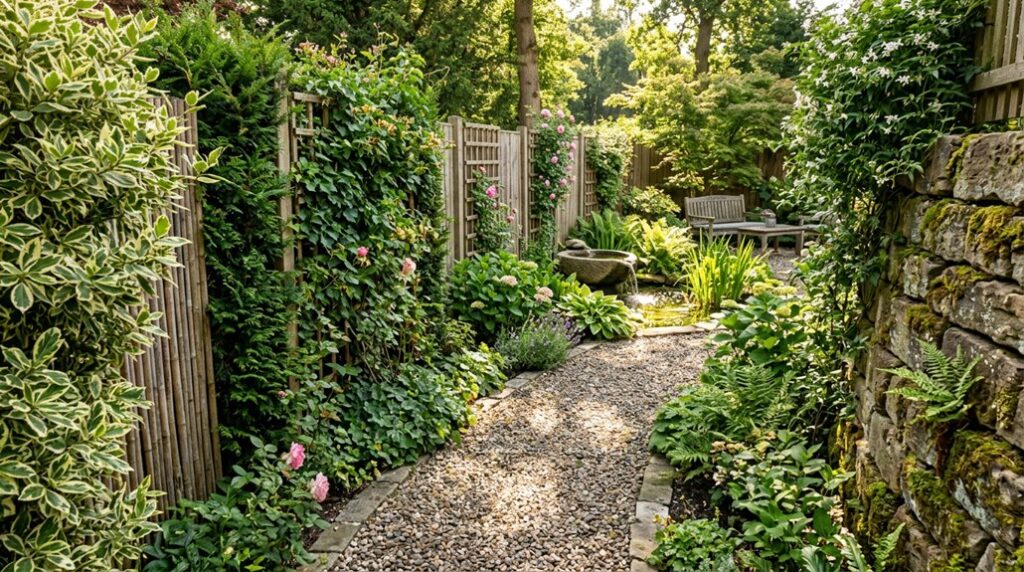
I’ve killed more privacy screens than I care to admit, usually by planting Leyland cypress on three-foot centers in soggy clay.
The real trick isn’t finding plants that grow tall. It’s calculating exactly how much opacity you actually need versus what you’re willing to maintain.
Most homeowners overshoot by forty percent and end up with a lightless yard and a trimming bill that could’ve bought a decent used car.
Choose Your Privacy Level: Full Screening or Softened Boundaries
Before I throw myself into another season of trial and error, I’ll confess that privacy isn’t a binary choice; it’s a spectrum I’ve learned to navigate through equal parts optimism and the occasional expensive mistake.
Privacy isn’t binary; it’s a spectrum navigated through optimism and expensive mistakes.
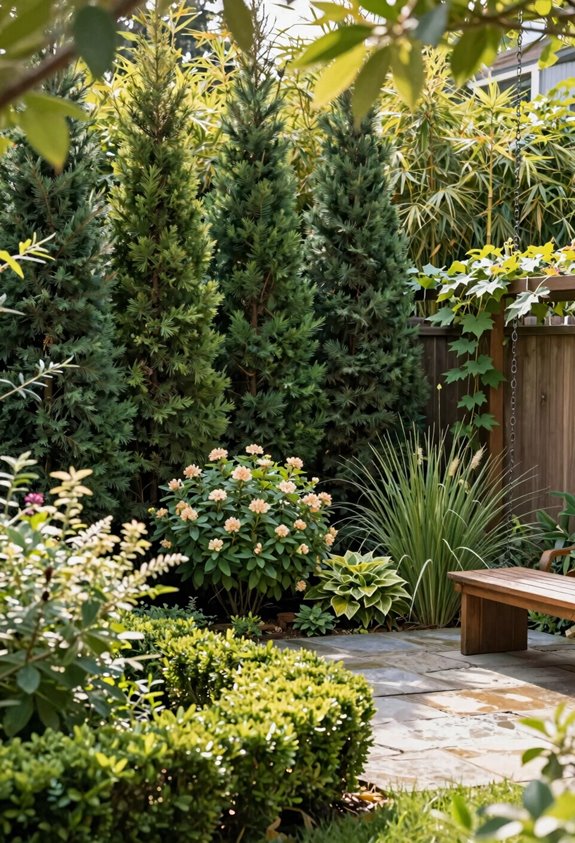
I’ve chased full screening with Green Giant arborvitae—technically Thuja ‘Green Giant’—planting them five feet apart in Zone 5, watching them rocket three feet annually into a solid emerald wall. The cost? Roughly $35 per five-foot specimen, or $2,800 for an eighty-foot run, plus three years of watering until established.
For softer boundaries, I’ve paired cedar trellises with clematis and climbing roses, achieving semi-privacy at roughly $400 per twenty-foot section. Layered planting tempts me—berms, tall grasses, staggered screens—but I’ll stop here, noting that structural walls offer instant solitude sans photosynthesis, though my stone wall project stalled at $12,000.
I’ve learned screening demands honest weighing of patience against budget.
Layer Plantings for Natural Privacy That Breathes
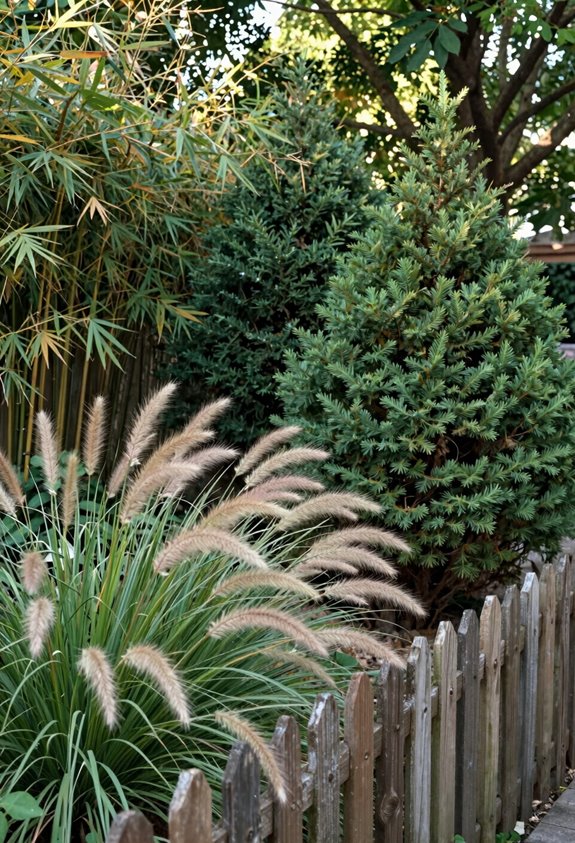
Why settle for a flat green wall when you can build privacy in three dimensions? I’ve learned that layer planting transforms your yard into something that feels like home instead of a fortress. My layered strategy starts with canopy trees, moves through structural shrubs, and finishes with tall grasses like Miscanthus sinensis (USDA zones 5-9, $15-40 per plant) swaying at eye level. This sequence filters sightlines without blocking light; you’ll keep your sunny spots while neighbors lose theirs into your foliage.
Multiple densities absorb street noise better than any fence, and seasonal texture shifts keep things interesting when that gorgeous ex-lawn turns to mud. Plan for three growing seasons minimum before full effect, but the wait belongs to you.
Plant Formal or Informal Hedges for Year-Round Cover
Layered planting gives you breathing room, but I’ve noticed some situations call for a harder edge. That’s when I reach for privacy hedges built from evergreen shrubs, dense, resilient, and utterly committed to year-round cover.
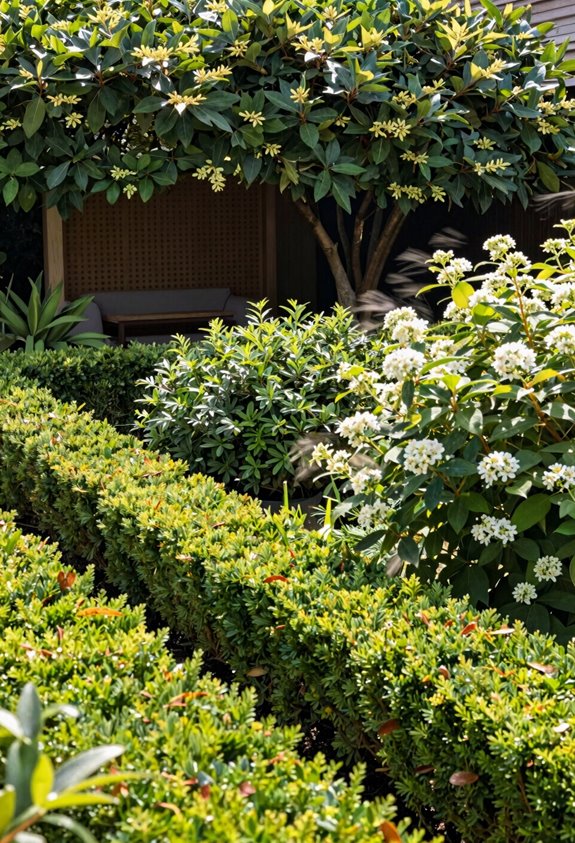
A formal hedge demands discipline. I plant boxwood, holly, or laurel at half their mature width so they knit together, then prune religiously into geometric walls. The result blocks sightlines completely, no gaps, no seasonal surrender. It suits traditional architecture and neighbors who prize order.
I’ve learned informal hedges forgive neglect; formal ones do not.
Skip the privet in Zone 7b summers, I’ve watched it crisp. Measure twice, because overplanting creates a green prison, and underplanting leaves you glaring at fence slats through leggy disappointment.
Try Tall Grasses and Small Trees for Light, Airy Screening
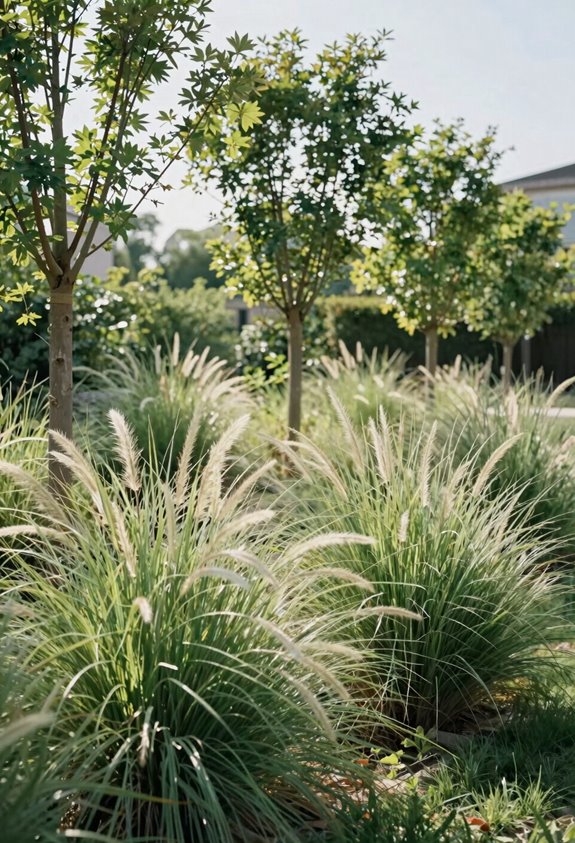
Sometimes rigid walls aren’t what I’m after, and I’ll swap boxwood tyranny for grasses that dance. I build my privacy screen with layered planting: tall grasses like Miscanthus and Panicum up front, smaller trees such as redbuds or Japanese maples behind. This light-filtering screening lets morning sun pierce through while blocking the neighbor’s view of my coffee ritual.
| Grass Variety | Height | Best Pairing |
|---|---|---|
| Miscanthus sinensis | 6–8 feet | Underplanted with lavender |
| Panicum virgatum | 5–7 feet | Backed by olive trees |
| Calamagrostis | 4–6 feet | Japanese maple canopy |
I’ve learned that berming soil eighteen inches boosts effective height without waiting decades. The swaying texture tricks the eye; movement confuses sightlines better than static walls. Once established, these plantings demand little beyond annual shearing, and the rustling creates white noise that softens suburban machinery.
Build Fences That Balance Privacy and Openness
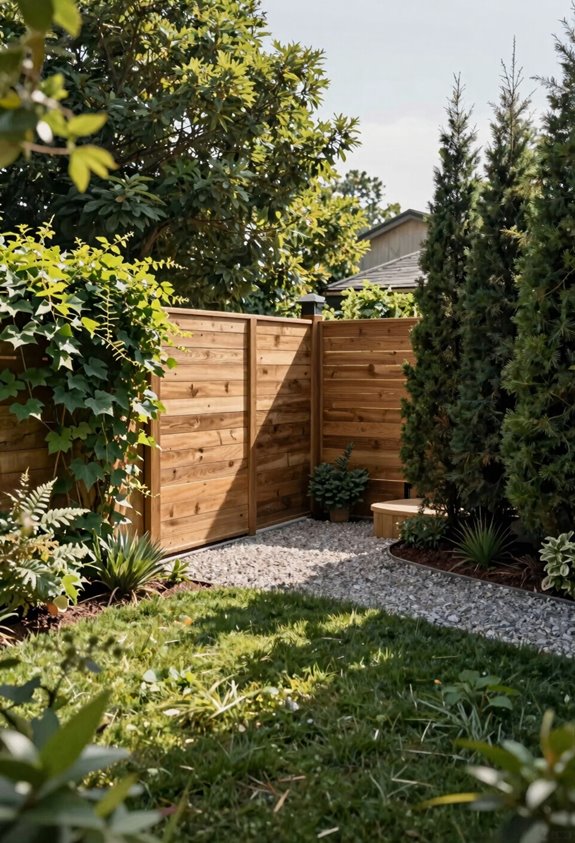
I’ve learned that choosing between vertical and horizontal fence boards isn’t just aesthetics. It’s about controlling sightlines versus admitting light, since vertical boards at six-to-eight-foot heights create absolute privacy along property lines while horizontal layouts with calculated half-inch gaps filter afternoon sun without the bunker effect.
When I painted my cedar fence Benjamin Moore’s “Kendall Charcoal” after watching it visually recede behind a drift of panicum and ninebark, I confirmed what designers whisper: dark colors advance retreat, especially when you anchor the base with dense plantings in USDA zones 5-9 that mature within three growing seasons.
I’ll walk you through how these two decisions—board orientation and color strategy—set up every other layering choice you’ll make.
Vertical Versus Horizontal Boards
Fence-board orientation is a make-or-break decision that’ll haunt you every morning with your coffee, so let’s dissect it before you sink a single post. Vertical boards deliver total privacy: they butt tight, forming a solid screen that locks out nosy neighbors completely. Horizontal boards, meanwhile, give you privacy with gaps up to several inches, that sweet spot between seclusion and connection where light filters through.
I’ve learned landscape design suffers when you default to one orientation everywhere. For long runs, I combine vertical boards with base planting—think Oregon grape or boxwood—to soften edges without surrendering privacy.
For targeted sightlines, I’ll run horizontal boards just where I need them, keeping costs down and openness intact. Your yard’s personality demands both tools in the kit.
Strategic Color Choices
Color’s where I’ve blown budgets and salvaged disasters, so your fence stain matters as much as the boards themselves. I learned this the hard way: that cedar beauty I’d slaved over? Slapped it with barn red and suddenly it screamed “subdivision” across three yards. Now I swear by darker colors, deep charcoal, matte black, because they recede visually, letting your privacy fencing dissolve into shadow while planting takes center stage.
I’ve watched charcoal-stained horizontal boards disappear behind hydrangeas in USDA zones 5-8, creating semi-opaque boundaries that feel sheltered, not imprisoned. The trick is strategic placement: dark stain where you need screening, then break it with gaps or lower heights where you want borrowed views.
Planting at the base softens the transition; roots stabilize posts, and layered textures convince the eye the yard’s bigger than the survey says. Color coordinates your privacy without building walls.
Add Pergolas and Trellises With Climbing Vines
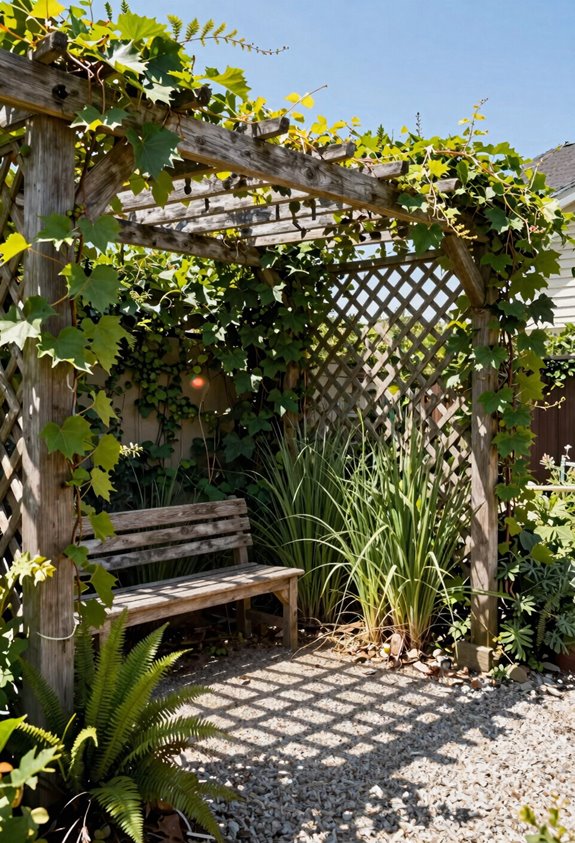
How do you create privacy without building a wall? I build upward with pergolas and trellises, then let nature do the heavy lifting. Climbing vines transform these skeletal frames into living privacy screening that breathes; no masonry required.
I’ve trained Wisteria and Clematis up pergola columns in USDA zones 5-9, achieving partial coverage in one season and full ceiling concealment by year three. The dappled shade filters sunlight without the claustrophobia of solid walls, and when neighbors grill, their sightlines hit leaves, not your dinner conversation.
Freestanding trellises add flexible vertical screening around the perimeter; I reposition mine seasonally. For year-round coverage, I learned the hard way: stick with evergreen Clematis armandii or hardy Trumpet Vine. Deciduous vines leave you exposed come November, and nobody wants to feel that exposed in their own gorgeous yard.
Use Containers and Prefab Screens for Fast Results
{|
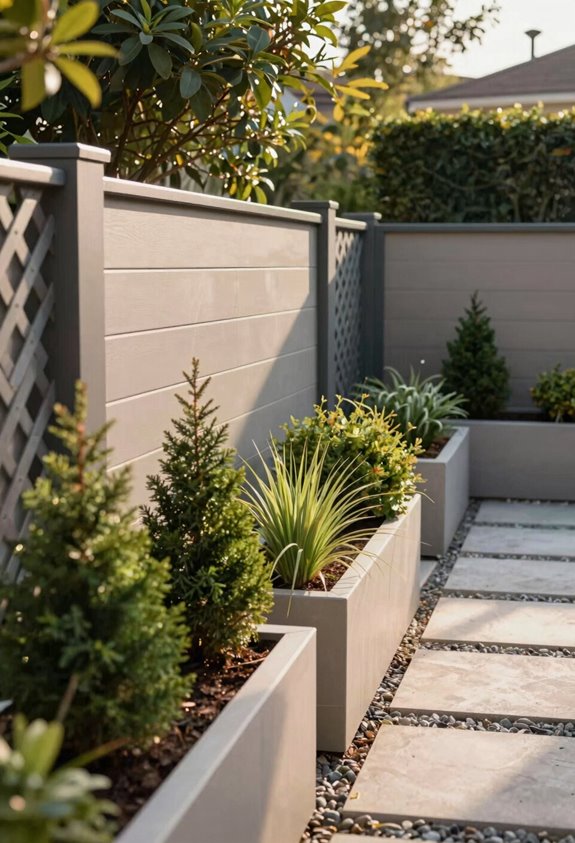
Portable containers stuffed with upright grasses or columnar evergreens give me screening height within a single season, no construction permits, no root systems hostage to my clay soil.
Prefab panels, particularly powder-coated aluminum options running $150-$400 per 4-foot section, slot into modular frames I can reposition when the neighbor’s sightline shifts or I need access for fence repairs. I always nest these screens into berms or ring their bases with lower plantings; otherwise they read like stage flats against my garage wall, convincing nobody that I planned them on purpose.
|}
Instant Height Solutions
Need privacy yesterday? I’ve leaned hard on containers and prefab screens when my “gorgeous exlawn” became a fishbowl after the neighbors raised their deck. Instant height doesn’t require patience, just strategy.
Here’s what actually moves the needle:
- Oversized containers (24-inch minimum) packed with 6-8 foot arborvitae or clumping bamboo deliver screening in hours, not years
- Freestanding Veradek panels bolted to planters create movable walls that satisfy HOAs while blocking sightlines
- L-shaped trellis configurations with annual vines like morning glory provide seasonal privacy you can reposition
I pair tall evergreens with trailing vinca at the base, softens the container edges so your screening doesn’t scream “temporary fix.” The whole setup runs $300-800 depending on plant maturity, and you’ll reclaim your backyard sanctuary this weekend.
Modular Screen Integration
Where exactly do you draw the line between your patio and your neighbor’s kitchen window? I’ve found that modular screen integration does the heavy lifting without the permit headaches. Container plants give you near-instant height, moveable for parties, perfect for narrow zones, while prefab privacy screens provide structural backbone you can plant into or leave stark.
I combine freestanding trellises with L-shaped modular options along property lines, repositioning them as sightlines shift with the seasons. The real payoff happens in a layered landscape: bermed earth, staggered lattice, and dense evergreen climbers on wire mesh. You’ll get depth, year-round coverage, and that coveted feeling of enclosure without fortress vibes. Pro tip from my gorgeous exlawn disaster: leave gaps for airflow, or you’ll cook your hostas and regret every sweaty July afternoon.





