
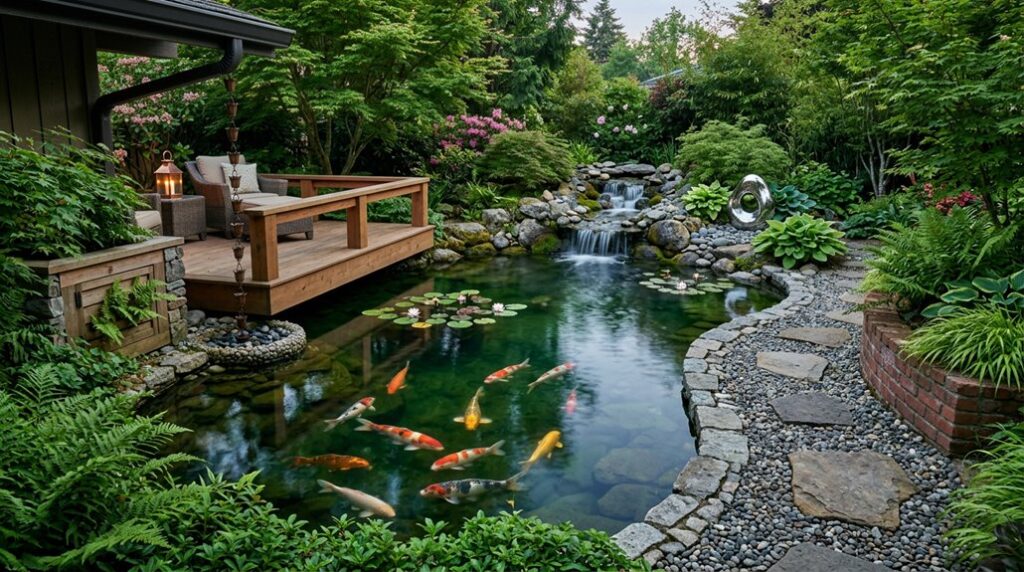
I ripped out my last koi pond the same week my neighbor finished theirs, and we’ve both learned plenty since.
Three feet minimum depth keeps raccoons from raiding your stock, but gunite runs $25–35 per square foot and cracks in hard freezes below USDA Zone 6b.
I’ve buried pumps behind false rock walls, routed gravity-fed returns through 2-inch PVC, and still lost three grand in fish to a heron I didn’t see coming.
The geometry matters more than you’d think. Right angles in modern builds hide equipment better than naturalistic curves, which is why I’m revisiting my footer depths this spring.
Choose Your Koi Pond Style: Modern Minimalist or Natural Water Garden
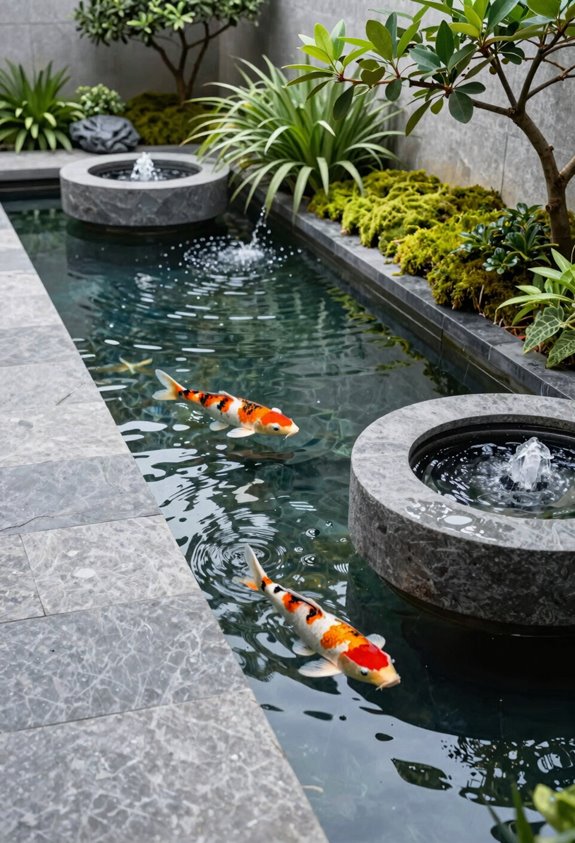
Where do you even begin when your backyard’s begging for something alive that isn’t grass? I’ve wrestled with two Koi Pond Design paths, and both demand respect.
Modern minimalist ponds seduce me with rectangular precision: gunite shells hiding filtration in sleek compartments for that gallery-wall calm. Nature mocks my control with water gardens: irregular lines, lily pads colonizing between boulders, plants doing the filtration grunt work.
Both styles need three feet of depth minimum; I’ve learned expensive lessons when herons treated my shallow experiment like a sushi bar.
Filtration isn’t negotiable either way. I once skimped on circulation and grew pea-soup algae that could’ve fueled a biodiesel plant. Robust systems or integrated botanical filters, pick your poison, but pick one.
Position Your Pond Near Patios or Windows for Daily Enjoyment
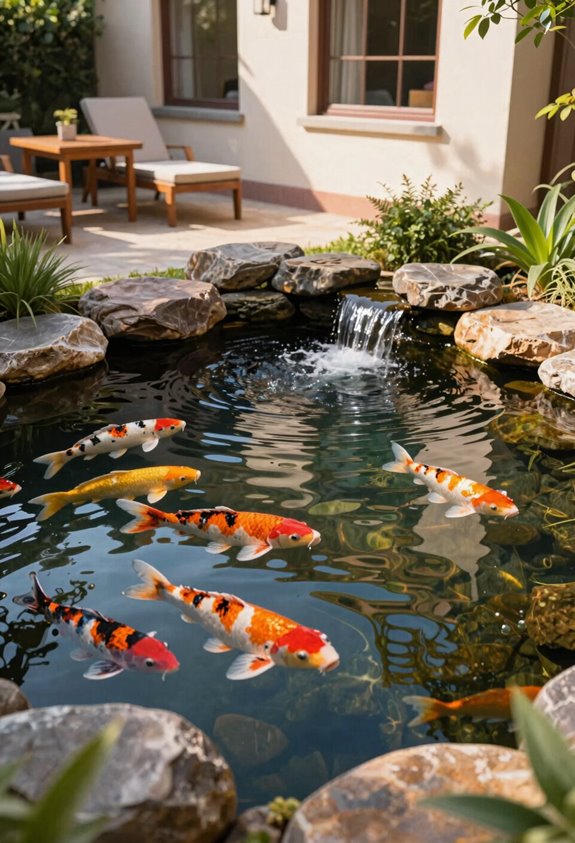
I’ve learned the hard way that burying my first koi pond at the far corner of my Zone 7b property, roughly 45 feet from the back door, turned it into a neglected algae farm rather than the water garden I’d envisioned, since I couldn’t see it from the kitchen window or flagstone patio.
Now I position ponds within 8 to 12 feet of primary windows and seating areas, ensuring the water surface sits 18 inches below sightlines to eliminate glare while keeping filtration systems visible enough for daily 30-second checks that prevent $200 water quality disasters. You’ll spend more time actually enjoying your fish instead of wondering why your gorgeous exlawn now resembles a science experiment gone rogue.
Maximize Viewing Opportunities
Why bury your best feature where you’ll never see it? I’ve learned that viewing your koi pond shouldn’t require a pilgrimage. Positioning for accessibility transforms casual glances into daily rituals that ground us.
Nestle the pond beside patios or decks where morning coffee becomes communion with gliding koi. Anchor windowside placements so winter’s gray days still deliver living color indoors. Engineer 4–6 hours of partial sun; enough for water lilies, not algae soup. Excavate 3+ feet deep; predators retreat and temperatures stabilize for crystal clarity. Frame sightlines with low plantings that guide the eye without blocking the dance.
Your pond becomes the heartbeat of your space, visible from life’s ordinary moments. That’s the belonging we cultivate: water and watcher, woven together.
Integrate Outdoor Living
Sightlines matter, but proximity seals the deal. I tuck my pond within arm’s reach of my patio, close enough to toss koi treats from my Adirondack chair, far enough that splashing stays ambient. This water feature anchors our gatherings; we don’t visit it, we live around it.
I learned to map hosepipe outlines first, tracing curves from kitchen windows and deck angles. You’ll squint, adjust, resquint. Four to six hours of sun keeps algae manageable without frying your fish, and I dodge overhanging maples after one autumn of net wrestling.
| Zone | Distance from Seating | Purpose |
|---|---|---|
| Edge zone | 3–6 feet | Feeding, pump access |
| Viewing band | 8–15 feet | Panoramic water feature appreciation |
| Transition | 2–4 feet buffer | Planting, path circulation |
My koi pond design failed once when I prioritized aesthetics over maintenance access. Never again.
Enhance Daily Connection
Where you place your koi pond determines whether it becomes living scenery or forgotten infrastructure. I’ve learned that proximity transforms a water feature from obligation to obsession, and strategic positioning yields daily viewing enjoyment that justifies every hour of excavation.
Position your pond focal point within 15 feet of patios or decks where morning coffee happens. Angle sightlines from kitchen windows to catch that gorgeous exlawn glinting at dawn. Maintain 4 to 6 hours of partial sun (USDA zones 5 to 9) to balance visual appeal with algae reality.
Run stepping stones from the back door; I’ve seen forgotten ponds come back once pathways connected. Place feeding stations where you’ll actually stand, because neglected koi develop attitude problems.
When your pond anchors daily routines, tranquility stops being something you schedule; it becomes where you already are.
Dig 3 to 4 Feet Deep for Predator Protection and Fish Health
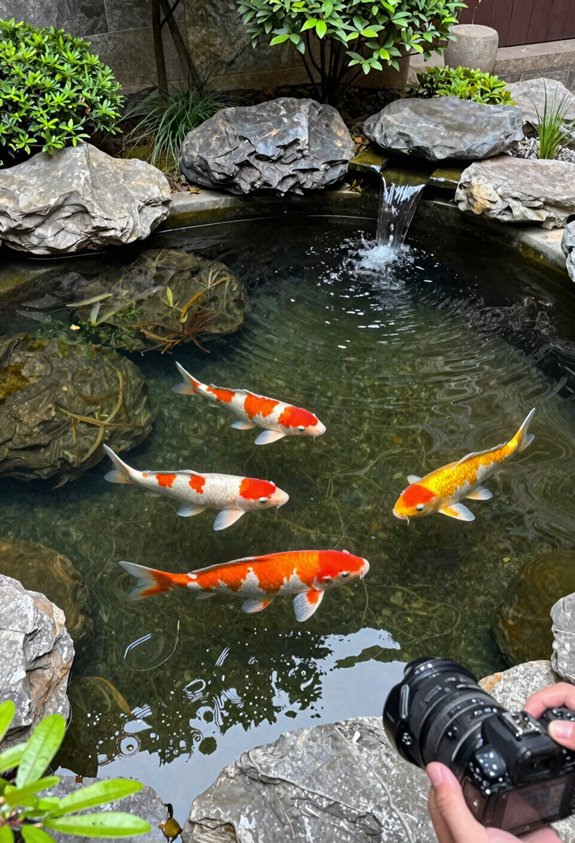
I’ve learned the hard way that skimping on depth turns your gorgeous exlawn into a heron buffet, so I dig every pond to a minimum of 36 inches, though 48 gives me real peace of mind when winter temperatures swing 40 degrees in a week across my Zone 9b garden.
That extra foot of water column doesn’t just stop raccoons from wading in for sushi; it creates the thermal mass and dilution capacity that keeps ammonia spikes from killing fish I’ve spent three years growing to 18 inches. You’ll also find that hitting 3 to 4 feet makes bottom drains actually function, my first 24-inch attempt clogged constantly and cost me $400 in equipment I couldn’t use.
Predator Protection Depth
Why did I spend three weekends wrestling with adobe clay and a temperamental mini-excavator when eighteen inches would have been infinitely easier? Because my koi pond needed real predator protection, not a glorified birdbath.
I learned that proper depth changes a vulnerable water feature into a sanctuary. Here’s what that 3-to-4-foot commitment delivers:
- Raccoons and herons can’t wade in and snag dinner when your fish dive beyond their reach
- That extra foot below the 3-foot baseline creates real structural stability after liner and substrate
- Your koi gain room to grow; mine doubled in size once they had vertical territory
- Water quality stays manageable with sufficient volume diluting waste
- East Bay gardeners like us get buffering from those odd mid-winter heat spikes
Three feet works; four feet earns you sleep.
Temperature Stability Benefits
| Depth | Thermal Benefit | When It Matters |
|---|---|---|
| 2 ft | Rapid swings | Avoid entirely |
| 3 ft | Moderate buffering | Minimum viable |
| 3.5 ft | Strong stability | My sweet spot |
| 4 ft | Maximum protection | Extreme climates |
This principle in koi pond care, maintaining full depth after liner compaction, protects against thermal shock and keeps biofilters working well. I nearly lost fish to a shallow corner I’d poorly graded; 6 inches of settlement cost me stability until I rebuilt it.
Fish Growth Space
Depth matters. Here’s what 3–4 feet actually delivers:
Shallow ponds bake in summer; three feet minimum keeps water temperatures survivable in USDA zones 9b–10a. Herons can’t spearfish what they can’t reach, so I’m digging four feet and adding cave structures.
Stable pond filtration performs predictably without temperature-driven bacterial crashes. Vertical space reduces crowding stress; my koi hit eighteen inches because they had room to sprint. Future-proofing beats backbreaking reshaping later when you upgrade filters or adopt that “rescued” showa.
Skip the incremental approach. Dig once, dig deep.
Conceal Filtration Equipment for a Clean, Uncluttered View
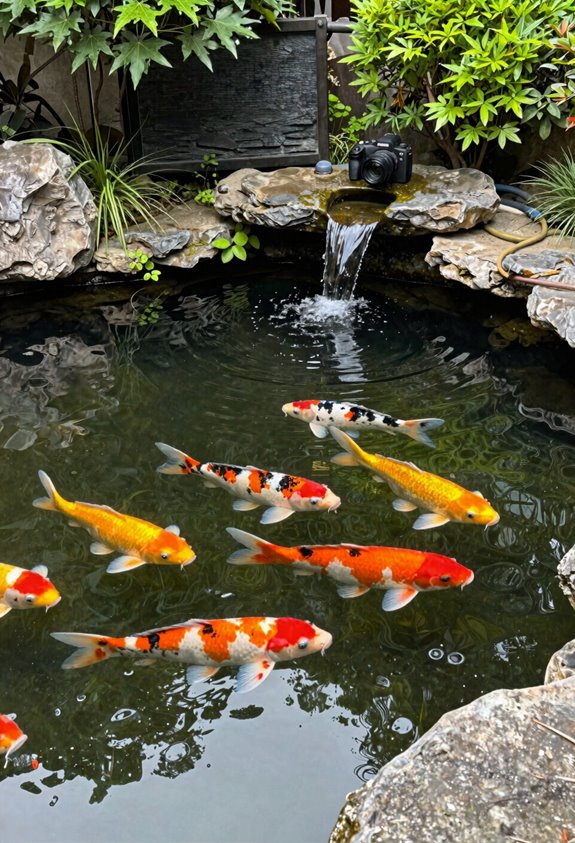
The sight of black PVC piping snaking across your gorgeous lawn like some industrial spaghetti ruins the illusion faster than a heron at a sushi bar, and I’ve spent the last decade refining methods to make filtration hardware vanish completely.
True concealment means your filtration disappears into the landscape, not just gets covered up. I bury pump vaults 18 inches deep behind catawba rhododendrons (USDA zones 4-8), rock-facing the lids with native sandstone so maintenance access stays hidden.
Position returns where water seems to spring from earth itself: gravity-fed trickles emerging between mossy boulders, not obvious plastic nozzles. For compact filtration, I swear by bog filters: 2×4 foot gravel beds planted with cattails and iris that process 1,000 gallons daily while looking like shoreline.
Natural appearance demands native rock matching your region’s geology and leaving 6-inch air gaps around equipment so heat doesn’t cook your pumps. I’ve learned this through melted impellers and midnight emergency swaps.
| Concealment Method | Best For | My Cost/Time Frame |
|---|---|---|
| Rock-faced pump vaults | Medium ponds (500-2000 gal) | $180, 4 hours |
| Bog filter integration | Year-round natural appearance | $340, 6 hours |
| Buried return lines | Seamless water emergence | $75, 2 hours |
| Catawba rhododendron screen | USDA zones 4-8, dense shade | $60/plant, 1 hour |
| Native boulder placement | Immediate visual integration | $0 if foraged, 3 hours |
Add a Cascading Stream for Oxygenation and Natural Sound
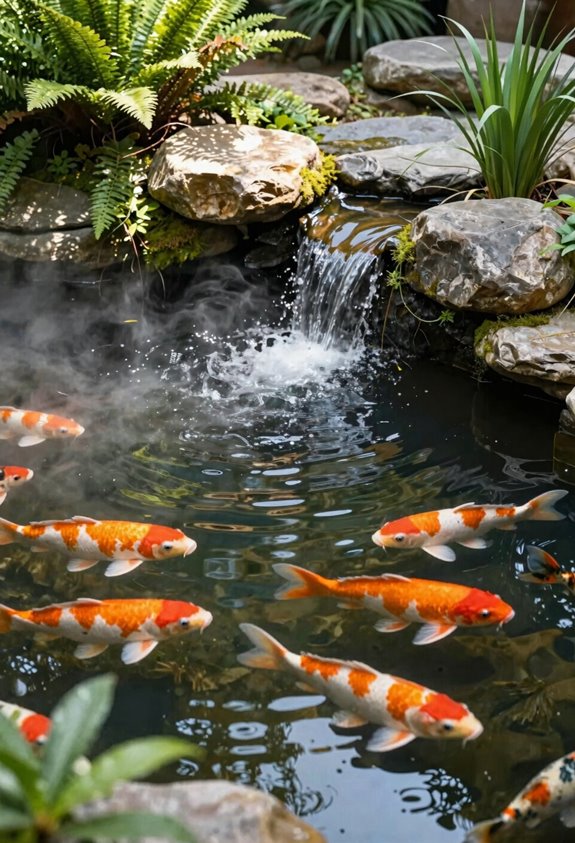
Once your filtration’s tucked out of sight, you’ll want something worth looking at, and I’ve found nothing beats a cascading stream for turning a static pond into a living system. Among my favorite koi pond ideas, this feature delivers both beauty and function without apology.
I stack varying stone sizes, 12-inch shale slabs to 4-inch river rocks, to carve canyon texture into each drop. I position the cascade where it pushes water across the entire surface, starving algae of stagnant corners. I tuck mossy boulders around the base, hiding my pump housing in plain sight.
I run a variable-speed pump (300-800 GPH) so I can dial oxygenation up when summer heat stresses the fish. I keep flow adjustable because nobody wants a thundering torrent drowning out conversation.
You’ll belong to the tribe that knows still water kills.
Build a Compact Corner Pond With Stepping Stone Access
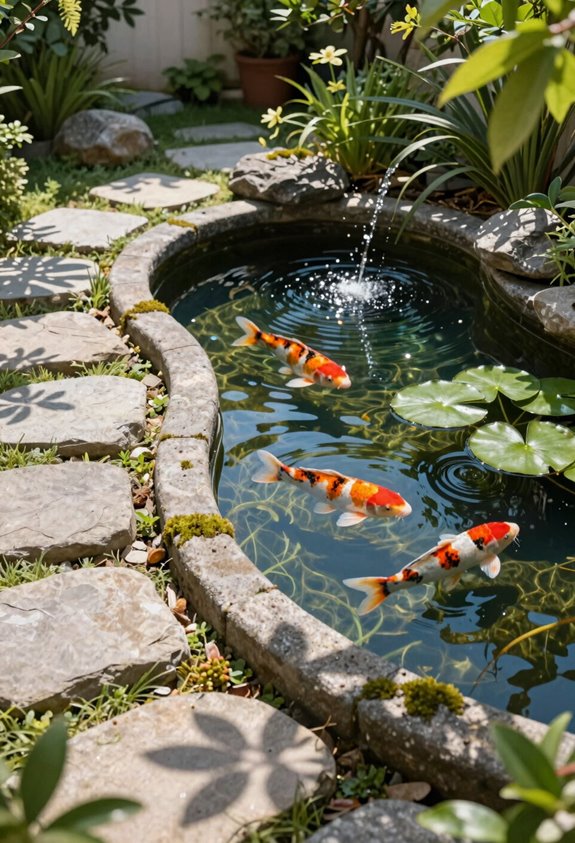
Where do you hide three feet of water when your yard’s the size of a generous picnic blanket? I’ll tuck a corner pond into that neglected wedge where the fence meets the garage, transforming dead space into living habitat.
I’ve learned that 36 inches of depth protects koi from herons and thermal shock without dominating tight footprints. I arrange stepping stones across one edge, flat Tennessee fieldstone, 18 inches apart, creating dry-foot access for feeding and filtration/maintenance. My knees thank me every winter.
I soften the perimeter with curved basalt edges and iris ensata, whose roots improve filtration dynamics in restricted water volumes. I hide a low-profile skimmer along the corner’s back edge, keeping sightlines clean from my kitchen window.
The pond becomes my morning coffee’s focal point, proving that even postage-stamp yards deserve gorgeous exlawns.
Design a Japanese-Inspired Space With Stone Lanterns and Raked Paths
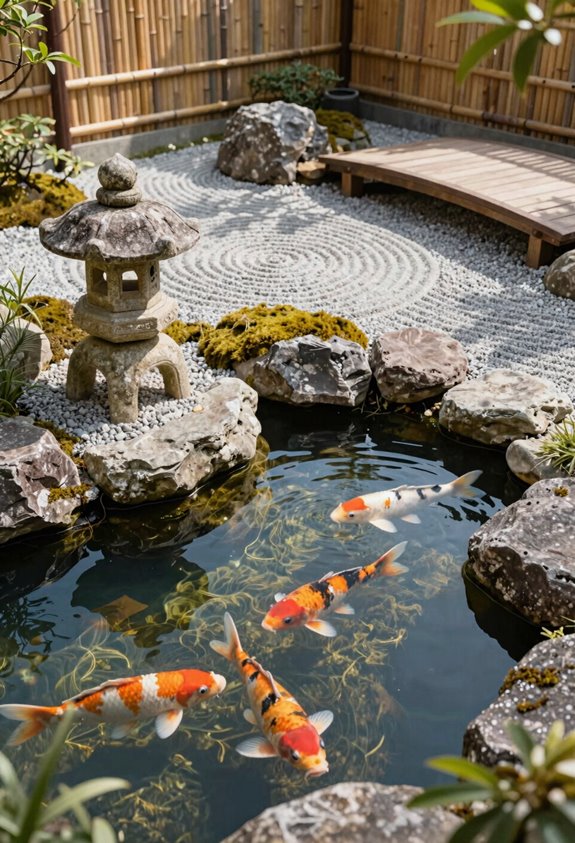
Positioning stone lanterns at 45-degree angles to your primary viewing spot—roughly 3 to 4 feet from the water’s edge—creates that coveted dusk glow without washing out the koi’s colors. I learned the hard way that cheap concrete reproductions crack in Zone 7 winters after two seasons.
For raked gravel, I stick to 3/8-inch granite grit in 18-inch-wide paths, drawing classic wave patterns with a bamboo rake every other morning. It takes twenty minutes once you abandon perfectionism, and the dark stones against mossy boulders deliver what I still call my “gorgeous exlawn” moment at 6 AM.
Running clumping bamboo, *Fargesia murielae*, not the running nightmare I planted in 2019, along the northeast perimeter gives you 8-foot privacy screens by year three. You’ll want to sink root barrier 30 inches deep unless you fancy explaining an invasive species to annoyed neighbors.
Stone Lantern Placement
- Nestle lanterns beside mossy boulders to echo centuries-old Japanese craftsmanship
- Vary heights, 18 to 36 inches, to scatter pond lighting across lily pads without that harsh LED glare
- Anchor one near your favorite viewing stone for contemplative pauses
- Flank stepping-stone paths to guide evening movement through the garden
- Select weathered granite or cast stone rated for East Bay Zone 9b humidity swings; I’ve watched cheap resin models crack within two winters
Your midnight self will thank you for this more than lawn.
Raked Gravel Patterns
A proper raked gravel garden starts with choosing your gravel like you’d choose paint, deliberately, and with full knowledge that you’ll live with the consequences for years. I’ve learned that raked gravel patterns around my koi pond demand intention; every ripple guides the eye toward that gorgeous ex-lawn now changed into a Japanese garden refuge.
| Gravel Zone | Size (mm) | Purpose |
|---|---|---|
| Center patterns | 2–5 | Fine raking, meditation focus |
| Lantern base | 3–6 | Stable placement, moss integration |
| Path edges | 8–12 | Visual boundary, erosion control |
| Stepping stone gaps | 5–8 | Secure footing, drainage |
| Pond perimeter | 6–10 | Prevents runoff, defines edge |
I rake weekly, twenty minutes with a bamboo rake preserves the calm. Stone lanterns and mossy boulders complete the scene, but it’s the maintenance that separates authentic Japanese gardens from themed patios. Drainage matters; I learned that during a storm that turned my patterns into a gravel soup.
Bamboo Accents
When I planted my first bamboo grove three feet from the pond edge, I didn’t understand that “running” wasn’t a metaphor; it was a threat assessment I’d failed to heed. Now I install 30-inch HDPE root barriers at 28-inch depth, lesson learned at $400 in reconstruction costs.
Bamboo accents transform your koi pond into a tranquil garden when you balance vertical drama with horizontal restraint. I pair clumping varieties (Fargesia, Zone 5-9) with stone lanterns and raked paths, creating that coveted Japanese aesthetic without the invasion headache.
- Plant clumping bamboo at 4-foot intervals for screening density by year three
- Position stone lanterns asymmetrically, 18 inches from path edges, to guide foot traffic
- Rake 3/8-inch pea gravel weekly; the texture rewards the effort
- Install drip irrigation at bamboo bases, thirsty roots desiccate fast in summer
- Prune lower culms at 45 degrees to maintain sightlines to your koi pond
Your tranquil garden awaits, properly contained.
Automate Water Care With Variable-Speed Pumps and Smart Dosing
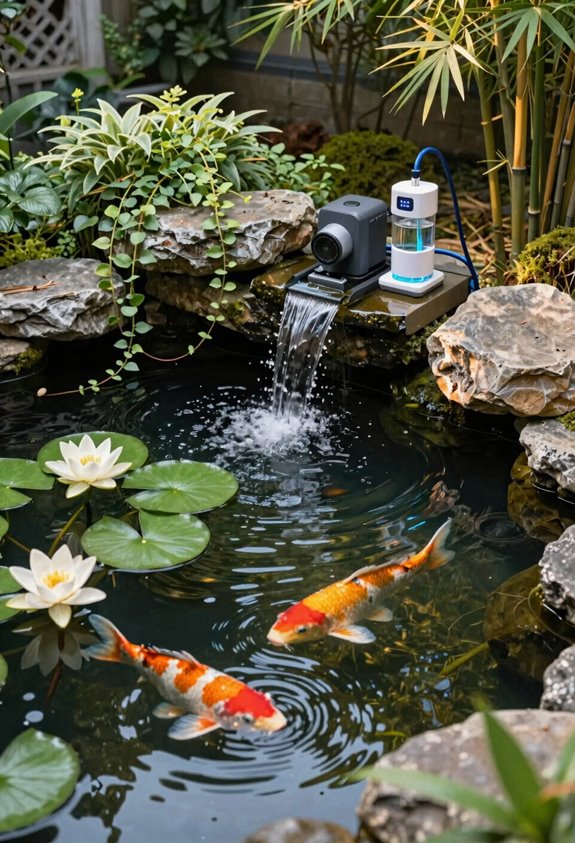
How exactly do you keep a small koi pond from devouring your weekends and your electric bill? I’ve found water care automation to be the answer every busy pond keeper secretly craves.
I installed variable-speed pumps in my 300-gallon setup last spring, dialing flow down to 600 GPH for overnight oxygenation, barely a hum, not a roar, then ramping to 1,200 GPH during peak feeding. My electric bill dropped $28 monthly, and the filter media’s lasting 40% longer without that constant high-pressure assault.
Smart dosing changed everything. My system injects beneficial bacteria at 6 AM Tuesdays and Fridays, precise milliliter measurements, no guesswork. Pairing these tools maintains steady 1.5-hour turnover rates, keeping ammonia below 0.25 ppm without my intervention.
Just verify your pump’s tunable range matches the doser’s flow sensor tolerance; mismatch them, and you’ll chase phantom pH swings for weeks.
Plant Water Lilies and Edge Greenery for Soft, Natural Borders
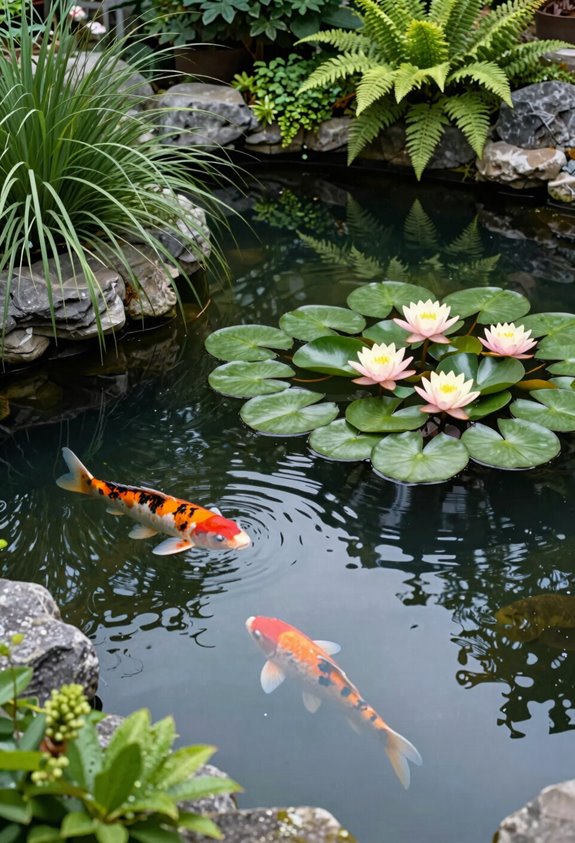
Once the pumps hum on autopilot, I turn my attention to the one element no machine can fake: the living border between water and whatever sad patch of lawn you’ve inherited.
Water lilies anchor the surface with pads that drop temperatures 10°F and starve algae of light, their blooms opening June through September in drifts of white, pink, or yellow. Edge greenery, irises, pickerel rush, sweet flag, softens pond borders into something that looks like it grew there, not like a bathtub sunk in turf.
Water lilies cool the surface and starve algae while edge greenery softens borders into something wild, not sunken bathtub.
Marginal roots filter nitrogen before it feeds green soup; I plant them 6 inches deep in gravel baskets that cost $4 each. Overlapping bloom times mean no dead zones; I stagger early marsh marigolds against late Japanese iris.
In East Bay’s USDA zone 9b, I skip tropical lilies that demand 80°F water and stick to hardy cultivars like ‘Attraction’ that survive 40°F nights without complaint.
Light Your Koi Pond for Safe Evening Viewing and Ambiance
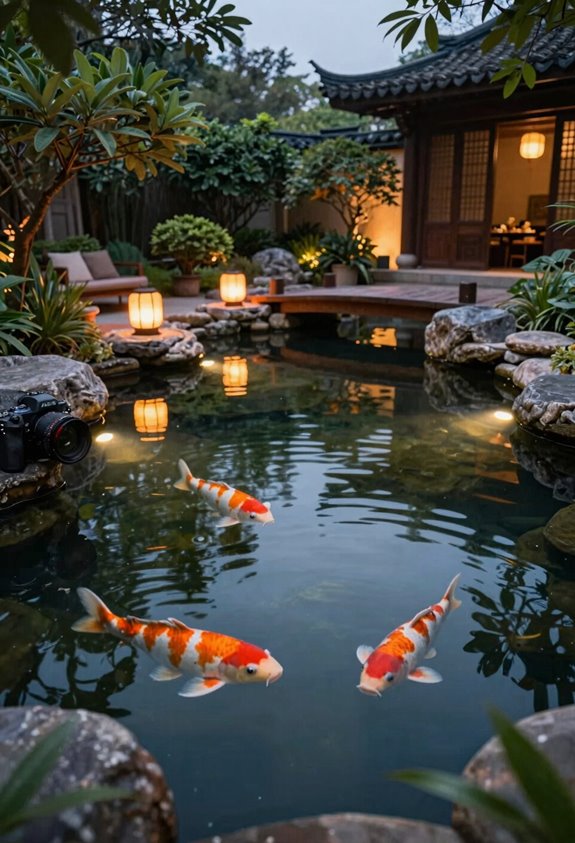
Why stumble toward the filter box at 10 PM with a flashlight between your teeth when a little wiring turns your pond into something you can actually navigate? I’ve learned that strategic pond lighting serves double duty: keeping ankles intact and creating real koi pond ambiance that changes your water feature after sunset.
Install submersible LED fixtures at 12-inch depths to illuminate fish from below without glare; your koi become living lanterns, and evening viewing becomes the day’s highlight. Solar uplighting behind marginal grasses (cattails zones 3-9, $15-40 per fixture) casts subtle silhouettes, while path lights spaced every six feet prevent that poolside stumble I took in 2019. Wire everything to a single transformer with a timer; you’ll spend maybe 4 hours on installation and gain roughly 1,500 extra usable hours annually in your own gorgeous ex-lawn.





