
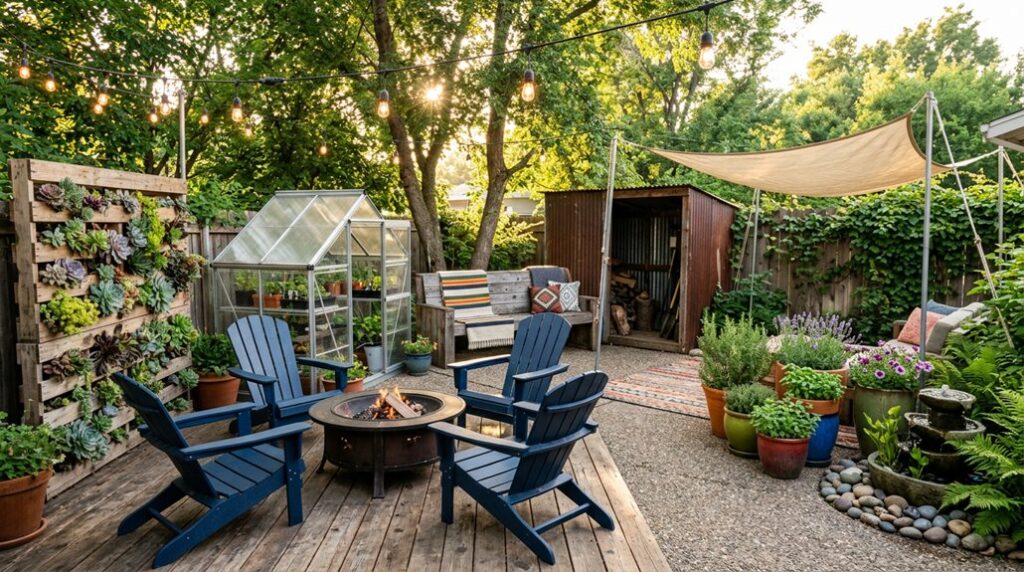
Icarus learned wings needn’t cost the sun, and I’ve learned $900 rebuilds a backyard without melting your wallet. Your soil’s pH and drainage will dictate every choice downstream; mine ran 7.2 with clay that held water like a grudge, so I started hardscaping.
The transformation hinges on sequencing: foundation first, then vertical elements, then the soft stuff. I’ve botched enough timing to know.
What follows saved my 6b garden and might just salvage yours.
Plan Your $900 Backyard Transformation and Assess Your Space
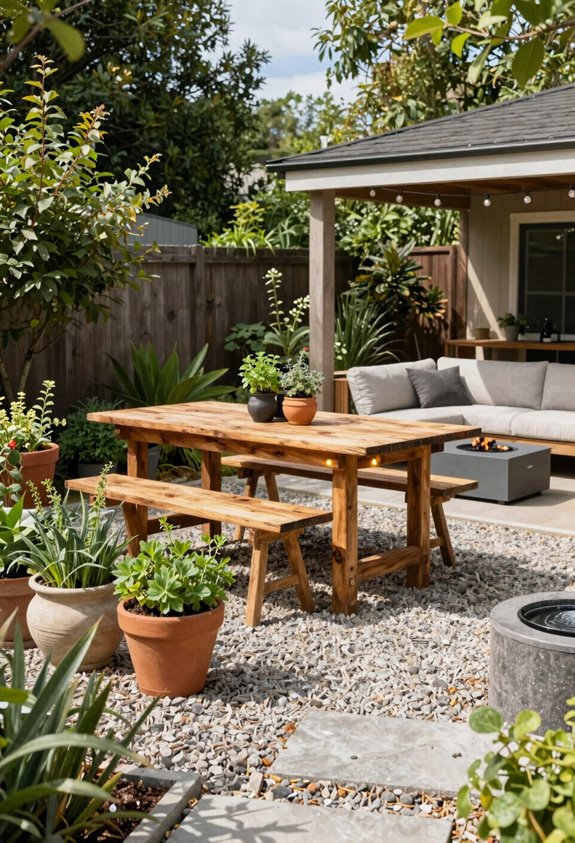
Where do you even start when your backyard looks like a “before” photo that’s been waiting a decade for its “after”? I grab a tape measure and notebook for my space assessment, sketching every square foot, mine’s 20 by 30, USDA Zone 7, and marking what stays: the crabapple that survived my pruning failures, the “gorgeous exlawn” patch where grass surrendered to clover.
I set my $900 budget hard, allocating roughly $500 for materials, $250 for tools I’ll reuse, and $150 reserved. Cost-effective wins come first: weathered outdoor furniture I’ll refinish rather than replace, seating areas positioned where evening sun lingers.
My phased transformation breaks into weekend DIY chunks, each under $200, because I’ve learned that rushing invites rework. Priority goes to entertaining spaces where guests actually gather.
Build a Gravel Patio for Under $150 as Your Foundation
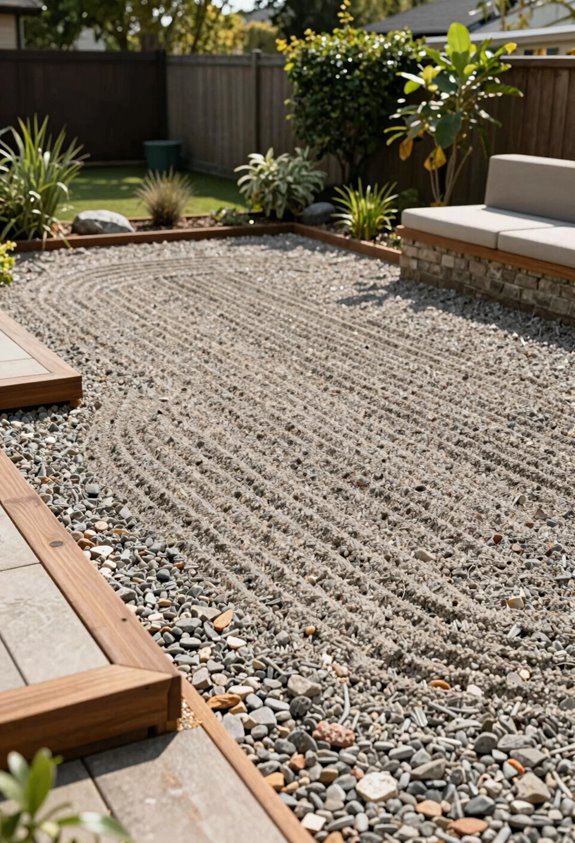
A gravel patio isn’t glamorous until you’ve spent three Saturdays wrestling concrete bags that cost more than your first car, so I’ve embraced crushed stone as my hardscape soulmate. This foundation anchors my DIY outdoor space without anchoring me to debt.
Here’s how I built mine for under $150:
A $150 gravel patio beats three weekends of concrete debt and back pain.
- Scalped the grass with a flat shovel, then laid weed barrier to strangle rhizomes determined to resurface
- Pounded steel edging around my 10×12 perimeter like a bad cop; keeps stone contained, gives clean lines
- Dumped 2 inches of #57 gravel, raked it level with a 2×4 and prayer
- Compact with a rented plate compactor or your truck’s tires; loose stone migrates like teenagers
The drainage’s excellent, expansion’s simple, and this budget-friendly base reconfigures when inspiration strikes.
Add a Stone Fire Pit as Your Backyard Focal Point
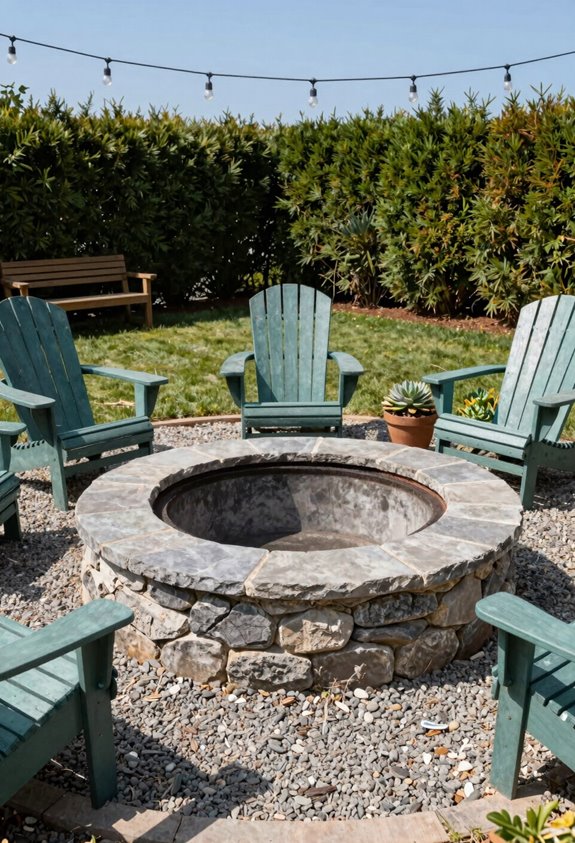
With my gravel patio locked down, I turned to the project that’d actually get me outside after dark: a stone fire pit I’d build myself for under $200. I mapped a 4-foot diameter circle, gave it 6 feet of clearance on all sides for my seating area, and dug down 8 inches for drainage gravel. Local stone, limestone chunks from a demolished farmhouse, cost me $80 and built character cheap.
Stone Fire Pit Materials
| Material | Cost | Source |
|---|---|---|
| Local stone | $80 | Demolition site |
| Gravel base | $25 | Landscape supply |
| Sand | $15 | Hardware store |
| Recycled bricks | $0 | Freecycle |
This DIY backyard centerpiece changes your outdoor space into a real gathering territory. The circular design demands attention, making it the natural backyard focal point without bankrupting you. I tuck planters of aromatic thyme around mine, a budget-friendly choice that keeps the party contained.
Construct a Simple Pergola for Shade and Vertical Interest
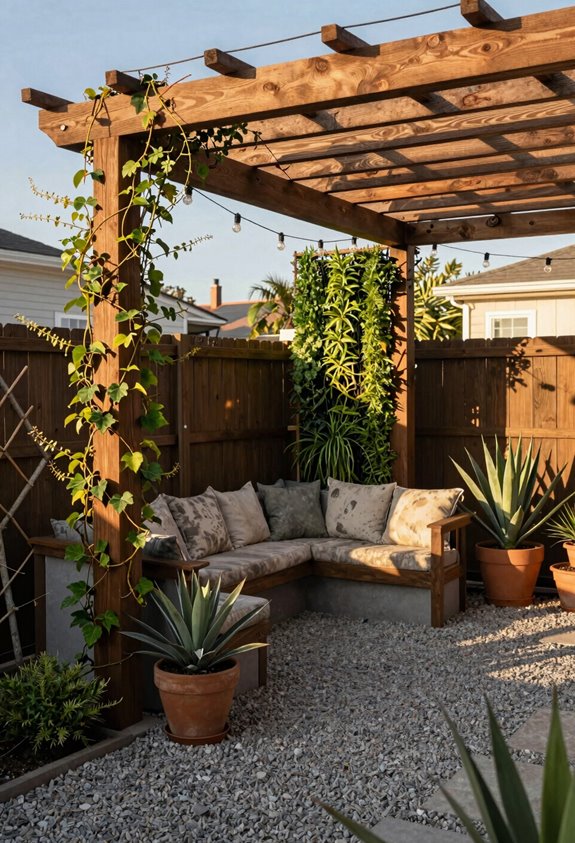
How do you add height to a flat yard without hiring an engineer or spending summer after summer watching contractors delay? I built a pergola using Toja Grid hardware, and suddenly my “gorgeous exlawn” had architecture.
The budget stings slightly, about $800 for brackets and $300 for lumber, though I anchored mine to existing concrete and skipped the slab extension. DIY confidence matters here; Toja Grid’s modular system eliminates collapse anxiety without structural overhauls.
- Source Toja Grid brackets matching your span calculations
- Select lumber rated for exterior use in your USDA zone
- Stain black immediately (I waited one year; regretted it)
- Integrate shade-tolerant climbers for vertical layering
My pergola now hosts movie nights and frames the garden like a living proscenium. The hardware does the engineering; you provide the vision.
Create Raised Garden Beds From Free Pallets or Cinder Blocks
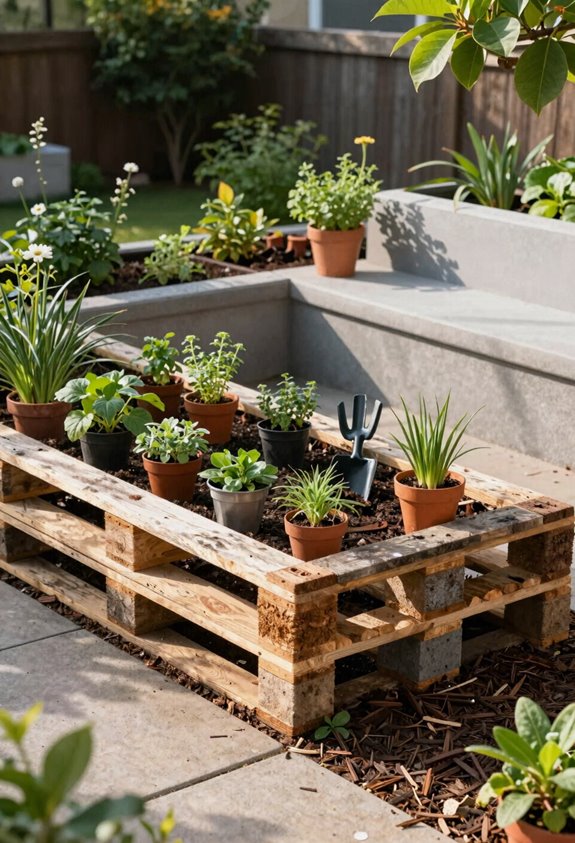
Why wrestle with rocky clay when you can build upward for pocket change? I built my first raised garden beds from pallets I scavenged behind a grocery store, and I’ve never looked back at my gorgeous ex-lawn.
For your DIY backyard transformation, start with pallets; free, abundant, and yielding instant 48-by-40-inch frames. Stack two for 8-inch depth, line with landscape fabric for drainage, and fill with soil. Avoid pressure-treated wood for edibles; HT-stamped pallets are your friends.
Cinder blocks offer modular flexibility at about $1.50 each. I arranged mine in an L-shape against my fence, filling block cavities with herbs. This budget-friendly approach beats tilling compacted earth, keeps knees happy, and delivers proper drainage that clay soil never could.
Choose Native Plants That Survive on Rain Alone
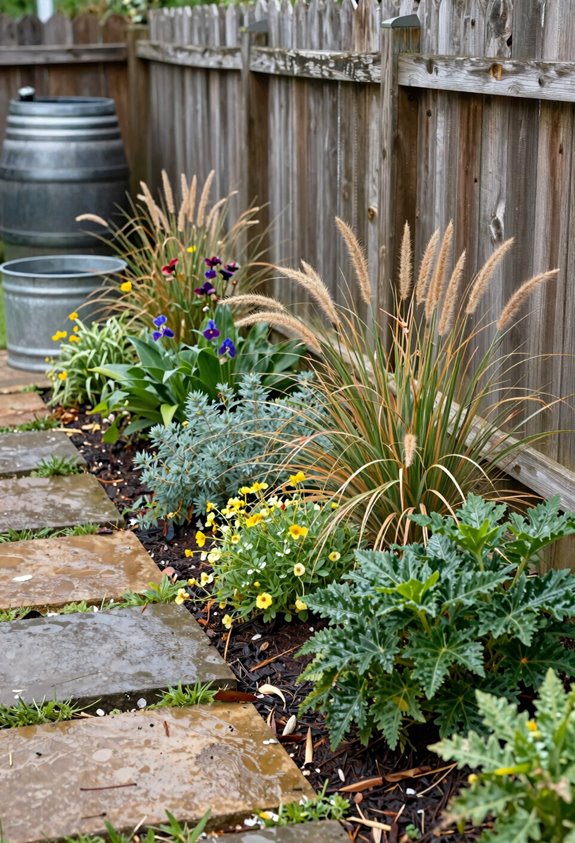
I’ve learned the hard way that stuffing a yard with thirsty exotics turns you into a hostage to your hose, so I’m steering you toward water-wise natives that laugh at drought; think California poppies soaking up winter rain through Zone 8 or tallgrass prairie dropseed doing fine on 30 inches of annual precipitation without a lick of supplemental irrigation.
Regional adaptations matter more than catalog photos, which is why my Michigan swamp milkweed croaked in a friend’s Arizona xeriscape while her desert marigold took off on 12 inches of rainfall and indifference; check your county extension or a nursery that actually grows local stock, not one shipping generic “natives” from three hardiness zones away.
You’ll spend maybe $150 to $300 establishing a 200-square-foot rain-fed bed, less than half a season’s water bill for a needy lawn, and after year two, you’ll fork over nothing but occasional pruning while your former lawn supports pollinators you didn’t know lived on your block.
Water-Wise Selection
My irrigation reduction strategy relies on drought-tolerant natives and smart pairing. Here’s my water-wise blueprint:
- Source from local nurseries, their stock already survives your microclimate
- Layer 2 inches of mulch around establishing rootballs to cut evaporation 40%
- Group by water needs, hydrozoning prevents overwatering dry-soil natives
- Add ground covers like *Sedum* between specimens to shade soil
This former lawn now supports 14 native bee species. My water bill dropped $23 monthly, and I haven’t touched a sprinkler since March 2022.
Regional Adaptations
Where exactly does your rain fall, and when does it stop? I learned this the hard way after installing a “drought-tolerant” olive tree in Seattle, wrong region, wrong lesson. Regional adaptations matter because your gorgeous exlawn wants plants that actually recognize your zip code.
I shop native plants at local nurseries where staff know which species survive my USDA zone’s tantrums. In my small space, I’ve replaced thirsty turf with hardy bunchgrasses and sedums that shrug off summer drought. I spread three inches of shredded bark mulch to bank moisture and suppress weeds; mechanical weeding steals weekends.
These choices feed pollinators without my sprinkler running. Natives need zero fertilizer once established; they grew here before I did. I mow twice yearly now. My water bill thanks me, and the bees belong here as much as I do.
Apply Free Wood Chip Mulch to Stop Weeds and Save Water
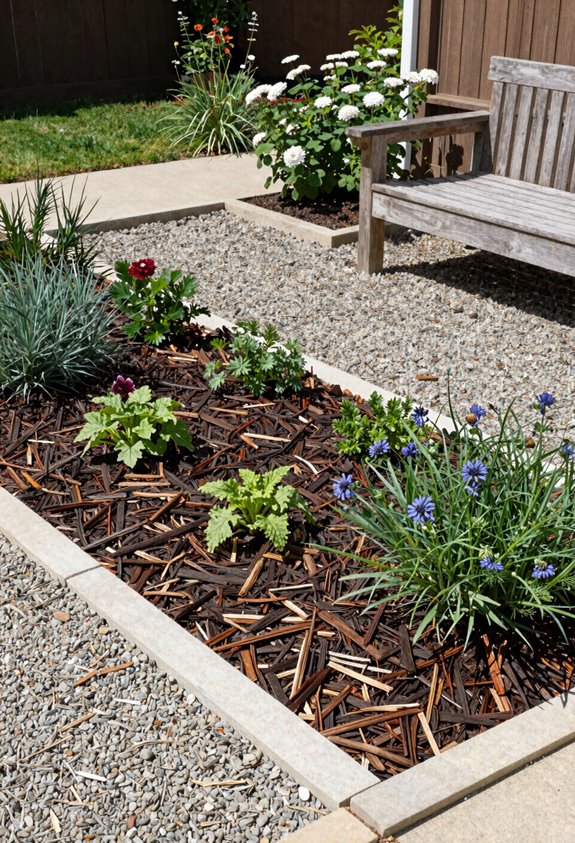
Three inches of free wood chips saved my sanity and my water bill last summer, though I learned the hard way that there’s an art to not creating a termite buffet. I source my wood chip mulch from a local arborist who dumps a truckload for nothing, budget-friendly and community-minded.
Three inches of free wood chips saved my sanity and my water bill, though I learned the hard way there’s an art to not creating a termite buffet.
Here’s my field-tested protocol:
- Weed control demands clearing existing invaders first; mulch smothers seedlings, not established dandelions.
- Mulch depth stays at 2–3 inches; deeper courts anaerobic rot and fungal drama.
- Water conservation works because evaporation drops dramatically; I cut irrigation from thrice-weekly to weekly.
- Soil health improves as chips decompose, feeding my former lawn’s replacement beds with slow-release organic matter.
Keep chips 6 inches from foundations; termites appreciate easy highway access.
Furnish Your Space With Thrifted Mismatched Pieces
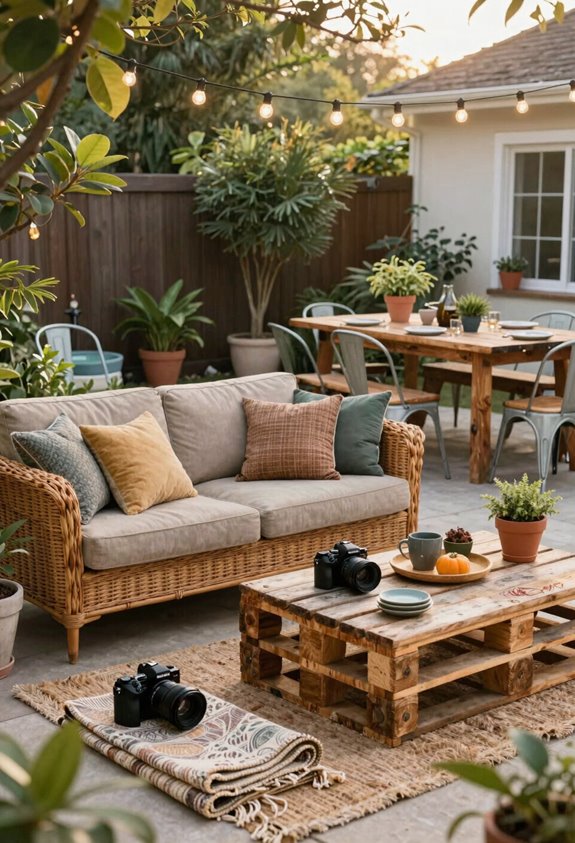
Why spend a fortune on matching patio sets when I built my entire outdoor dining area for $340 and change? I scoured flea markets and Facebook Marketplace for thrifted furniture, scoring mismatched chairs at $45-$75 each and a reclaimed wood table for $120. The trick isn’t matching, it’s cohesion.
I sanded every piece, then applied two coats of exterior-grade outdoor paint in a muted sage across all surfaces; suddenly four disparate eras became one intentional outdoor dining set. For budget-friendly decor, I added $12 cushions from a discount store. The mismatched chairs invite conversation, and I’ve weatherproofed each with sealant rated for my USDA zone 6a winters. This approach lets you expand gradually, adding pieces that belong without breaking the bank.
Layer Solar and String Lights for Evening Ambiance
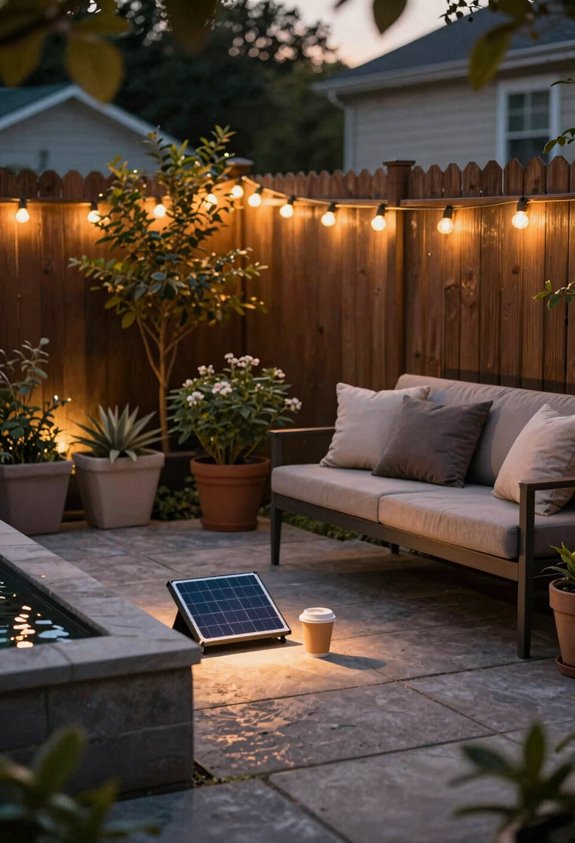
I’ve found that budget-friendly lighting options don’t require sacrificing atmosphere, and creative installation techniques turn even the cheapest solar stakes into something gallery-worthy. I stagger path lights every six feet along walkways, then canopy string lights overhead using existing trees as anchors; no drilling, no permits, no electrician’s bill.
The trick lies in angling solar panels due south at 45 degrees. I’ve killed enough lanterns by planting them in “partial shade” that turned out to be botanical twilight hour to know this matters.
Budget-Friendly Lighting Options
How much evening magic can $100 buy? I’ve stretched my outdoor lighting budget across three growing seasons, and the answer is: enough to make neighbors linger at the fence.
Solar lighting eliminates electrician bills and trenching headaches. I pair solar path lights with string lights for layered ambiance that guides feet and sets moods without wiring wars.
My battle-tested approach:
- Stake solar path lights 6 to 8 feet apart along walkways, aiming for 6+ hours of direct sun
- Drape warm-white string lights above seating zones at 8 to 10 feet height
- Mix solar lanterns with plug-in strands to zone entrances versus dining areas
- Budget $50 to $150 for quality string lights, often less for solar options
This budget-friendly combination delivers professional ambiance while keeping your wallet intact.
Creative Installation Techniques
Once you’ve picked out your lights, the real fun starts in figuring out how to hang them without electrocuting yourself or creating a tangled mess that looks like holiday decorations gone wrong.
I start solar string lights by mapping outdoor lighting placement, measuring spans exactly, installing galvanized hooks or DIY poles at 8-foot intervals, and draping in zigzag or canopy patterns for full coverage. Layering illumination means pairing those strings with solar path lights along walkways, creating depth without outlets.
I position weather-resistant LED fixtures (2700K warm white, $15-$40 per strand) to highlight focal features, my pergola beams, the fire pit’s glow radius, stone steps, while keeping dining zones softly lit. These budget-friendly projects change after-dark spaces into cohesive, inviting retreats where everyone wants to gather.
Build Wine Bottle Borders and Tin Can Planters for Free
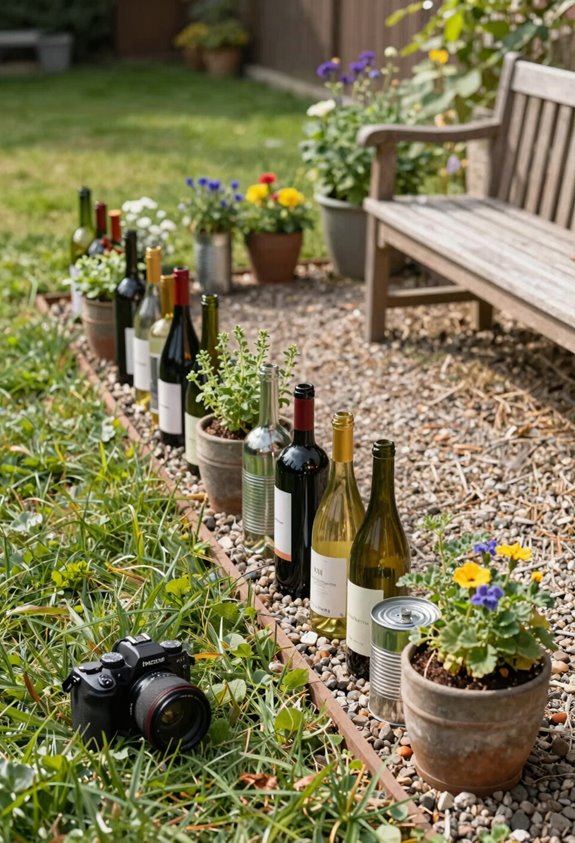
The garden edge I’ve come to rely on starts with what my neighbors once considered a drinking problem. I’ve been repurposing empties into wine bottle borders; those green, amber, and clear bottoms catching light like stained glass create borders that outlast plastic by decades. The necks bury 6 inches deep; the bases form a charming, irregular fence.
Tin can planters complete this budget-friendly outdoor decor scheme, and here’s how I build the system:
- Collect wine bottles until you hit critical mass (roughly 40 per 10 linear feet)
- Remove labels with hot soapy water; don’t rush this
- Drill drainage holes in cans, then spray-paint in complementary tones
- Cluster three heights on tables or suspend from fence rails with baling wire
My parsley’s doing well in a kidney bean can. Yours will too.





