
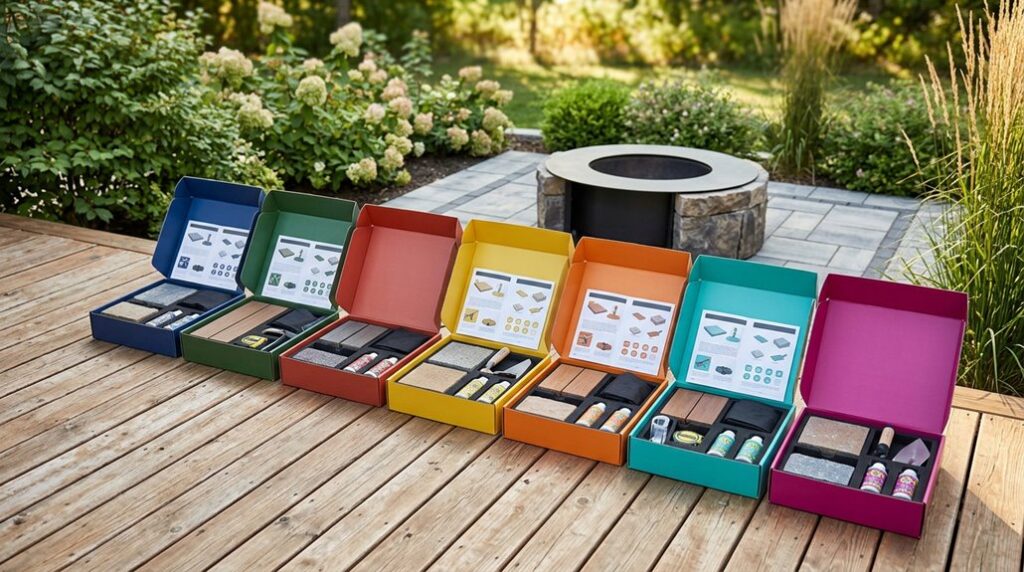
I’ve assembled seven patio kits that actually survive my zone 6b winters, and I’m still surprised which ones held up. The Alumawood 12×30 with integrated electrical ran me $8,400 and took two weekends; no painting, no rot, just a permit signed in eleven days.
Toja Grid’s steel brackets paired with cedar I milled myself: $1,200, four hours, one collapsed attempt when I ignored the 6-inch footing depth.
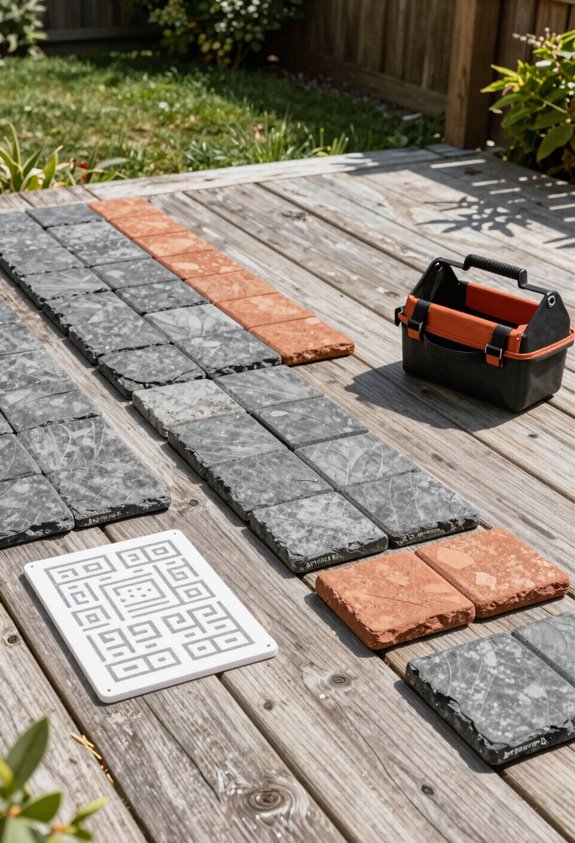
Interlocking porcelain pavers over my cracked slab? Zero mortar, 400 square feet in six hours, though the 2-percent slope drainage lesson cost me a puddle and a lecture.
Fire pits with built-in seating promise gatherings, but the 36-inch clearance rule matters more than the Instagram photos suggest. I’ll walk through what each kit demands in tools, soil prep, and realistic timelines; starting with the one I’d rebuild first.
What Makes a DIY Patio Kit Worth Buying?
Why shell out thousands for pro installation when I’m sweating through a Saturday with a level and a dream? That’s the DIY patio kit value I’ve found with these Alumawood systems; you’re looking at $4,789 for a 12×30 kit with electrical, saving $1K–$5K on labor while still getting live support when I panic about beam alignment at sundown.
The design tools help before I commit: their free 3D patio cover designer lets me visualize wood-grained aluminum options, Alumawood, Elitewood, Weatherwood, in solid non-insulated, lattice, or solid insulated configurations. No guesswork on aesthetics.
Then there’s permits and engineering. I’ll confess, my first pergola attempt died at county inspection. These kits include custom engineering documentation and permit paperwork, plus delivery and install guidance from actual humans at Wildomar or San Marcos showrooms. Phone support during build means I’m never truly alone in this gorgeous exlawn disaster.
DIY Patio Kit for Shade: Fast-Assembly Pergola Systems
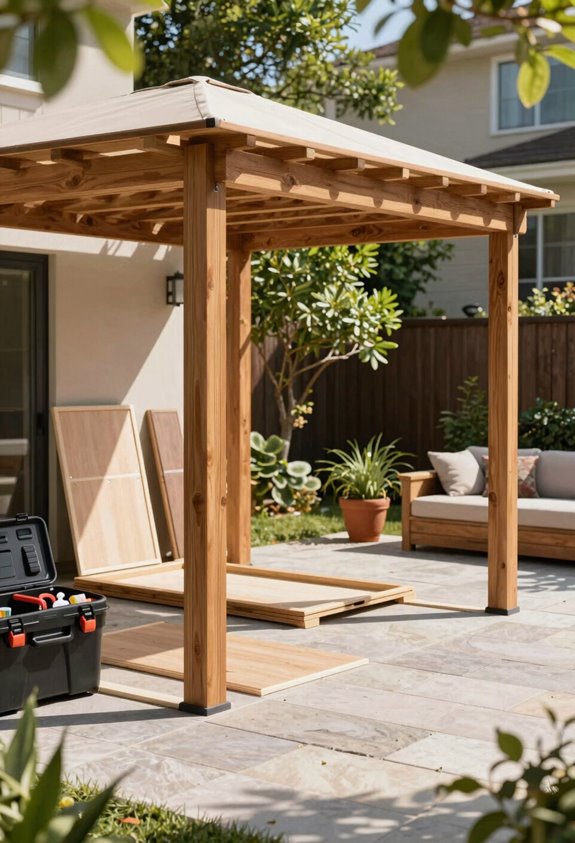
How fast can you go from sunburned to shaded? With a Toja Grid pergola kit, I’m talking one weekend and roughly $1,100: $800 for hardware, $300 for lumber. That’s your DIY patio shade sorted without cement mixers or contractor anxiety.
I anchored mine to existing concrete, which eliminated foundation fears entirely. The modular brackets let me build fast, then adapt later for an outdoor movie setup and extra posts.
This backyard upgrade became my garden’s structural backbone, not just sun protection. I stained everything black after a year’s weathering; natural wood looked too “gorgeous exlawn” for my taste. The finish changed it from functional to intentional. Fast-assembly doesn’t mean flimsy; it means you’re drinking iced tea under proper shade by Sunday evening, not still deciphering instructions.
DIY Patio Kit for Surfaces: Modular Pavers (No Cement Mixer)
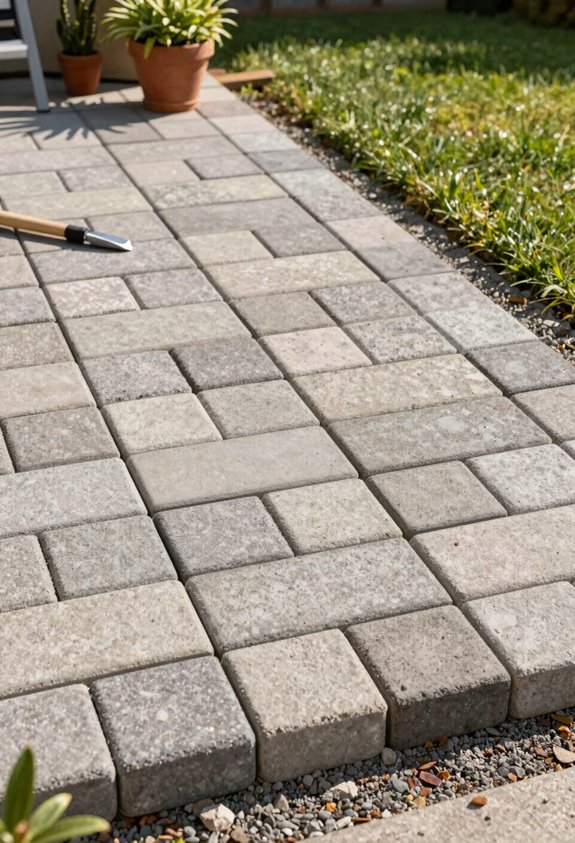
Where exactly does your patio end and your lawn begin when you haven’t committed to either? I’ve solved that ambiguity with modular pavers, and I’m betting you’ll want in on this mortar-free solution too.
This patio kit changed my weedy transitional zone into defined living space over one weekend DIY. You’ll swap weekend warrior stories at block parties because everyone recognizes that crisp, intentional edge between hardscape and turf.
The system ships with interlocking units, base materials, and edge restraints; no cement mixer, no concrete pour, no rental fees bleeding your budget. I prepped 200 square feet Saturday morning, laid pavers Sunday, and grilled that evening.
Components fit standard layouts but scale if your ambition outgrows your starter plan. Colors and patterns let you signal taste without shouting.
DIY Patio Kit for Cracked Concrete: Interlocking Deck Tiles
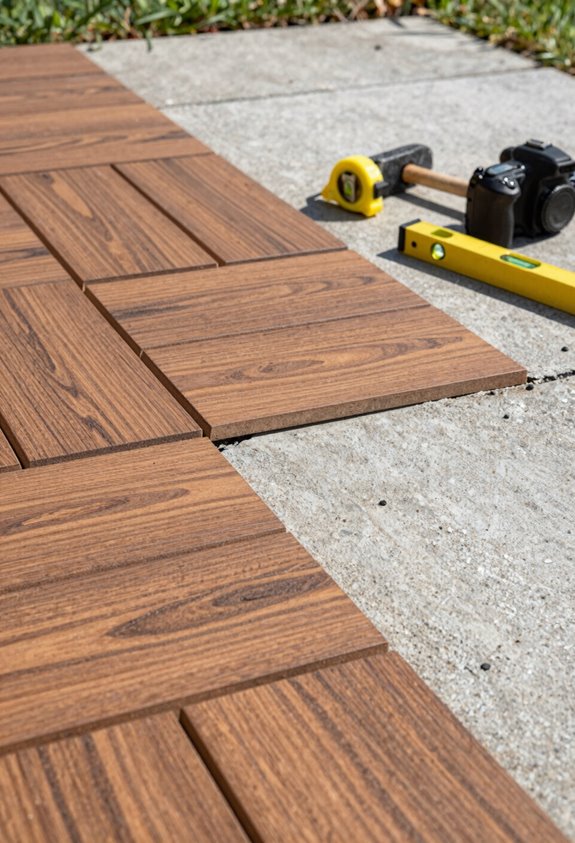
What do you do when your concrete patio’s developed more cracks than a dried creek bed in August, but tearing it out feels like scheduling a root canal? I grab a DIY patio kit of interlocking tiles and turn that eyesore into something gorgeous.
Skip the jackhammer. Snap a tile kit over cracked concrete and call it fixed.
Here’s what makes this outdoor upgrade sing:
- Tool-free snap-together installation means I’m sipping lemonade within two hours, not wrestling a jackhammer
- Teak-look surfaces hide cracked concrete while surviving Zone 7 winters and summer scorch alike
- Completely rental-friendly removal when my lease expires, just lift and relocate
My 10-by-12-foot refresh ran $340 and one Saturday morning. I swept the slab, aligned the interlocking tiles tight against pooling risks, then edged with solar path lights. Instant belonging, zero concrete pours, no root canal required.
DIY Patio Kit for Zero Maintenance: Alumawood Shade Covers
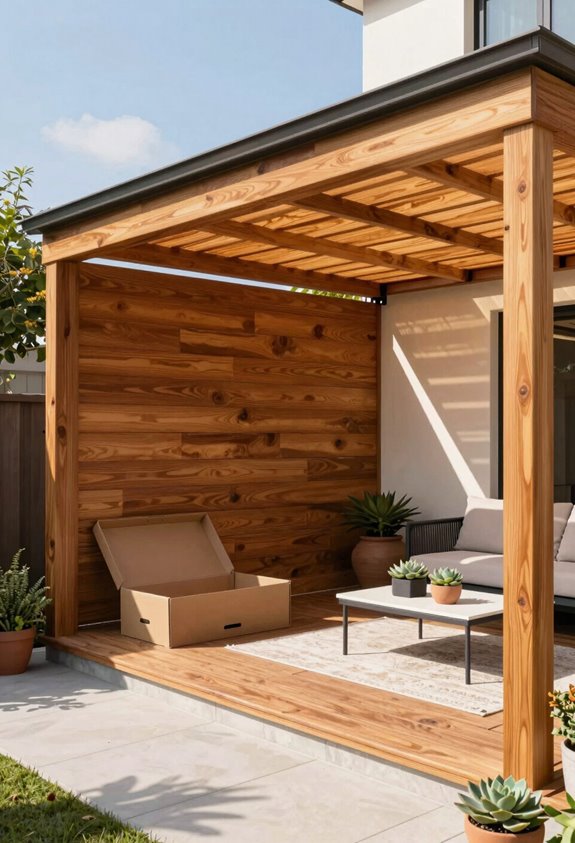
I’ve installed three Alumawood systems across two USDA zones, and I’ll tell you straight: that wood-grained aluminum isn’t just marketing fluff, it’s the difference between resealing redwood every 18 months and actually enjoying your weekend.
The 3D design-to-permit pipeline cuts my planning phase from six weeks to four days, though you’ll want to verify your local wind-load requirements before finalizing that 12-by-30 footprint with integrated electrical. At $4,789 minus the $1,000–$5,000 you’d spend on pro installation, you’re looking at roughly eight years of zero-maintenance shade before the break-even math favors traditional lumber.
Alumawood Material Benefits
Why settle for annual sanding and staining when you could be planting tomatoes instead? I’ve learned that Alumawood DIY patio kits deliver exactly that freedom: maintenance-free living with the warm look of wood-grained aluminum.
Here’s what makes this material worth your weekend:
- Zero rot, zero termites, zero splinters; just hose it off and get back to your garden
- Wood-grained aluminum fools the neighbors; my cousin still thinks I built cedar trusses
- Long-term savings compound fast when you’re not buying stain every spring
That 12×30 kit runs $4,789 with electrical, and skipping pro installation keeps another grand to five grand in your pocket. I calculated my break-even against redwood at year four. Now I propagate heirlooms beneath my lattice cover instead of nursing peeling pergolas.
Installation Process Overview
Material advantages mean nothing if you’re still waiting on contractors who ghost you between soccer games, so I handled my Alumawood install myself over one October weekend when the soil temperature in my Zone 9b yard hit that sweet 65°F mark for setting anchor posts. Their kit-based design/services shipped everything pre-cut; no miter saw tantrums required.
I started with their free 3D Patio Cover Designer, built my 12×30 frame with electrical run for $4,789, and pocketed roughly $3,200 I’d have blown on labor. The installation process boiled down to augering footings, dropping posts in quick-set concrete Saturday morning, then hanging beams Sunday before my kids’ recital. Live phone support talked me through ledger lag placement when I botched the first bracket.
This zero-maintenance cover went up clean; no future staining, no termite anxiety, just aluminum bones wearing wood-grained makeup. Wildomar showrooms let me finger-test materials beforehand, and delivery included explicit build instructions plus on-site guidance options. DIY patio kits from Alumawood, Elitewood, or Weatherwood simplify shade for any homeowner. My gorgeous ex-lawn now hosts dinner without the contractor theater.
Long-Term Cost Value
When you’re staring down a decade of weekend maintenance, the math on that $4,789 Alumawood kit starts looking prettier than my crepe myrtle in June. I’ve learned the hard way that “budget” wood rot equals winter structural failure, especially in USDA zones 9-11 where I garden and suffer.
For your California backyard upgrade, this DIY patio kit delivers serious long-term cost value, and I’ll prove it:
Zero re-staining, zero termite anxiety, zero replacement lumber runs; that wood-grained aluminum endures 15+ years without blinking. That $1K–$5K installation saving joins forces with design support so precise I didn’t waste a single 12×30 panel. Live phone assistance during my build prevented costly errors; my gorgeous exlawn survived intact.
Alumawood’s not cheap, but neither’s replacing substandard covers twice.
DIY Patio Kit for Gathering: Fire Pits With Built-In Seating
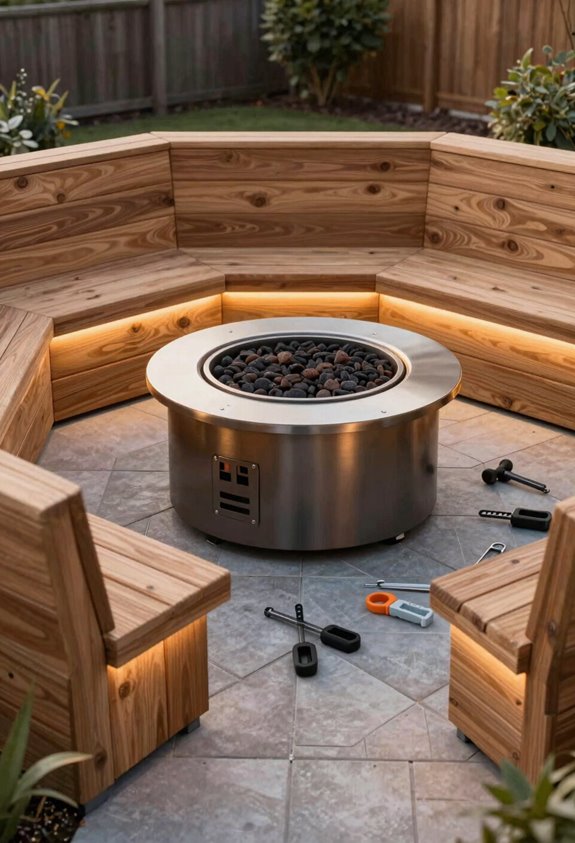
How does one build a gathering spot that doesn’t devolve into lawn chairs in a muddy circle? I’ve found the answer lies in a DIY patio kit centered on a backyard fire pit with built-in seating, specifically the DIY Stone Fire Pit, which delivers a proper outdoor gathering space in roughly two days.
The stone-edged pea gravel seating area accommodates eight to ten people comfortably; no more scavenging for stray camp chairs when friends arrive. This setup pairs beautifully with budget-friendly upgrades like a backyard projector for outdoor movie nights, extending your entertaining season through USDA Zone 5 winters.
The materials run modest, and the construction demands little beyond basic masonry patience. I’ve learned that seating arranged in a 120-degree arc maximizes both warmth distribution and conversation flow, turning a simple fire pit into the gravitational center of your social universe.
DIY Patio Kit for Privacy: Walls That Block Ugly Views
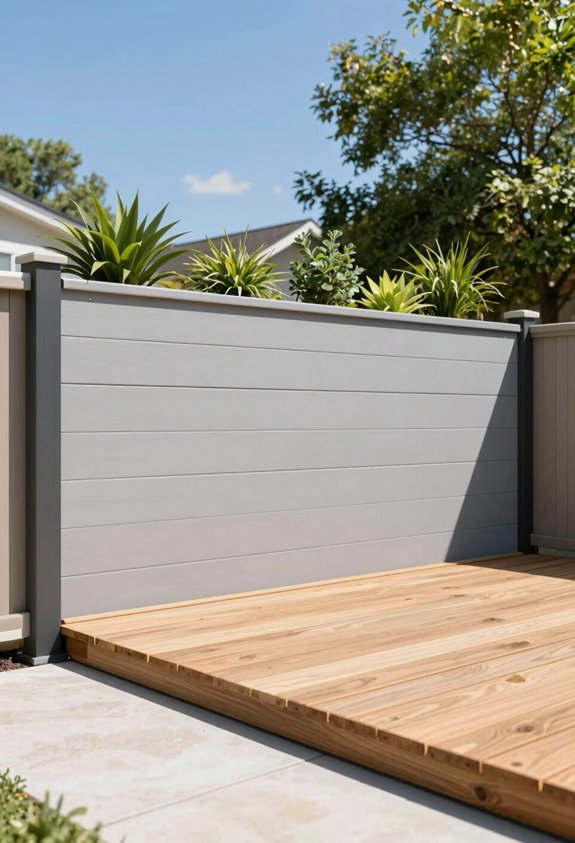
Why settle for staring at your neighbor’s corrugated shed when you could be gazing at something verdant instead? I changed my DIY backyard catastrophe with a privacy fencing patio kit that demands only basic dexterity and Saturday morning commitment.
Natural reed fencing runs $56.09+ across three sizes: 6’x8′, 6’x16′, and 8’x16′, with reviewers praising weave density and colorfastness through two growing seasons. I mounted mine in forty minutes, creating outdoor privacy that actually improves with humidity-induced expansion.
In forty minutes I traded my neighbor’s shed for a humidity-expanding privacy screen that actually looks better the muggier it gets.
For pergola dwellers, faux ivy attaches to existing wire infrastructure, filtering sunlight while blocking sightlines.
- Reed fencing: woven Phragmites australis, three standardized heights
- Faux ivy: polyethylene mesh backing, UV-stabilized, zone-agnostic
- Installation: zip-tie or staple, zero excavation required
My clear views now feature climbing hydrangea, not corrugated metal.





