
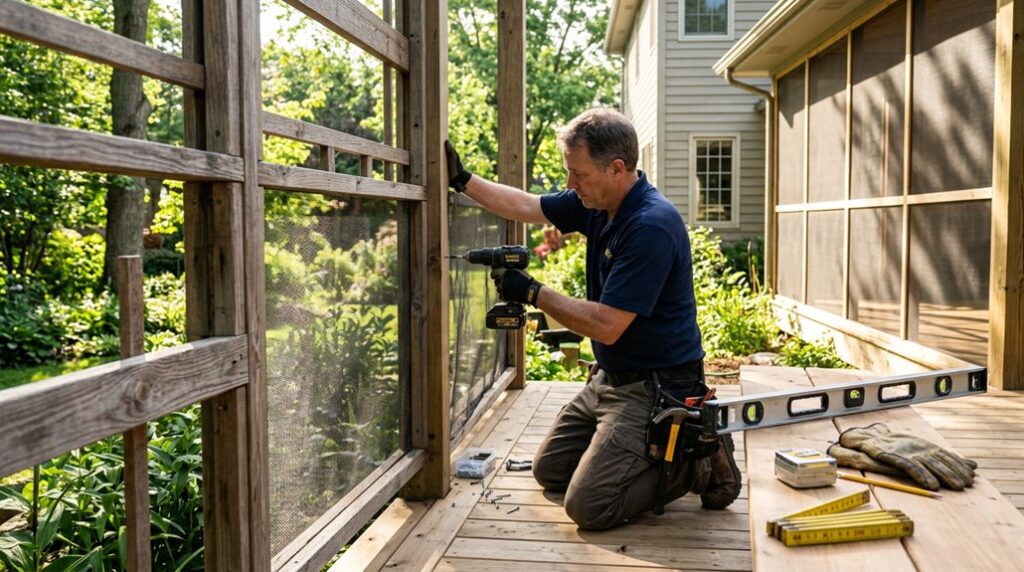
I once spent three weekends and $847 building what I modestly called “the Versailles of mosquito prevention,” only to watch it collapse in a thunderstorm because I’d skipped the 3-4-5 triangulation on my corner posts.
You’ll want to map your 14-by-16-foot footprint precisely, and secure permits for frost-line depth in your USDA zone.
Accept that your “detachable foundation” will probably detach itself when you least expect it.
The real trick isn’t the cedar framing or the screen spline. It’s accepting that your gorgeous ex-lawn will never forgive you.
Plan Your Screened-In Patio Layout and Get Permits
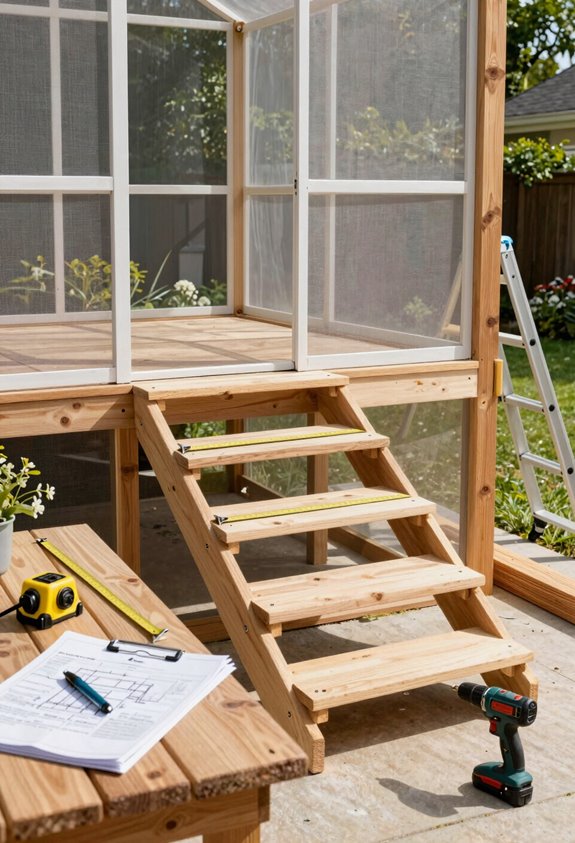
Before I order a single 2×4 or argue with a zoning clerk, I map every inch of this project in my head and on paper: a 14-by-16-foot rectangle that’ll swallow most of my existing patio without devouring the backyard. I want a high roof and removable awning, something that keeps my sliding door view intact while giving me that screened-in sanctuary I’ve been craving.
I haul myself to the building department before breaking ground, not after. Permits vary wildly by jurisdiction, and I’ve learned that some locales demand structural engineer sign-offs or seismic anchors for wind-prone zones.
My foundation layout uses pressure-treated 6×6 timbers and mason’s string to make sure everything’s square, 14 feet parallel to the house, 16 feet perpendicular. I design it detachable, too, so winter doesn’t trap me indoors.
Choose Lumber, Screens, and Finishes That Last
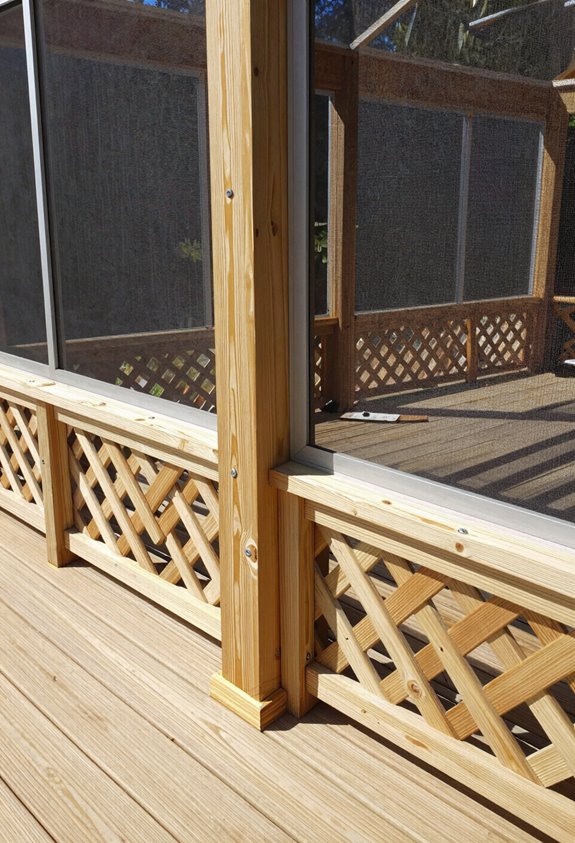
I’ve learned the hard way that skimping on lumber turns a gorgeous screened patio into a gorgeous exlawn within three humid summers, so I’ll walk you through the wood selection essentials that actually survive USDA zones 7–10.
For the framework, I splurge on D-grade cedar or spring for pressure-treated 6x6s sitting on compacted gravel; never concrete, since you’ll want this thing detachable when the termites inevitably RSVP.
I’ll also break down screen and finish options, from 18×16 mesh that stops mosquitoes to bronze aluminum frames that spare you the ladder work, plus the stain-blocking primer I wish I’d discovered before my cedar bled through three coats of white latex.
Wood Selection Essentials
Why does wood choice make or break a screened patio? I’ve learned lumber choice governs whether your weekend build becomes a neighborhood gathering spot or a sagging regret. I use D-grade cedar for framing, its natural rot resistance outperforms budget shortcuts, though I splurge on a laminated peak beam for structural integrity. Treated pine tempts cost-cutters, but I’ve watched it twist and check across three humid summers; stick with rot-resistant species where rain lingers.
My foundation rests on pressure-treated 6×6 timbers bedding into tamped crushed gravel, pavers out, stability in. For doors, I rip cedar 2x4s for uprights and 2x6s for rails, cutting each exactly ½ inch shy of its opening. A stain-blocking primer prevents cedar tannins from bleeding through my white latex topcoat, saving a redo.
| Component | Material | Rationale |
|---|---|---|
| Framing | D-grade cedar | Rot resistance vs. cost balance |
| Peak beam | Laminated cedar | Structural strength required |
| Foundation | Pressure-treated 6×6 | Ground contact durability |
| Door frames | Cedar 2x4s, 2x6s | Dimension stability, ½” gap |
| Prime coat | Stain-blocking primer | Prevents cedar tannin bleed |
Screen and Finish Options
The screen you stretch today determines whether you’ll swat mosquitoes through a torn mesh sunset or sip lemonade in peace five summers from now.
I chose cedar for my frame, D-grade for the posts and rafters, splurging on a laminated peak beam, though pressure-treated 6x6s work if you’re budget-conscious and don’t mind the retreating-from-chemicals dance. My foundation sits on gravel, keeping the whole structure honest and detached.
For screen fabrics, I tested 18×16 mesh against determined June bugs and settled on 20×20 for finer pollen defense; bronze aluminum frames suit the unpainted cedar, aging to that gorgeous exlawn patina. My doors, rabbeted cedar 2x4s sized ½ inch shy of openings, swing smooth with screens tucked inside. I primed with stain-blocker first, learned that bleeding cedar lesson the hard way, then brushed white latex topcoat.
Lay the Foundation With Treated 6×6 Timbers
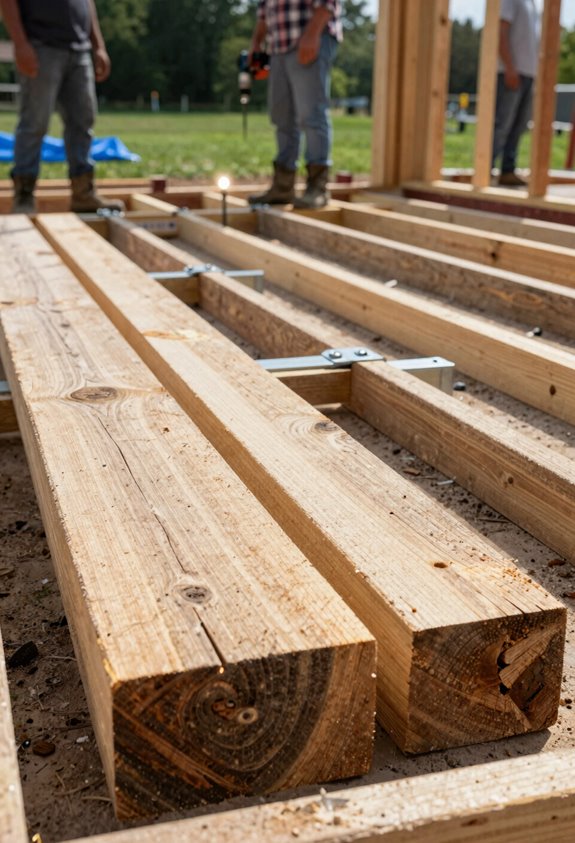
I start every foundation project by excavating an 8-by-8-inch trench and packing it with crushed gravel, which I’ve learned the hard way prevents the “gorgeous exlawn” from heaving after the first freeze-thaw cycle. Once the gravel bed is tamped dead level, I lay out my perimeter with mason’s string, checking obsessively for squareness because nobody wants a trapezoid patio. I set the pressure-treated 6×6 timbers directly on that prepared base. I predrill every hole before driving those 10-inch spikes home at the corners, a lesson from my first attempt where splitting a timber cost me three hours and a trip back to the lumberyard.
Gravel Base Preparation
Where exactly does your gorgeous lawn end and a permanent patio begin? Right where I dig my 8-by-8-inch trench, that’s where. I learned the hard way that foundation stability demands respect for water; skip the gravel base and you’ll watch your timbers heave like they’re trying to escape.
Here’s how I keep everything grounded:
- I dig trenches 8 inches deep and wide along my perimeter, no eyeballing allowed
- I compact crushed gravel until it’s stubbornly level, because drainage saves friendships (and lumber)
- I predrill corners and drive 10-inch spikes through my frame into that gravel bed
- I maintain slight gaps beneath timbers for airflow, so moisture escapes rather than lingers
That compacted gravel base isn’t glamorous, but it’s the difference between a patio that lasts and one that sulks.
Timber Layout Anchoring
With gravel locked in place, it’s time to wrestle some 6×6 timbers into submission. I stretch mason’s string to map my timber layout, checking corners with the 3-4-5 triangle method, nothing kills a screened patio like a foundation that skews rhomboid after three beers and a summer storm.
I dig trenches four inches deep, setting pressure-treated 6x6s on compacted gravel for drainage that won’t heave in USDA Zone 6 winters. Anchoring demands patience: I predrill pilot holes to prevent splitting, then drive 10-inch spikes through corners with a sledgehammer that tests my shoulder and my vocabulary. Each timber must sit dead level and align precisely with post positions, my first attempt in 2019 taught me that “close enough” means screens that gap like missing teeth.
Secure Posts to the Foundation and Notch for Framing
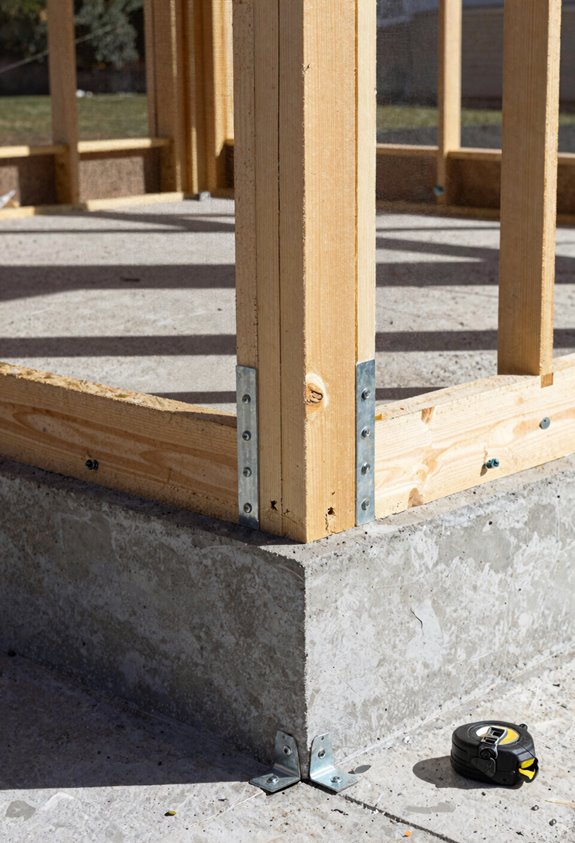
How exactly do you turn a pile of 6×6 timbers into something that won’t sway like a sunflower in a thunderstorm? You lock those posts to the foundation like you’re anchoring a ship in hurricane season.
I predrill holes through my timbers and foundation anchors, then drive lag bolts home until the wood practically groans. Here’s what separates weekend warriors from folks who actually finish:
I drop drift pins through predrilled holes to align posts during final assembly, no wrestling match required. I notch vertical posts to receive horizontal cross members; flush joints mean stable framing that won’t twist.
I temporarily set outside rafters to mark angled cuts, then unscrew and trim with my circular saw. I measure diagonals corner-to-corner, adjusting bracing until everything’s plumb and square.
Your screened-in sanctuary starts here.
Install Corner Posts for Your Screened-In Patio Frame
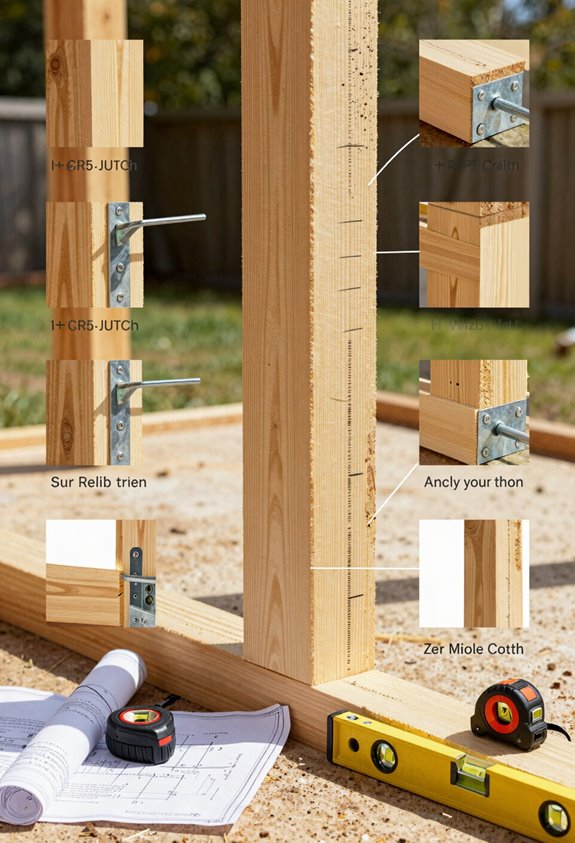
Why wrestle with a wobbly frame when you can lock it square from the start? I raise my two front corner posts onto drift pins, then brace them temporarily with diagonal supports while checking plumb.
Here’s where frame assembly gets interesting: I notch the front upper horizontal 2×6 into the posts, keeping side horizontals flush-mounted instead. I fasten everything loosely at first; tightening comes later. I measure diagonally corner-to-corner on all four sides, nudging temporary bracing until my numbers match perfectly. This square foundation determines whether my screen panels fit without gaps or headaches.
I shift bracing as needed during frame assembly, never rushing the plumb check. Once these corner posts stand true, I’ve built the skeleton that carries everything else.
Cut and Fit Rafters for Your Screened Patio Roof
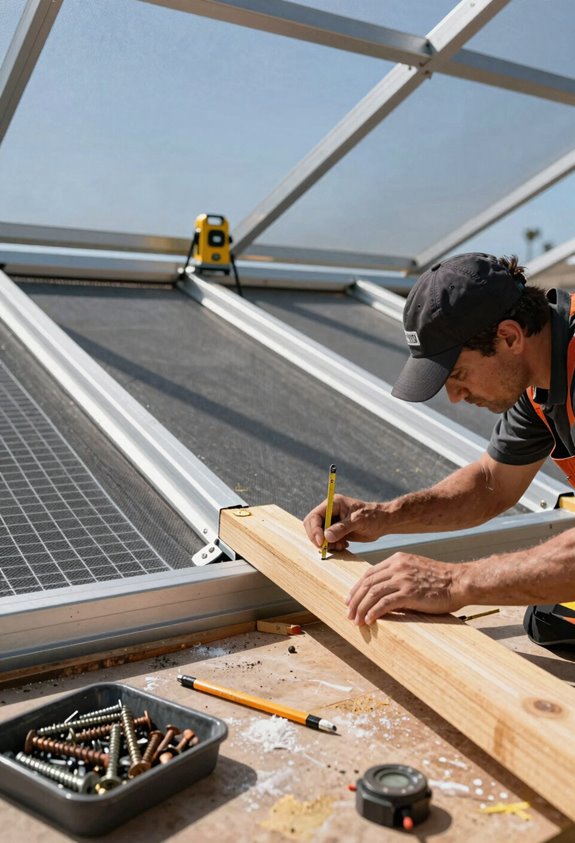
Once my corner posts stand plumb and the frame’s locked square, I’m ready to give this patio its crown. I start by mounting a 2×6 ledger to my laminated peak beam; this’ll cradle the upper rafter ends while the lower ones rest on my wall ledger. I cut each rafter’s top end at 13 degrees (adjust yours to match your pitch), then notch bird’s-mouth cuts at the eaves for that satisfying flush fit. I sight each board’s crown upward; nobody wants a sagging screened porch roof.
Here’s how I keep my sanity:
- I secure end rafters first, then dead-center, splitting the difference on both sides
- I check each crown bows up, not down; I learned that on my gorgeous ex-lawn gazebo disaster
- I space evenly, measuring twice because wood’s expensive
- I remember these rafters are my roof supports’ backbone, so I don’t rush
Secure the Frame and Add Roof Cross Supports
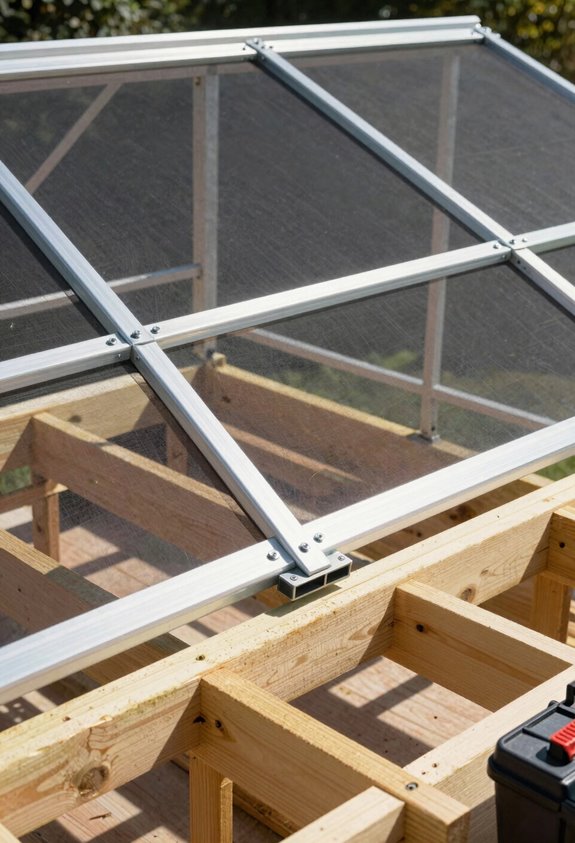
I secure the frame by pre-drilling and countersinking 3/8-inch by 4-1/2-inch lag bolts at each joint, because a gorgeous exlawn underneath won’t stay that way if 2,000 pounds of lumber sways in a thunderstorm. Once my notched 6×6 posts stand square and flush, I mount the rafters crown-up to the peak beam; they’ll rest on that 2×6 ledger while I eyeball plumb alignment, though I admit I once installed three upside-down before my coffee kicked in.
Finally, I bolt 2×8 cross supports with beveled tops to the laminated beam, completing a lateral bracing system that’ll keep this roof rigid through USDA Zone 8 wind gusts and my sister’s ill-advised July pergola parties.
Lag Bolt Assembly
How do you keep a patio frame from racking itself into a parallelogram before you’ve even hung the first screen? You lag-bolt it with serious intent.
For this framing assembly, here’s what keeps us all square:
Pre-drill 3/8-in. x 4-1/2 in. holes at every joint, then countersink washers and bolt heads before tightening.
Notch all 6×6 and 4×6 vertical posts to cradle horizontal members; alignment isn’t negotiable.
Raise front corners onto drift pins, then brace diagonally while you check plumb. Temporary bracing has saved assemblies from catastrophic skew more times than I can count.
Add that 2×6 ledger to your laminated peak beam for rafter support, and bevel 2×8 cross supports for flush bolting.
Lag-bolts turn wobbly lumber into something solid and square.
Rafter Installation Sequence
{
“text”: “Where exactly do you start when the frame’s finally square and you’re staring up at that laminated peak beam, wondering if your roof’s going to look like a roller coaster or a respectable shelter? I’ve been there, squinting at crown bows, and I’ll tell you: it all starts with a solid ledger board.
I fasten a 2×6 ledger board to that laminated peak beam first; it gives my rafters something trustworthy to bite into. Then I cut their upper ends to 13 degrees and bird’s-mouth the lower ends for honest seating against the eaves. I sight each rafter’s crown upward; nobody wants a sagging screen porch roof. I secure end rafters, then center, then split the difference evenly. Work slow, measure twice, and you’ll belong to the dry-witted club of folks who’ve built something square.”
}
Lateral Bracing System
Once your rafters stand like ribs on a proud skeleton, what keeps them from grinning sideways in the first stiff breeze? Lateral bracing, friend. Without it, your gorgeous exlawn project becomes a pile of kindling.
I cut 2×8 cross supports with beveled tops and narrower bottoms for flush seating against rafters. I bolt each cross support after mounting rafters to the laminated peak beam, distributing resistance to racking evenly. I place them atop the 2×6 ledger, working outer edges toward center for balanced load transfer.
I seat bird’s-mouth notches at 13-degree eaves cuts after squaring posts and horizontal members. This locks framing integrity tight. Tighten bolts only after everything’s square. Patience here saves your roof, your pride, and your Saturday.
Build and Hang Screen Doors for Your Patio
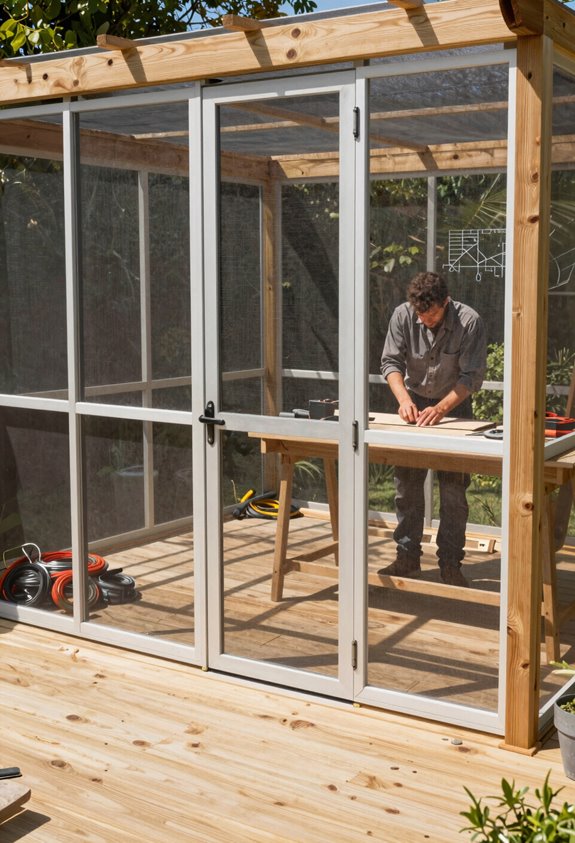
Why settle for a gaping portal when you can build something that actually keeps mosquitoes where they belong? I build my porch doors from cedar 2x4s for the sides and center, with 2x6s handling the tops and bottoms. I cut each door 1/2 inch smaller than the opening, learned that lesson the hard way when my first attempt swelled shut during a humid July.
Lap joints, resorcinol glue, and diagonal squaring checks keep everything true.
| Component | Material | Purpose |
|---|---|---|
| Frame sides/center | Cedar 2×4 | Structural backbone |
| Top/bottom rails | Cedar 2×6 | Weight-bearing stability |
| Hinges | 3-1/2 inch (4 per door) | Secure mounting |
| Hardware | Latches, handles, closers | Smooth daily operation |
| Screen recess | 1/2″ x 3/4″ rabbet | Future screening accommodation |
I hang with four hinges, add pneumatic closers so the doors don’t slam, and rabbet the interior for screens. The exterior and interior stops come later; this frame’s ready for whatever screening you choose.
Install Screens and Finishing Stops
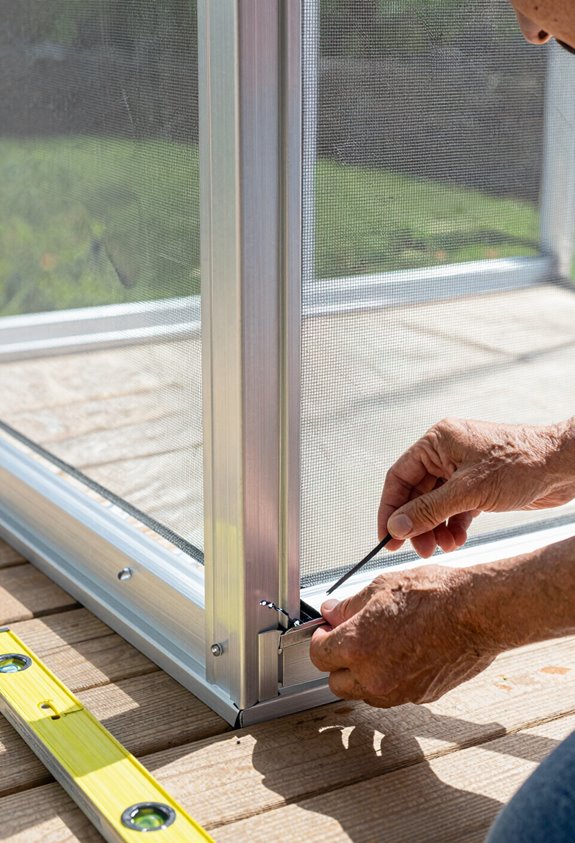
How do you keep a screen taut enough to repel a hummingbird yet forgiving enough to survive your nephew’s elbow? I’ve cracked this code through spectacular failure, my first screen fabric sagged like a glorious exlawn after two humid afternoons.
Here’s what I’ve learned about screen frames that actually belong in your life:
Square your corners obsessively; a ⅛-inch skew compounds into a gap mosquitoes exploit. Cut screen fabric two inches oversized, then roll spline firmly, too loose invites bugs, too tight warps the frame.
Tap cap rails home with a rubber mallet; they hide sins and trim cleanly with snips. Future-proof with storm-compatible channel systems because Midwestern weather turns vindictive fast.
Your patio becomes sanctuary when these details sing together.
Paint, Seal, and Complete Your Screened-In Patio
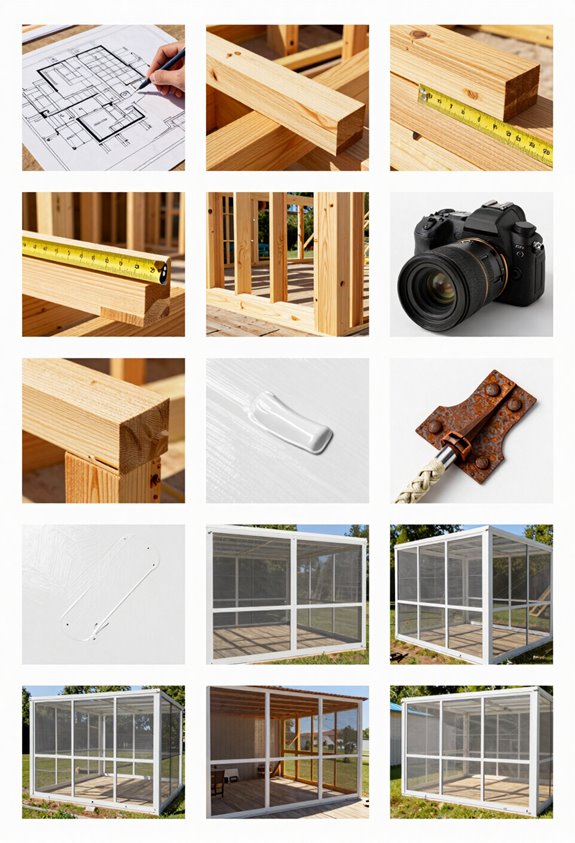
Where do most DIY patios quietly surrender to entropy? At the paint line, where rot-resistant wood meets weather without protection. I’ve watched pressure-treated 6×6 timbers gray into sad driftwood because someone skipped the seal.
Here’s how we finish strong. I brush stain-blocking primer onto cedar before any white latex topcoat; skip this, and tannins bleed through like a confession. My laminated peak beam and framing get two coats of exterior paint, working around aluminum screen frames where I’ve chosen metal over brushwork.
I install doors 1/2 inch shy of openings, hang them on four hinges each, and check that rabbeted screen groove one last time. Cap rails and spline-driven channels get final tension with a rubber mallet. Your screened-in space deserves this armor against time.





