
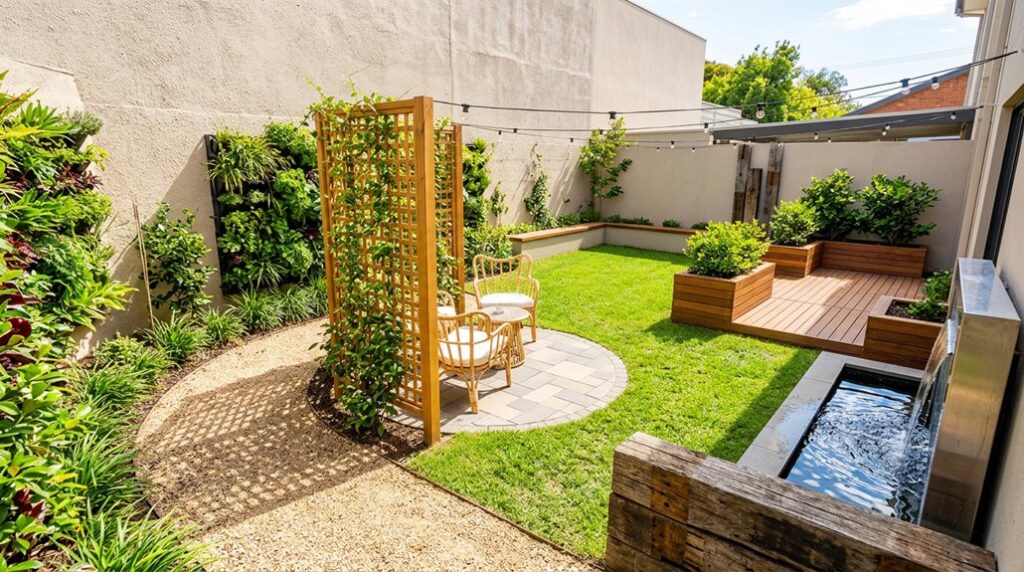
My backyard was a textbook case of suburban amnesia, half an acre of Bermuda grass pretending to be a lawn while I paid the water bill. I’ve since learned that unused space is just a story you haven’t finished writing, and the plot twists start with zoning your priorities before you lift a shovel.
I’ll show you how I burned through three pergola designs, measured shadows like a sundial obsessive, and finally built something worth watering.
Plan Your Backyard Zones Before Building Anything
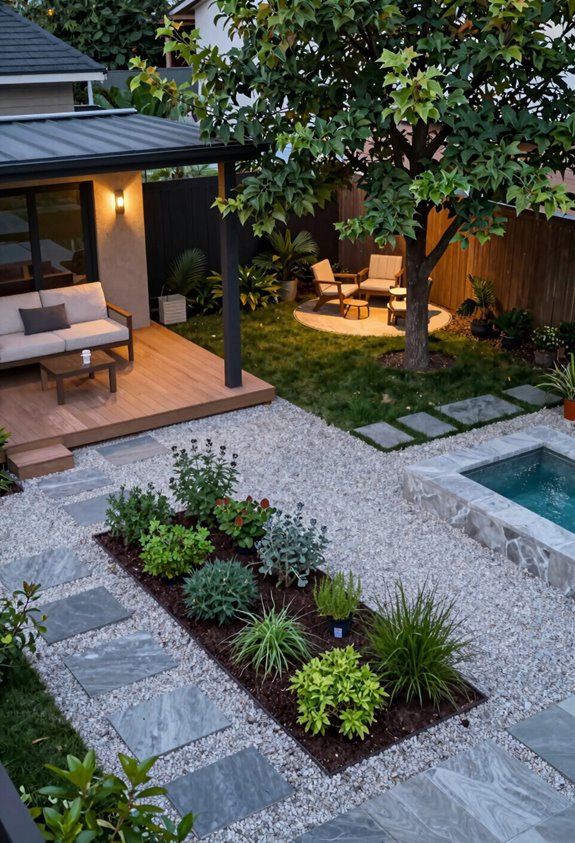
Before I sketch a single planter box or price out flagstone, I grab a notebook and make myself rank every backyard ambition from “non-negotiable” to “wouldn’t that be nice.” My current list has “dining space for six” at the top and “outdoor pizza oven” languishing near the bottom where it belongs, because I’ve learned the hard way that flashy additions eat square footage and budget faster than bindweed colonizes a neglected border.
Zone planning demands this ruthlessness. I photograph my yard at three p.m. and nine a.m., tracking shadows that’ll strangle your lounge chairs come July. Backyard zoning starts with traffic flow: I’ve mapped forty-inch pathways minimum so guests don’t bottleneck between my grill and Adirondacks. Our outdoor layout now dedicates 60 percent to hardscape because I’ve killed enough Kentucky bluegrass in Zone 7b humid summers to fill a composting facility.
Area delineation borrows from interior design; potted Hakonechloa grasses and recycled-rug rectangles replace walls. You’ll preserve sightlines while signaling “conversation pit” versus “burger-flipping zone.” Professional input costs $800-$1,500, but my $4,000 paver mistake argues otherwise.
Build a DIY Pergola for Reliable Backyard Shade
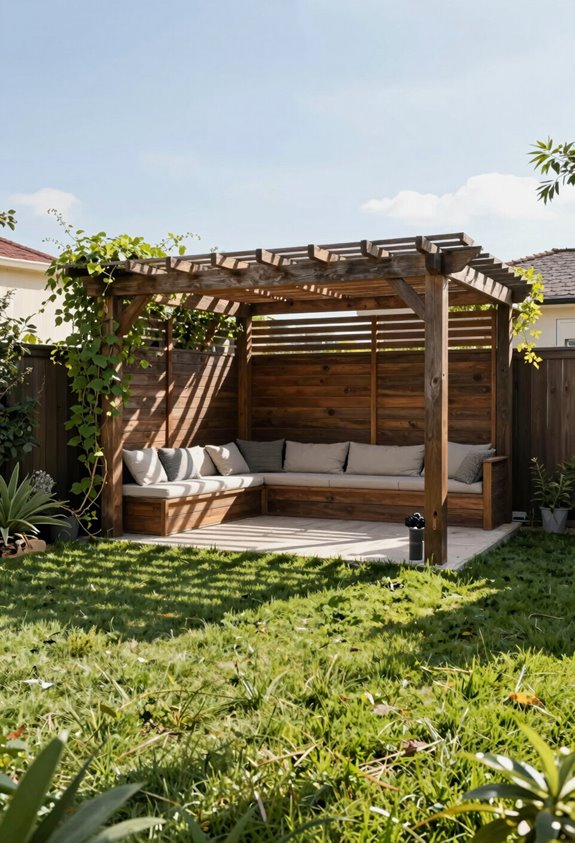
I’ll build my shade structure using Toja Grid brackets; these stainless steel connectors run about $800 for the hardware kit, plus another $300 for cedar or pressure-treated lumber, which beats custom fabrication costs while delivering professional-grade joints that won’t torque loose after two humid summers.
I’ve learned the hard way that pergola collapse usually happens at the connections, not the beams, so these engineered brackets matter more than the wood species you select.
When I finish the structure, I’ll apply a black stain; it’s become my default after testing samples, since the dark tone masks the hardware completely and creates that modern silhouette that’ll frame my outdoor movie setup without competing for attention.
Toja Grid Hardware
Though I’ve built plenty of structures that wobbled, the Toja Grid system finally made me trust my own two hands with a pergola. These triangular brackets anchor 4×4 lumber with German-engineered precision, transforming my DIY outdoor anxiety into measurable confidence.
The hardware ran me $800, steep until I priced prefab alternatives, plus $300 for pressure-treated cedar, totaling $1,100 for twelve feet of reliable shade. I extended my existing concrete slab six inches to anchor the posts, sweating through ninety-degree July afternoons.
The Toja Grid brackets eliminate guesswork; each connection locks torque to specification, no soaring required. I’ve weathered two Colorado winters without brace failure, which speaks to durability engineering I couldn’t replicate with carriage bolts and prayer. My advice: don’t skimp on the bracket gauge.
Black Stain Finish
Why did I wait a full year before committing to the finish? I’ll confess: I feared choosing wrong and ruining my gorgeous exlawn project. The Toja Grid hardware sat raw while I deliberated, but the black stain ultimately won me over, now I can’t imagine the pergola any other way.
| Element | Before Black Stain | After Black Stain |
|---|---|---|
| Aesthetic | Raw lumber, unfinished | Bold, cohesive anchor for outdoor space |
| Cost Impact | $0 | $300 lumber + $800 hardware = $1,100 total |
| Function | Vulnerable to weather | Protected, versatile DIY backyard feature |
That black stain changed my pergola into something that belongs here, not just something built here. I’ve linked my exact stain details and application tips if you’re ready to stop waiting and start finishing your own outdoor space.
The concrete slab extension I planned integrates everything seamlessly, and this structure now doubles as my outdoor movie theater backdrop. Belonging starts with committing.
Install a Bed Swing Under Your Pergola for Naps
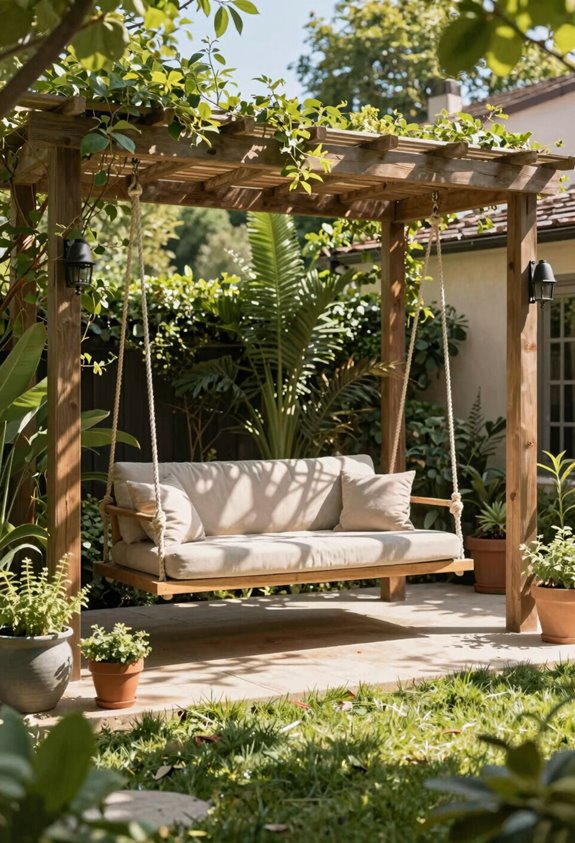
While I’ve squandered entire afternoons on a bed swing suspended beneath my pergola, much to the detriment of my to-do list, I can attest that this installation ranks among the simplest transformations for reclaiming dead airspace.
You’ll anchor screw eye hooks directly into ceiling joists, not drywall, because gravity wins every argument. I built mine from a $40 thrifted door and reclaimed porch swing chains: DIY furniture at its finest. The pergola’s crossbeams cast parasol-like shade, creating an outdoor living room where naps become competitive sport. Zone 6a humidity settles here like a weighted blanket.
Add outdoor cushions with Sunbrella fabric and you have a nap-friendly retreat. My only regret? Installing it where neighbors can witness my midday drooling. Worth it.
Stencil a Custom Concrete Patio for Under $100
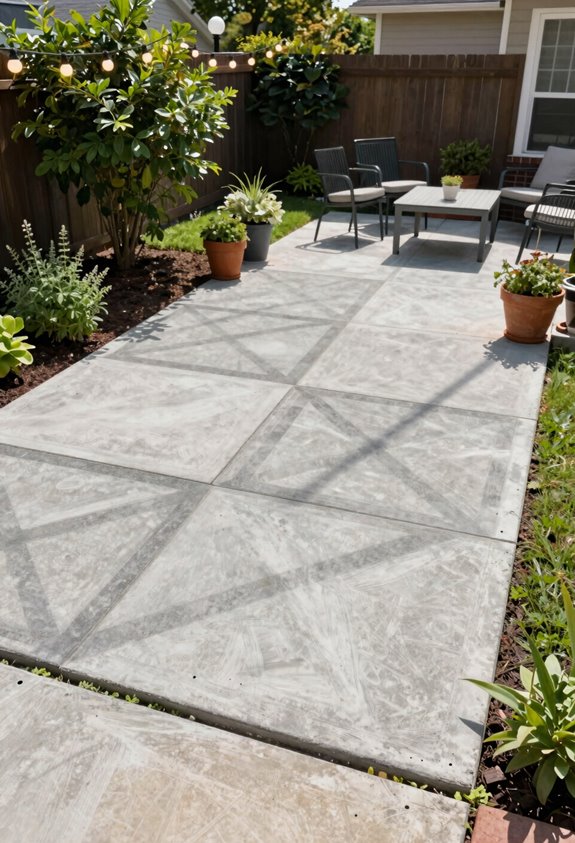
I transformed my cracked concrete slab into a Moroccan-inspired courtyard for $90 using Kristin’s stencil method, and I’ll walk you through picking patterns that won’t make your patio look like a regrettable 90s linoleum floor. The trick is securing that stencil like your life depends on it; any bleed-through becomes a permanent reminder of your impatience every time you step outside with coffee.
I’ll share the tape-and-registered-repetition system that kept my edges crisp through two Ohio winters, because nothing hurts your home’s first impression faster than wobbly geometry that screams “weekend warrior.”
Budget-Friendly Transformation
How does $90 and a weekend reshape a drab concrete slab into something you’ll actually want to grill on? I watched Kristin’s stencil patio turn her forgotten backyard corner into the neighborhood’s most requested hangout spot, and I’m convinced this is the gateway drug of outdoor space makeovers.
Here’s the arithmetic that matters: concrete stencil kit ($35), outdoor paint ($45), sealing coat ($10), and approximately six hours of your Saturday. The result? A budget-friendly focal point that reads custom-contractor but costs less than your monthly streaming subscriptions.
This low-cost design proves you don’t need poured flagstone or imported pavers to create belonging. The technique, which I cribbed from her Instagram highlight after botching my own freehand attempt, rewards patience over skill. Your concrete’s existing cracks become character; the pattern does the heavy lifting.
Pattern Selection Tips
What separates a patio that earns compliments from one that earns squints is pattern scale relative to your square footage, and I learned this the hard way after unrolling a 24-inch Moroccan tile stencil on my postage-stamp landing pad. For DIY outdoor design that actually works, I follow a simple rule now: measure your space, then choose a stencil pattern roughly one-twelfth your smallest dimension.
Kristin nailed this with her $90 concrete project; her smaller-scale pattern made that patio feel intentional, not stretched. Pattern selection isn’t about what’s trending; it’s about what fits. Affordable landscaping succeeds when you respect proportions. That social media highlight? It works because the stencil repeats without dominating. Get the scale right, and you’ve joined the ranks of gardeners who turn concrete into a gorgeous former lawn.
Application Technique Basics
Where does $90 go furthest in a weekend project? I’ll tell you: Kristin’s stenciling method for your concrete patio delivers maximum visual impact for minimum cash outlay.
Here’s how pattern application works without resurfacing the whole slab. You’ll clean the concrete thoroughly, sweep, degrease, let it dry overnight. Position your stencil and secure corners with painter’s tape.
Roll on exterior concrete paint using light, even pressure; heavy-handed application bleeds beneath edges. I learned this watching her Instagram highlights, which demystify the process better than any written guide.
This DIY approach works well for beginners because mistakes wipe away when wet. Work in sections, lifting carefully to avoid smudging. The result changes dead gray expanse into personalized flooring that announces you belong here, among people who make beautiful things from humble materials.
Build Wooden Steps for Sloped Backyard Terrain
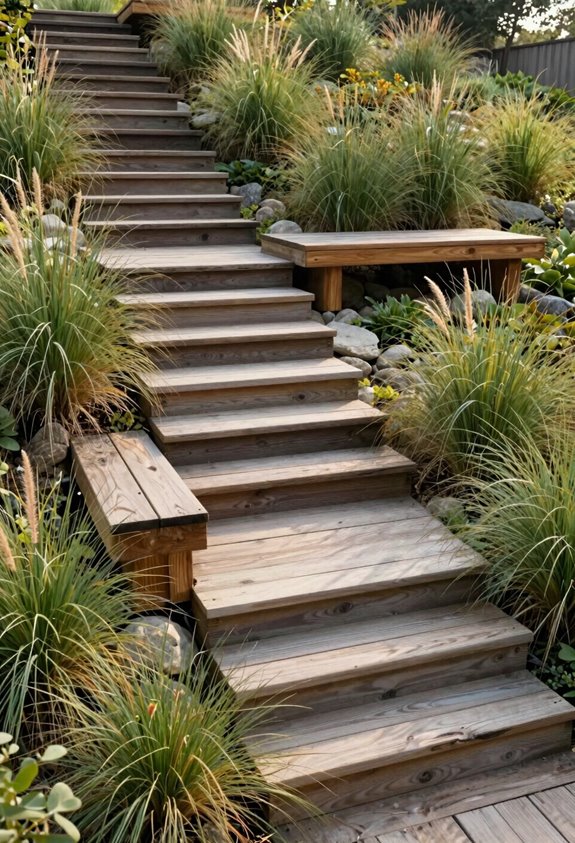
When your backyard drops more than eighteen inches over its run, you’re either committed to erosion control or stair-building, and I’ve learned the hard way that stairs win every time. For sloped terrain that defeats every other backyard design, I build wooden steps from the bottom up using pressure-treated lumber: nine steps total, each crafted from six pieces of 4x6x8 stock cut into 18- and 24-inch segments.
This outdoor construction demands precision. I predrill holes, connect each step with lag bolts, and anchor the base with rebar through two drilled holes. Eight lag screws secure the front board to sides for that flush finish we all crave. I check level before and after driving rebar, then backfill with soil and pea gravel.
The result changes unusable grade into accessible garden space. No more muddy slides after rain.
Replace Your Backyard Grass With Low-Maintenance Gravel
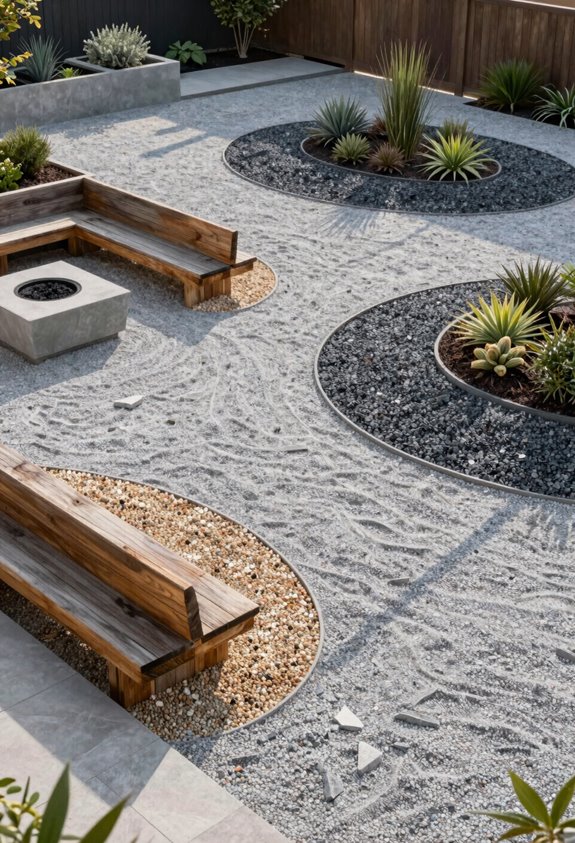
Once those wooden steps are in and you’re not sliding down the slope anymore, you start noticing how much water pools around what used to be your lawn. I ripped out my turf three years ago and never looked back. Gravel solves the drainage headaches immediately; no more squelching through mud after a January storm.
I’ve built curved pathways winding through my 1,200-square-foot former lawn, using 3/4-inch crushed granite packed at 2-inch depth. The material runs roughly $45 per ton, and I needed four. Around these pathways, I planted drought-tolerant manzanita and California fuchsia—USDA Zone 9b survivors that need zero summer irrigation.
The result is low-maintenance: I rake leaves quarterly and refresh gravel every two years. My ex-lawn now hosts dinner parties instead of demanding weekly mutilation.
Connect Your Zones With a Cedar Walkway
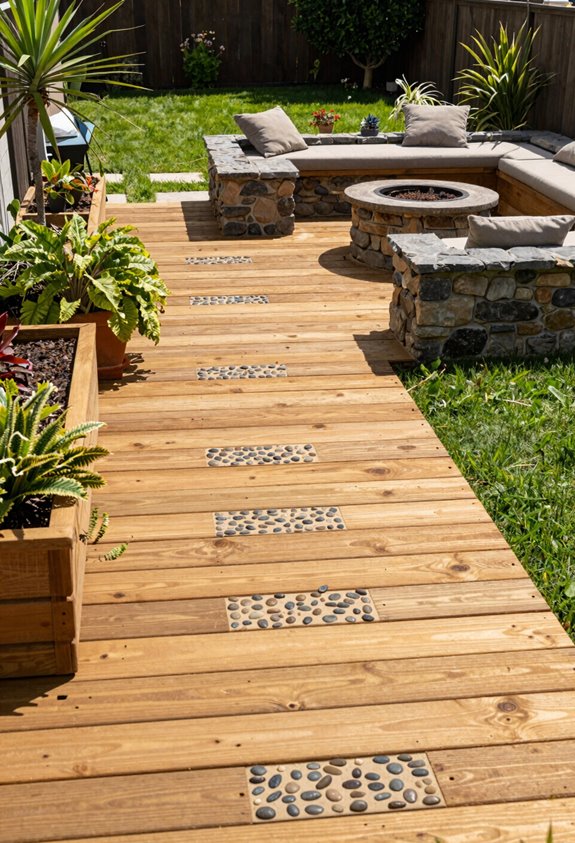
How do you stitch together a sprawling backyard without making it feel like a parking lot? I build a cedar walkway, weaving outdoor paths that curve gently from my mudroom to the fire pit, then onward to the raised beds. This approach to connecting zones preserves my landscaping flow, no more trampled hostas where guests cut corners.
I set the boards at 48 inches wide, leaving slim planting strips where thyme and sedum soften the edges. Cedar’s natural tannins resist rot through Zone 6 winters, weathering from honey to silver-gray without the regrets I’ve had with pressure-treated pine. I position recessed fixtures along the risers, using nighttime lighting to invite evening strolls while preventing my favorite stumble: the hidden garden hose.
Add String Lights to Transition From Day to Night
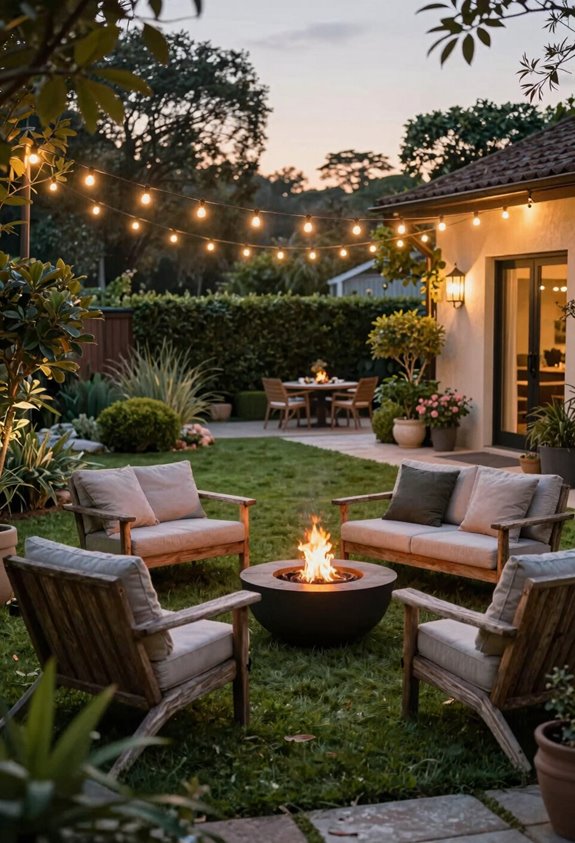
That cedar walkway gets me where I need to go, but come 8:30 PM, I’m fumbling for my phone’s flashlight and stepping on things I’d rather not mention. String lights fix this mess while extending your outdoor entertaining hours into respectable territory.
I drape Edison-style strands over my pergola, twenty feet of warm 2700K LEDs that turn the space from functional to something less ordinary. They’re not just pretty; they create distinct lighting zones: dining under the canopy, pathways at ground level, seating pockets in between. I ran 12-gauge cables myself, which let me install dimmers for adjustable ambiance. Without them, you’re stuck with binary lighting, on or off, party or cave. Smart plugs handle scheduling so I don’t have to remember anything after that second gin and tonic.
Build a Backyard Movie Theater for Evening Entertainment
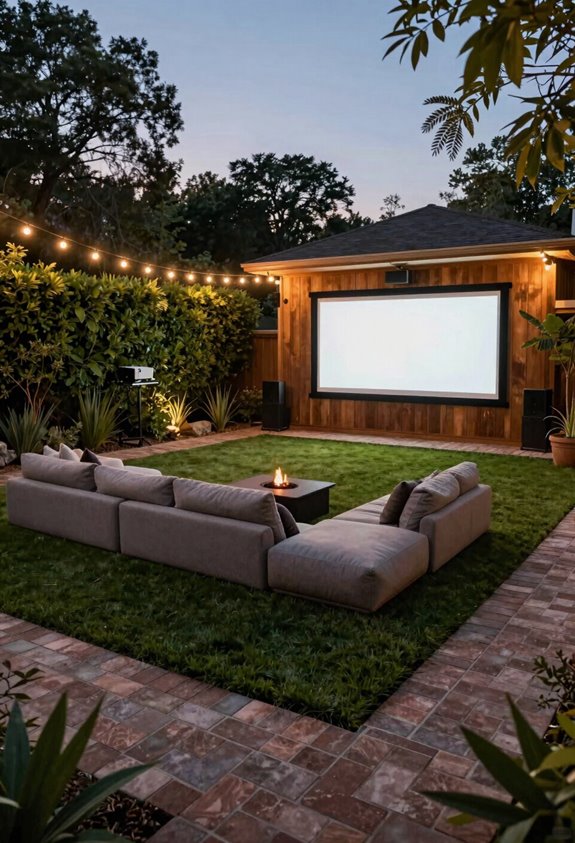
Since I’ve already run power for those string lights, adding a projector felt like the obvious next step, and the pergola I’d built two summers ago turned out to be the perfect anchor for it, far better than the garage wall I’d originally eyed, which would’ve forced guests to crane their necks at angles that guarantee chiropractic bills.
I mounted a weatherproof screen between two posts with stainless steel turnbuckles (about $23 each) and positioned my projector setup on a repurposed potting bench exactly 12 feet back; any closer and the image washes out, farther, and you’re losing lumens to the moths. The existing lighting now does double duty: soft accent during cocktail hour, full blackout when the opening credits roll.
For seating, I’ve found zero-gravity chairs beat blankets after dew falls, and they stack flat against the pergola when the season ends. My total investment ran $340, which beats multiplex prices after eight screenings.
Center Your Space Around a DIY Fire Pit
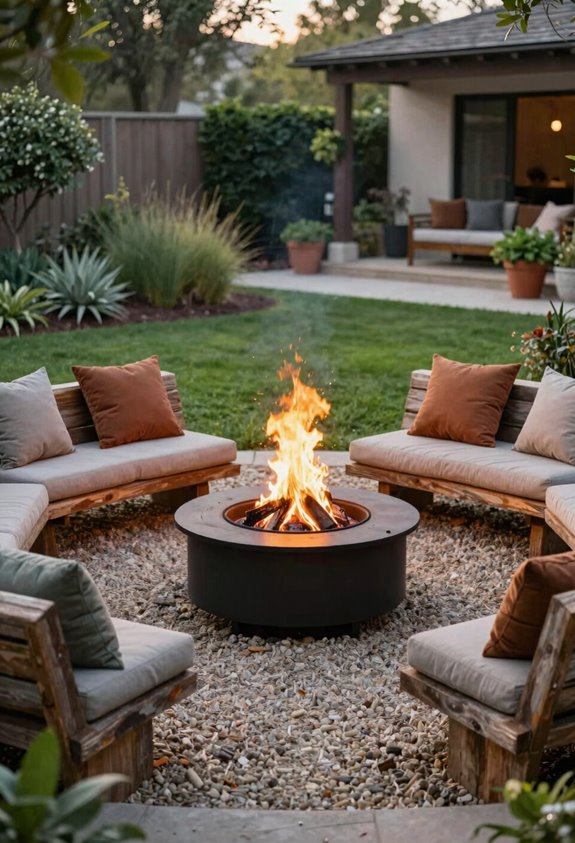
A fire pit isn’t just a hole with flames, it’s the gravitational center of every backyard I’ve redesigned, and the one I built last autumn in USDA Zone 6b proved that built-in seating transforms the physics of a small yard.
I constructed a 36-inch corten ring with curved limestone benches at 18 inches high, seating eight without sacrificing perimeter space. The outdoor seating hugs the fire pit in a 12-foot diameter, close enough for conversation, far enough to dodge sparks.
This outdoor room anchors your multi-season use; I roast marshmallows in October and February alike. I wove the landscaping into serpentine paths of native panicum, so the zone flows organically from my dining patio.
Elevation matters: my benches step up six inches, clearing sightlines to the gorgeous exlawn beyond.
You’re building belonging here, one flame at a time.





