
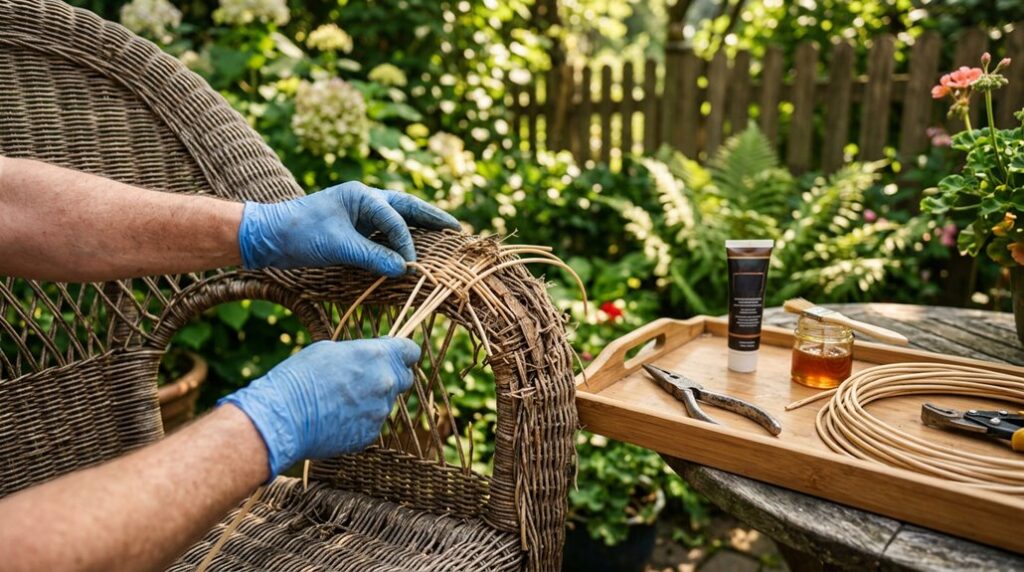
My wicker chairs looked gorgeous on the lawn until they didn’t, sun-bleached strands sagging like overcooked spaghetti, joints wobbling in a light breeze. I’ve learned that synthetic resin wicker, that convincing plastic rattan dominating big-box stores since 2010, fails predictably at stress points after three to five USDA zones 7-9 summers.
The repair isn’t rocket science, but one wrong adhesive choice turns your weekend project into a sticky, expensive regret. I’ll walk you through what actually works.
Assess Wicker Damage Before You Start
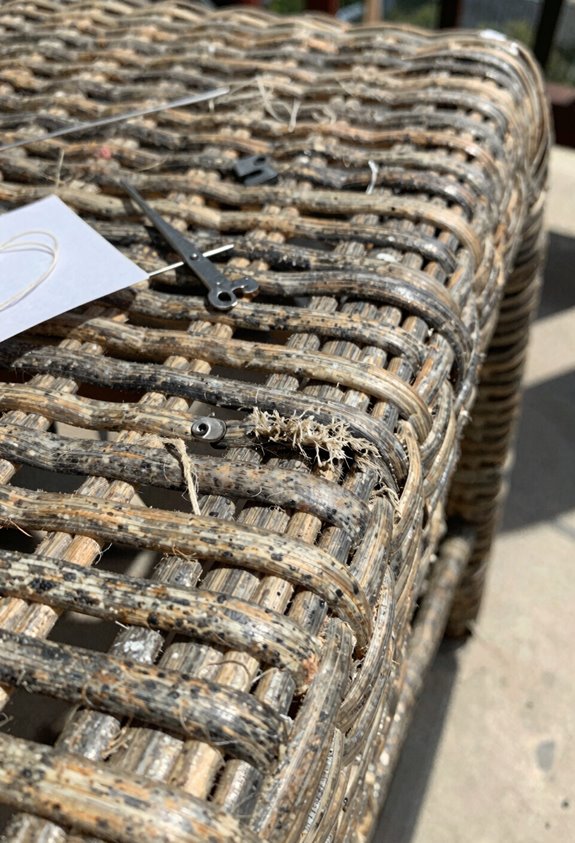
Where do you even begin when your once-gorgeous patio set looks like it lost a fight with a derecho? I’ve stood there myself, counting the casualties of another humid Zone 8 summer, and here’s what I’ve learned: start with your eyes and your hands.
Run your fingers across every surface. You’re hunting for fraying ends where UV-fried synthetic fibers have surrendered their structural integrity. I’m talking about those brittle plastic polymers that snap like week-old green beans. You’ll spot loose weaving where moisture swelled and shrunk natural wicker one too many times, leaving joints weakened and strands dangling.
Check frame deformity; a warped base means someone dragged this beauty instead of lifting it. I’ve made that $400 mistake myself. Look for cracks, yes, but press for give too. Unstable weave signals imminent unraveling, and nobody wants to rebuild what a proper assessment could’ve prevented twenty minutes earlier.
DIY or Pro? Decide If You Can Fix It Yourself
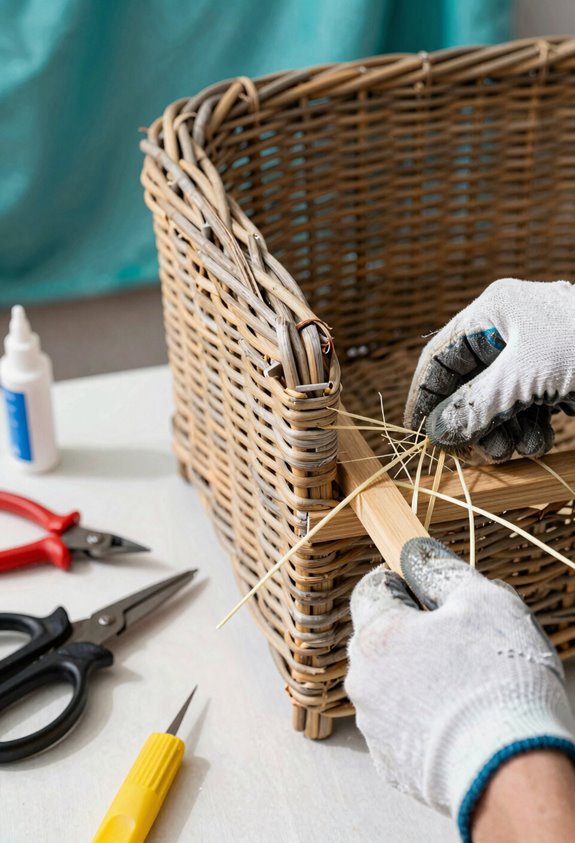
I look at the damage and ask myself whether I’m facing a 20-minute fix with replacement strands and wood glue or a three-hour wrestling match with unraveling resin weave that’ll test my patience and my fingertips. Small gaps and worn spots are fair game for my level of skill, but when the damage spreads beyond a six-inch patch or the frame itself is compromised, I’m honest about whether my weaving technique can outlast a season of actual use.
Before I commit, I measure the damaged area against the cedar slat alternative. Those zip-tied boards have saved me from hubris more than once, especially on resin pieces where tight weaving demands more precision than my coffee-fueled Saturday mornings reliably deliver.
Assess Damage Severity
Facing a wicker chair that’s seen better days, I start by giving it the same suspicious once-over I’d give a tomato plant claiming to be “fine” after a week of neglect, looking past the surface to see what’s actually broken versus what’s merely dramatic.
I sort damage severity into two camps: loose weaving and small frays versus collapsed sections and multiple snapped strands. Small, isolated trouble spots? I’m swapping individual strands, matching width and weave pattern for that seamless blend.
The frame’s solid but the seat’s a gorgeous exlawn of broken cane? I’ll retrofit cedar slats rather than wrestle full re-weaving. Extensive collapse across a large area sends me straight to a pro, my time’s worth more than a botched amateur weave that’ll unravel by next season.
Evaluate Skill Level
How far down the rabbit hole of woven repair am I willing to crawl before admitting defeat? That’s the question I ask myself when I’m sizing up a wicker repair job, and it’s what you should ask too. My skill level determines whether this becomes a satisfying weekend project or an expensive lesson in humility.
I’ll check if I’ve got 8mm PE resin wicker or natural rattan, waterproof glue, clamps, and zip ties on hand. I’ll weigh whether I’ve got twelve hours to weave strand by strand; synthetic wicker with its specialized adhesive demands patience, and natural wicker needs precise trimming and re-gluing. My gorgeous ex-lawn chairs taught me this: corroded frames go straight to the pros, but solid metal frames? That’s our territory, friend.
The Essential Wicker Repair Toolkit
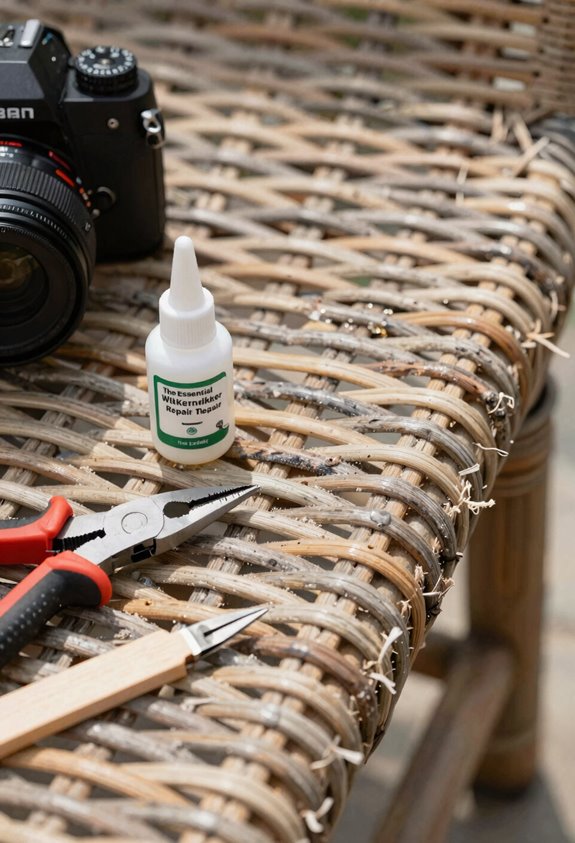
The right tools won’t fix your wicker by themselves, but they’ll keep you from making things worse, which, speaking from experience, is a genuine victory. I’ve learned that proper wicker repair demands precision, not guesswork, and my outdoor furniture has suffered when I improvised.
Start with synthetic wicker repair kits matching your existing strands, color and width matter, or you’ll spot the patch from ten feet away. You’ll need waterproof adhesive, the gel kind that won’t run down your arms while you work. A utility knife trims frayed ends cleanly; scissors work in a pinch but crush the weave. Clothespins or small clamps hold everything taut while glue cures, patience here prevents sagging disasters.
Finally, a hair dryer on low softens stubborn synthetic strands for tight corners, though I’ve melted one gorgeous exlawn chair learning that lesson.
Source Matching Wicker and Trim Frayed Areas
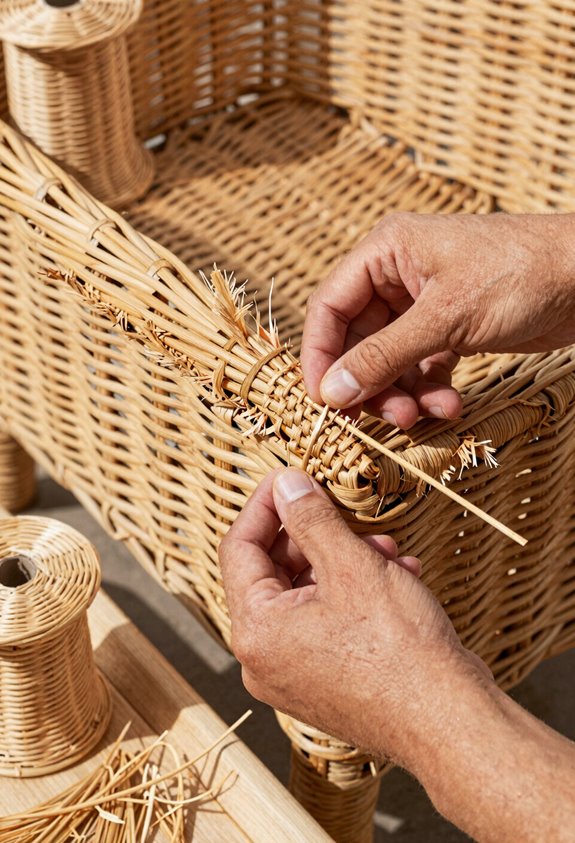
Finding matching wicker isn’t archaeological, though it sometimes feels like that when you’re crawling through home improvement stores with a frayed strand in your pocket. I’ve learned replacement wicker must match both color and width, within 1/16 inch, or your repair screams “amateur hour” to anyone who’s ever owned a porch chair.
I always trim frayed ends first, using sharp kitchen scissors or a utility knife held at 45 degrees. This creates clean attachment points and prevents further unraveling. Don’t rush this; ragged edges reject adhesive and weaken your weave. I once skipped this step on a 1980s rattan rocker, and the repair failed within one USDA zone 7 winter.
With prepped ends and matched material, you’re ready to weave. The chair’s original pattern becomes your roadmap; follow it exactly, or the repair betrays itself.
Use Heat to Soften Synthetic Wicker for Tight Corners
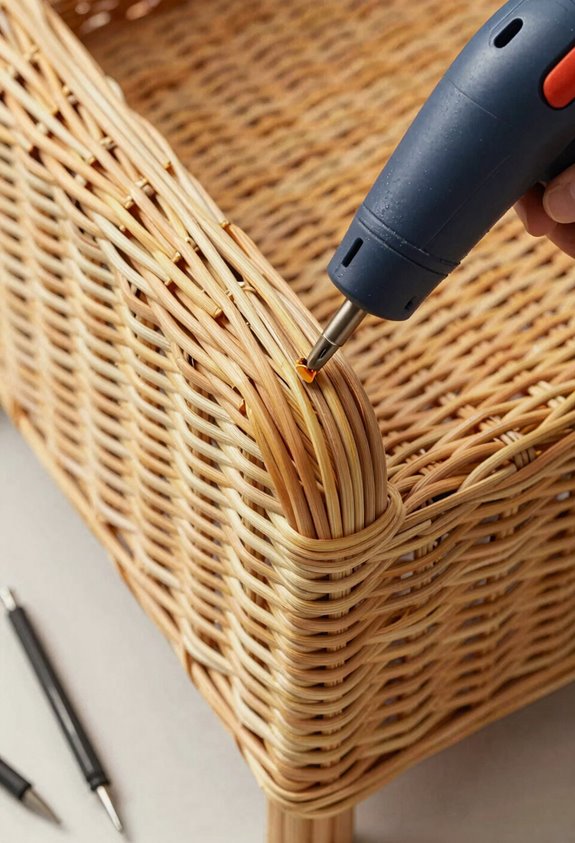
Once I’ve matched my replacement strands and trimmed those frayed ends to clean 45-degree angles, I still face the reality that synthetic wicker, unlike pliable natural rattan or willow, fights back when you’re wrestling it around tight chair corners. That’s where gentle heat becomes my most useful tool. I grab my hair dryer or heat gun, dial it to the lowest setting, and warm the strand evenly from several angles, never lingering too long lest I warp the finish or scorch the polymers underneath.
The heat loosens those stubborn plastic bonds, rendering the material temporarily pliable enough to bend, weave, and tuck without that dreaded snap. You have maybe thirty seconds of workable submission before it stiffens again, so I move fast. Clamps or clothespins hold everything while I ready the adhesive.
Glue and Clamp New Wicker to the Frame
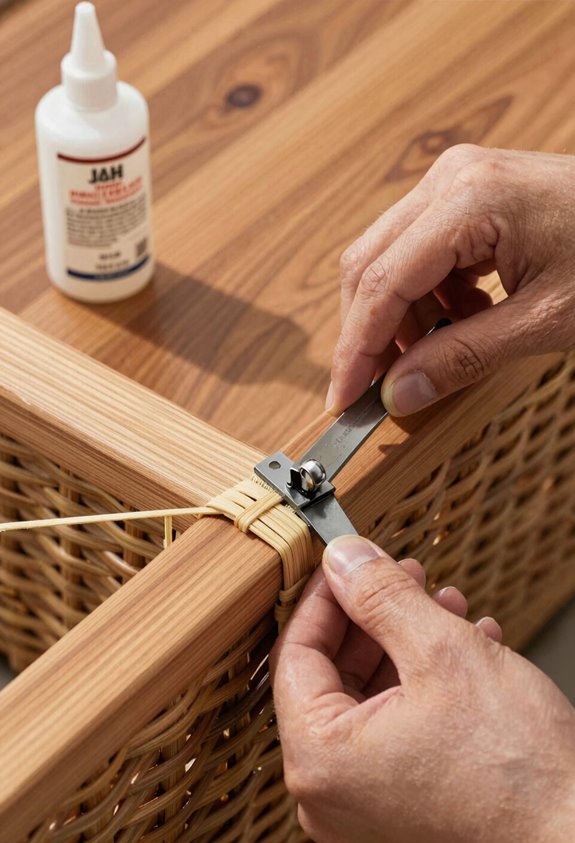
I always start by grabbing a waterproof polyurethane adhesive, about $8 for a 4-ounce bottle at any hardware store, because standard wood glue turns to mush after two rainy seasons, and I’ve learned that lesson the hard way on a gorgeous exlawn set that dissolved into papier-mâché by August. You’ll want spring clamps or wooden clothespins spaced every 3 inches along the strand, applying roughly 5 pounds of pressure for 20 minutes while the bond sets; skip the temptation to use rubber bands, which slip and leave you with a crooked weave that screams “amateur hour.”
Once I’ve tacked the new rattan or resin strand to the frame, usually at a cross-joint where the vertical and horizontal members meet, I keep a damp rag handy to wipe excess glue within 90 seconds, because that stuff skins over fast and turns your repair into a crusty eyesore.
Choosing the Right Adhesive
Why gamble with a repair that’ll fray apart come spring? I’ve learned that not all adhesives withstand the garden’s mood swings. You need a flexible bond that moves with the seasons, not against them.
I always reach for epoxy or specialized waterproof glue formulated for plastics. Brittle formulas crack when temperatures drop, leaving ugly gaps and wobbly joints. Here’s what I’ve figured out through trial:
- Select quality epoxy or marine-grade waterproof glue that retains elasticity after curing.
- Avoid rigid household cements that’ll shatter when winter hits our outdoor furniture.
- Apply adhesive sparingly, placing just a dab at the strand end and frame contact point only.
Let it cure completely before touching. Patience saves us from redoing the whole weave later.
Clamping Methods Explained
The real magic happens in those quiet hours while glue sets, when clothespins become your most valuable assistants. I apply waterproof epoxy to the original strand’s end, press the new wicker into place, and clamp firmly; clothespins work beautifully, though small spring clamps earn their keep on thicker sections. This clamping prevents the gaps that betray amateur repairs, holding everything taut until the adhesive cures fully, typically 24 hours for most formulations.
For stubborn synthetic corners, I’ll soften the material with a hair dryer on low; the pliability makes weaving around joints far less combative. Choose your adhesive wisely; outdoor moisture laughs at inferior bonds. Once the glue set completes, I lightly sand away excess residue. This preparation ensures paint adheres properly, turning your repair from obvious patchwork to seamless, gorgeous exlawn craftsmanship.
Securing to Frame
Once the clamps release their grip on spliced strands, you’re ready to anchor fresh wicker where it matters most: the frame itself. I grab my waterproof adhesive, marine-grade, not that bargain-bin stuff that’ll surrender at the first dew, and get to work on this frame attachment.
Here’s how I lock it down:
- Prime the bond: I apply adhesive to the original strand’s end, press the new wicker strands into place, and wait three minutes. Patience prevents the gorgeous ex-lawn disaster of 2019.
- Clamp with conviction: Clothespins or small clamps hold everything while curing; shifting mid-glue means starting over.
- Weave and tension: Over-under through the frame, parallel to existing strands, then pull taut, trim, tuck, and wipe excess once dry.
The repair holds, and so do we.
Weave New Strands to Match the Old Pattern
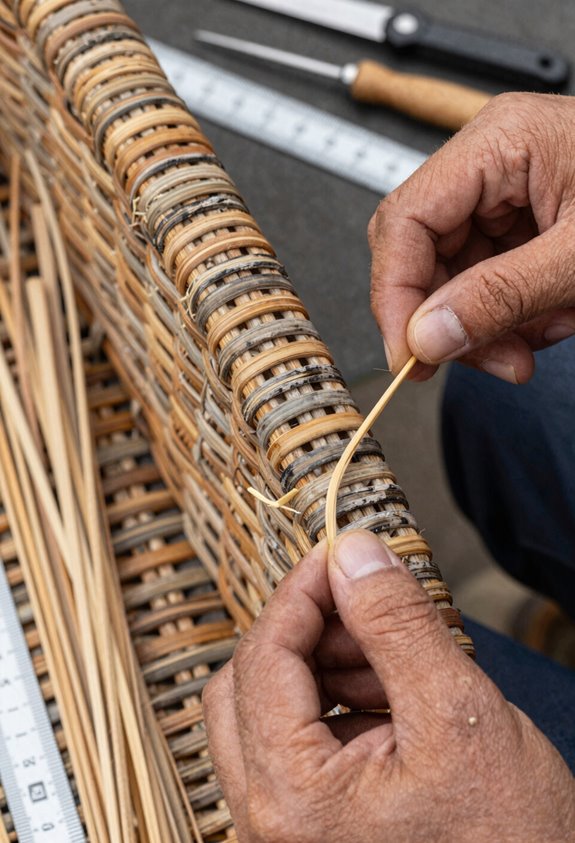
Where exactly does one begin when the weave has given up the ghost? I start by snipping those frayed ends clean, no mercy for the ragged, and hunt down where the wicker weave still grips the frame like it means business. That’s my anchor point.
I dab glue on the old strand’s end, press the new one in, and clamp it for ten minutes while I sip coffee and pretend patience comes naturally. Once set, I weave tautly, over-under-over-under, mirroring the original pattern like I’m following a family recipe passed down through generations of slightly obsessive gardeners.
The rhythm matters; too loose and you’ve got a sagging disaster; too tight and the frame complains. I pull each pass firm, watching the repair disappear into the surrounding wicker weave until the break becomes memory.
Tuck and Seal Wicker Ends Neatly
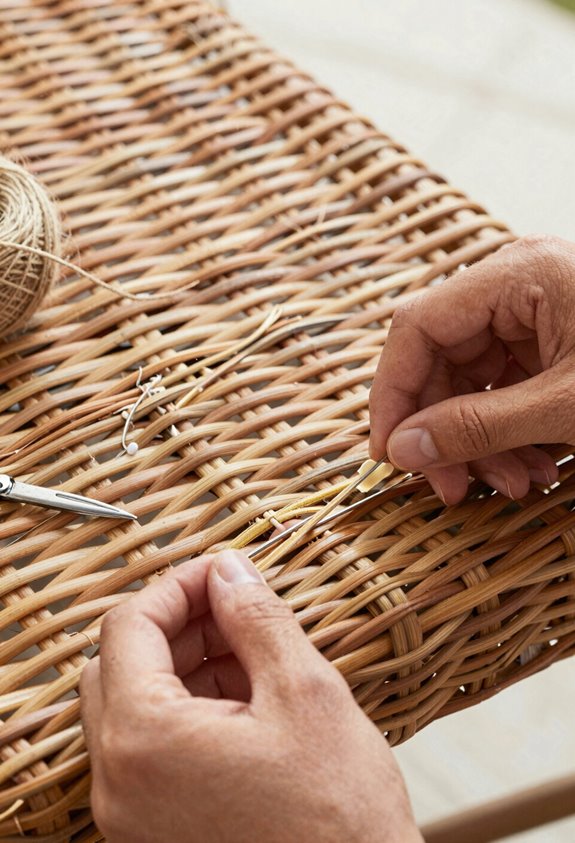
I’ll locate any loose ends sticking out like errant tendrils from my gorgeous ex-lawn, then trim the excess material with sharp kitchen scissors, clean, no ragged fibers allowed, just like pruning back a zone 7 hydrangea before it blooms into chaos.
I’ll secure everything with adhesive, clamping the new strand in place for a solid hour minimum while keeping pattern continuity tighter than my first failed attempt at espalier in USDA zone 6. The glue’s got to be tacky but not sloppy, or you’ll sand more than intended later, and that thirty-minute fix becomes a three-hour confession.
Locating Loose Ends
Why do those frayed wicker strands taunt me like overgrown tendrils invading a raised bed? I’ve learned to hunt down every loose end before they spread like bindweed through my patio set. Here’s my three-step reconnaissance:
- Run your palms across the weave; your skin catches what your eyes miss, especially on chair arms where friction breeds fraying
- Inspect the underside and joints, those shadowed zones where humidity concentrates and fibers rebel first
- Mark each discovery with painter’s tape; I use blue, visible against natural tones without leaving residue
I trim these stragglers immediately with sharp kitchen shears, creating clean edges for tucking later. Apply waterproof adhesive sparingly; think dewdrop, not downpour, then clamp with clothespins for thirty minutes. Follow the original weave pattern when tucking; your repair should vanish like a well-mulched weed.
Trimming Excess Material
Once those blue tape markers dotted my patio set like crocus after a hard frost, I knew the real grafting began. I’d snip frayed wicker ends with my kitchen shears; don’t use your good pruning shears, learned that in Zone 7b during a humid June, and create clean edges before tucking new material into the weave.
My repair strands get trimmed flush with a utility knife, concealing seams like a well-laid sod border. Lightly sand with 220-grit, wipe residue, and let her cure. The patience of a perennial gardener pays here; rush and you’ll spot the graft from twelve paces. This wicker repair demands we belong to the slow work, not the hasty solution.
Securing With Adhesive
The adhesive stage separates weekend warriors from folks who’ll still have chairs come Zone 8 hurricane season. I’ve learned, through the tragic dissolution of my gorgeous ex-lawn set, that wicker demands more than hope; it demands chemistry.
Here’s how I lock these joints down:
- Trim frayed ends with kitchen scissors so you’re bonding clean cellulose, not botanical spaghetti
- Press gel epoxy into the strand aromanum-style, then clamp with clothespins until the resin skins over
- Weave the tail into adjacent rows, hiding your work like a competent fiber artist
Once dry, I sand any proud glue spots smooth. The waterproof adhesive creates that watertight seal between cane and frame; no rot, no regrets. Your wicker survives, your reputation among the porch-furniture cognoscenti remains intact.
Spray-Paint or Seal So the Repair Disappears
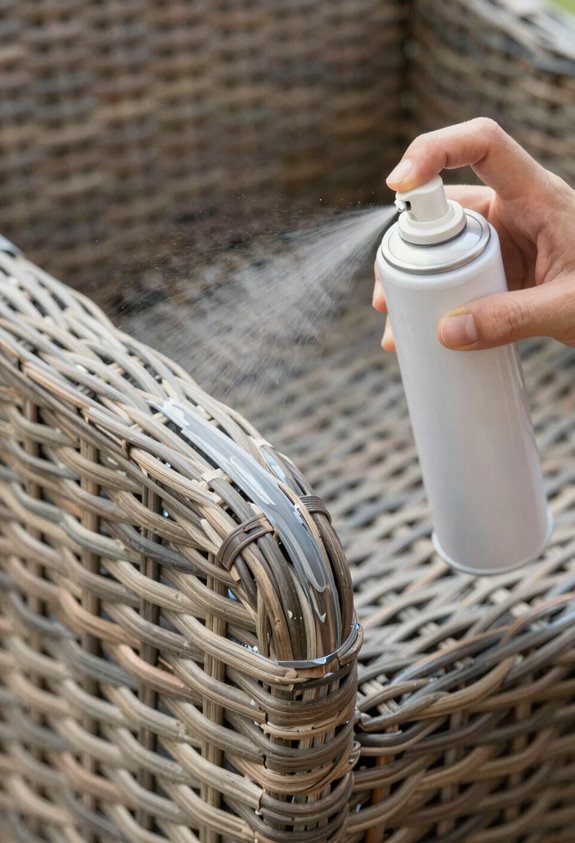
Grab your respirator and a drop cloth, because we’re about to make that frankensteined wicker patch vanish like my patience during a three-week monsoon, though I’ll warn you now, I’ve learned the hard way that one heavy coat equals one sorrowful afternoon with paint stripper and a toothbrush. I spray paint with primer first, building color in whisper-thin passes from every angle until the repair melts into the weave.
If I’m feeling protective, and I usually am after replacing three slats in USDA Zone 9 humidity, I brush on polyurethane sealant to armor against chipping.
| Step | Tool/Material | Purpose |
|---|---|---|
| Prime | Spray paint + primer | Even adhesion on patched wicker |
| Layer | Light sweeping passes | Prevent drips, build uniform color |
| Sand | 220-grit between coats | Smoothness for next layer |
| Match | Existing tone/finish | Visual disappearance of repair |
| Protect | Polyurethane sealant | Extend durability, resist chipping |
When Repairs Fail: Slat Supports and Replacement Options
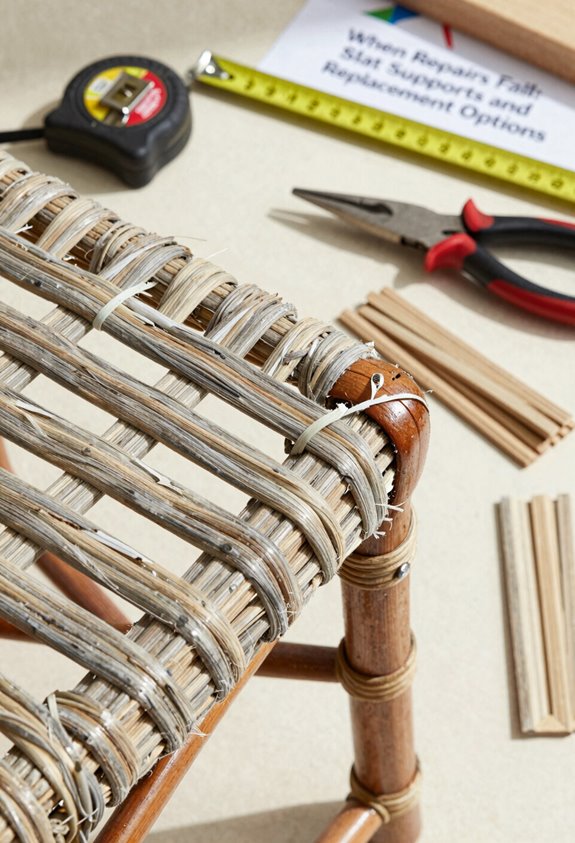
When my epoxy-wrapped wicker repair collapsed under a 215-pound cousin during a July barbecue in Zone 8, I stopped trusting patch jobs for anything weight-bearing and started cutting cedar instead.
Epoxy-wrapped wicker collapsed under my 215-pound cousin—proof that patch jobs fail when it matters most.
Cedar slats rest on the metal frame, zip-tied in place for a semi-hidden fix that outlasts weaving attempts. I cut mine to seat depth, spacing them for drainage so cushions dry fast and water won’t pool.
Here’s what I’ve learned about getting it right:
- Measure twice; cedar slats must match your seat depth exactly or they’ll rattle like a loose tooth
- Space gaps ¾ inch apart; tighter spacing traps moisture, wider gaps sag cushions
- Use heavy-duty UV-resistant zip ties, not the flimsy kind from your junk drawer
Pressure-treated wood works, but it’ll stain your gorgeous exlawn cushions green.





