
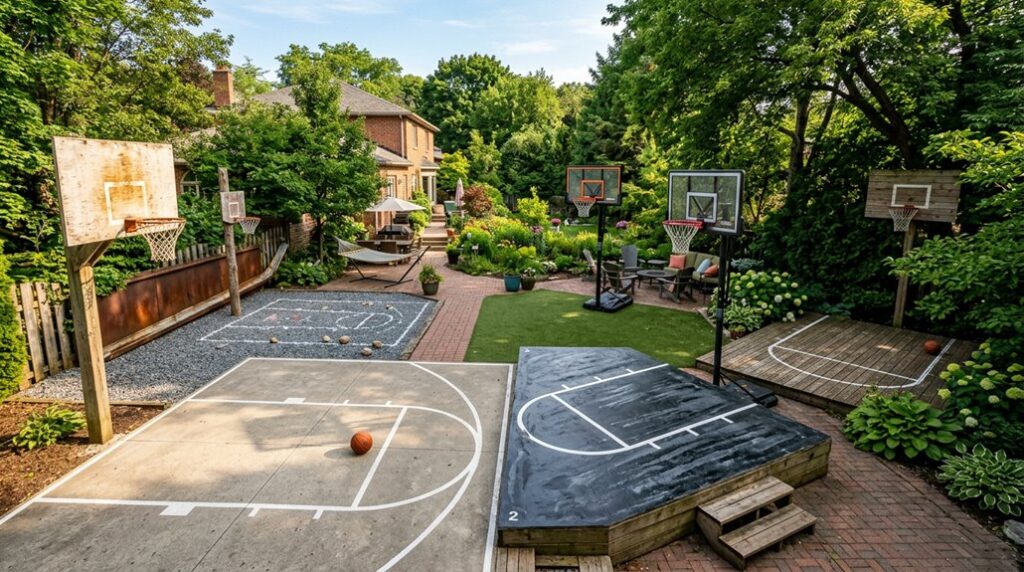
The backyard basketball court is the modern homeowner’s Trojan horse: it promises family bonding and fitness, but I’ve seen it devour budgets and marriages when poured without foresight. After converting my own 24-by-24-foot “gorgeous exlawn” into a half-court arrangement, complete with a 4-inch concrete slab, 10-foot offset from property lines, and a maple decal surface that cracked in USDA Zone 6b frost heave, I can confirm that ambition outpaces physics more often than ballers outdrive their defenders.
The difference between a court you’ll use and one you’ll regret sits in three critical decisions you haven’t considered yet, and I’m betting your assumptions about at least one are wrong.
Assess Your Space: Will a Backyard Basketball Court Actually Fit?
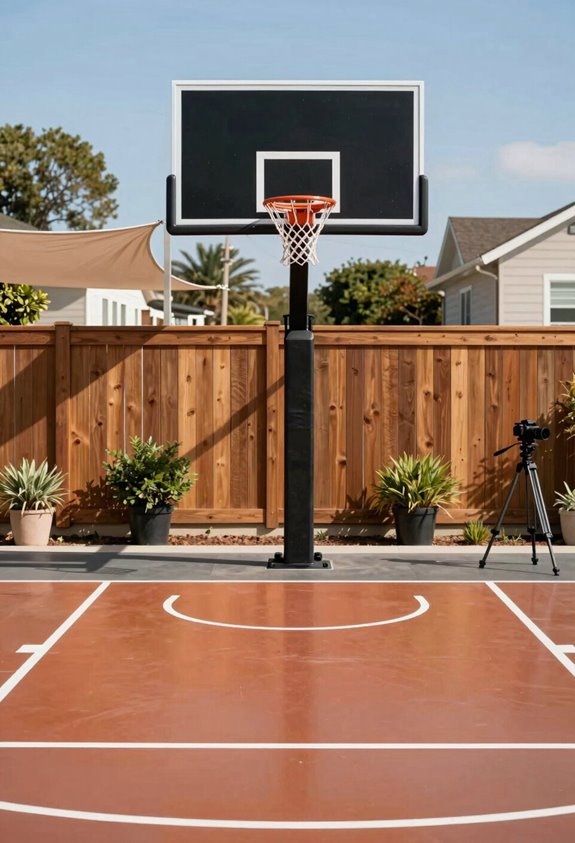
Before I pencil in a single free-throw line, I’m asking myself exactly how much real estate I’m willing to sacrifice to the god of mid-range jumpers, and whether my yard’s even cooperating.
My space assessment starts with brutally honest measurements: total footprint, plus that sacred clearance around the buffer zone where I’ll chase rebounds into my hydrangeas. I’m checking overhead obstacles, too; encroaching maple branches don’t care about my fadeaway.
Court size dictates everything. A regulation space demands 94 by 50 feet; my modest lot surrenders to half-court sympathies. Surface options hinge on these dimensions: concrete slabs for permanence, modular tiles when roots or utilities interfere. Slope matters more than I’d like; my former lawn drains poorly, so I’m grading before pouring.
Choose Between Full Court, Half Court, or Corner Layouts
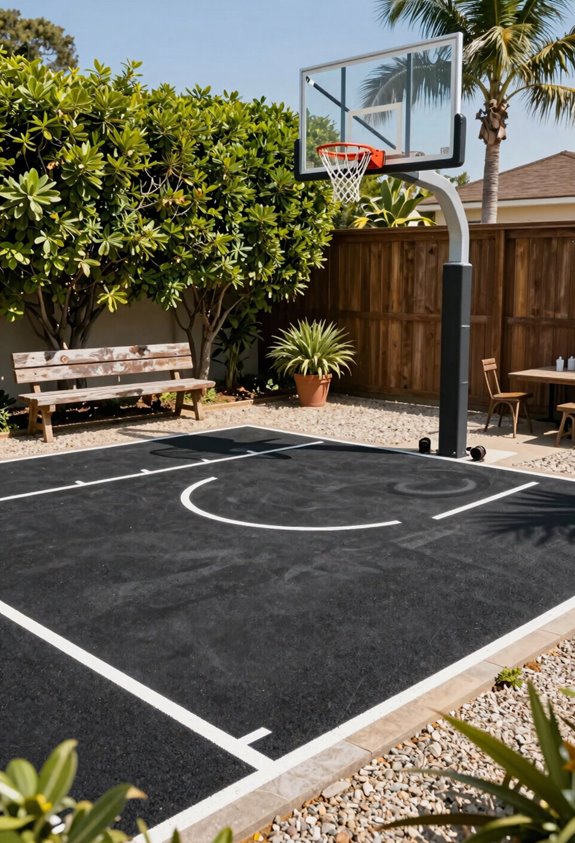
My tape measure has delivered its verdict, and now I’m weighing three distinct geometries against my remaining 30-by-25-foot “gorgeous exlawn.” A regulation 94-by-50-foot rectangle would consume my entire USDA Zone 6b backyard and probably my neighbor’s peony bed, so the full-court fantasy demands concrete pours exceeding $15,000 and sacrifice of every square foot where my kids currently punt soccer balls.
I’ll likely embrace the half court instead, roughly 47 by 25 feet, preserving rhubarb territory while still hosting three-on-three games with adjustable hoops positioned for aging knees and growing teenagers.
Corner layouts tempt me further: two backboards wedged where my compost bins currently rot, liberating central sod for badminton and future root vegetables. Modular DIY installation kits let me reconfigure when my teenagers depart for college dorms.
Select a Surface: Modular Tiles, Acrylic, or Concrete?
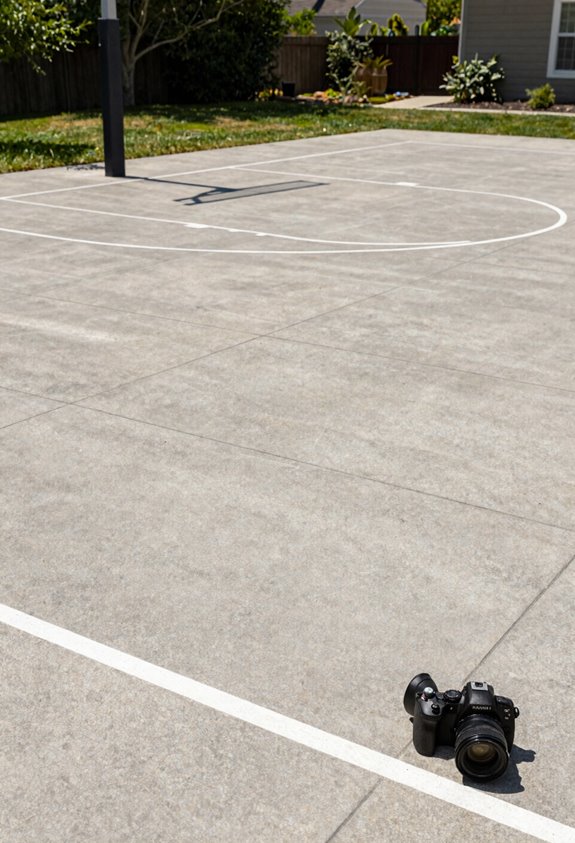
How does a surface feel underfoot when you’re pivoting for a fadeaway at 7 AM with dew still on the Kentucky bluegrass? I’ve tested all three options in my gorgeous exlawn turned court, and each delivers a distinct experience.
Modular tiles snap together for shock absorption and minimal surface maintenance, though they’ll cost more upfront than my first raised bed. Cushioned acrylic gives that gym-quality bounce I crave, but plan on resurfacing every few years; neglect it, and you’ll play on cracked, sun-bleached regret. A concrete base saves money and lasts decades, yet your knees will remind you why cushioning matters.
Whatever you choose, prioritize drainage and slip-resistance; I’ve learned that standing water and competitive pickup games make poor companions.
Add Multi-Sport Lines for Basketball, Pickleball, or Both
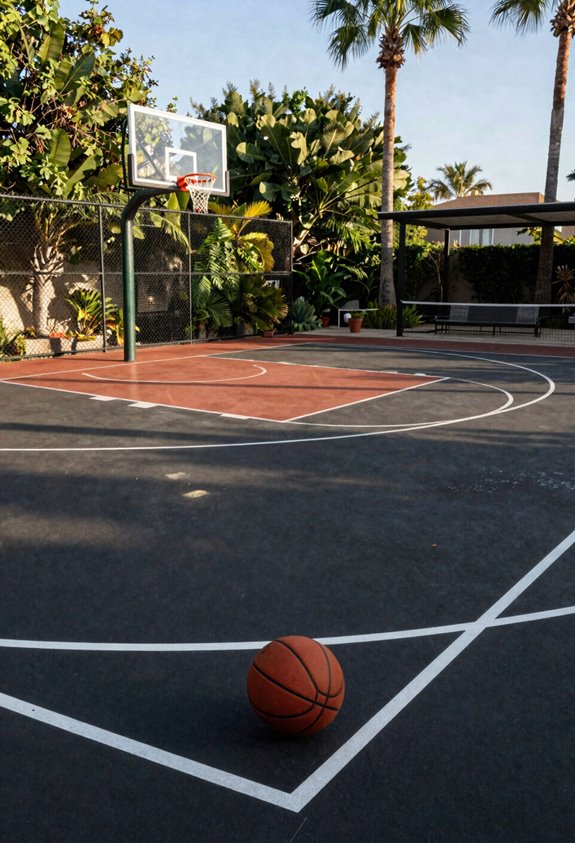
Once you’ve settled on a surface that won’t turn your ankles to compost, the real fun begins: deciding whether this patch of former turf hosts one sport or several. I went the multi-sport route on my own backyard basketball court, and I’ve never regretted the flexibility.
Multi-sport lines let you pivot from hoops to pickleball without resurfacing; just roll out a portable net or adjust a retractable system. I used VersaCourt-style modular tiles with precise court markings in contrasting colors; my basketball key is royal blue, pickleball kitchen zones in muted green. The lines don’t confuse play once you learn them, and guests appreciate options.
Space-efficient layouts fit full shooting lanes and pickleball service areas into compact yards; mine squeezes both into 30 by 50 feet. Durable surface materials matter; acrylic-over-concrete handles weather and foot traffic better than my first attempt with bargain tiles that cracked after two freeze-thaw cycles.
Plan Lighting, Fencing, and Professional-Grade Hoops
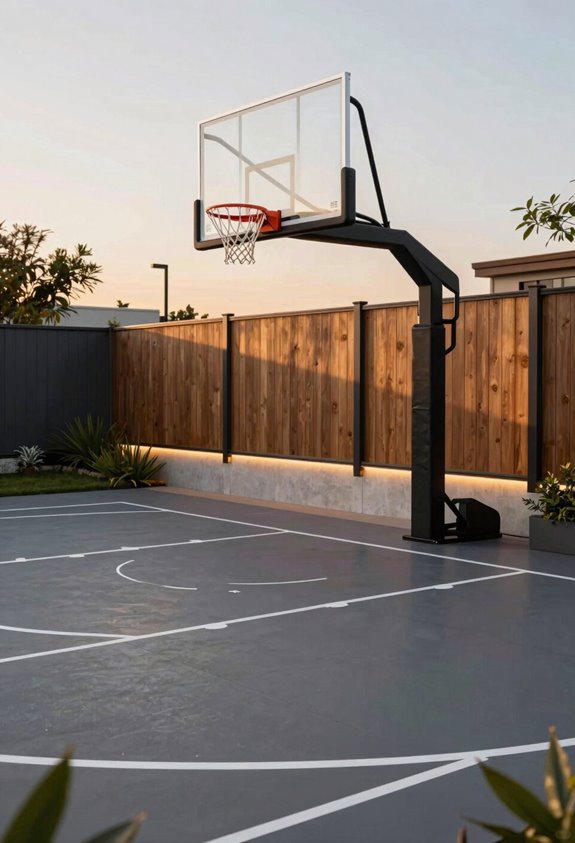
Why stop playing when the sun clocks out? I install LED lighting systems that turn my backyard court into a midnight proving ground, with glow-in-the-dark markings keeping boundaries visible and shins intact.
Fencing matters more than you’d think. I learned this the hard way after retrieving too many balls from my neighbor’s hydrangeas. Safety netting contains errant shots and preserves fragile landscaping relationships in tight suburban zones.
For hoops, I weigh adjustable, height-tachable options against in-ground permanence based on who’s shooting. My ten-year-old nephew needs 8-foot rims today, not regulation height he’ll grow into someday.
I invest in outdoor materials built for frost heave and UV assault. Acrylic backboards weather cracking better than bargain polycarbonate, though tempered glass delivers that satisfying college-gym rebound sound every serious player craves.





