
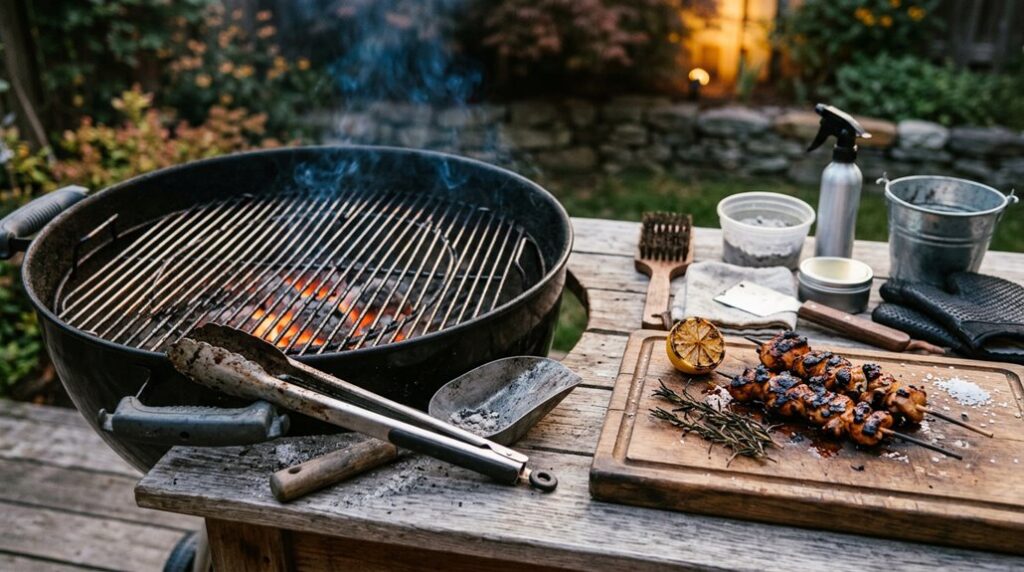
You probably didn’t know that shutting your grill’s vents completely can preserve up to 40% of your unburned charcoal for the next cookout, yet I’ve watched neighbors hose down perfectly good briquettes like they’re extinguishing a house fire.
After fifteen years of trial and error across USDA zones 6b through 8a, I’ve learned that managing spent fuel isn’t glamorous; my first attempt at composting ash nearly killed a gorgeous exlawn of Kentucky bluegrass.
The savings add up: roughly $120 annually if you grill weekly. The methods aren’t complicated, but they do require precise timing, proper containers, and knowing when that sludge in your ash can has cooled enough to handle without a trip to urgent care. Let me walk you through what actually works.
Shut Your Vents to Save Charcoal for Next Time
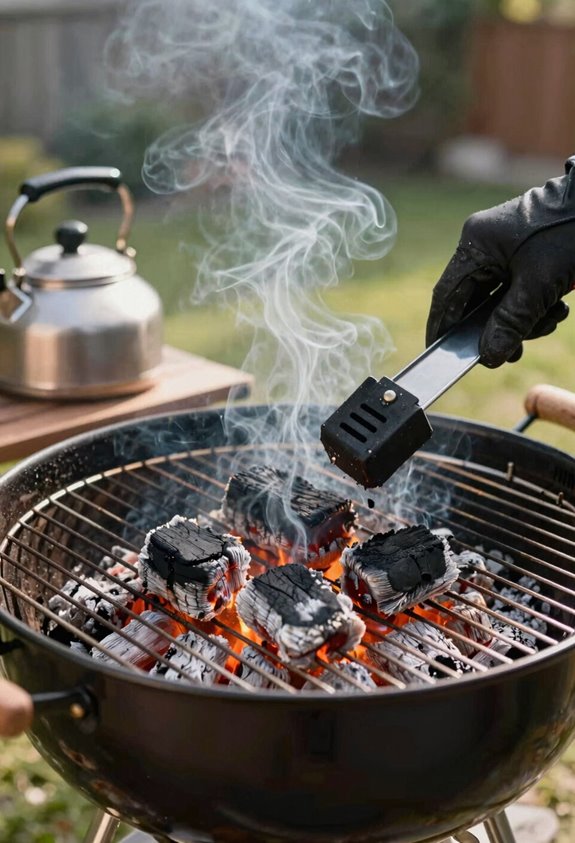
Why let perfectly good fuel turn to ash when you’re done searing those ribeyes? I close both vents, top and bottom, immediately after grilling. This starves the remaining coals of oxygen, preserving what’s left for my next cook.
I’ve learned this trick saves me roughly 30% on charcoal costs across a season. The retained heat keeps partially used coals smoldering, so they relight faster in my charcoal chimney next session, usually within 12 minutes instead of 20. No new fuel burns unnecessarily, suppressing flare-ups and waste.
Safety matters too. I never move hot coals; I let them sit undisturbed. The grill stays closed for 24 hours minimum before I reopen it. By then, everything’s cooled sufficiently, and I’ve got usable fuel waiting, like finding money in last winter’s coat pocket.
Douse Coals With Water When You’re Done Grilling
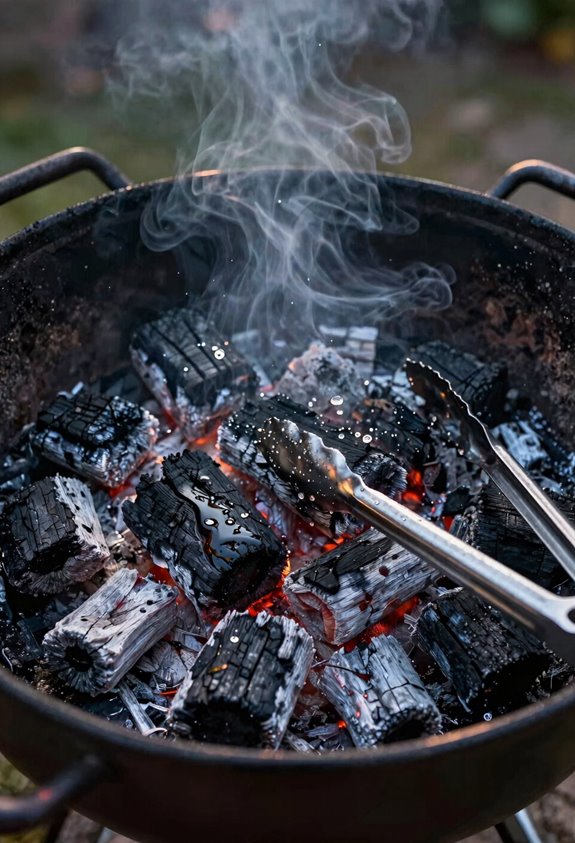
How quickly can a backyard cook turn a smoldering hazard into cold rubble? I douse coals with water when I’m finished grilling, and I’ve learned patience saves skin, literally.
| Step | Technique | Rationale |
|---|---|---|
| Pace | Pour slowly, steadily | Prevents steam burns and ember flight |
| Volume | Saturate thoroughly | Cuts oxygen, kills flare-ups dead |
| Verify | Wait until visibly cold | Avoids fires, protects hands and compost |
I once rushed this gorgeous ex-lawn into ash trays; never again. Water must linger until coals yield no heat, typically twenty minutes in my USDA Zone 7 trials. No warm centers, no guesswork.
Complete cooling precedes any movement, period. Your future cookouts, and your neighbor’s begonias, deserve that discipline.
Move Your Cooled Coals to a Fire-Safe Container
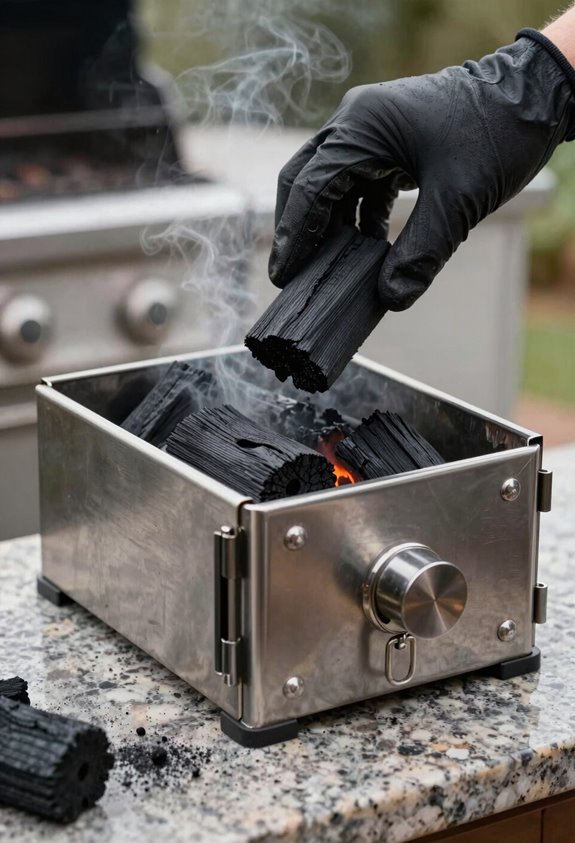
I always transfer my cooled coals into a galvanized metal container with a tight-fitting lid; nothing plastic, ever. Residual heat can linger for 24 hours and spark a garage fire that’ll torch your gorgeous ex-lawn in minutes.
I leave the lid slightly ajar for the first day to vent any moisture that turns coals into concrete, then seal it tight once I’m certain they’re bone-dry, usually after 48 hours in my USDA Zone 7 shed. A 5-gallon metal can runs about $12 at hardware stores, lasts years, and beats explaining to your neighbor why their compost bin caught fire at 2 a.m.
Choose Metal Containers
Safety demands respect for what remains when the flames die down, and I’ve learned that lesson through one too many singed patches of what used to be my gorgeous ex-lawn. When I’m transferring spent coals after soaking, I exclusively deploy metal containers: galvanized steel trash cans or heavy-duty pails with sealed lids. Plastic melts into toxic slag immediately, but steel endures.
- I scoop cooled coals with metal tongs into a designated galvanized pail reserved solely for ash duty, preventing dangerous garage contamination
- I position that container on concrete or brick, never my wooden deck, because conductive heat transfers faster than you’d ever think
- I label the lid “COALS ONLY” to avoid accidental mixing with compost or kindling
Stick strictly with galvanized steel; your insurance deductible stays intact.
Ensure Proper Ventilation
Where exactly do those stubborn embers belong once the ribeye feast concludes and the grill thermometer drops below 150°F? I’d certainly never dream of abandoning them to the outdoor elements, nor should you.
First, I close those grill vents tight, starving the remaining fire of oxygen like a finicky orchid denied humidity. Once cooled, I don my heat-resistant gloves, learned that lesson after a 2nd-degree blister in Zone 7, and transfer the coals to a vented, fire-safe container, never plastic. I douse them thoroughly with water, letting the steam escape through proper ventilation holes, then drain the sludge. A metal trash can with a loose lid or Snuff Out pouch works gorgeously, kept far from your compost or that gorgeous exlawn shed. Safety demands non-combustible materials.
Seal Tightly After
A few hours of patience, and I’m ready for the final transfer; those coals have earned their retirement, but only if I treat them like the smoldering liabilities they still are. I slip on my heat-resistant gloves and move the cooled charcoal and ash promptly; lingering invites disaster.
I grab my 5-gallon galvanized trash can with a tight-fitting lid—nothing fancy, but it seals like a champ at $25 from any hardware store.
For higher stakes, I’ve tested Snuff Out pouches; they’re flame-retardant to 1100 degrees and airtight enough to smother any rogue embers dreaming of resurrection.
I always relocate to a non-combustible outdoor area, letting that container cool completely and drain residual moisture before I even think disposal or reuse.
Light Old Charcoal in a Chimney Starter for Reuse
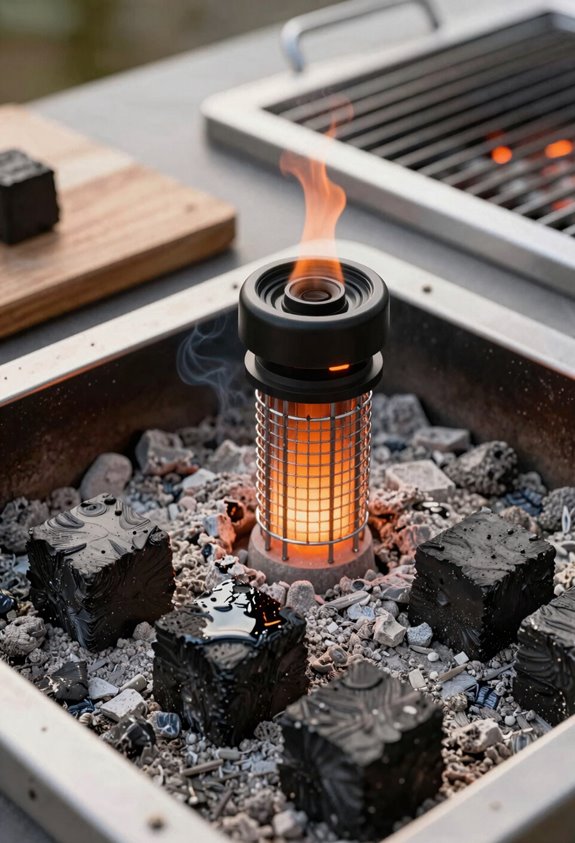
I’ve found that old charcoal lights beautifully when you stack it strategically in your chimney starter, fewer sparks than you’d expect, though you’ll need to master the layering technique to keep things burning evenly. I’ll usually pile my partially spent coals at the bottom, tucking fresh briquettes around and above them like a compost lasagna, then ignite with two sheets of newspaper crumpled beneath. The whole stack catches in twelve to fifteen minutes, yielding about 80 percent of the heat you’d get from virgin charcoal, which suits most backyard tomatoes and zone 7 peppers just fine.
Chimney Setup Method
Why let half-spent briquettes languish like last season’s failed zucchini when I can resurrect them for another cook? I’ve mastered charcoal management through trial and error, and the chimney starter becomes my revival chamber. I sort through yesterday’s remains, keeping fist-sized chunks that still hold integrity while discarding crumbly ash fragments to the compost heap.
I nestle spent coals in the chimney’s base, then pack fresh briquettes around them like soil around established roots. I ignite with paper cubes or a torch, watching the heat climb through the layered fuel bed in roughly fifteen minutes. I expect the total volume to sit lower than all-new loads, so I add fresh charcoal on top when space permits, creating balanced combustion without the waste.
Layering Old Coals
The revival ritual begins with archaeological patience: I lift the lower grate and sift through charcoal’s version of a compost profile, brushing away whitewhited ash (the spent dross, pH 11.5 and too alkaline even for my Zone 7 clay) and retrieving blackened chunks larger than a walnut, roughly two inches across, the minimum matrix that won’t crumble under thermal shock.
I nestle these charcoal leftovers into my chimney starter first, then sandwich fresh fuel around and above them. If I’ve got headroom, I’ll top off with more new coals; this layering tricks the starter into faster ignition while the old pieces catch and sustain. I light with Weber cubes and a torch, expecting slightly less total volume than virgin fills. The result? Hotter, quicker starts and zero waste.
Sandwich Used Coals Between Fresh Charcoal Layers
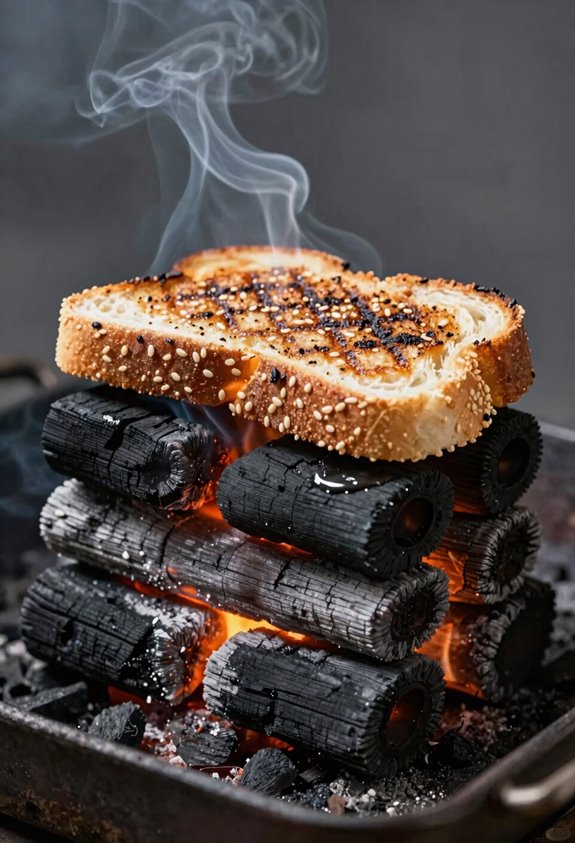
Where else would I wedge those half-spent briquettes but between fresh fuel like a miser hoarding thermal potential? I’ve perfected the charcoal sandwich technique through many Saturday evenings of trial and error, and I’m passing it along so you don’t waste a single degree.
Why discard half-spent coals when a miser would hoard that thermal potential between fresh fuel? My charcoal sandwich wastes not a single degree.
Lay your used coals at the chimney’s bottom, then nestle fresh lumps around and above them; they’ll catch like gossip at a block party.
Light with paper or Weber cubes and a torch, then wait; mixed piles burn slightly lower than virgin fuel, so don’t panic when heat builds gradually.
Watch for that gorgeous exlawn glow when old coals reignite, accelerating startup as new charcoal catches, a layered miracle of thermal thrift.
I’ve documented this with photos and a YouTube video because seeing beats explaining, and we’re all learning together here.
Store Partially Burned Charcoal Where It Stays Dry
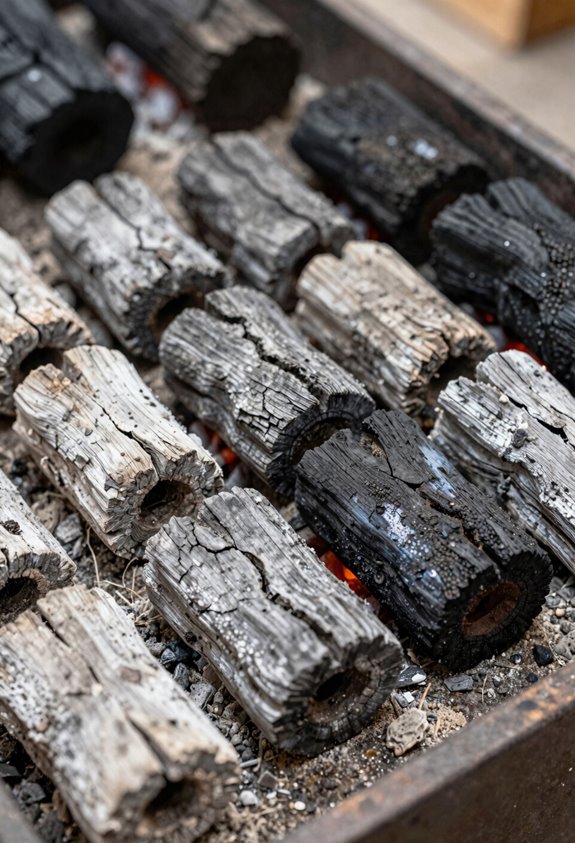
I’ve learned the hard way that partially burned charcoal turns into useless, clumpy mush if you let humidity win, so I swear by metal containers with tight lids, stored well away from living spaces.
I cool coals completely on the lower grate first, then transfer them to a designated, fire-safe bin that I’ve actually labeled, because mixing fresh and spent fuel wastes both money and match strikes. You’re aiming for bone-dry storage, not drowned briquettes, since water ruins the porous structure that makes relighting possible.
Moisture Control Methods
Why let perfectly good briquettes dissolve into fungal goo when a five-gallon metal bucket and two inches of dry sand can keep them pristine for Zone 8’s next grilling season? I’ve learned that charcoal moisture management means treating those partially burned coals like the hygroscopic sponges they are, until they’re bone-dry and completely safe.
- Spread damp coals in a single layer on a breathable metal pan and let them bake in the hot sun for 48 hours just before any storage
- Layer two inches of dry sand or unscented cat litter at the bottom of your container to wick away residual humidity
- Never seal coals while they’re still breathing moisture; trapped vapor causes rust, mold, or dangerous midnight flare-ups that’ll ruin your gorgeous exlawn
Proper Storage Containers
How long did it take me to learn that a soggy cardboard box in Zone 7 will turn forty dollars of hardwood lump into something resembling driveway tar? I now use a 5-gallon galvanized trash can with a tight lid, and I let those coals cool completely, about three hours, before transferring them. I wear heat-resistant gloves and use a metal scoop, placing partially burned pieces on a concrete paver away from my gorgeous exlawn or the shed.
For serious charcoal storage that laughs at humidity, I’ll double-bag cooled coals in a Snuff Out pouch before dropping them into that metal container on a non-combustible surface. It’s a simple system, but it keeps my fuel dry and my garage unburnt, which feels like a real victory.
Trash Your Charcoal Ash in a Metal Can or Foil Wrap
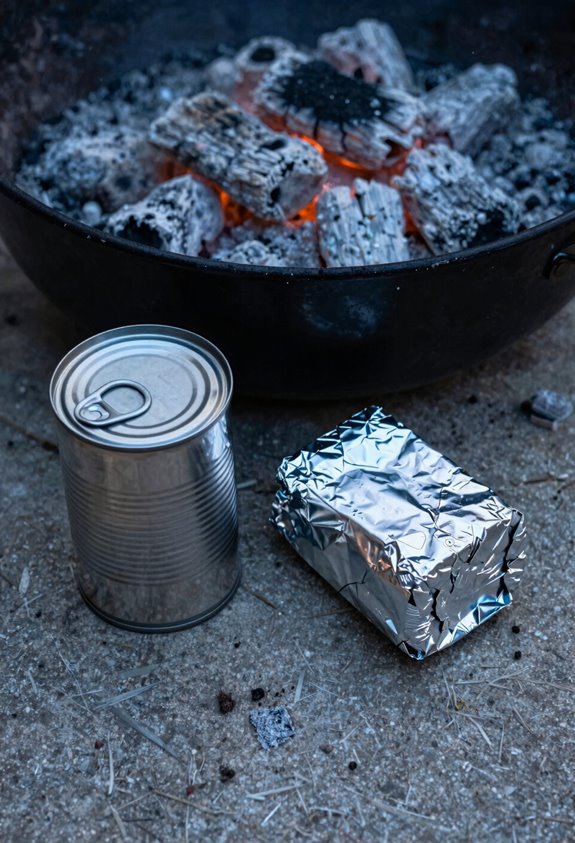
Where exactly do you stash charcoal ash that’s still holding enough heat to reignite a paper bag? I’ve learned the hard way that charcoal ash disposal demands respect, not reckless bag-dumping.
Here’s my field-tested containment protocol:
I douse every suspicious coal slowly, transforming embers into soggy, harmless rubble through deliberate soaking; patience here beats singed eyebrows every time.
I transfer the cooled remnants into a lidded metal trash can, or when I’m traveling light, I fashion a tight foil pouch that traps residual warmth without inviting disaster.
I drain thoroughly before final commitment, standing water breeds steam, and steam in a sealed container makes an unpleasant surprise that I’ve endured once, gorgeously.
Never trust a standard garbage sack with warmth. Metal or foil: there’s no middle ground worth risking.
Keep Charcoal Briquettes Out of Your Compost Bin
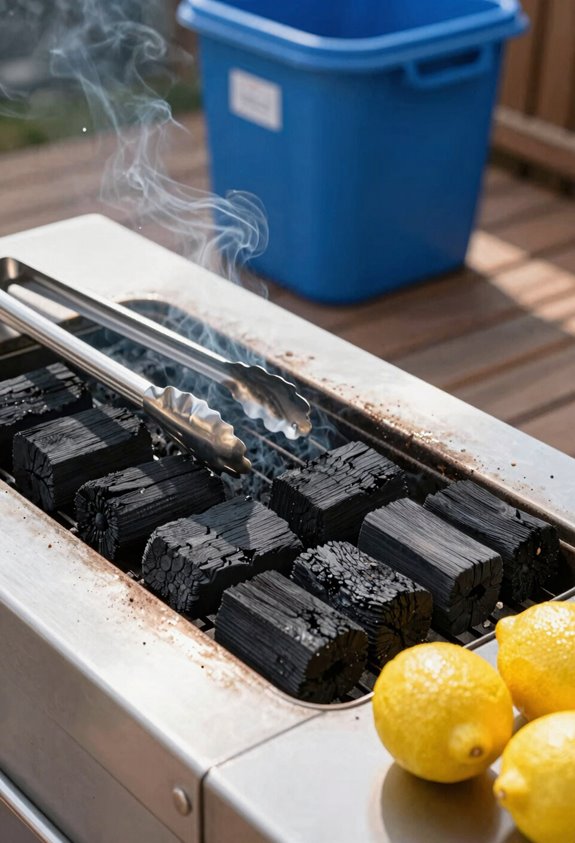
Once I’ve sealed away my cooled ash in metal or foil, I’m faced with the leftover briquettes themselves, and here’s where my composting enthusiasm hit a wall I didn’t see coming. I learned the hard way that charcoal briquettes contain binders and accelerants that stall thermophilic bacterial action, poisoning the bacteria working through my lawn clippings. Even partially spent lumps harbor residual heat that can reignite sawdust or dry carbon.
If you’re done with them, I wrap each briquette individually in aluminum foil, tight as a drum, and deposit the parcel into a non-combustible outdoor trash receptacle, never my compost tumbler. For reusable chunks, I cool them completely for 48 hours, then nestle them in the grill’s ash catcher for the next cookout. No exceptions.
Cool Leftover Coals Faster With a DIY Foil Snuffer
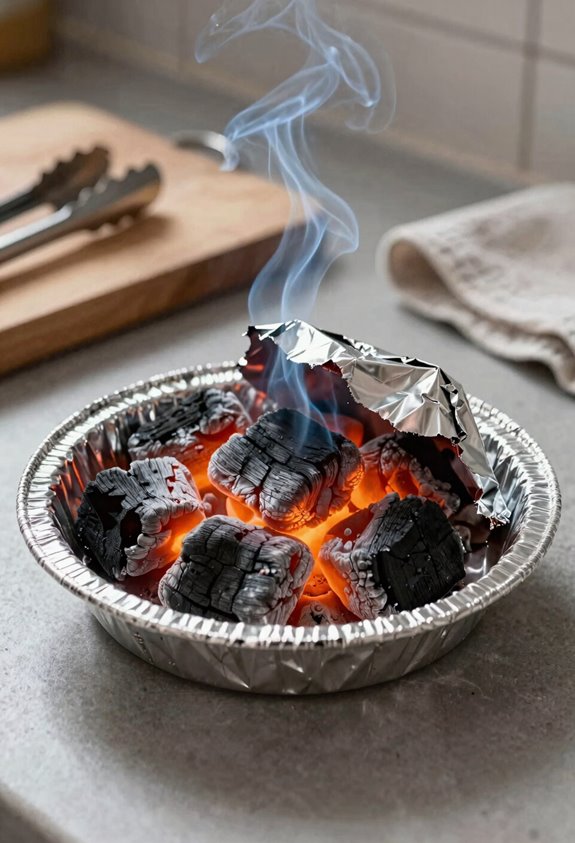
Why let perfectly good evening hours evaporate while guarding a smoldering grill? I quit that routine years ago, and I’ve got you covered with my DIY foil snuffer method.
I fold heavy-duty aluminum foil around a small metal pan; sometimes I just craft a watertight pouch, and I drop my leftover charcoal inside. I add water, which rapidly cools those stubborn embers, and that foil barrier contains the steam so I don’t collect spatter burns. Here’s my process:
- Form the foil pocket around a metal container for sturdy containment
- Douse the charcoal with water inside the sealed pouch
- Relocate everything to a non-combustible zone until completely cold
This beats leaving coals uncovered where flare-ups reignite my patience. Faster cooling, fewer singed eyebrows, more time for the gorgeous evening air.
Save Money by Reusing Charcoal Instead of Tossing It
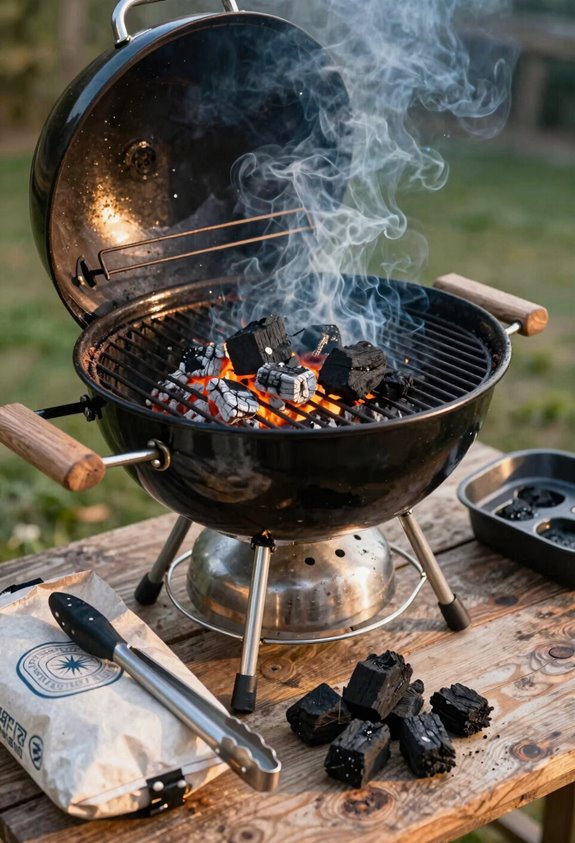
How much cash have I literally burned by dumping half-spent coals? Too much, friend, too much. Now I reuse charcoal like the budget-savvy grill fanatic I’ve become, and you can join this thrifty fellowship too.
After my cook ends, I let those coals cool completely, no rushing, no container transfers while they’re hot. I fish out only the tiniest ash-clogged fragments, leaving the big, structurally sound pieces right in the lower grate. Reuse charcoal by keeping these survivors dry; moisture is the enemy of efficient relighting.
For round two, I load fresh briquettes into my chimney starter, then sandwich yesterday’s veterans between the new stuff like a sedimentary money-saving formation. A Weber Cube, scrap paper, or torch lighter ignites this layered masterpiece in about fifteen minutes. Layer old between new, that’s the technique that changed my former lawn budget.





