
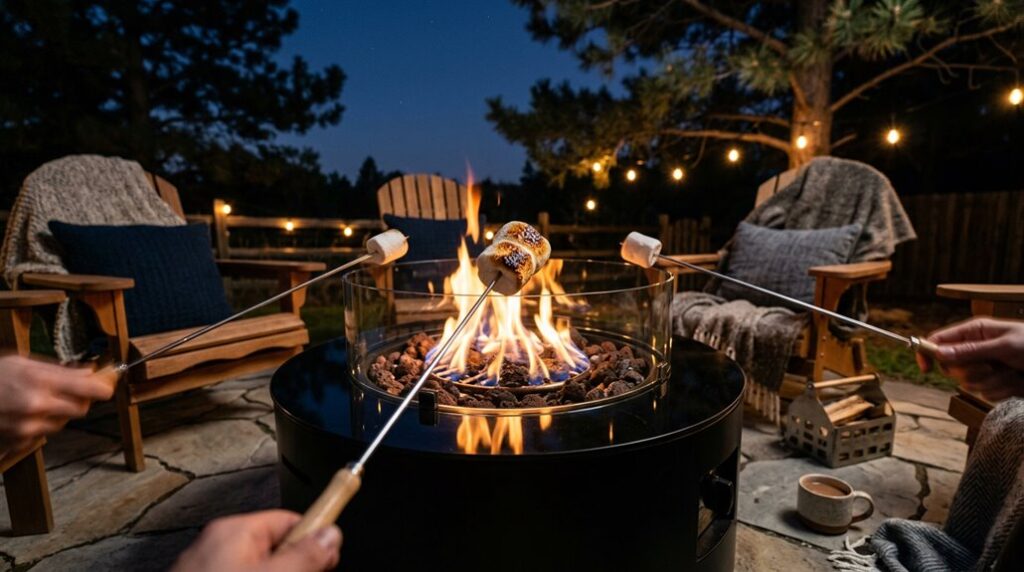
Americans consume roughly 90 million pounds of marshmallows annually, and I’ve torched enough of them to know that propane fire pits, though derided by purists, actually offer superior temperature control once you understand flame behavior at 2,500 BTU output.
My first attempt ended with a carbonized shell and raw interior, a failure I’ve since remedied through systematic adjustment of burner valves and skewer positioning. The trick lies in manipulating radiant versus convective heat, which demands precise hardware and patience I’m still refining.
Yes, You Can Roast Marshmallows on a Propane Fire Pit
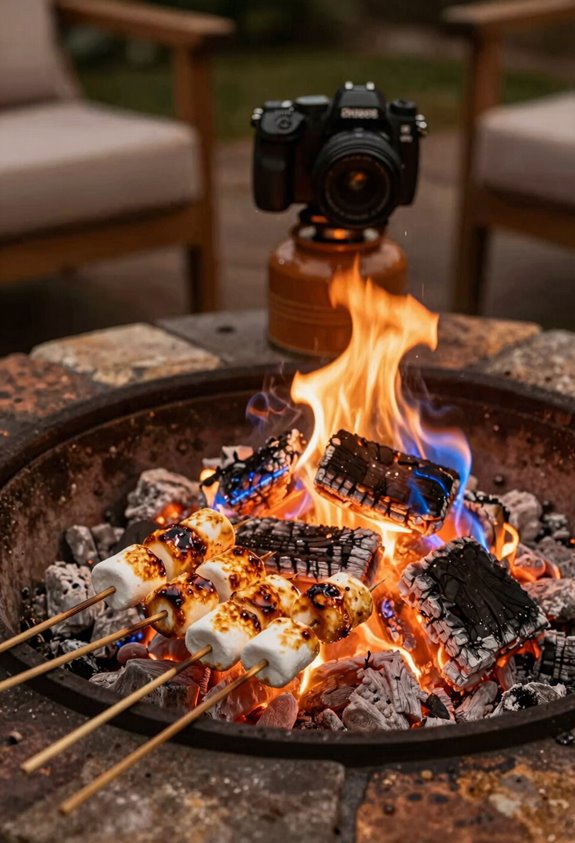
How often do I find myself defending propane fire pits to incredulous neighbors? They’re missing out. I’m roasting marshmallows on mine right now, and I’ve got the technique down pat. Grab a long skewer, hold that marshmallow slightly above medium flame, and rotate slowly for golden perfection with a soft center. No smoke, no acrid aftertaste, just clean combustion and pure sugary bliss.
I’ve learned safety measures matter more than showmanship. Keep treats above or to the side, never directly in the flame zone. Drop one into the burner? I’ve done it. Turn off the gas, let everything cool, then clean thoroughly before relighting. Supervise kids, maintain ventilation, and follow manufacturer instructions. My propane fire pit delivers s’mores without the horticultural headache of tending wood, belonging to the moment, not the maintenance.
Propane vs. Wood: Which Makes Better S’mores?
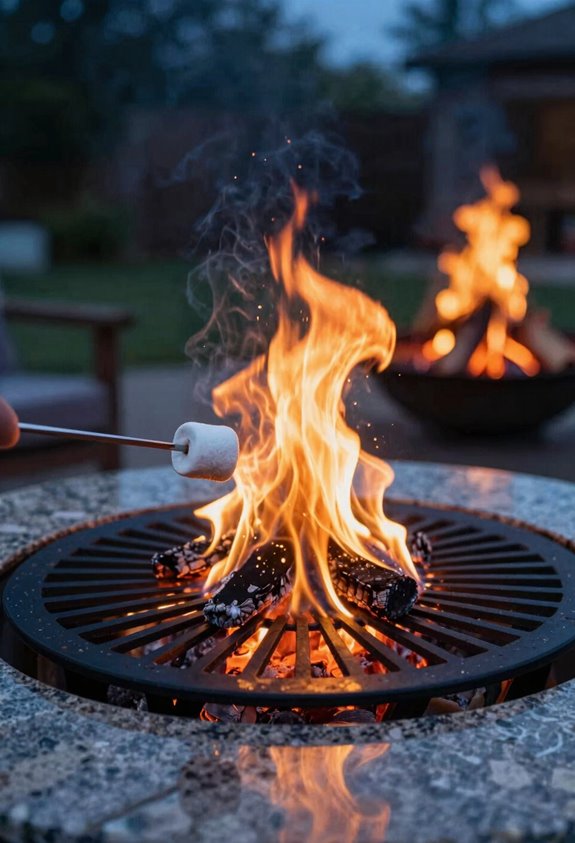
Where exactly does propane outshine its woody rival? I’ll tell you: I’ve roasted hundreds of marshmallows, and Propane wins on consistency. That clean burn means no soot coating your golden fluff, just pure, caramelized perfection.
I rotate mine slowly, slightly off the flame’s edge, and the adjustable heat gives me control wood never matched. No rogue sparks, no ash in my cocoa. The gas fire pit ignites instantly, letting me dial in that ideal marshmallow texture, crisp shell, molten center, on demand.
Wood’s got nostalgia, sure, but I’m after results. When I’m craving s’mores at 9 PM on a Tuesday, I don’t want to wrestle with kindling. Propane delivers, and my marshmallows taste like summer, not smolder.
Gear You Need for Safe Roasting
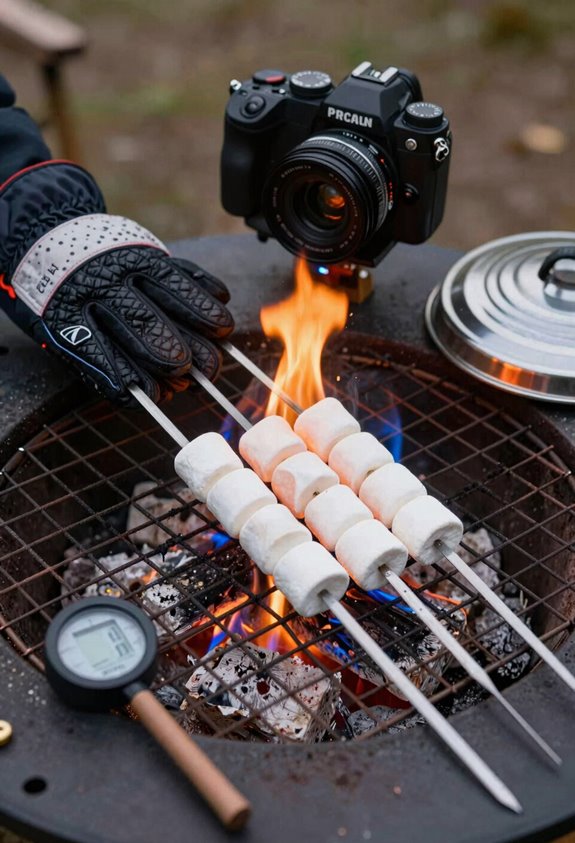
I’ve learned the hard way that roasting marshmallows over propane demands more forethought than grabbing a stick from the yard and hoping for golden perfection. You’ll want essential roasting tools that keep your hands clear of the heat; a safe skewer selection that won’t snap under weight or scorch before your marshmallow toasts; and protective equipment basics because molten sugar at 212°F doesn’t care about your weekend plans. I’ve sacrificed enough marshmallows to the fire pit gods to know that gear matters more than optimism.
Essential Roasting Tools
Why risk singed knuckles when a modest investment in proper gear transforms marshmallow roasting from a clumsy juggling act into a controlled, repeatable science? I won’t pretend I’ve always been prepared; that gorgeous smoldering lawn taught me roasting tools matter.
Long, heat-resistant skewers (stainless steel or tempered metal) keep hands blessedly flame-free. Soaked wooden skewers work as backup, unless you enjoy surprise kindling. Heat-safe tongs or pliers let you grab finished marshmallows without sacrificing fingerprints.
I position marshmallows one inch above flame, rotate slowly, and let tongs handle the retrieval. Wooden skewers demand soaking first; I’ve watched too many snap mid-roast. Proper safety equipment doesn’t just prevent burns; it earns you respect around the fire pit.
Safe Skewer Selection
When selecting skewers for propane fire pit roasting, I’ve learned the hard way that not all sticks are created equal, particularly after watching bamboo kabob skewers curl like fiddlehead ferns in the Zone 6 humidity and nearly torch my prize-winning hostas. I stick to heat-resistant metal skewers or properly prepped wooden sticks, nothing ruins a gorgeous evening like splinters in your s’more.
| Skewer Type | Prep Required |
|---|---|
| Metal (18″+) | None; inspect for bends |
| Wooden sticks | Soak 15–30 minutes |
| Bamboo kabobs | Avoid; prone to curling |
I always soak wooden sticks before roasting to prevent flare-ups, and I check for cracks that could snap mid-toast. Straight, sturdy skewers with comfortable grips let me rotate steadily, keeping my hands a safe distance from those propane flames.
Protective Equipment Basics
Even though I’ve roasted hundreds of marshmallows over my Zone 7 propane setup, I still suit up like I’m tending a finicky Brugmansia in a late frost. Protective equipment isn’t paranoia; it’s the difference between a gorgeous evening and a trip to urgent care.
I keep my safety precautions simple but non-negotiable:
- Long, heat-resistant skewers that put 24 inches between my knuckles and the flame
- Leather welding gloves and clear eye protection for adjusting the valve mid-roast
- A damp microfiber cloth and 2.5 lb extinguisher within arm’s reach
I tie back my hair, ditch the flowing sleeves, and soak wooden skewers for 15 minutes beforehand. Roasting marshmallows demands respect for the propane gods: ventilation, vigilance, and zero loose threads dangling toward the burner.
Set Up Your Propane Fire Pit for Even Heat
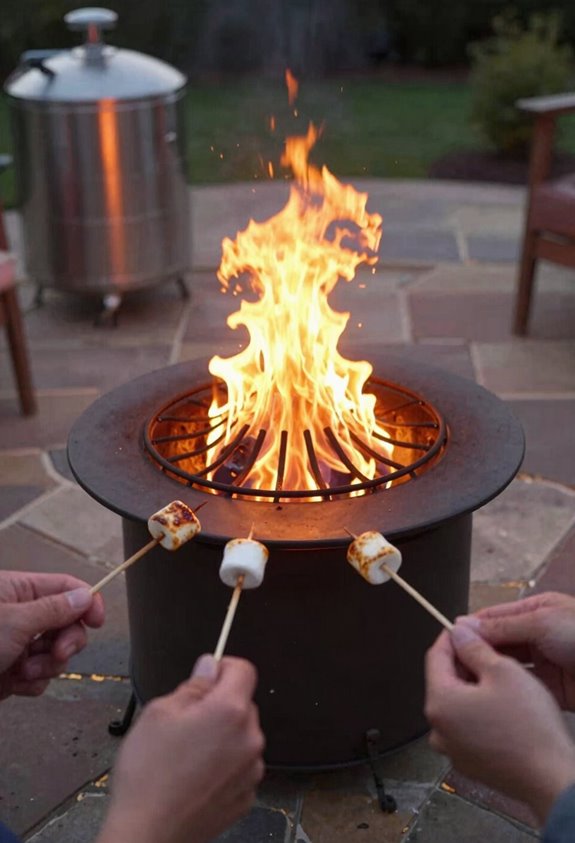
I always start by checking my burner level first, those gorgeous explosions of flame won’t mean a thing if the thing’s tilted like my first disastrous attempt in USDA Zone 7. Then I’ll dial the propane to a medium flame, roughly 4 to 6 inches: anything higher and you’re not roasting, you’re cremating. Finally, I position my lava rock or glass media with surgical precision, ensuring no gaps where heat pockets form, because my $45 investment in fire glass taught me that uniformity isn’t just aesthetic, it’s the difference between golden-brown success and a charcoal-tipped disaster.
Flame Height Control
How, exactly, does one coax a propane fire pit into playing nice with a bag of marshmallows? I’ve learned that flame height makes or breaks the experience, and heat control isn’t just about comfort, it’s roasting safety in action.
I start with a medium flame, roughly 4-6 inches of visible blue-orange dance. Too high, and you’ll torch the exterior while the center stays stubbornly cold; too low, and you’re waiting until next Tuesday. I keep my marshmallows suspended about an inch above the burner, rotating slowly like I’m tending a gorgeous exlawn of sugar.
Adjust your valve gradually, sudden changes cause flare-ups that’ll singe your eyebrows. Monitor flame height constantly; propane doesn’t forgive inattention. Use long metal skewers for proper heat control and safe distance.
If intensity spikes, I fine-tune the burner rather than panic.
Media Placement Importance
Mastering flame height gets you halfway to marshmallow perfection, but placement of your roasting media, that sugar-laden sphere on its stick, separates the charred casualties from the golden-brown victors.
I position my propane fire pit so flames hit medium height, then hover marshmallows about an inch above or just beside the burner edge. This roasting technique dodges direct scorching while bathing each puff in steady, even heat. On round tabletop models, I angle skewers toward the outer ring, steering clear of vent gaps that create cold spots and uneven browning.
A long, heat-resistant stick keeps my knuckles unscorched and the rotation smooth. Safety and cleanup matter more than you’d think; I clear debris before lighting and scrub burner ports afterward, since stray sugar hardens into stubborn, flame-distorting gunk. A stable low flame with quick shutdown minimizes soot, giving that gorgeous golden shell without the campfire drama.
Burner Level Checking
Why start roasting before your burner’s even dialed in? I always verify my burner level first, making sure the base sits perfectly flat and gas connections stay tight to prevent dangerous surges. Then I check for flame stability before marshmallows come out.
I ignite the burner and adjust the control knob to a medium, steady flame, avoiding high blasts that cause uneven toasting and frustration. I rotate a test skewer across different positions above the burner to confirm even heat distribution before marshmallows meet the heat. If I spot yellow tips or dimming, I adjust the valve and purge air lines to restore that clean blue flame we need.
This preparation guarantees perfectly golden marshmallows, and we’re roasting like experienced pros together around the fire.
Roast the Perfect Golden Marshmallow (Step-by-Step)
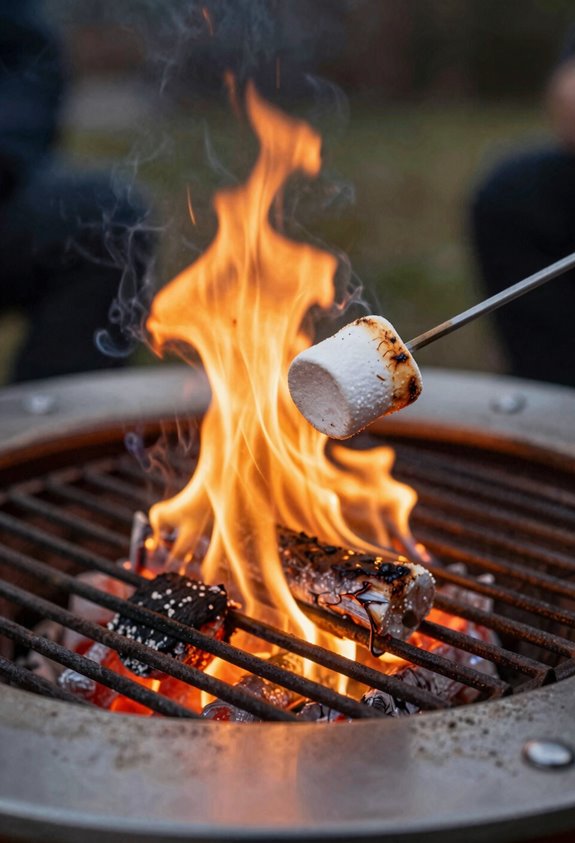
A perfect golden marshmallow is less accident than algorithm, and I’ve burned enough sacrificial puffs to know the difference. When I approach my gas fire pit, I select marshmallows that yield softly to pressure, fresh, plump specimens that won’t tear under heat’s insistence.
My roasting technique demands patience: I hold my skewer one inch above the medium flame, close enough to feel the warmth, distant enough to avoid soot’s bitter kiss. I rotate slowly, pausing occasionally like a grillmaster tending prime cuts, watching that caramelized shell expand evenly. No rushing. No direct flame contact.
Once I’ve achieved that amber perfection, I rest the marshmallow briefly on a plate, just thirty seconds, letting the interior set before that first glorious pull.
What If a Marshmallow Drops Into the Burner?
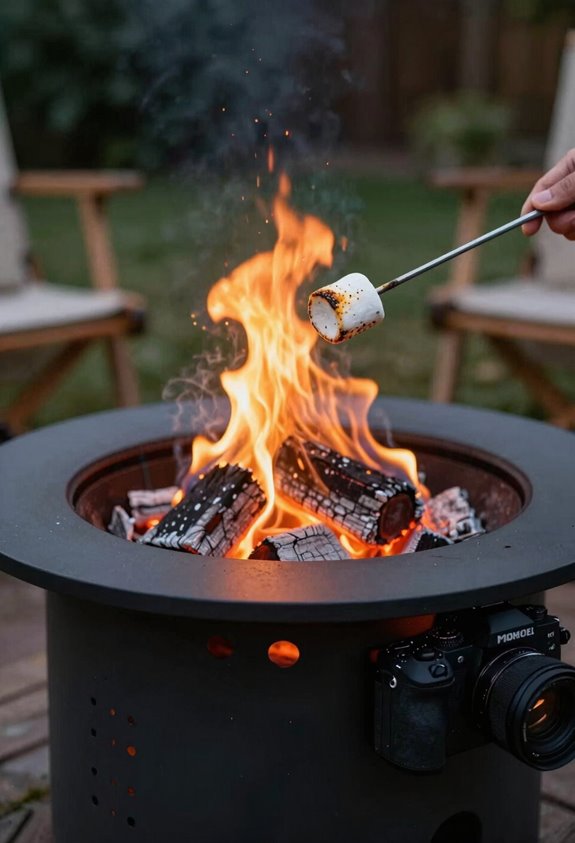
I’ve watched marshmallows plummet into burners enough times to know it’s not a disaster, just an annoying interruption: kill the gas immediately, let the unit cool to ambient, then excavate every trace of sugar from the media and orifices before you even think about relighting.
A single missed glob can clog 2-3 mm ports and warp your flame pattern into something that resembles a failing propane lantern, so I inspect with a flashlight and compressed air, reseating any displaced lava rock or glass that shifted during the incident. To avoid repeat performances, I keep my skewers at 18-24 inches and treat the roasting zone like a hot greenhouse boundary: approach with purpose, but never let your crop drift below the canopy line.
Immediate Response Steps
Because nothing ruins a marshmallow roast quite like watching your fluffy white payload plummet into the burner like a sugar-laden meteor, I’m going to walk you through exactly what to do when gravity wins. I’ve learned these safety steps through trial and error, mostly error, so you don’t have to.
- Kill the heat immediately and let your propane fire pit cool completely; that molten sugar masquerades as lava
- Resist the urge to fish it out bare-handed, grab tongs or a poker once it’s safe, because blistered fingers aren’t the souvenir you want
- Pry debris from ports and burn media to prevent clogs that’ll turn your flames into a sputtering embarrassment
Inspect flame openings for stubborn residue, then relight per manufacturer instructions. With proper propane fire pit cleanup handled, you’re back to marshmallow roasting, just aim higher this time.
Cleaning and Prevention
So you’re wondering what happens when that marshmallow makes its inevitable bid for freedom, and the short answer is nothing good: melted sugar caramelizes into a stubborn, carbonized shell that’ll clog your burner ports faster than you can say “s’more’s over.” I’ve pulled enough charred debris from fire pits to know that prevention beats scraping every time, which means treating your equipment like the precision instrument it is rather than a campfire free-for-all.
When cleanup’s unavoidable, I shut everything down completely, let the unit cool for 45 minutes minimum, then tackle the marshmallow debris clogging my gorgeous ex-lawn centerpiece. I carefully clear the cleaning burn area, swabbing sugary residue from exposed surfaces with a damp cloth; never harsh cleaners on heat-sensitive components.
Regular burner maintenance means inspecting vent holes weekly; that fifteen-minute routine prevents catastrophic blockages and keeps your gas flowing true.
Is It Safe for Kids to Roast on Propane?
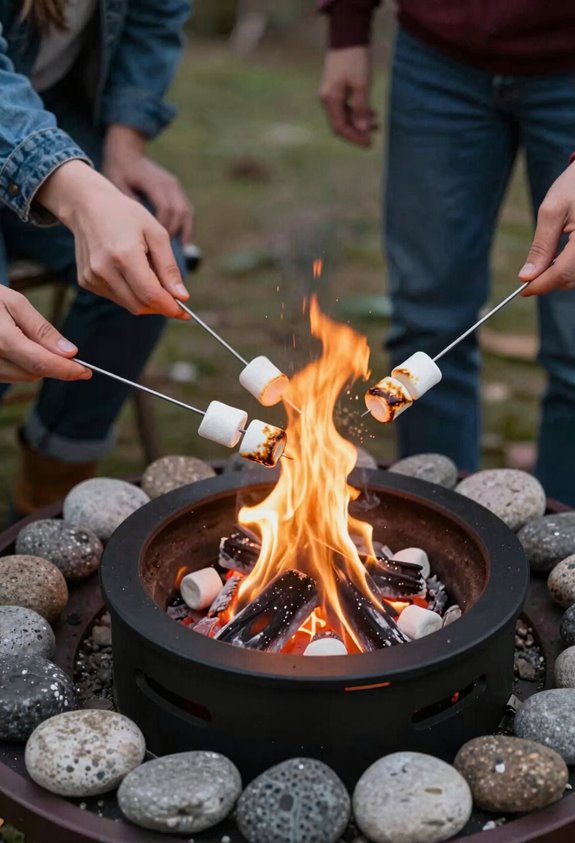
Why would I let my niece anywhere near an open flame fueled by pressurized gas? Only with propane safety locked down and supervision tighter than a drum. I’ve learned this firsthand: kids roast fine if you engineer the moment right.
Keep the flame low and stable, no towering infernos when tiny hands grip skewers. Designate one adult to guide each child; I’ve seen burns happen in the four seconds I turned away. Use 30-inch heat-resistant skewers and rotate slow; my niece torched three marshmallows before nailing the golden crust.
Afterward, I supervise cool-down like a hawk. That burner stays hot, and kids forget faster than marshmallows catch fire. Done right, everyone belongs around the fire pit, singed eyebrows optional, but strictly avoided.
How to Clean Your Fire Pit After Roasting
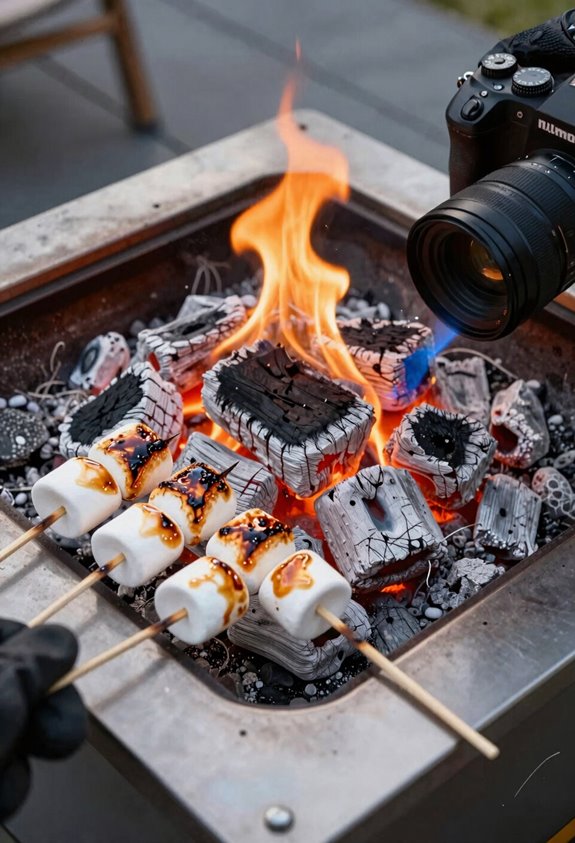
The sticky aftermath of a successful roast demands the same vigilance I brought to supervising my niece, though now I’m battling caramelized sugar instead of wandering hands. I always turn off the propane fire pit and wait, patience isn’t my virtue, but melted skin teaches fast, until every component cools completely before touching anything.
Fire pit cleaning starts with scraping debris from grates, burner areas, and fire media; leftover marshmallow hardens into fuel for tomorrow’s flare-ups.
I scrub burn ports with a soft brush, clearing clogs from sugar residues that’ll choke your flame like crabgrass chokes my zucchini. A mild soap solution wipes exterior surfaces, preventing slippery spots that’d embarrass any host.
Propane fire pit maintenance extends to skewers, soak wooden ones, dry metal thoroughly. We’re roasting marshmallows again soon, and nobody wants last week’s burnt sugar haunting tonight’s s’mores.
Do Propane Fire Pits Change Marshmallow Flavor?
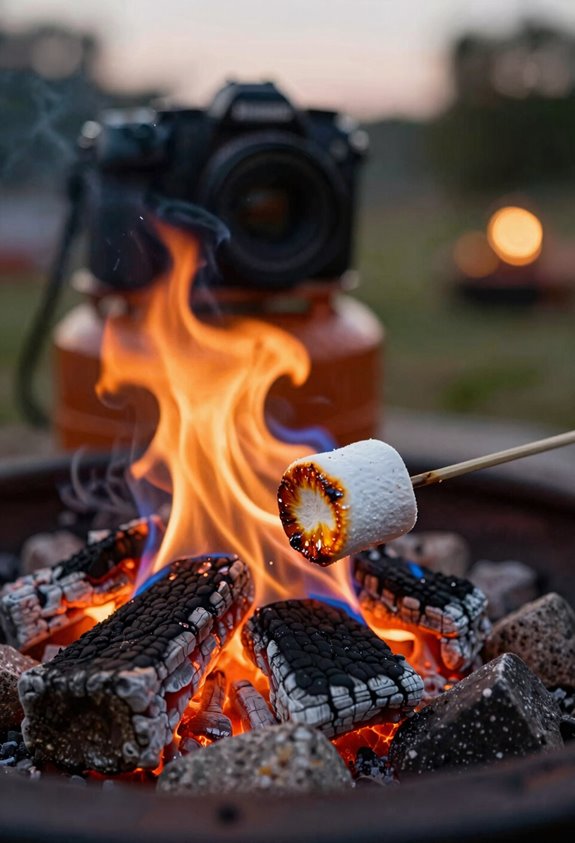
Whether propane taints my marshmallows was the first question my neighbor posed when she spotted my gas fire pit, and I can’t blame her skepticism. I spent three seasons convinced my tomatoes tasted metallic before realizing I’d planted them too close to the galvanized fence.
Propane skepticism runs deep when you’ve tasted metallic tomatoes from a galvanized fence.
Here’s what I’ve learned roasting hundreds of ‘mallows over my 50,000 BTU propane flame since 2019:
A clean-burning propane flame produces minimal soot versus my old oak fire pit, which left marshmallows tasting like I’d kissed a chimney sweep. My roasting technique, holding sweets 6-8 inches above a low, steady blue flame for 45-60 seconds, eliminates any flavor impact. I scorched plenty learning patience beats rushing. Any perceived off-flavors trace to debris in burner ports or over-roasting, not the gas itself.
I check my lines each spring, roast slow, and serve s’mores nobody questions.
Best Fire Pit Styles for S’mores Nights
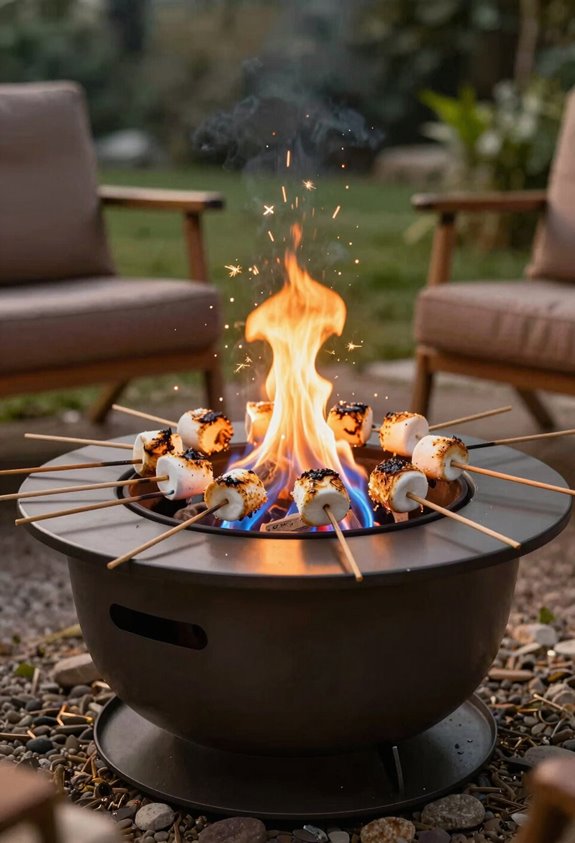
My neighbor’s 36-inch rectangular table-top pit taught me that style matters almost as much as flame control when you’re feeding a yard full of sticky-fingered guests. I prefer a gas fire pit with wide edges, 12 inches minimum, so you have room for graham stacks and chocolate squares without losing them to the flames.
Built-in spark guards beat aftermarket add-ons; they keep enthusiastic kids from sacrificing eyebrows while roasting marshmallows at the correct 6-inch distance above the burner. Round pits encourage conversation, but I find 30-inch squares seat eight more democratically.
Fire pit safety means integrated ignition buttons, no matches in the dark, covered propane lines the dog can’t trip, and at least 3 feet clearance from combustible borders. My gorgeous exlawn recovered poorly from learning this the hard way.





