
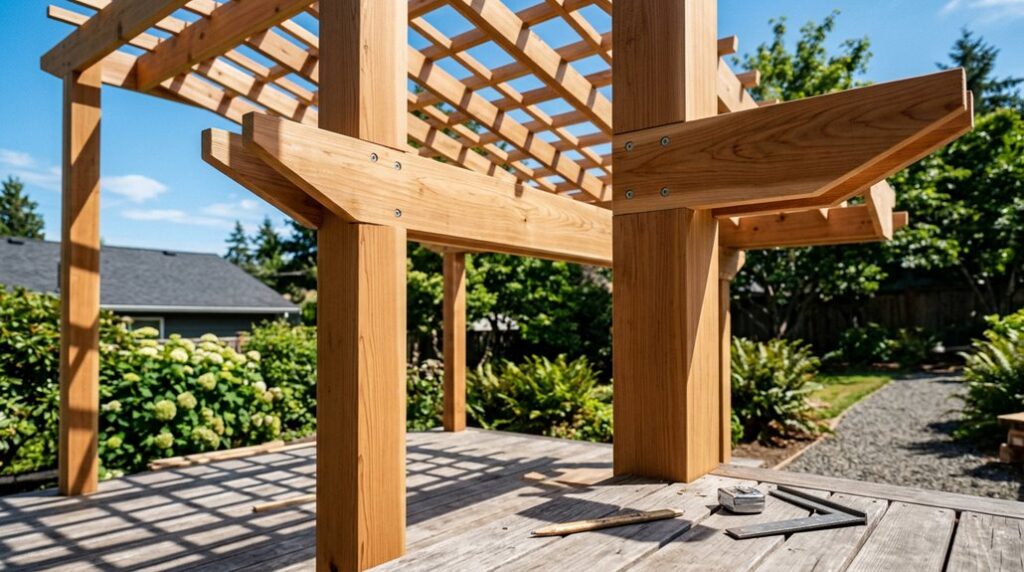
I happened to be inspecting my deck’s joist hangers the same morning my neighbor’s pergola collapsed, which rather focused my attention on load vectors.
You’ll need 500–1000 pounds of capacity; check for rot, insect damage, or that subtle sag that whispers “structural compromise.”
I learned this in USDA Zone 7b after ignoring a warning I should have heeded.
I’ve engineered three pergolas since, and I’m still discovering how attached designs differ from freestanding ones in ways that matter when the wind hits.
The real question isn’t whether you can build it, but whether your deck can survive what you build.
Can Your Deck Actually Support a Pergola?
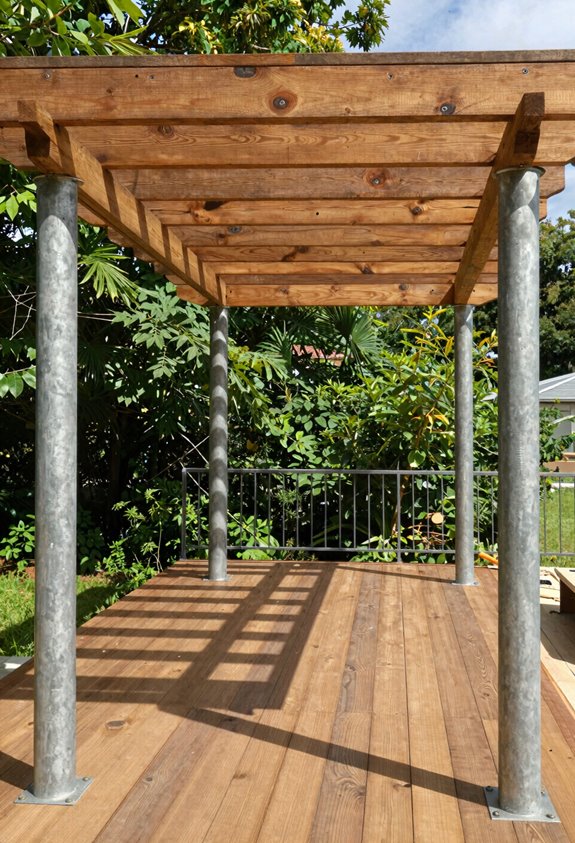
Before I spend a weekend wrestling with cedar posts and wondering why my tape measure lies, I need to ask: can my deck actually handle this? A pergola adds 500–1000 lbs of deck load, so I’m checking where my posts will land: directly over main support beams, never between joists where they’ll punch through like my gorgeous lawn after a rainstorm.
If my deck’s pushing 10–15 years or showing rot, sagging, or that spongy feeling underfoot, I’m calling a pro to assess structural integrity. Elevated decks need extra attention: sometimes reinforcement or deeper footings below the surface.
I mark post locations with careful precision, ensuring brackets achieve proper load transfer to joists, beams, or concrete, not just surface decking. I’m also accounting for altered wind, snow, and drainage patterns that’ll test my build.
Inspect Your Deck Framing Before You Attach Anything
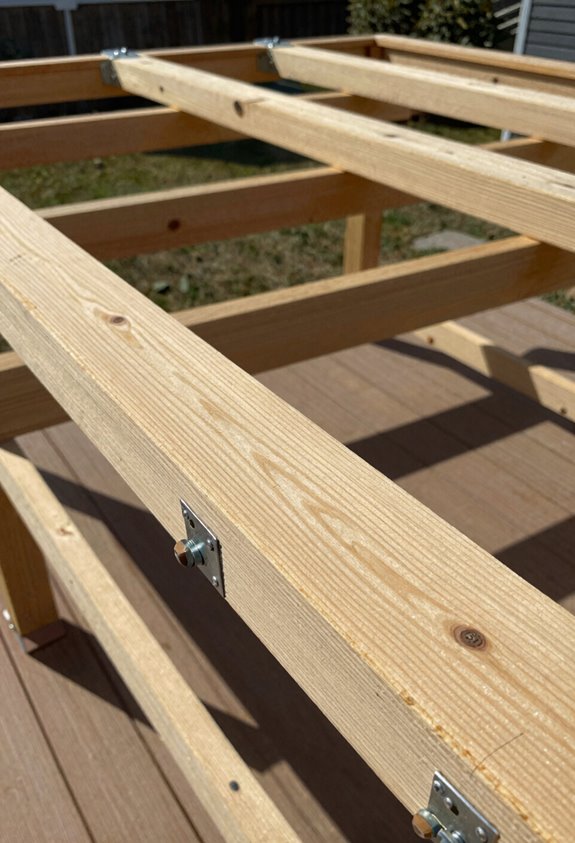
Where exactly am I bolting this thing, and what’s underneath? I learned the hard way that gorgeous lawn aspirations collapse when deck framing can’t handle the load. My 12×16 cedar platform looked sturdy, but I’d never checked if the joists could shoulder another 800 pounds of lumber and vine-draped dreams.
Here’s what I do now: I verify load-bearing capacity before dreaming of wisteria shadows. My pergola posts must sit directly over main beams, not floating between joists like hope without anchor. I measure twice, mark with carpenter’s pencil, and use strong-tie brackets sunk into actual framing, not just surface decking playing dress-up.
For post placement on elevated decks, I’ve added diagonal braces after my first attempt swayed like a drunk scarecrow. If your deck’s pushing fifteen years or smells like forest floor, call a pro. Some failures teach; others just cost weekends.
Attached or Freestanding: Pick Your Pergola Design
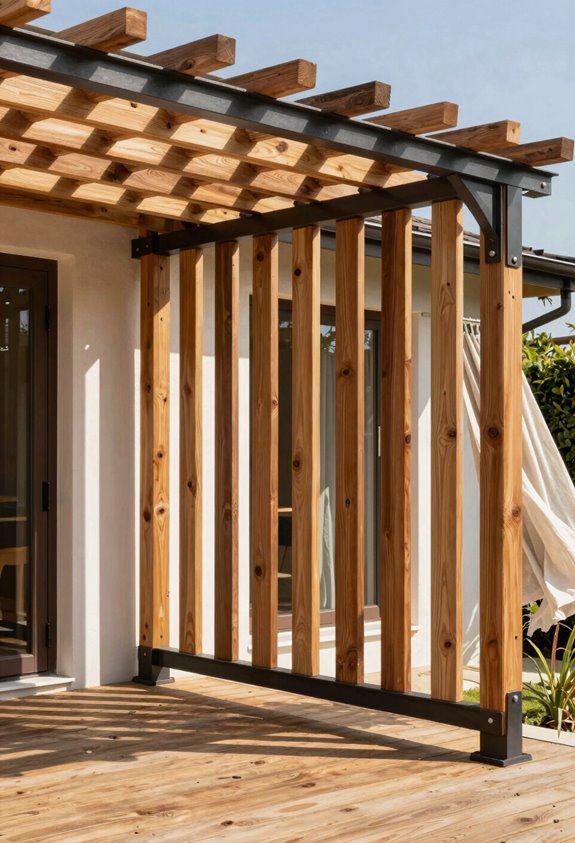
Why lock yourself into one design when the choice between attached and freestanding shapes everything from your morning coffee spot to how your ‘Miss Ruby’ crape myrtle climbs? I’ve wrestled both onto decks, and each demands its own logic.
Attached designs anchor to your house, creating seamless indoor-outdoor flow, but they live or die by deck load transfer: posts must sit directly over main support beams, not between joists like I once foolishly tried.
Freestanding pergolas stand proud with four posts in concrete, corner configurations possible, completely independent of your deck’s bones.
Privacy screens work with either style, turning your morning coffee into a secluded ritual.
Stairs and railings integrate cleaner with attached versions, though freestanding offers flexibility when your deck’s edges get weird.
Choose Pergola Materials for Your Climate and Maintenance Style
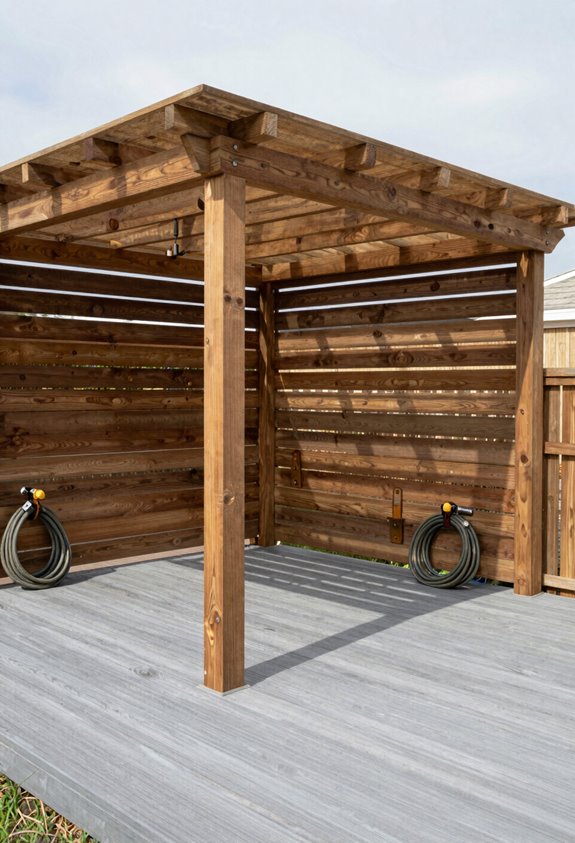
How much time am I willing to spend with a stain brush in my hand? That’s the question that separates weekend warriors from regret-filled renovators when selecting pergola materials. I live in coastal zone 9b, where salt air devours untreated lumber like termite candy, so I’ve learned that climate maintenance isn’t optional, it’s survival.
For humid climates, I specify rot-resistant options: fiberglass or powder-coated aluminum laugh at moisture while cedar weeps in the corner. Aluminum louvered systems offer shade control without the seasonal sealing ritual, and they pair beautifully with low-maintenance decking for a unified, lazy-afternoon aesthetic.
If I’m married to wood, I’ll budget four hours annually for resealing redwood or face the weathered gray of splintered defeat. Material choice dictates my future; I choose wisely.
Mark Your Post Locations for Even, Stable Spacing
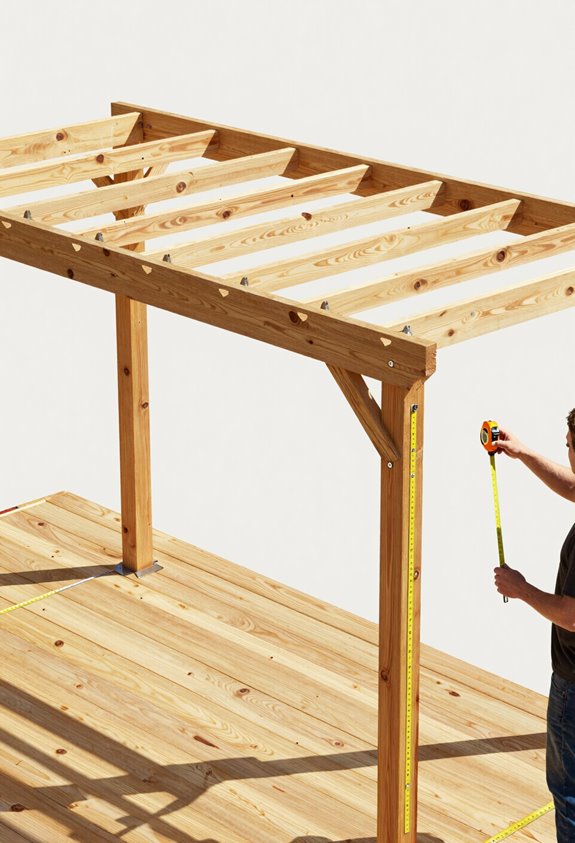
Every pergola I’ve built that didn’t wobble like a drunk giraffe started with one honest afternoon of measuring twice and cursing once. Post placement isn’t glamorous work, but it’s where dreams of backyard belonging either take root or snap in a crosswind.
Here’s how I mark for spacing and balance:
- I measure my deck’s full width and depth, then chalk out the pergola’s footprint to see what I’m really working with.
- I pull my tape tight and mark each post location with equal spacing; uneven gaps haunt me at sunset.
- I position every mark directly over main support beams, never between joists: load paths matter when friends gather underneath.
- I verify my marks respect stairs, railings, and traffic flow, because balance means nothing if you trip getting there.
Anchor Posts to Joists: Never Just Surface Boards
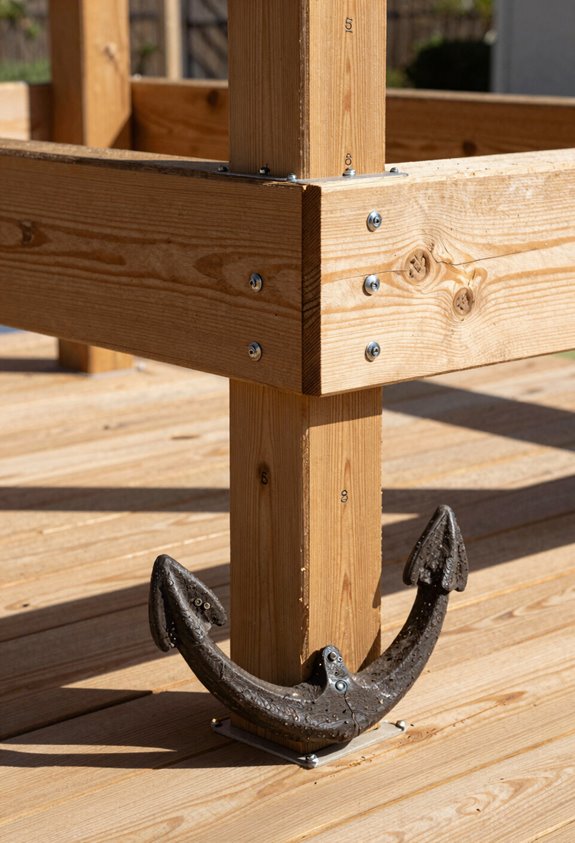
Once those marks are set and my chalk lines still smell like possibility, I grab my post brackets and face the hard truth: surface boards are liars. They flex, they warp, and they’ll betray your post mounting the moment wind hits that gorgeous overhead canopy.
I anchor directly into deck framing, joists or beams, never the decorative skin. Proper load transfer demands structural bones, not skin-deep promises. I use heavy-duty post brackets with through-bolts, washers, and nuts biting deep into cedar or steel.
For elevated decks, I add diagonal bracing, my insurance against wobble and regret. I check everything level and square before tightening, knowing that uneven load distribution kills pergolas slowly. Your future self, sipping coffee beneath solid posts, will thank you for this rigor.
Install Level Beams and Crossbeams for Square Alignment
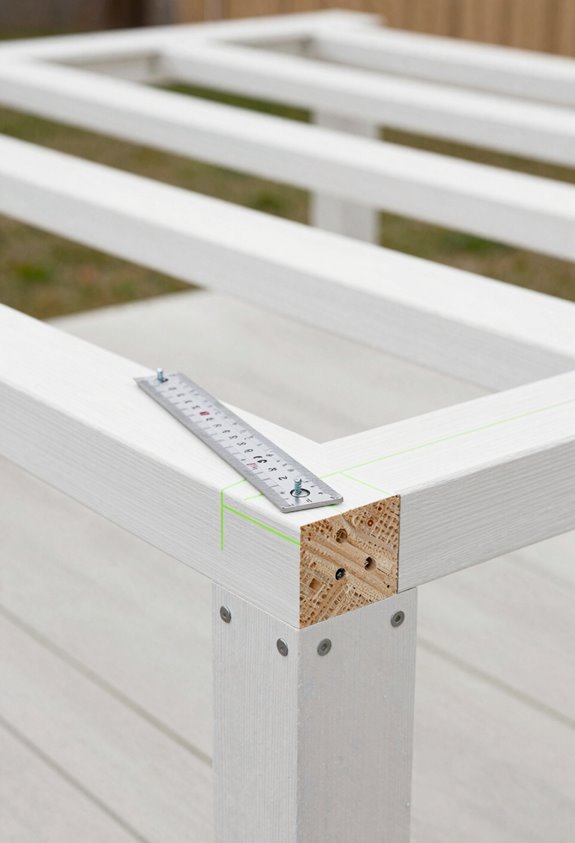
Why do we obsess over level and square when a pergola looks gorgeous even slightly crooked? I’ll confess: my first build sagged like a tired souffle, and I’ve never forgiven myself. Here’s how I get it right now:
- Measure and cut beams to span between posts, then anchor them dead level atop each post using galvanized hardware
- Lay crossbeams perpendicular, fitting between main beams with screws at even spacing; think 16 inches on center for that classic look
- Verify everything is square using a carpenter’s square and level before final tightening; diagonal measurements must match exactly
- Check level and square repeatedly; after each beam, before décor, during your coffee break
I position posts directly over the deck’s structural supports, never trusting joists alone. One sagging beam ruins the whole garden gesture.
Engineer Drainage and Wind Resistance Into Your Build
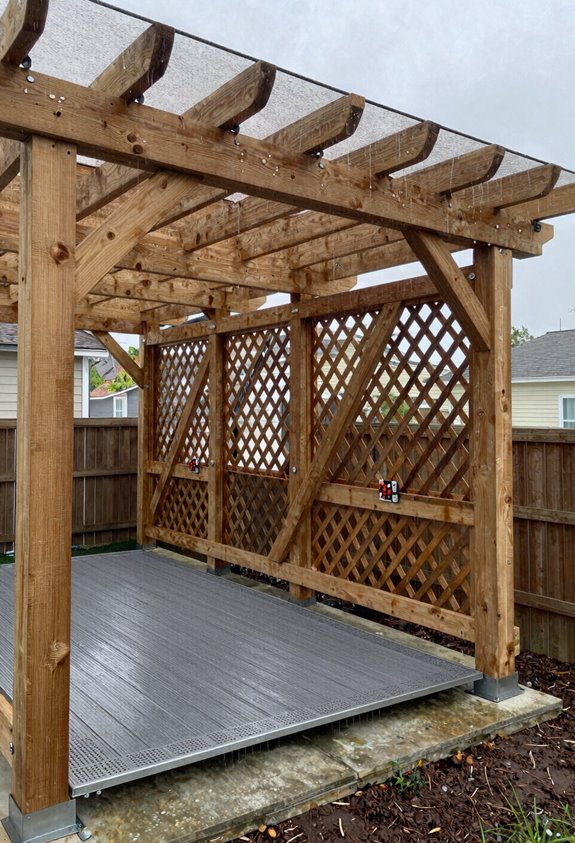
With beams locked level and square, I’ve learned the hard way that what’s beneath matters just as much as what’s above.
I engineer drainage first: gapping my decking boards 1/8 inch around posts and using permeable materials so water escapes rather than pooling against my gorgeous exlawn timbers. Wind resistance demands I anchor through the deck surface into concrete footings or main support beams below, never trusting surface boards alone to handle lateral gusts.
For my elevated structure, I hired a structural engineer for reinforcement verification; $400 that saved me from keel-like uplift during last March’s 60-mph blow. I use 1/2-inch through-bolts with 2-inch washers, not flimsy lag screws, and I check square twice before torquing. Moisture kills pergolas faster than storms; airflow prevents both.
Add Lighting, Shade, and Privacy Screens That Integrate Cleanly
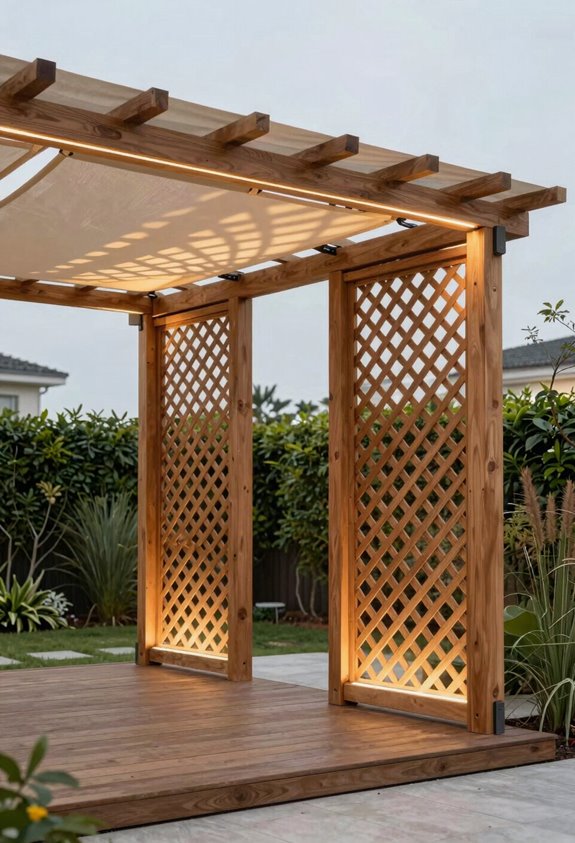
I’ve learned that lighting, shade, and privacy screens only work when they integrate cleanly with your existing structure. This means planning electrical routes through deck joists before you close anything up, and choosing retractable canopies or aluminum louvers that won’t trap water against the boards below.
For seclusion, I’m partial to climbing hydrangea (Hydrangea anomala subsp. petiolaris, hardy to USDA zone 4) on tensioned cable systems set 18 inches off the pergola posts. That’s close enough to look intentional, and far enough to let air circulate and prevent the mold issues I battled in zone 7b when I tried growing vines directly on the rafters.
You’ll want low-voltage LED pendants rated for damp locations, roughly $45-$80 per fixture if you’re running the wiring yourself. And always position ceiling fans at least 8 feet above the deck surface to avoid the concussion hazard I discovered the hard way with a low-hung Harbor Breeze model in 2019.
Integrated Lighting Options
Knotty design challenges await when electrifying an open-air structure, but I’ve found that planning your lighting before cutting a single beam saves roughly eighty percent of the headache you’d otherwise absorb from retrofitting. For deck lighting that actually works, I install ceiling fixtures or string lights along beams and crossbeams, creating that amber glow we all chase after sundown.
Weatherproof wiring isn’t optional. I’ve buried too many corroded junction boxes to gamble on standard Romex. Run weatherproof conduits or you’ll be cursing moisture intrusion three seasons in.
Here’s how I build this out:
- Map ceiling fixtures before raising beams, not after
- Route weatherproof conduits through hollow posts when possible
- Pair lights with ventilation; heat rises fast under closed roofs
- Position switches near deck access, never behind glare zones
Shade Enhancement Features
Because shade without strategy is just an expensive way to grow mildew, I map every louver and canopy before sinking the first post footer. My pergola on a deck demands precision: I integrate retractable canopies and aluminum louvers that motorize to track the sun, preserving airflow while casting controlled shadows.
I mount ceiling fans to beams I’ve pre-wired for LED strips, creating an outdoor living space that shifts from brunch brightness to evening glow without extension cords snaking across boards. Shade enhancement isn’t afterthought; it’s structural. I calculate drainage slopes beneath the canopy, ensuring water exits toward scuppers, not pooling on my gorgeous exlawn below. Every element reinforces indoor-outdoor flow, changing my deck into a cohesive room where weather responds to my remote, not my regrets.
Privacy Screen Solutions
Shade is only half the battle when your neighbor’s second-story window frames your morning coffee like a drive-thru. I learned this the hard way in USDA Zone 8b, where my gorgeous ex-lawn became a fishbowl.
Here’s how I reclaimed my deck:
- I installed privacy screens using weather-resistant materials, specifically rot-resistant fiberglass louvers, after watching powder-coated aluminum corrode within two seasons of coastal humidity.
- I wove outdoor lighting directly into the screen frames: 2700K LED strips tucked behind 4-inch cedar slats, casting downward wash without cluttering sightlines.
- I positioned screens 18 inches from stair railings (per IRC egress code) and aligned them with pergola posts for visual continuity.
- I specified adjustable louvered panels, $340 per 4×8 section, allowing 45-degree ventilation angles when humidity spikes.
My deck finally feels like home again.
DIY Kit, Custom Build, or Pro Install: Match Your Skills and Timeline
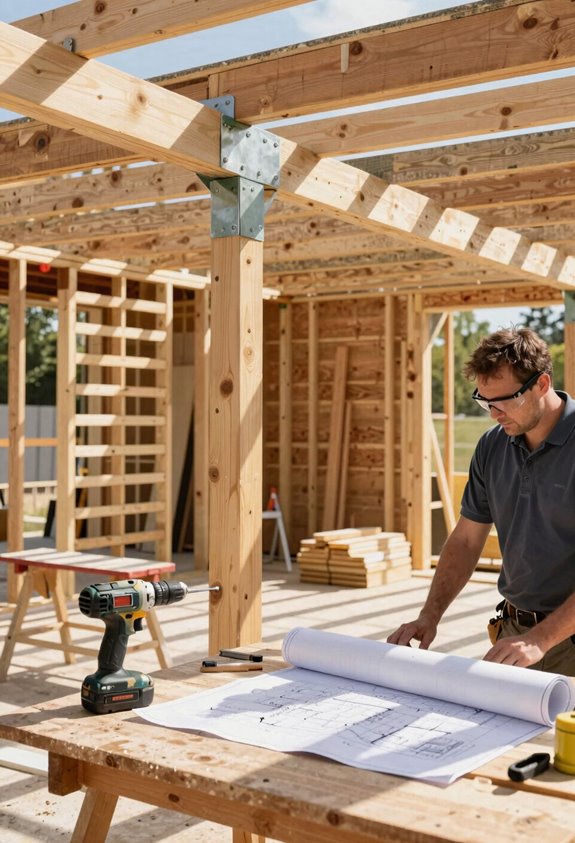
I look at my own deck and honestly assess whether I’m comfortable securing 6×6 posts to doubled-up 2×10 joists with hurricane ties and lag bolts, or if I’d rather hand the project to someone who won’t shear off a galvanized fastener at 2 p.m. on a Saturday.
A kit from StruXure or similar runs $1,500–$8,000 and assembles in an afternoon with a helper, while a custom red cedar build demands 40–60 hours and structural evaluation of beam loads I might miscalculate. Weigh your actual calendar against your tolerance for discovering that your ledger board can’t handle cantilevered rafters. I’ve been there, and the gorgeous exlawn below isn’t forgiving when you compromise the decking.
Evaluating Your Skill Level
How, then, do you avoid turning your weekend project into a months-long saga of splintered cedar and regret? I’ve learned the hard way that honest self-assessment saves both your back and your marriage.
Here’s how I break it down:
- DIY kit: I grab this when I own a drill and patience; basic carpentry, no permits, two days max.
- Custom build: I attempt this only when I’ve got drafting skills, permit knowledge, and weekends to burn.
- Pro install: I surrender here when joist loads confuse me or when structural integrity matters more than my pride.
- Deck audit: I check my ledger boards and bracket compatibility before committing; weak decks demand professional reinforcement, not heroic failure.
Match your skills honestly; nobody admires a collapsed pergola.
Comparing Project Timelines
Before you pick up a single cedar post, map your hours against your ambition; time, unlike pressure-treated lumber, doesn’t expand to accommodate poor planning. I’ve learned that deck pergola timelines vary wildly, and installation time hinges on which path you choose.
A DIY kit takes me 4–6 hours with a helper, weekend-friendly, though I’ve fumbled brackets until dusk. Custom builds? I’ve burned weeks on design, sourcing Western red cedar, and fretting over 6×6 posts. Professional installs compress on-site work to 1–3 days; their laser levels humiliate my string lines. StruXure’s turnkey Pergola X shrinks DIY hours, but demands patience for dealer scheduling. My gorgeous ex-lawn waited six weeks.
Strong project planning means marking posts, cleaning the deck surface, and confirming load capacity first. Skip this, and you’ll watch rain warp lumber while you scramble.





