
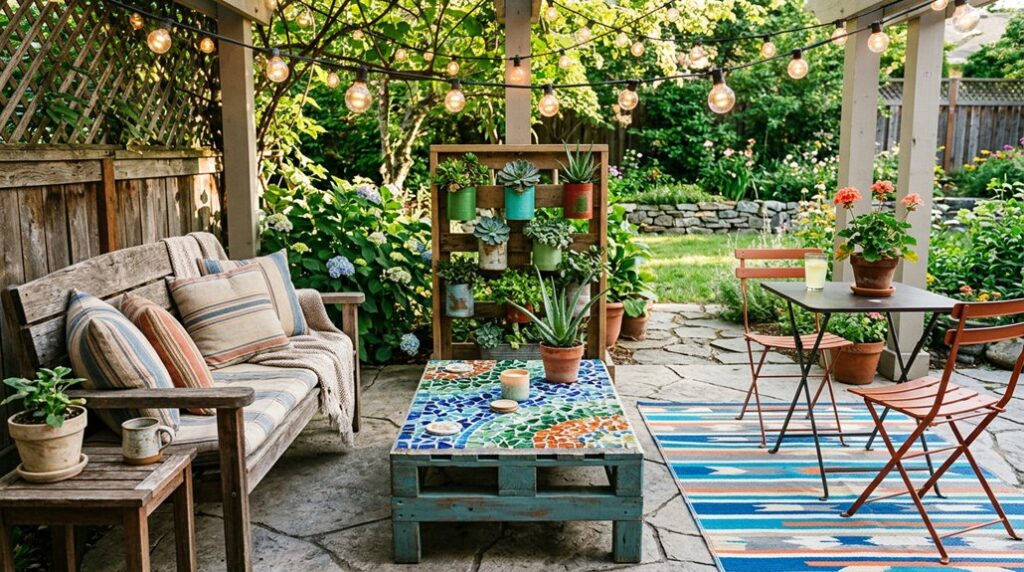
My first patio was a slab of concrete masquerading as a backyard: functional, joyless, a monument to missed potential. I’ve since learned $500 stretches further than you’d think if you stop chasing magazine spreads and start solving actual problems: hiding septic lids, cooling brutal afternoon sun, giving your feet somewhere pleasant to land.
Each project here cost me under budget, usually involved at least one trip back to the hardware store, and taught me that “good enough” done this weekend trumps perfect planned for someday. Here’s how I cobbled together outdoor spaces that don’t embarrass me when neighbors wander over.
Hide Ugly Septic Lids: 3 Focal Point Solutions Under $150
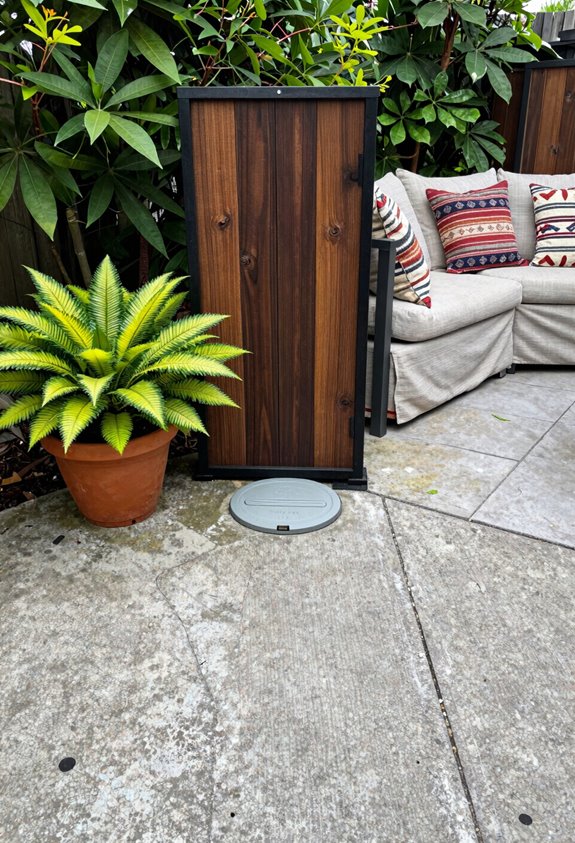
So how do you make a patio feel finished when two plastic septic lids are staring back at you like untrimmed manhole covers at a garden party? I’ve cracked this concealment puzzle three ways, all garden-friendly and budget-friendly.
My first fix: flank each lid with 18-inch faux boxwood planters ($34 total) and angle a salvaged wooden bench between them, creating a focal point that nobody examines too closely. Second, embed 24-by-24-inch lattice panels painted to match your brick paver tone; I’ve done this in under 45 minutes with $12 hardware store screening. Third, position a 15-gallon Japanese maple (Acer palmatum, USDA zones 5-8, $89 on sale) in a glazed ceramic pot slightly off-center. It anchors the eye, and nobody notices what’s beneath a gorgeous specimen.
Build a DIY Gravel Patio for Under $300
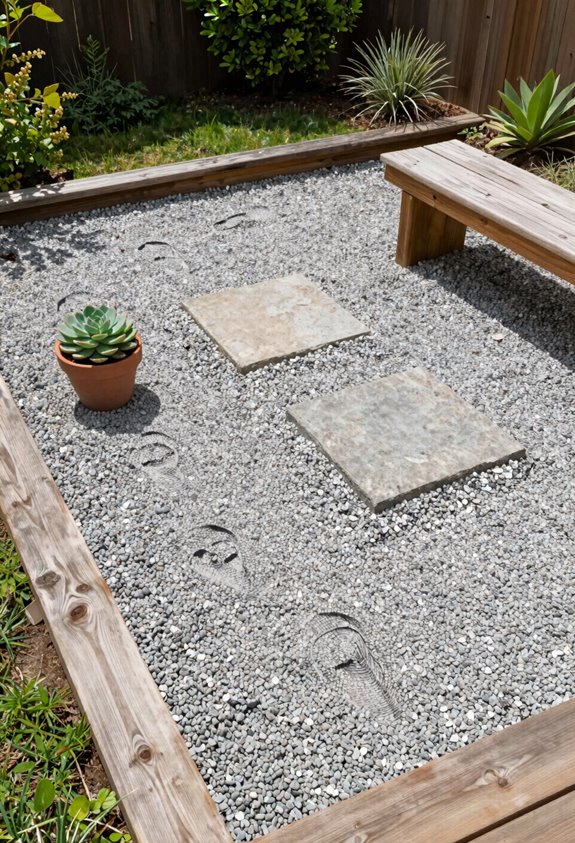
Three hundred dollars won’t buy you a weekend in Charleston, but it’ll build you a patio that outlasts your mortgage. I’ve laid three of these gravel surfaces, and each one taught me that sweat equity beats credit card debt every time. For a 40-square-foot DIY patio, I order 1.5 tons of pea gravel ($160 plus $45 delivery), then grab shovels and a wheelbarrow.
Prep kills your back but saves your sanity: I clear every weed, lay landscape fabric, and edge with Austin stone for cohesion. I dump and spread in stages, smoothing as I go. This creates an affordable outdoor space that anchors any budget backyard. Add a potted tree or scrounged fire pit; your neighbors will assume you hired help.
Add Portable Patio Shade in One Afternoon
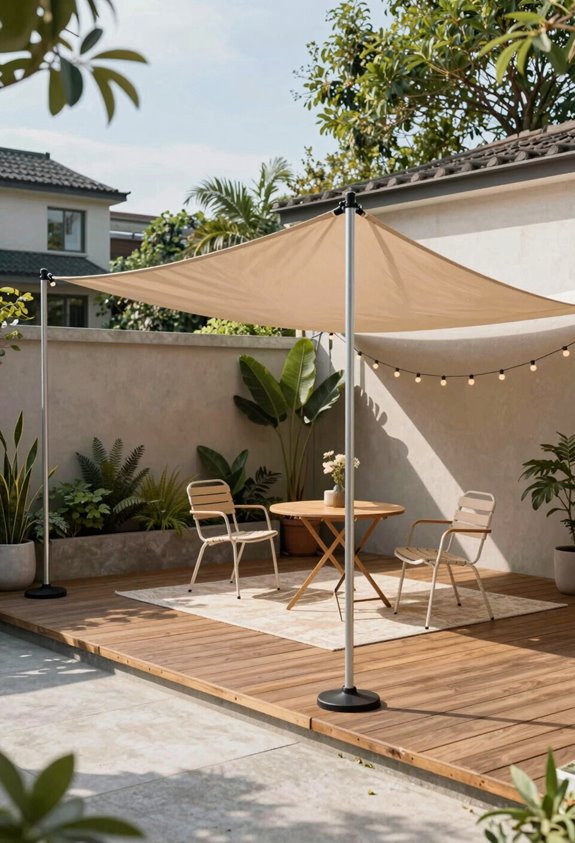
Once that gravel’s baking at 2 p.m., you’ll discover why I never finish a patio without overhead cover. A shade sail delivers portable shade in one afternoon, and I’ve installed three on budget patio projects using nothing fancier than a ladder, tape measure, and the hardware in the box.
DIY installation requires sturdy anchor points: trees, fascia hooks, or 4×4 posts set in quick-dry concrete, and about four hours of your Saturday. The triangular or rectangular fabric blocks that merciless afternoon glare, dropping temperatures underneath by fifteen degrees. For under $200, you’ll snag a mid-size kit with cords, turnbuckles, and instructions I barely needed. It’s the difference between a gorgeous exlawn you avoid and a gathering spot where people actually linger.
| Component | Purpose | Cost Range |
|---|---|---|
| Shade sail fabric | Blocks UV rays, reduces heat | $80–$150 |
| Anchor hardware | Secures corners to structures | $30–$60 |
| Turnbuckles/cords | Tensions fabric, allows adjustment | $25–$40 |
| 4×4 posts (optional) | Creates anchors where none exist | $40–$80 |
| Installation time | One afternoon, solo or paired | $0 (sweat equity) |
Hang String Lights and Layer in Outdoor Rugs
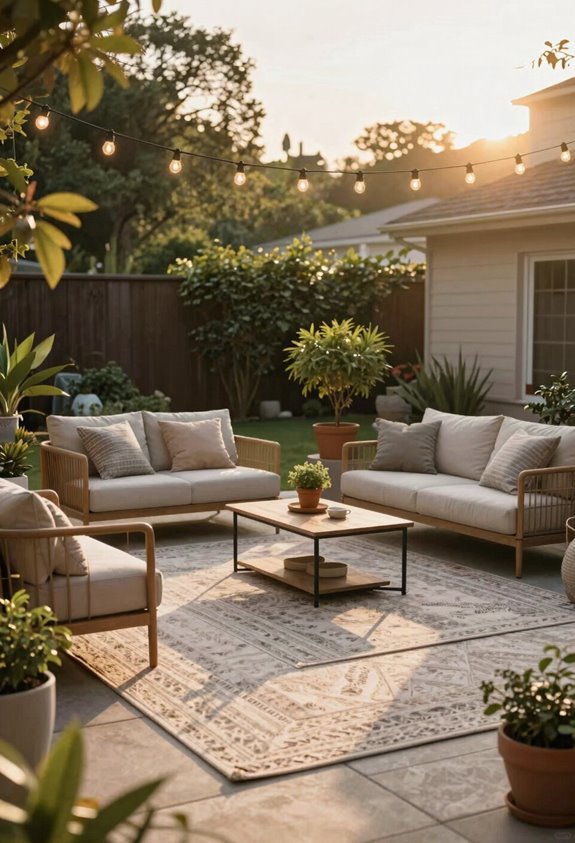
Why stop at shade when you can string up a constellation that keeps the party going past sunset? I grab weatherproof string lights, usually $25 to $45 for 48 feet, and zigzag them between fence posts or a borrowed tripod of galvanized poles, no electrician required. Vintage bulbs warm my creeping thyme borders (Thymus serpyllum, Zone 4-9); modern LEDs suit my neighbor’s concrete pad.
Then I ground the space with outdoor rugs, typically 5×7 polypropylene weaves I’ve scored for $35 to $80. Layering both delivers instant cohesion: the rug defines seating zones while lights erase that 9 PM exile indoors. It’s the most effective, budget-friendly move in my patio makeover toolkit, and I’ve tested it from Houston humidity to Denver hail.
Build a Patio Planter Bench This Weekend
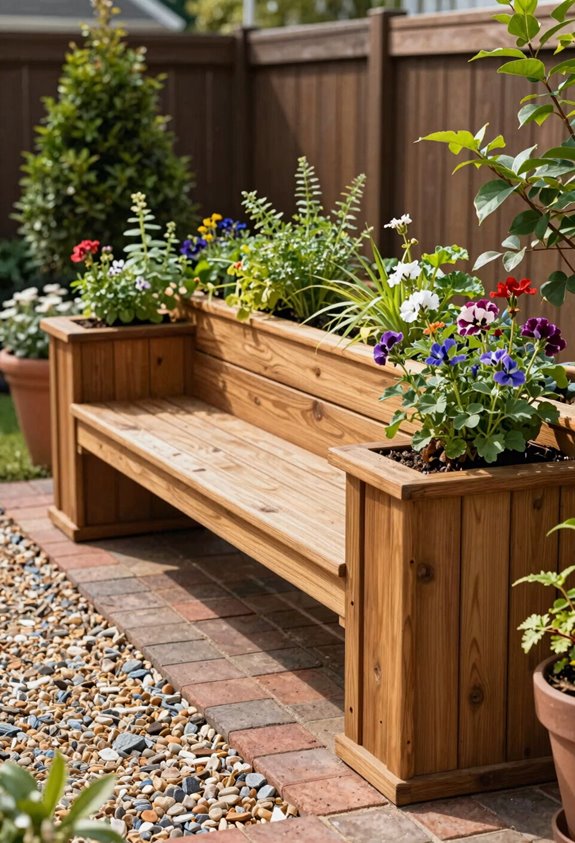
Although I’ve built plenty of furniture that wobbled embarrassingly by Sunday evening, this cinder-block planter bench actually held steady through a full Sacramento summer, and I’m still sitting on it three years later. This weekend DIY turns about $80 of materials; twelve cinder blocks and three 4×4 pressure-treated posts cut to 48 inches; into a space-saving patio planter bench that anchors your low-cost outdoor space with living greenery and seating combined.
Stack blocks three high with posts threaded through the cavities, offsetting every other course for stability. No mortar needed, though I learned the hard way that leveling the first row prevents the “leaning tower” effect. Fill the block cavities with potting mix for trailing sedums (USDA zones 3-9) or a compact Japanese maple in a 15-gallon container, and you have a budget focal point that works well against brick pavers without demanding fancy tools or masonry skills beyond basic patience.





