
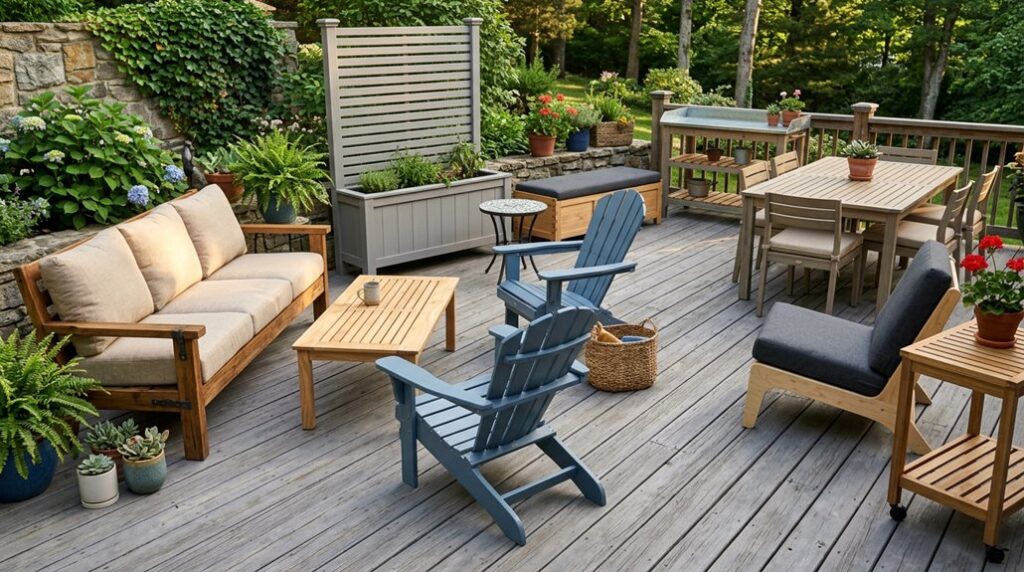
Western red cedar’s own oils repel decay fungi without chemical treatment, yet most builders stain it immediately and waste that advantage. I’ve watched $400 teak loungers warp into potato chips after three monsoons while my untreated cedar bench, built for $38 in Zone 8b, ages to silver-gray perfection.
The trick isn’t the wood you splurge on; it’s the joinery you nail at 2:47 PM when the humidity drops below 60 percent. But that’s skipping ahead. You need to know why your first cut will likely be 3/16″ too long, and why that mistake costs exactly eleven dollars to fix.
Map Your Plan and Budget Before You Build
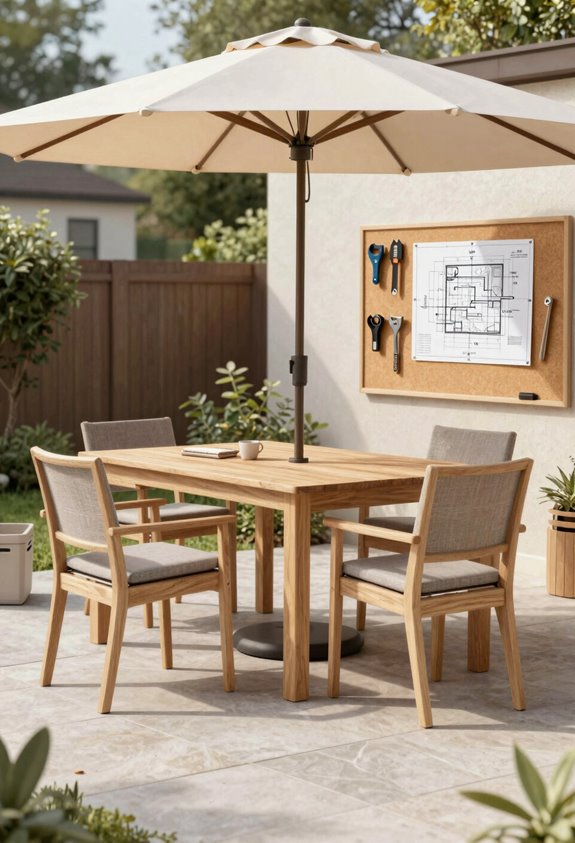
Where do most DIY patio builds go sideways? I’ve watched it happen, mine included, when Planning gets treated like an optional appetizer instead of the main course. You don’t wing a dinner party for twelve, and you shouldn’t wing a cedar bench that’ll host your actual neighbors.
Planning isn’t the optional appetizer; it’s the main course your patio build will starve without.
I’m talking real homework here: measuring your concrete rectangle (mine’s 12×16 feet), counting butts that’ll sit (four, usually, though my brother-in-law counts as 1.3), and mapping traffic flow so nobody’s doing the awkward squeeze-past with a burger plate.
Sketch it out, graph paper works, or free SketchUp if you’re fancy. I learned that 24-inch seat depth saves thighs, and 18-inch table height prevents the “gorgeous exlawn” of spilled drinks.
Planning saves lumber, cash, and that Sunday afternoon you’re currently wasting on returns.
Pick Beginner-Friendly Wood for Outdoor Projects
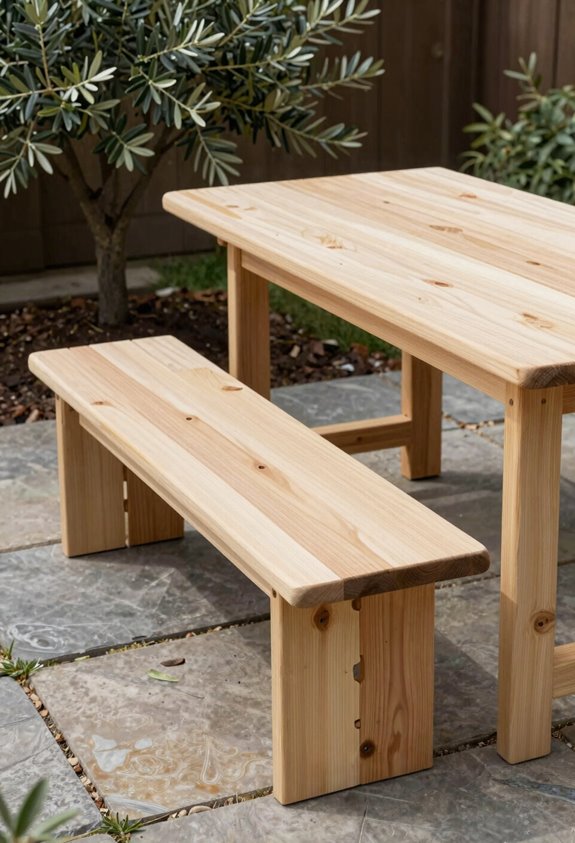
I learned the hard way that not all softwoods forgive beginner mistakes, cedar’s forgiving grain and natural rot resistance saved my first patio chair from becoming a gorgeous ex-lawn ornament after one rainy season.
When you’re picking lumber, weather resistance matters more than the sticker price, since pressure-treated pine runs about $2 per board foot versus cedar’s $6, but you’ll replace the pine twice in ten years if you’re in USDA Zone 7 or wetter.
Match your wood to your climate and your design: teak withstands tropical humidity without breaking down, while cedar legs hold up through freeze-thaw cycles that split lesser species.
Softwood Selection Tips
How’s a beginner supposed to navigate lumber aisles without developing a splitting headache? I stick to softwoods that won’t fight my saw blade or my budget. Cedar offers gorgeous natural rot resistance straight from the mill, making it perfect for that Adirondack chair you’ve sketched on napkins.
For the hidden frame work, I grab pressure-treated pine; it’ll cost you $2 per board foot versus cedar’s $6, and it handles structural loads without complaint. Skip the bargain-basement whitewood unless you enjoy sanding and resealing your gorgeous ex-lawn furniture every spring. Match your pick to your USDA zone, Florida humidity demands different specs than Arizona dryness, and always budget for exterior-grade finishes. Your future self will appreciate when that bench survives its second monsoon season.
Weather Resistance Matters
What separates a weekend warrior’s Adirondack chair from a $1,200 Pottery Barn knockoff nine months later? Weather resistance, pure and simple. I’ve watched gorgeous cedar loungers turn into splintered helicopter platforms because someone skipped the hard part.
For outdoor furniture, I stick to cedar, teak, or pressure-treated pine, woods that laugh at humidity and UV exposure. I learned this zip code by zip code: my Florida cousin’s teak bench survived nine years while my Vermont white pine surrendered to freeze-thaw cycles in two. Climate dictates everything.
I seal with marine-grade varnish every 18 months, reapplication mocked as “optional” by manufacturers who’ve never owned a screwdriver. Stainless hardware prevents galvanic corrosion; proper joinery stops the dreaded seasonal twist. Maintenance isn’t glamorous, but neither is sitting on a warped, graying monstrosity you once proudly posted on social media.
Start With a Simple Patio Bench in One Afternoon
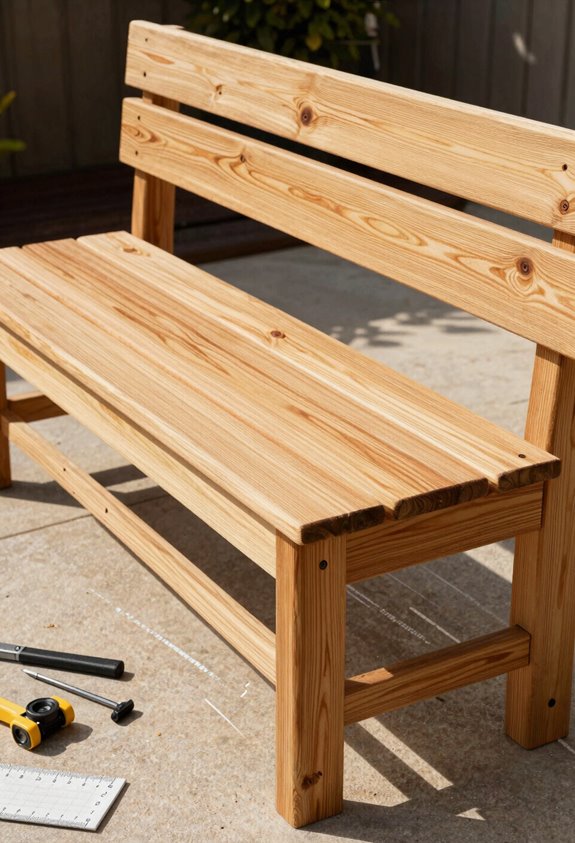
I’ll walk you through planning your build first, since I’ve learned the hard way that sketching a 48-inch cedar bench with 2×4 legs and a 17-inch seat height saves you from the gorgeous exlawn of misaligned joints. You’ll need a circular saw, drill with bits, tape measure, speed square, clamps, and outdoor-rated screws; roughly $80 if you don’t own them already, though I borrowed my neighbor’s miter saw after my first wonky cut.
Give yourself two hours for cutting and assembly, not counting the cedar’s 24-hour acclimation period, which I skipped once and watched the boards warp into a pretzel by August.
Planning Your Build
A single afternoon and about sixty bucks in cedar or pressure-treated pine will get you a bench that doesn’t wobble. I’ve built three of these, and the first one taught me everything I needed to know about why galvanized screws matter when winter hits.
Before you cut anything, measure your space twice. I learned this after building a gorgeous bench that blocked my patio door. Consider traffic flow and how many people you’ll seat. My 48-inch version fits two adults comfortably, though I’ve squeezed three during barbecues.
Choose cedar for natural rot resistance or treated pine for budget; both last well in USDA zones 5-9 with proper care. Document every measurement as you build. This foundation in Patio Furniture construction becomes your template for future projects with storage or custom cushions.
Tools You’ll Need
Building a bench that’ll last through monsoons and your uncle’s questionable seating habits doesn’t demand a workshop full of machinery. I’ve assembled a modest kit of outdoor furniture tools that changes cedar planks into sturdy seating in one dry afternoon.
My essentials: measuring tape for cuts that actually match, circular saw or jigsaw for clean kerfs, drill with countersink bit to prevent splitting, orbital sander for surfaces that won’t snag sundresses, plus screwdrivers, clamps, and safety gear: gloves, glasses, and ear protection because tinnitus is a poor reward for DIY nobility.
I organize my workspace before cutting, double-checking measurements against my plan. Pressure-treated pine works, though splinters teach harsh lessons; cedar or teak rewards the investment. Apply marine-grade sealant, not interior varnish, or watch your gorgeous ex-lawn furniture gray and warp by season’s end.
Build a Classic Adirondack Patio Chair for Under $50
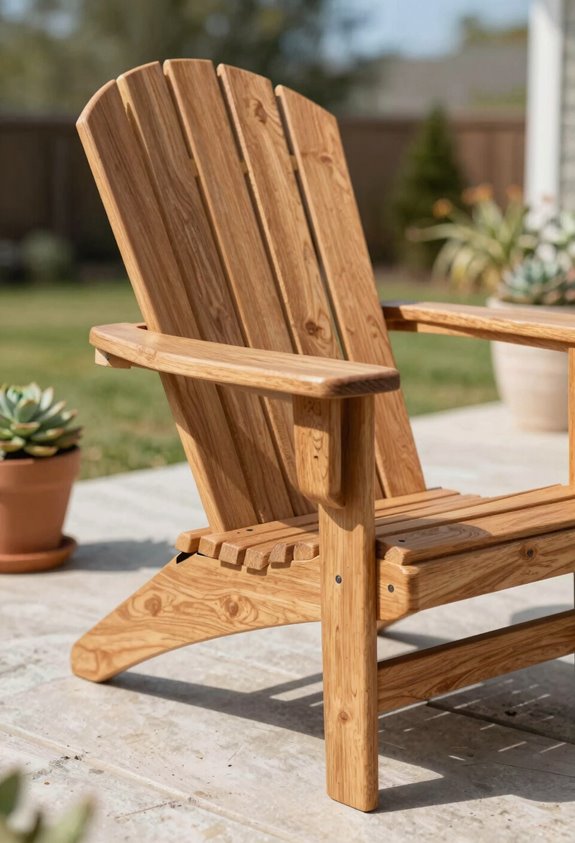
Three afternoons and forty-seven dollars later, I’ve got a chair that rivals the $400 teak models lounging in Zones 5-9 gardens, and you can too if you don’t mind the smell of pine sap and the humiliation of cutting your first back slat crooked.
I built mine from five 8-foot pine boards, $38 at the lumber yard, plus exterior screws and a quart of cedar-toned stain. The Adirondack’s genius lies in its forgiving geometry: that steep 35-degree back recline and broad 7-inch armrests forgive minor sins in your joinery. I traced a neighbor’s chair for templates, though downloadable plans abound.
Pine won’t survive decades like white oak, but with annual re-staining, you’ll get eight years of gorgeous lawn lounging. Sand everything to 120-grit before assembly; splinters betray amateur patio furniture faster than wobbly legs ever could.
Create a Cedar Potting Bench With Hidden Storage
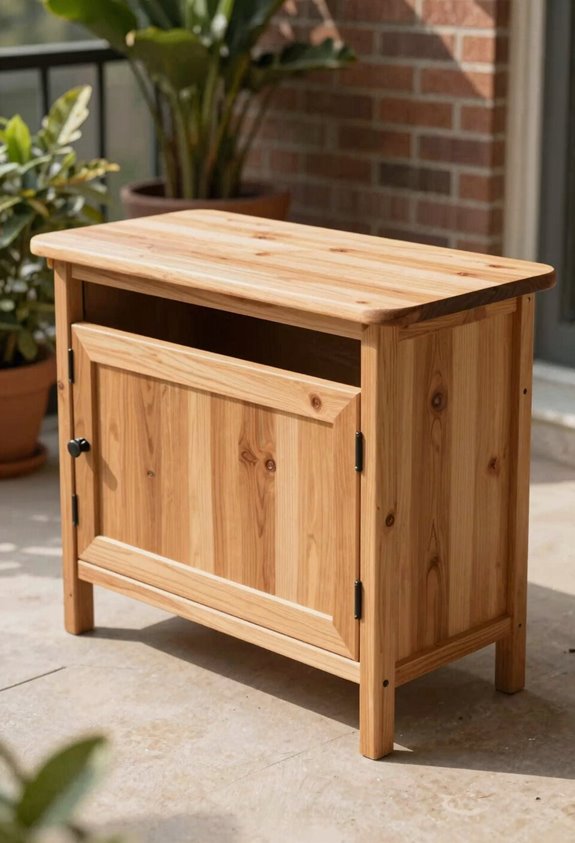
I built my cedar potting bench last spring in exactly four hours, measuring 48 inches wide by 36 inches tall, after realizing my “gorgeous exlawn” had become a tool-strewn disaster zone. You’ll want to map your workspace first, accounting for at least 24 inches of clearance behind the bench for wheelbarrow access, and spring for Western red cedar (Thuja plicata) rather than the big-box alternatives that’ll rot by USDA Zone 7 winters.
The hidden storage isn’t fancy carpentry, just a false-bottom drawer 6 inches deep beneath the potting surface, but it’ll swallow three trowels, two pruners, and that spray bottle you perpetually lose, which I learned after building the version without it and cursing myself for six months.
Planning Your Workspace
Why spend another season watching your flathead screwdriver rust in a ceramic frog on the windowsill when you could build a proper command center in under four hours? This cedar potting bench transforms scattered patio gardening into streamlined ritual.
I sketched my workspace around three zones: a 36-inch potting surface at hip height (no more back-bending over garden beds), open shelving for frequently grabbed pruners and twine, and that hidden drawer beneath, perfect for seeds I forget until July. Position yours against a south-facing wall where afternoon sun won’t bake stored fertilizers.
Cedar’s rot resistance means this bench survives Zone 7 winters without fuss, but placement matters more than wood choice. I’ve learned to anchor near the hose spigot; carrying watering cans across flagstone grows old fast. Build where you’ll actually use it.
Choosing Quality Materials
Where does cedar sit in the hierarchy of outdoor lumber when you’re staring down a rack of graying planks at the yard? I’m placing it near the top for rot resistance without the premium sting of teak. I’ve built cedar potting benches that survived three USDA zone 6 winters with zero treatment, though I paid roughly $3.50 per board foot versus pressure-treated pine at $1.20. The oils repel moisture and the occasional carpenter bee, which matters when you’re storing pruners and not replacing handles. My first attempt used Douglas fir; it warped into a gorgeous ex-lawn sculpture by August.
Cedar’s workable enough for beginners. I completed my bench frame in four hours with a circular saw and pocket holes. The longevity justifies the upfront cost.
Adding Hidden Storage
How does a potting bench graduate from useful to indispensable? You build in hidden storage. I constructed my cedar potting bench in a single afternoon; it’s rot-resistant, durable, and keeps my patio looking intentional rather than chaotic.
Here’s what I learned about maximizing hidden storage:
- Cedar’s natural oils resist moisture in Zones 5-9, so your compartments won’t warp.
- 15 inches deep sliding drawers beneath the work surface swallow trowels, pruners, and obscure fertilizer packets.
- A false-bottom panel creates 8 inches of concealed space for expensive hand tools; my Felcos vanished from sight.
- 36-inch height makes ergonomic access simple. I’m not bending, and neither are you.
The bench cost me $85 in cedar and hardware. Your hidden storage turns clutter into calm, and your neighbors will assume you hired a carpenter.
Construct a Custom Tile-Top Patio Table
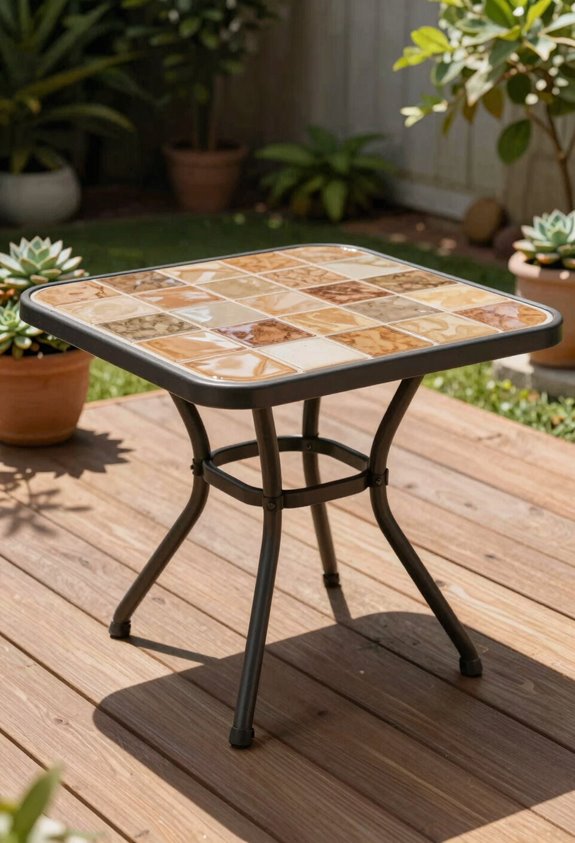
When I built my first tile-top table, I learned that Mediterranean style demands patience, and a tolerance for grout under your fingernails. I spent three weekends shaping cedar legs (USDA zones 5-10, rot-resistant), welding a steel apron, and cutting ⅜-inch plywood for the base. Patio furniture shouldn’t look cheap, so I chose quarry tile at $2.50/square foot; total surface cost: $45.
You need accuracy here. I dry-fit my mosaic for two hours before applying thinset.
| Stage | Duration | Pitfall |
|---|---|---|
| Woodworking | 6 hours | Warped legs |
| Welding | 4 hours | Uneven apron |
| Tiling | 8 hours | Lipped joints |
| Grouting | 2 hours + 24hr cure | Rushed cleanup |
My first grout cracked within a month. It became a gorgeous exlawn ornament until I regrouted with polymer additive. Build this properly, and you have heirloom-quality patio furniture that outlasts anything from the big-box stores.
Build an L-Shaped Storage Sofa for Entertaining
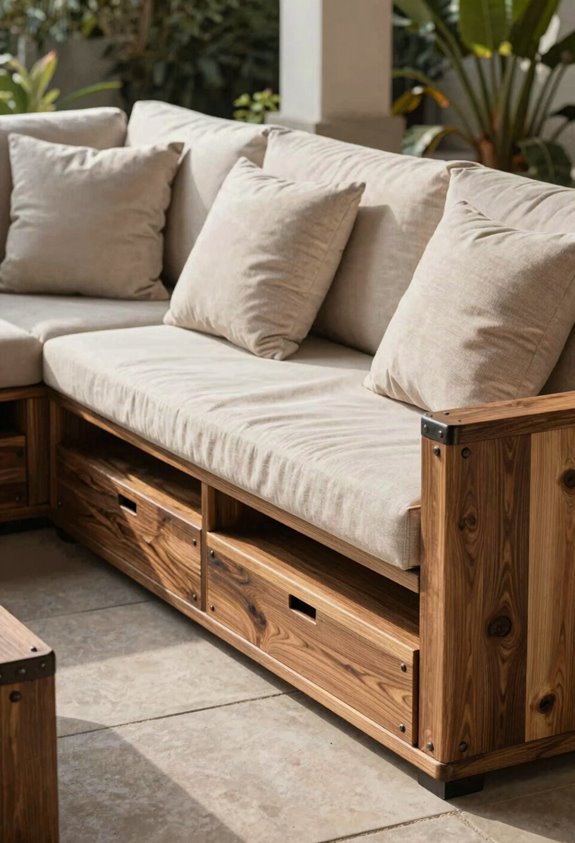
Why settle for a cramped patio set when you could stretch out on custom seating built exactly for your space? I’ve built this L-shaped storage sofa for my Florida patio, and it’s transformed how I host, no more hauling cushions inside when afternoon thunderstorms hit.
Here’s what makes this outdoor seating worth your weekend:
- Under-seat compartments swallow chair cushions, grilling tools, and citronella tapers
- Flip-up lids seal tight against wasp colonization, a lesson learned the hard way
- Integrated cup holders keep drinks secure during gusty subtropical evenings
- Modular construction lets you extend the section later, matching that tile table you’ve already finished
I sized mine to fit a 10’×12′ concrete slab, using pressure-treated pine rated for ground contact in USDA zones 9-11. Total cost ran $340, roughly what you’d pay for a single aluminum loveseat that rusts in eighteen months.
Tool Up: Essential Gear for Patio Furniture Builds
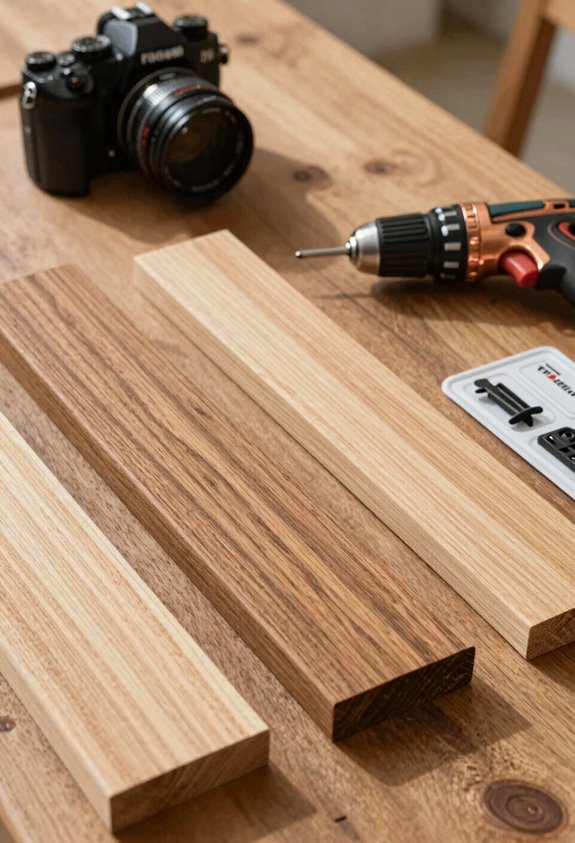
The right setup separates a weekend build from a three-weekend rebuild, and I’ve learned this after cutting the same board twice, once to length, once to correct my length. I’ve since embraced the holy trinity: a tape measure that doesn’t lie, a circular saw with a sharp blade, and clamps, so many clamps.
For outdoor furniture, precision matters more than flair. I sketch every joint before touching wood, and I never skip safety gear; my earmuffs have saved my hearing, and my gloves have saved my skin from splinters that would’ve festered in July humidity. A sander smooths edges that’ll otherwise snag shorts, while a reliable drill drives screws that’ll hold through freeze-thaw cycles. Quality tools build pieces that belong in your garden for years.
Seal Every Piece for Wet, Humid Climates
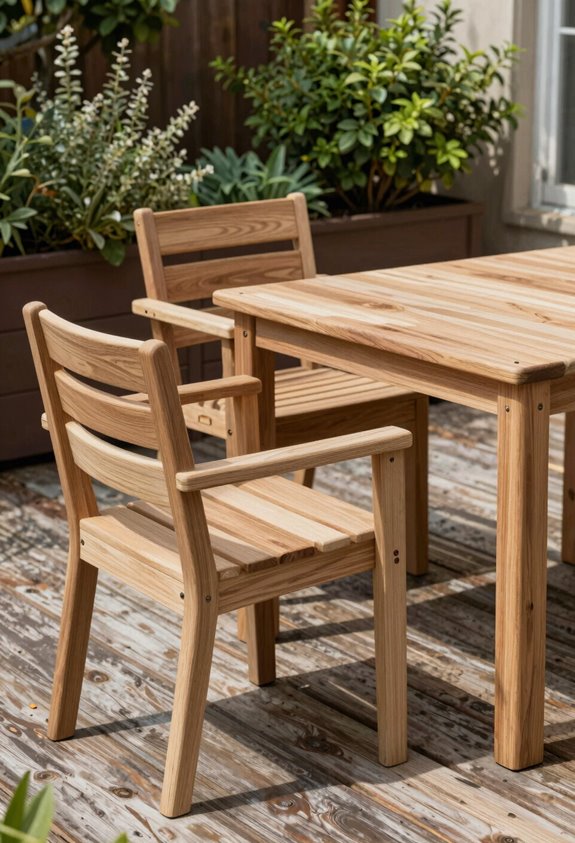
Morning dew has destroyed more of my work than any power tool mishap, and after watching a handsome cedar bench turn green and soft in one Florida summer, I learned that sealant isn’t optional; it’s armor. Sealing your pieces right separates fleeting projects from heirloom furniture, and I’ve worn the regret of skipping steps so you won’t have to.
Sealant isn’t optional; it’s armor—the difference between fleeting projects and heirloom furniture.
Here’s what experience taught me:
Sanding to 220-grit before sealing matters. Humid air raises grain fast, and rough patches betray amateur work. Coat every surface, especially undersides where moisture creeps. Reapply exterior sealant every 1–3 years. Set phone reminders.
Budget $25–40 per project. Cheap insurance against gorgeous wood becoming compost.
Join the club of builders whose outdoor creations survive monsoon season looking proud.
Grow From First Build to Complete Patio Set
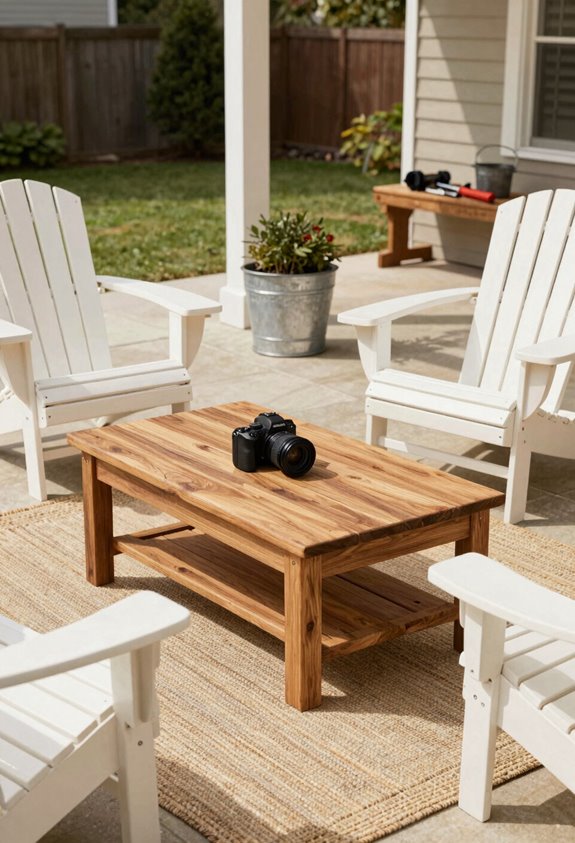
| First Build | Next Expansion |
|---|---|
| Cedar planter (2’×1′, $23, 4 hours) | L-shaped sofa with under-seat storage ($180, 16 hours) |
| Sealed for Zone 10 humidity | Matching table with integrated cup holders ($45, 6 hours) |
| Lessons in wasp-deterrent joinery | Full entertainment suite seating 6 ($248 total versus $1,100 retail) |
Your DIY Patio furniture journey starts modest, gathers momentum, and rewards the planter-box initiates with gorgeous exlawns and fewer stings.





