
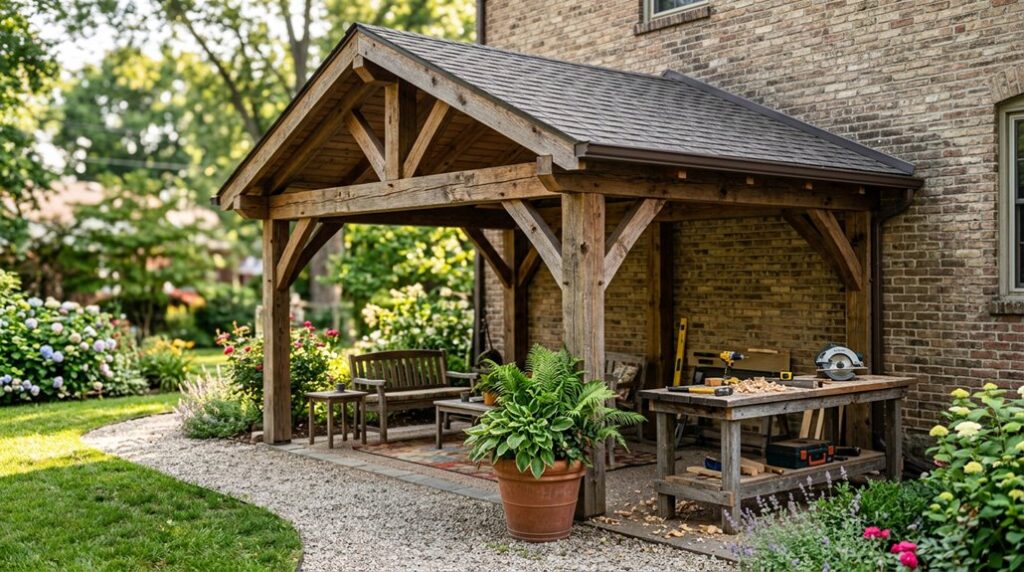
My first attempt at a lean-to gazebo ended in what I’ll call an “unplanned structural renovation” when the whole thing folded like a wet cardboard box. I’d skipped the 3-4-5 square check, assumed my eyeball was plenty level, and now I had 400 dollars of cedar mulch sitting in a pile of splinters. You’d think a simple single-slope roof would forgive shortcuts, but frost heave in USDA Zone 5b doesn’t negotiate.
I’ve since built four that’ve stood through three winters, and I’ve learned exactly where you can save money, and where you’ll regret it. Let’s start with the part nobody wants to do.
Prepare and Level the Gazebo Site
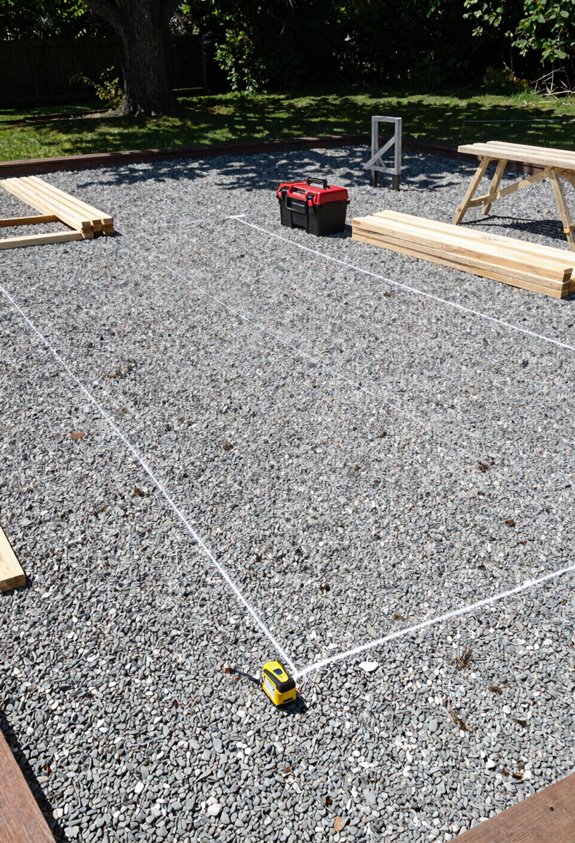
Where exactly do you plant a structure that leans without toppling? I start by clearing every scrap of vegetation; your gorgeous exlawn included, until I’ve got bare earth to work with. Then I rake and tamp until I’ve achieved something approaching level, because a leaning gazebo deserves better than a leaning foundation.
I drive stakes and string to outline my footprint, checking corners with the 3-4-5 method until they’re square enough to satisfy a carpenter’s ghost. My post holes go three feet deep and fourteen inches wide; I’ve learned the hard way that frost heave doesn’t negotiate. I drop concrete tubes into each excavation, mix my footing, and set anchors at the surface while everything’s still workable. No plumb work yet; that’s coming once these cure solid.
Set Posts in Concrete and Plumb the Frame
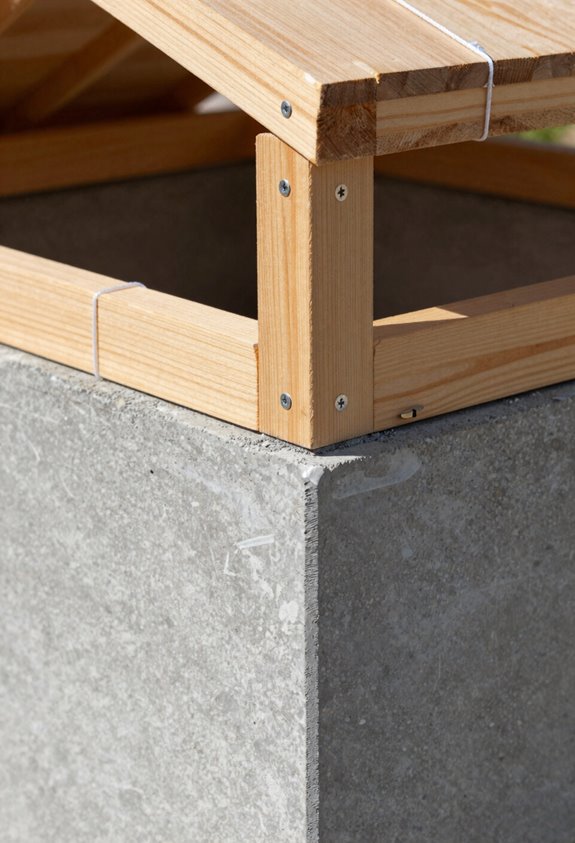
The concrete’s finally cured, and I’m ready to stand some lumber upright.
I drop each post into its post anchors, then grab my level and string line; we’re going for plumb, not “close enough.” Here’s how I keep my frame honest:
- Check plumb on two faces with a 4-foot level; don’t trust your eyes
- Run a string line between posts to catch bowed lumber before it ruins your day
- Brace temporarily with 2x4s angled to stakes; concrete’s patient, wind isn’t
- Verify spacing now; beams won’t forgive skewed post placement later
I secure everything with lag screws once square. One gazebo I built in Zone 6b leaned like a drunk sunflower because I skipped bracing; gorgeous exlawn ornament, terrible structure. Get this right, and the rest follows.
Install Beams and Square the Frame With Bracing
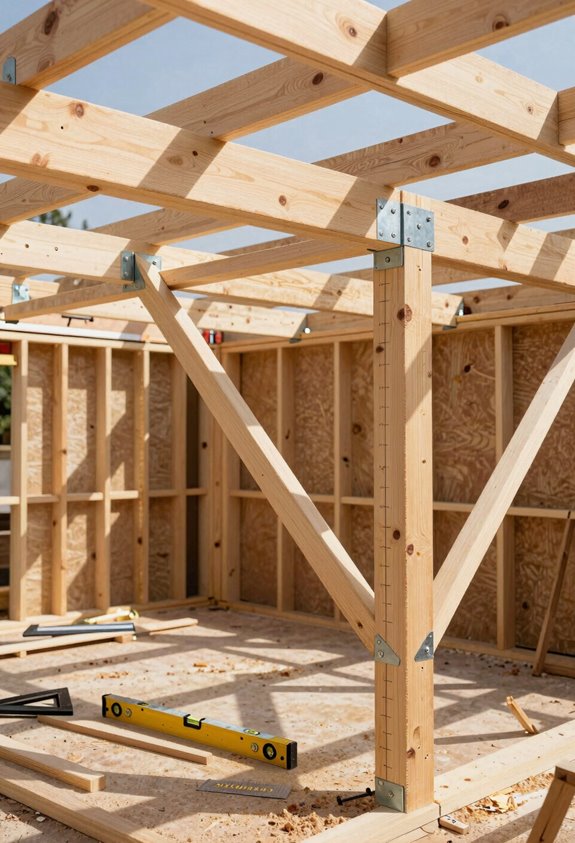
Once the posts stand plumb and stubborn against the wind, I haul up the beams, 2x10s for the front and back, 2x8s for the sides, and start measuring twice because a carriage bolt through your thumb teaches humility fast. For beam placement, I set the front and back tops to extend twelve inches past the posts, keeping everything level for that clean roof line we all want.
The side beams sit nine and a quarter inches down from the back post tops, precise, but forgivable if you’re a hair off. I drill pilot holes, then drive two 9-inch carriage bolts per connection, cinching tight.
To square the frame, I stretch a string line corner to corner, checking alignment until it hums true. Then comes bracing: 45-degree diagonals at each joint, bolted hard between beams and posts.
Level, plumb, square, now we’ve got something worth building on.
Measure, Cut, and Install the Lean-To Rafters
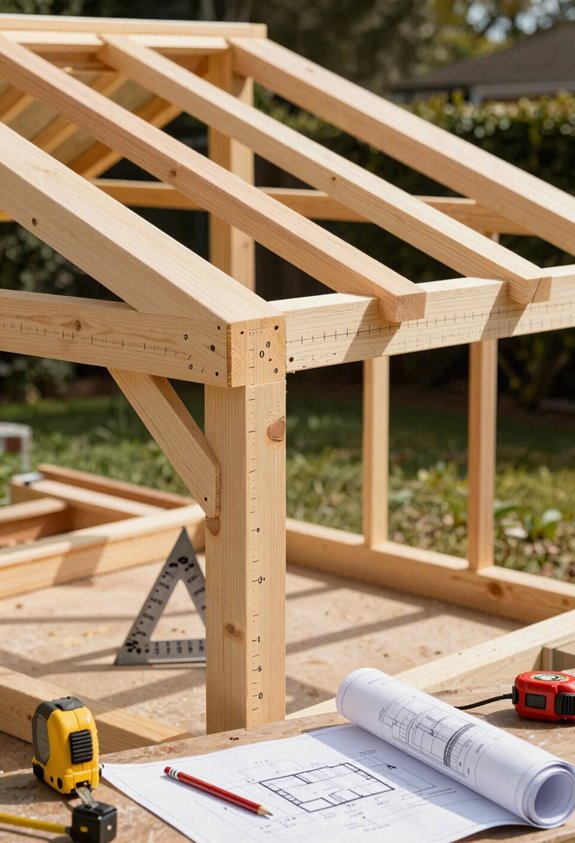
I’m tackling the rafter layout and spacing first, marking each 2×8 at 24 inches on center so the roofline stays straighter than my first attempt, which sagged like a wilting hydrangea in USDA Zone 8’s August heat. Then I’ll cut and fit each rafter to length, tracing that decorative detail on the ends before sawing; learned the hard way that cutting first and discovering you’ve botched the profile wastes $18 lumber and an hour I’ll never get back.
Once they’re lightly sanded and labeled like good botanical specimens, I’ll align them flush to the beam tops and lock them down with rafter ties and 1 ½-inch structural screws at both ends, because nothing says “gorgeous exlawn disaster” quite like a rafter that walks itself loose during the first spring storm.
Rafter Layout and Spacing
Where exactly should those rafters land so your lean-to doesn’t sag like a tired soufflé? I’ve learned the hard way that sloppy layout wastes lumber and patience. My Pavilion Plans call for Rafters of 2×8 lumber, spaced 24 inches on center; no guessing, no “eyeballing it.”
Here’s how I keep my crew (okay, just me and my neighbor) on track:
- Mark every 24-inch interval along your beams with a sharp pencil and speed square
- Label each Rafter before cutting; “A,” “B,” “C,” because confusion kills momentum
- Secure rafter ties with 1 1/2-inch structural screws at both ends for rigidity
- Test fit one rafter at the top to verify it kisses the roof line like it should
Plumb matters. Space evenly. Your beams will thank you.
Cutting and Fitting Rafters
Why does every carpenter I know still flinch at the memory of a badly cut rafter? I’ve learned that labeling each 2×8 before cutting saves me from that particular shame, and I won’t let you skip this step either.
| Step | Action |
|---|---|
| 1. Trace decorative profile on rafter ends | Ensures consistent aesthetics across all cuts |
| 2. Cut 2×8 rafters with proper spacing | Place 24 inches on center for structural integrity |
| 3. Sand edges after cutting | Removes splinters, gives smooth finish |
| 4. Set rafters with precise alignment | Creates straight roofline we all crave |
I’ve spaced my rafters wrong before, a roofline sag I’ll never forget, and proper alignment matters more than speed. Get your cutting right, follow your labels, and you’ll build something that belongs in your yard.
Add Roof Decking and Apply Metal or Shingle Roofing
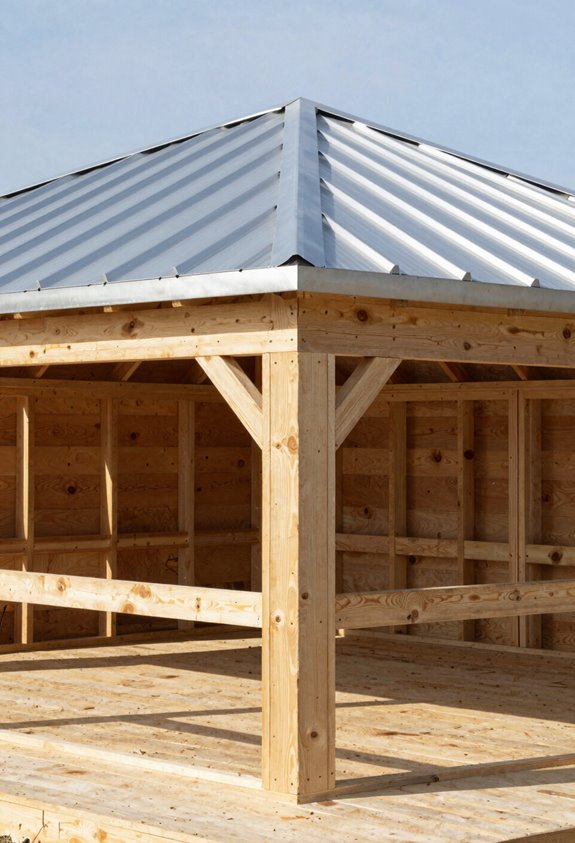
I’ll lay the 3/4″ plywood decking on those rafters we just installed, spacing panels 1/8″ apart so they don’t buckle when summer humidity hits; learned that the hard way in USDA Zone 7 when my first roof buckled like a gorgeous exlawn after a thunderstorm. I’m staggering the tongue-and-groove joints in a brick pattern for shear strength, then running metal panels from the low edge upward, overlapping each ridge and screwing down with predrilled fasteners so I don’t strip the holes like I did on my neighbor’s shed.
Once the 1×6 trim and drip edge are nailed flush, I’ll seal that ridge cap tight, because nothing ruins a gazebo faster than a leak over your morning coffee.
Decking Material Selection
Picking your roof decking material matters, so here’s my battle-tested checklist:
- Plywood panels: I stick with 3/4″ exterior-grade for strength that’ll survive USDA Zone 6 winters without warping into modern art.
- Tongue-and-groove: Splurge if you can; the interlocking edges prevent that maddening panel shift that ruins your fastener schedule.
- Deck edges and rafter alignment: Every edge must hit dead center on a rafter; no exceptions, no cantilevers, no gorgeous exlawn disasters.
- Expansion gaps: Leave that 1/8″ between sheets, or summer humidity’ll buckle your work into something resembling failed soufflé.
Installing Roof Decking
The moment of truth arrives when you’re hauling those 3/4″ plywood sheets up the ladder, and I’ll warn you now: this is where your rafter spacing either sings or screams. I’ve seen gorgeous lean-to pavilions ruined by decking that buckled or leaked, so listen up.
Your roof decking needs staggered joints landing dead center on each rafter, with 1/8″ gaps between sheets for expansion. Skip this and you’ll curse yourself come July when the heat warps your work.
| Component | Critical Detail |
|---|---|
| 3/4 plywood | Stagger joints brick-pattern |
| Expansion gaps | 1/8″ between panels |
| Roof trims | 1×6 flush with 2″ nails |
| Drip edge | Install before underlayment |
| Underlayment | Roll bottom-up, 2″ overlap |
Secure that underlayment with cap nails or staples per manufacturer specs, don’t wing it. Your future self will be glad when the ridge cap seals everything watertight instead of channeling monsoons onto your hostas.
Applying Final Roofing
How do you cap off a lean-to that’ll outlast your mortgage without looking like a shed behind a gas station? I’ve learned the hard way that roofing mistakes haunt you through every rainstorm, so here’s my battle-tested sequence:
Prep the rooftop deck: I stagger 3/4″ plywood joints like brickwork, leaving that crucial 1/8″ gap for expansion; tongue-and-groove interlocks tighter if your budget stretches.
Lock in drip edge: eaves first, then rakes, with nails every 8–12 inches; overlap corners like gift wrapping.
Roll your underlayment: synthetic felt from bottom up, cap-nailed per manufacturer specs.
Shingle with intention: starter strip flush to edges, then full rows with wind-appropriate nailing; I’ve watched shingles peel off neighbors’ gazebos who skipped this.
Done right, you’ll belong to the tribe whose outbuildings survive hurricanes.
Install Drip Edge, Trim, and Weatherproofing Sealant
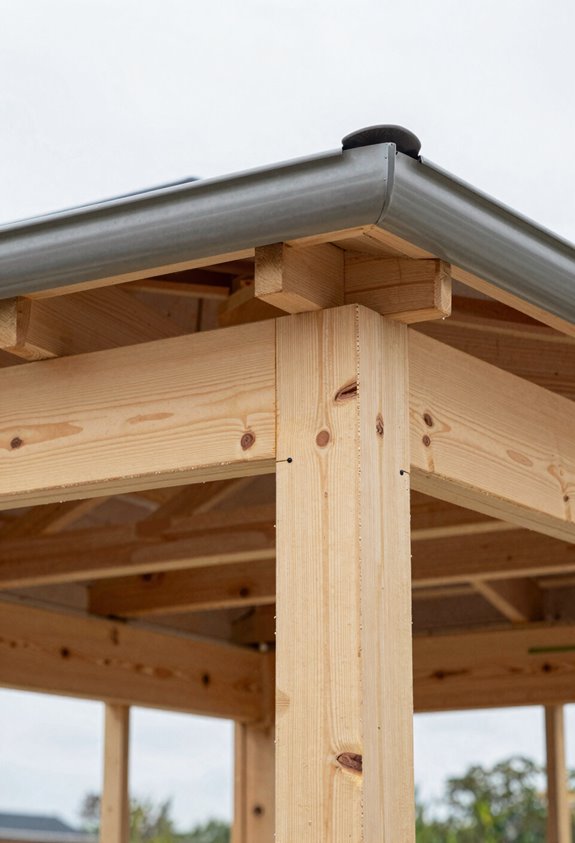
Roof armor, that’s what this stage is really about, and I’ve learned the hard way that skipping it turns your gorgeous exlawn into a splash zone. I install the metal drip edge along eaves first, tucking it under the underlayment, then run it along rakes on top, nails every 8–12 inches keep it honest. Next comes the 1×6 trims, flushed tight to the decking and pinned with 2-inch nails into rafter ends for that crisp look we’re after.
I roll out roofing felt from the bottom up, overlapping rows two inches minimum, securing with cap nails or staples per the manufacturer’s gospel. The ridge cap seals the peak, and I butter those seams with sealant like I’m protecting heirloom tomatoes from a thunderstorm.
Final exterior finish, stain or paint after proper sanding and curing, completes the weatherproofing, because nothing ruins a garden party like a leak.





