
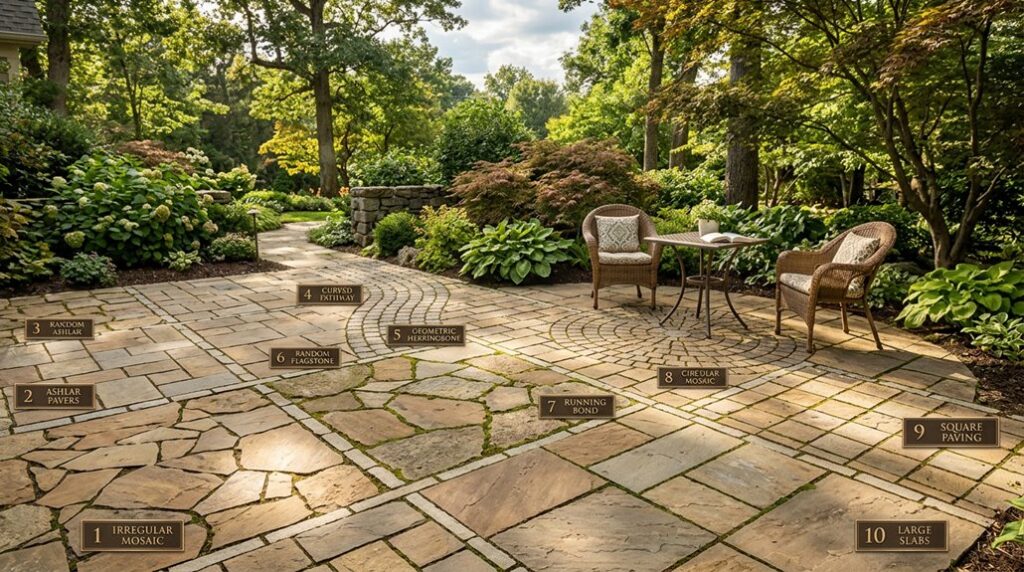
I’ve built three flagstone patios in USDA zones 6b through 8a, and I’ve learned that “rustic charm” is often code for “I gave up on leveling.” My first attempt in 2019, a 12-by-16-foot dry-set limestone pad, took 34 hours, $847 in materials, and one thrown back. The stones wobbled within a season because I skimped on the 6-inch gravel base.
The second try, wet-set with concrete, cracked where I didn’t account for expansion. Now I mix methods: dry-set for drainage, wet-set only where furniture sits. The real trick isn’t picking stones; it’s knowing which mistakes you’re willing to make twice.
Grading and Drainage for Your DIY Flagstone Patio
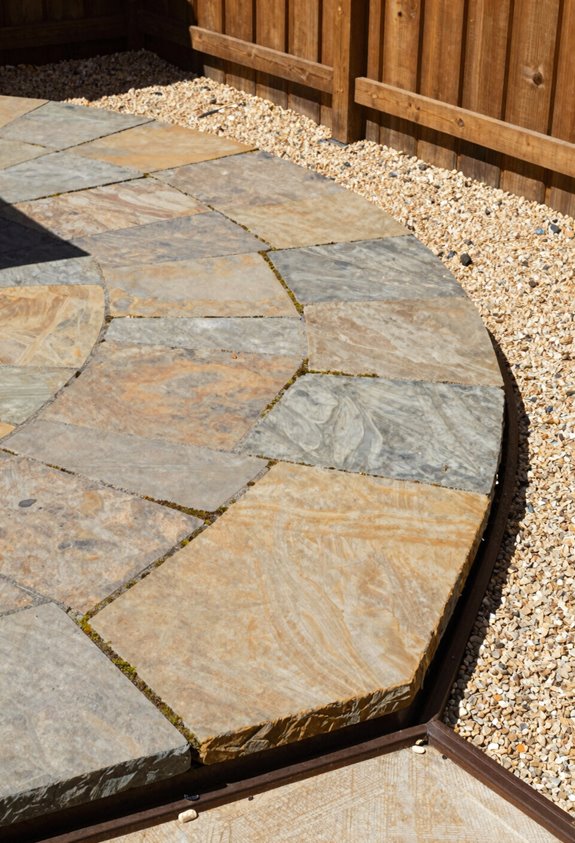
Where exactly does all that water think it’s going when it hits your gorgeous ex-lawn? I’ll tell you where: straight toward your foundation if you botch the grading. I’ve learned this the hard way, and now I’m obsessive about drainage.
For base preparation, I dig with a 1-inch-per-4-foot slope away from the house, checking constantly with my 4-foot level. Don’t eyeball it; water finds every flaw. I compact 3 to 4 inches of 2A modified gravel, then add ¾ to 1 inch of stone dust for leveling, but I never flatten the whole thing. That slope stays consistent, even as I adjust individual stones.
Perforated PVC pipes or swales? Only if you’re channeling serious runoff. Otherwise, proper grading and a well-compacted base handle most situations. I mist everything afterward, watching water behave exactly as planned.
Pick Dry-Set or Wet-Set Installation Methods

Every flagstone patio I’ve built forced me to choose between two evils: the freedom to fix my inevitable mistakes or the permanence of something I somehow got right the first time. That’s the heart of flagstone installation, really.
I go dry-set when I want wiggle room. Stones sit on compacted gravel with stone dust or DG, three-quarters to one inch between them, and I can pry up my gorgeous exlawn blunders without demolition. Tight joints, well-pitched base at one inch per four feet, and I’m golden for moderate traffic.
But wet-set calls my name for the busy spots: fire pits, sloped yards, anywhere my family’s relentless foot traffic punishes shortcuts. Mortar locks everything down, demands proper bonding, yet rewards me with stability that shrugs off freeze-thaw betrayal.
Select and Place Flagstones Like a Jigsaw Puzzle
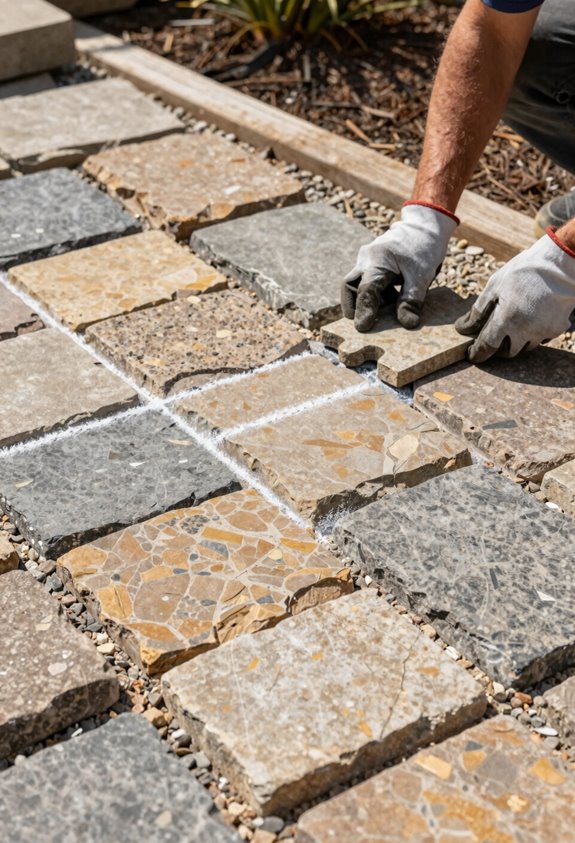
I’ll sort through my pile of irregular limestone slabs, hunting for shapes that fit together without crushing each other: wide gaps for creeping thyme in USDA zone 6a, tight seams for polymeric sand if I’m feeling less whimsical. I’ve learned to lift with legs, not back, and to tap stubborn corners with my rubber mallet until the bubble level reads true across three adjacent stones, no shims required.
Whether I’m dry-setting for a reversible weekend project or wet-setting mortar joints for the former lawn that handles my nephew’s tricycle, I’m leaving breathing room calculated to the quarter-inch so joint filler doesn’t crack come January.
Stone Selection Tips
Some fifteen tons of irregular stone have taught me that flagstone selection is less shopping trip, more archaeological dig: you’re hunting for pieces that’ll lock together without quite matching. I spread candidates on the driveway first, walking the puzzle before committing mortar.
| Stone Type | Best For | Natural Colors |
|---|---|---|
| Sandstone | Budget-friendly crazy paving | Tans, rusts, corals |
| Bluestone | Refined irregular patterns | Steel blues, silvers |
| Quartzite | High-traffic longevity | Moss greens, golds |
Flagstone selection rewards patience. I’ll reject a gorgeous slab if its thickness won’t neighbor well; your level exposes every lie.
Prune aggressive corners with a brick hammer; irregular patterns shouldn’t trip guests. Groundcover fills the generous joints, softening that cobbled, “we’ve been here forever” look we’re actually building this weekend.
Lifting Techniques
How does one wrestle four hundred pounds of sedimentary history into submission without herniating their retirement plans? I’ve learned that lifting flagstone demands respect for physics and a willingness to phone a friend.
For pieces over eighty pounds, I rent suction cups or a dolly with pneumatic tires; my back thanks me later. I treat placement like a jigsaw puzzle, sliding each stone onto my prepared base of compacted road base and sand, checking with a four-foot level as I go. When a piece doesn’t fit, I tap sharp edges with a mason’s hammer or score-and-break larger slabs.
The irregular shapes force constant repositioning, but that flexibility lets me build interlocking stability without mortar, just sand swept into joints.
Gap Spacing Strategies
Between the stones lies the soul of the patio, and I’ve learned that gap spacing isn’t just about aesthetics; it’s the difference between a surface that shifts like tectonic plates and one that locks together for decades. My spacing strategy starts with embracing irregularity: I puzzle-piece flagstones with gaps ranging from one-quarter inch to three inches, letting the stone dictate the rhythm.
For flagstone joints under two inches, I pack stone dust or DG screenings—never fine play sand, which washes out and invites wobble. Wider joints demand heartier joint filler materials: three-eighths-inch gravel for drainage, or soil for creeping thyme between stones in USDA zones 4-9.
I’ve learned mossy naturalized looks require patience and six-inch spacing, though you’ll trade debris collection for gorgeous exlawn character. Budget two hours per ten square feet; future adjustments reward the foresight.
Cut Flagstones Cleanly and Level Each Stone
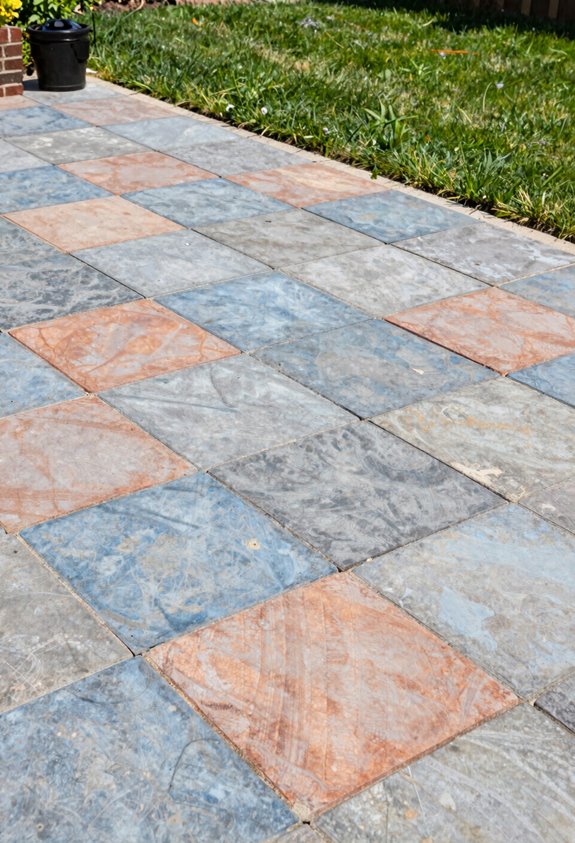
I score my cut lines with a cold chisel and hammer first, then tap the waste side with a rubber mallet until it breaks clean, usually on the third or fourth whack if I’ve scored deep enough. After setting each piece, I check it with a 2-foot level in two directions, tamping high corners down or lifting the stone to add crush run where it sits low; I’ve learned that a 1/8-inch variance becomes a tripping hazard after the first winter freeze-thaw cycle.
Don’t trust your eye on this, my “close enough” phase in Zone 6b cost me three weekends of re-leveling what I’d thought was gorgeous exlawn.
Score Lines First
Why score your lines first when a hammer’s already in your hand? Because I’ve shattered more flagstones than I’ve saved by skipping this step, and nothing kills your flagstone layout faster than a spiderweb crack racing where you least want it. I use a cold chisel to etch my cut line, then strike firmly along that groove; controlled breaks follow, not chaos.
For leveling, I build each bed from stone dust or DG, pitching slightly for drainage because nobody wants a gorgeous exlawn that pools like a birdbath. I set each stone, check with a level, and yank the stubborn ones that sit proud or shy. After joints/fill with 1/8-inch sand, I sweep and lock everything tight.
Tap With Mallet
Once the stone’s scored and ready to break, you’ve got to coax it into its new home rather than bully it there. I grab my rubber mallet; never a metal hammer, unless you fancy spiderweb cracks, and tap each flagstone firmly to seat it level with its neighbors. The mallet’s your diplomat here, negotiating between stubborn stone and shifting base.
I work the edges with a brick chisel, shaving off sharp bits that’ll catch a toe later. Clean joints matter; they let rainwater escape and keep your “jigsaw” from looking like a puzzle assembled during happy hour.
When a flagstone sits proud, I lift it, adjust the stone dust bed, and tap again. The mallet tells you everything; hollow thunks mean trouble, solid whacks mean you’ve found your groove.
Check With Level
How level does a patio need to be? Level enough that your morning coffee doesn’t slide off the table, apparently. I check every flagstone with a level as I go, pressing it flush against neighbors so no high spots trip guests or low spots collect rainwater. If a stone rocks, I lift it, tinker with the stone dust bedding, and reseat until it’s solid; then I stand on it, just to be sure.
I shape edges with a hammer and chisel (safety glasses mandatory; flying chips aren’t gorgeous) and tap with a rubber mallet for final seating. My flagstone patio gets another sweep of decomposed granite into joints, with rechecking levels after. That 3/4-inch bed beneath uniform stones screeded to reference pipes? Non-negotiable for a surface that’s actually usable.
Fill Joints With Stone Dust, Gravel, or Groundcover
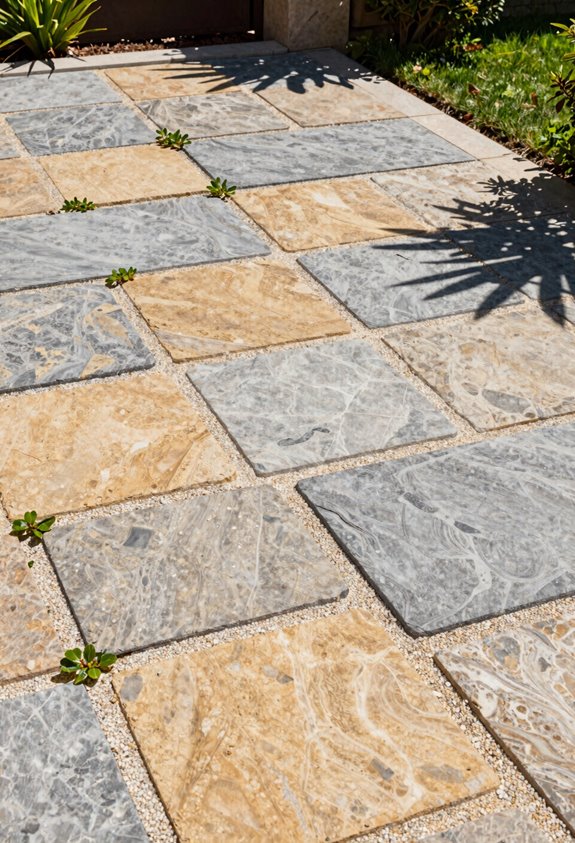
Where exactly do we draw the line between “charming rustic patio” and “ankle-twisting deathtrap”? I’ve found it sits right in those unfilled joints, so let’s lock this down properly.
I lay a 3/4 to 1 inch bed of stone dust beneath my stones; it levels beautifully and grips like mortar. For the gaps themselves, I sweep in gravel or quarter-inch screenings, never that tempting beach sand that washes out or hosts ant colonies. Here’s the trick with decomposed granite: don’t compact it on top of your base. Instead, I sweep it in after setting stones, then shower everything with a hose to settle the material naturally.
Want something softer? I’ve planted woolly thyme between cracks; USDA zones 5-9, handles foot traffic, smells incredible when bruised. Moss works for shaded corners, though it demands patience and consistent moisture.
Mix Flagstones With Pavers to Cut Costs
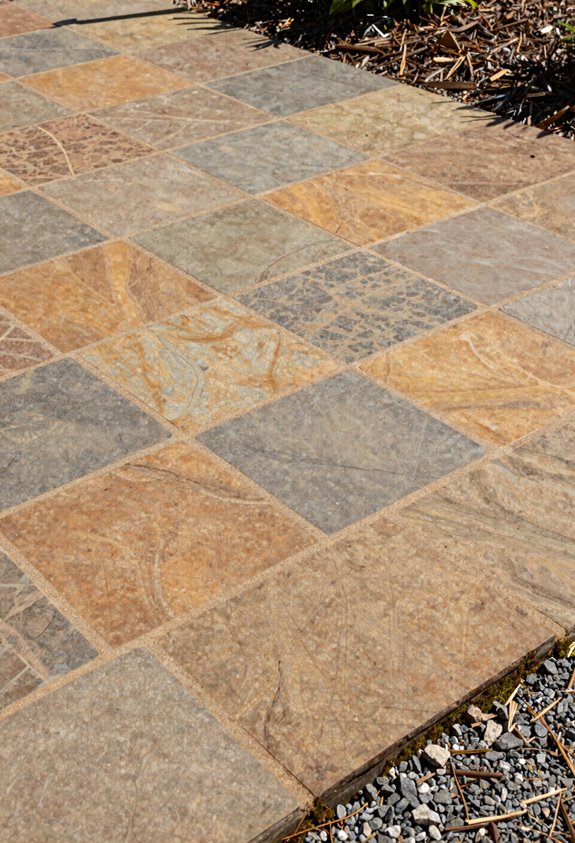
I’ve found that strategic material placement lets me stretch my budget without sacrificing that gorgeous exlawn aesthetic. I’ll lay 2-inch concrete pavers across broad zones where uniformity saves cutting time, then deploy 2.5-inch thick Oklahoma Blue flagstone for accent zone highlights around my fire pit or along primary paths where the irregular edges catch evening light.
The trick lies in pattern integration techniques that hide the seams: I offset paver courses by half-bonds and weave flagstone “rivers” through the field, using dry-set sand joints throughout so freeze-thaw heaving doesn’t crack my hybrid layout. My first attempt failed spectacularly when I mortared everything. Four hundred dollars in ruined materials taught me that flexibility beats rigidity in USDA Zone 6b winters, and now I complete 200-square-foot hybrid patios in two weekends rather than five.
Strategic Material Placement
Why drain the wallet on full flagstone coverage when a strategic mix does the job faster, cheaper, and I’ll argue, looks sharper? I learned this the hard way after blowing my 2019 patio budget on uniform Oklahoma flagstone that cracked within two seasons.
Now I intersperse pavers with flagstone, letting those irregular shapes anchor seating zones while standard clay pavers handle transition areas and borders. My go-to joint strategy: 1/2 inch to 3/4 inch gaps packed with decomposed granite, not mortar; this saves roughly 40% on labor and lets rainwater percolate through. Mixed materials mean less cutting, less waste, and patterns that actually forgive my mediocre leveling skills.
| Mixed Material Approach | Cost/Time Impact |
|---|---|
| Full flagstone coverage | High cost, slow install |
| Pavers as border frame | Cuts flagstone need ~30% |
| DG-filled joints vs. mortar | Saves 6-8 hours, $200+ |
| Pavers in high-traffic paths | Less breakage, easier replace |
| Flagstone “islands” with paver connectors | Cuts handling effort, balances aesthetics |
Accent Zone Highlights
Once I stopped trying to carpet every square foot with premium stone, I started seeing my patio as a series of deliberate moments rather than a continuous surface. Now I design accent zones, specific pockets where flagstone accents anchor the eye while concrete pavers handle the heavy lifting between.
I place natural stone highlights around my fire pit and along the main walkway’s spine, letting budget clay pavers fill the gaps. This cuts material costs roughly 40 percent and installation time by half since I’m not wrestling irregular shapes across every inch.
The flagstones define transitions between seating areas and pathways without rigid joint lines, and I can tighten or loosen spacing depending on mood. Pavers provide structure; flagstones provide soul.
Pattern Integration Techniques
How exactly you weave flagstone into paver territory determines whether guests notice clever design or budget desperation, so I map my pattern before touching dirt. I use flagstone layout to anchor seating zones, letting concrete pavers handle the heavy transit between areas; cuts material costs roughly 40 percent without looking like I cheaped out.
My favorite pattern integration? A central flagstone accent ringed by standard clay pavers; the contrast draws the eye while forgiving my less-than-uniform stones. I measure twice, excavate six inches, lay drainage gravel and an inch of sand, then set pieces before the weather turns.
Those irregular flagstone joints? I fill them with polymeric sand; takes two hours, cures overnight, and keeps weeds out through Zone 6 freezes. Cohesive, not matchy; that’s the goal.
Build Around a Fire Pit or Central Feature
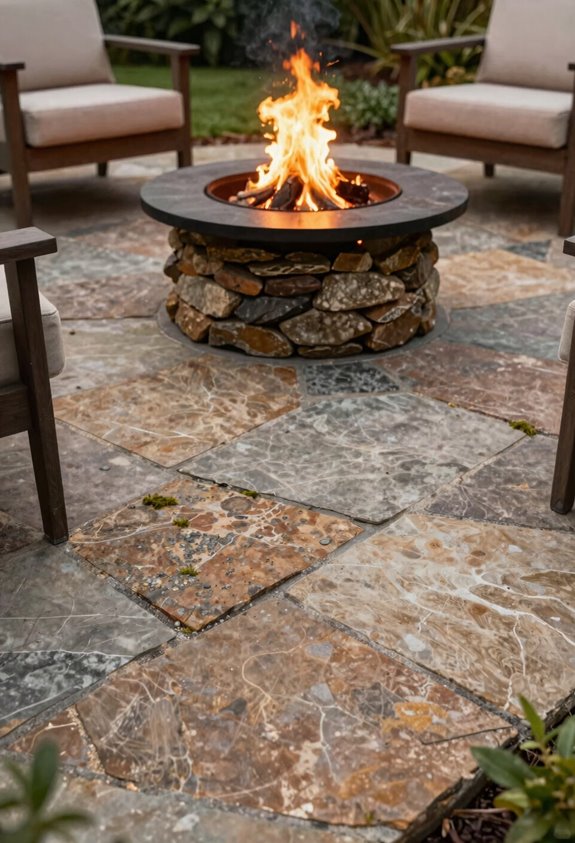
Where exactly you position that fire pit will make or break your patio, so I always start by marking its center with stakes and string; then pacing out the radius in stocking feet, about six to eight feet for comfortable seating, before I even think about moving stone. I build my flagstone fire pit with 2–3 inch thick stone for stability under heat, fitting pieces like a jigsaw puzzle and tapping them level with a rubber mallet, adjusting crush run beneath as needed.
My natural stone patio surrounds the pit with irregular joints—Y’s and T’s, never more than three stones meeting—to keep the rhythm organic. I dry-lay first, checking sight lines from every angle.
| Memory | Material | Feeling |
|---|---|---|
| First spark on stone | Limestone, 2″ thick | Pride, then relief |
| Rain on ash | Crushed granite gaps | Quiet solitude |
| Friends’ laughter | Seatwall height, 18″ | Belonging, finally |
| Moss creeping in | Unplanted, unintended | Time passing gently |
Plant Between Stones for a Soft, Natural Look
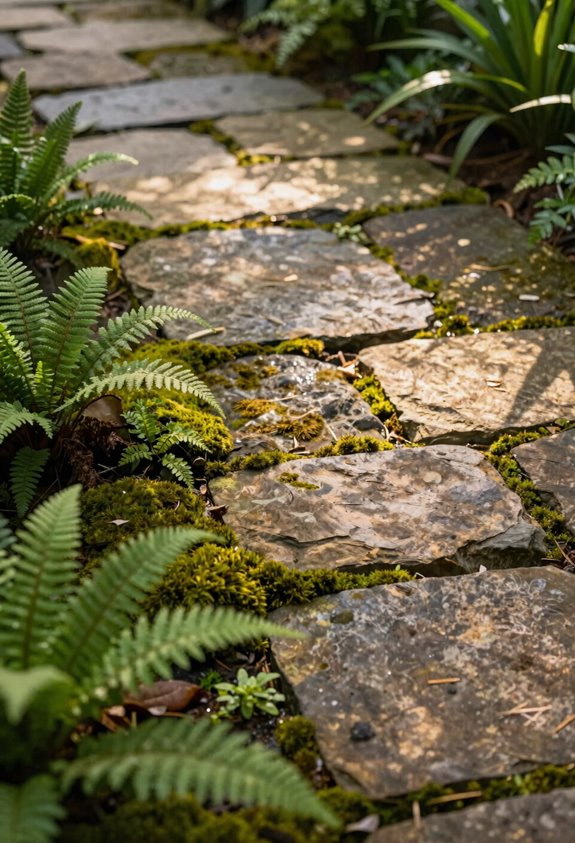
Why stop at stone when I can have something living underfoot? I fill flagstone joints with groundcover and watch my patio soften into the garden like it’s always belonged there. Moss does well in my shady backyard corner, though I’ve killed it twice by overwatering; learn from my soggy mistakes.
In sunnier spots, I tuck moss thyme between stones; its creeping mats stabilize joints while releasing that gorgeous lemon-herb scent when I brush past. I’ve learned to leave two-inch gaps for vigorous spreaders, or my stones heave within a season. Groundcover beats solid concrete for cooling bare feet in July, and nothing disguises a DIY installation’s imperfections like fuzzy green chaos. Choose low-maintenance warriors, and you’ll spend summer evenings admiring instead of weeding.
Add Stone Steps to Handle Sloped Yards
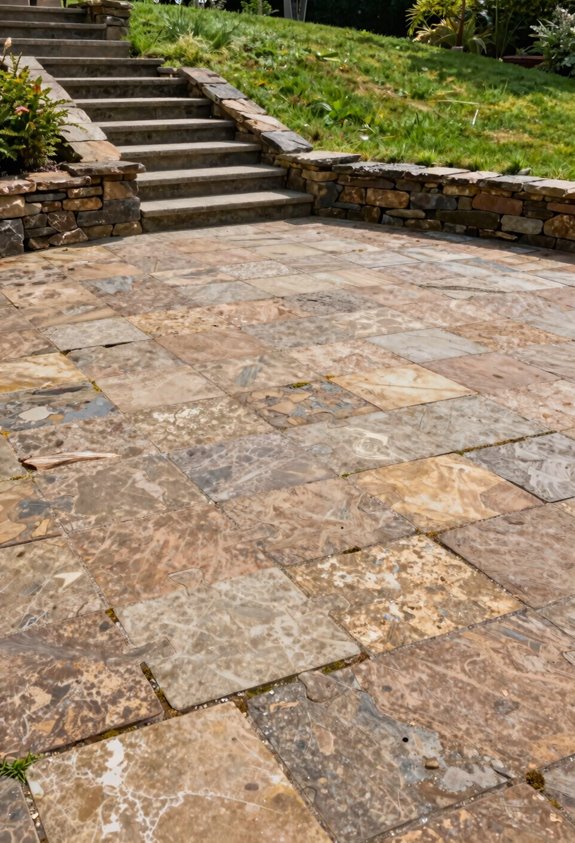
When my backyard pitched downhill like a badly poured beer, I realized flat patios were a luxury I couldn’t afford, so I started stacking stone instead of fighting gravity.
I’ve learned that flagstone steps turn a slope from enemy to feature, but only if you respect the physics. I use 2-3 inch thick stones for the treads; anything thinner strips underfoot like cheap linoleum. I build dry-set, packing crushed stone and sand beneath each step, pitching it slightly forward so water escapes rather than excavating my work from below. Proper drainage isn’t glamorous, but neither is rebuilding steps after spring thaw.
I break edges with a hammer to blend the steps into the hillside organically. My gorgeous exlawn finally feels like a place where I actually belong.
Edge Your Flagstone With Brick or Timber
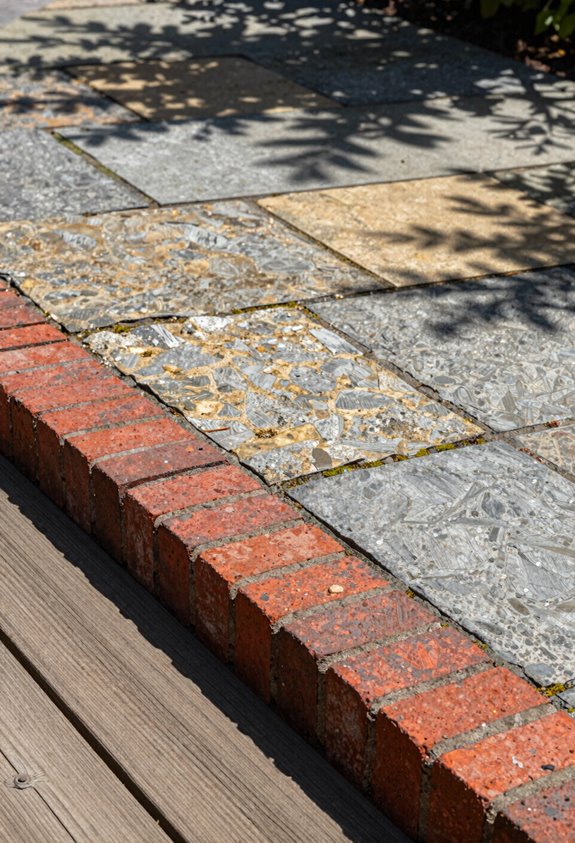
My stones finally stopped wandering around the yard like lost sheep once I figured out that flagstone needs a border with some backbone, so I started pinning my patios down with brick and timber instead of watching gravity redistribute my weekends.
Brick edging locks down traditional layouts with soldier-course precision, giving my gorgeous exlawn a crisp handshake at the perimeter. Timber edging, though; cedar or pressure-treated 4×6s, bends along curves I’d drawn freehand, forgiving my ambition.
I set each material flush with my flagstone joints, starving weeds of purchase and frost heave of leverage, having learned that proud edging trips guests and sunken edges trap sediment.
Flagstone edging demands durability: galvanized spikes every eighteen inches, rot-resistant species, or baked clay rated for freeze-thaw. I’ve replanted my mistakes in Zone 6 winters, so now I overbuild and sleep sound.





