
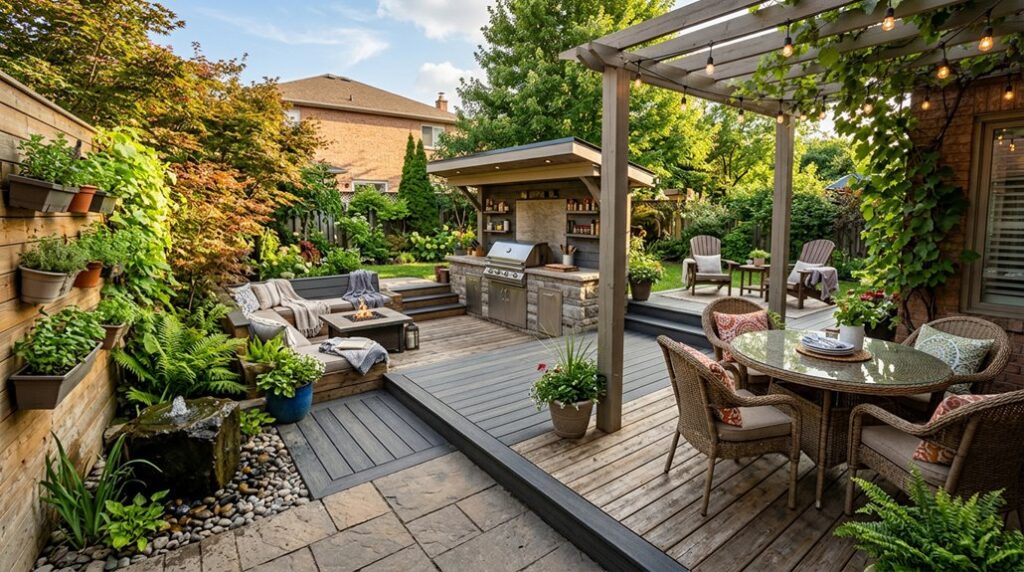
I’ve wasted three weekends and $800 on lumber that warped within a season because I didn’t account for afternoon sun blasting my “perfect” lounge corner, lesson learned the splintery way. Most backyards under 400 square feet fail not from size but from treating decks and patios as afterthoughts rather than layered systems of climate, circulation, and actual human behavior.
I’ll walk you through seven specific strategies I’ve tested across USDA zones 5b to 7a, including one $12,000 mistake involving improper waterproofing that created a mosquito nursery beneath my “clever” under-deck storage. You might recognize your own yard in what follows.
Assess Your Small Backyard for Deck and Patio Placement
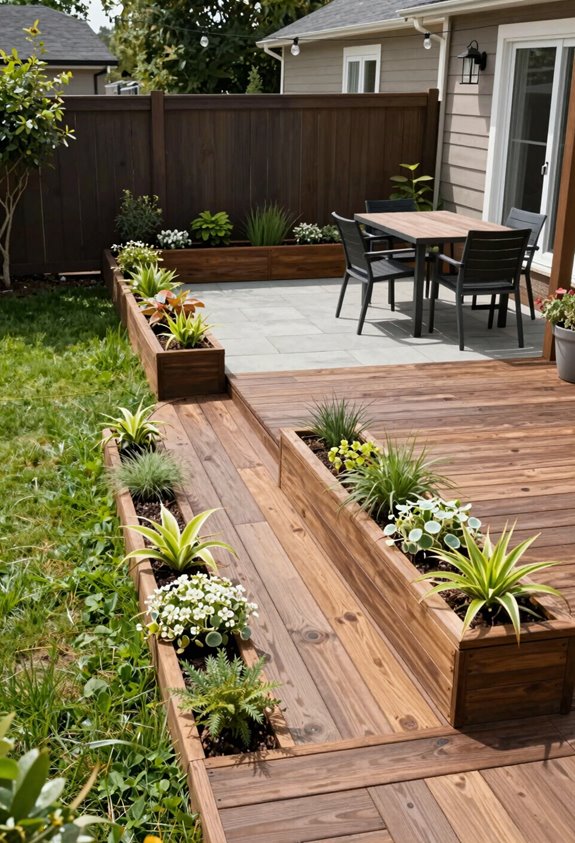
Where do I even begin when every square foot counts? I’ve learned that small backyard assessment demands ruthless honesty about sun patterns, drainage, and that gorgeous exlawn you’re probably overestimating.
Deck placement starts with tracking afternoon shade; my 12×16 foot rectangle failed until I shifted it 8 feet west. Patio layout follows circulation: allow 36 inches for pathways or you’ll trip over chairs. I learned vertical gardening the hard way after cramming tomatoes into ground beds that hogged precious real estate; wall-mounted planters now free 40 percent of my footprint for seating.
Multi-level decking changed my sloped disaster into distinct tiers: 18 inches for dining, 30 for lounging, with dry storage beneath. The upfront cost stung, roughly $35 per square foot versus $12 for single-level, but the zoning payoff proved undeniable.
Fit Three Zones: Cook, Lounge, Dine: Into Tight Outdoor Space
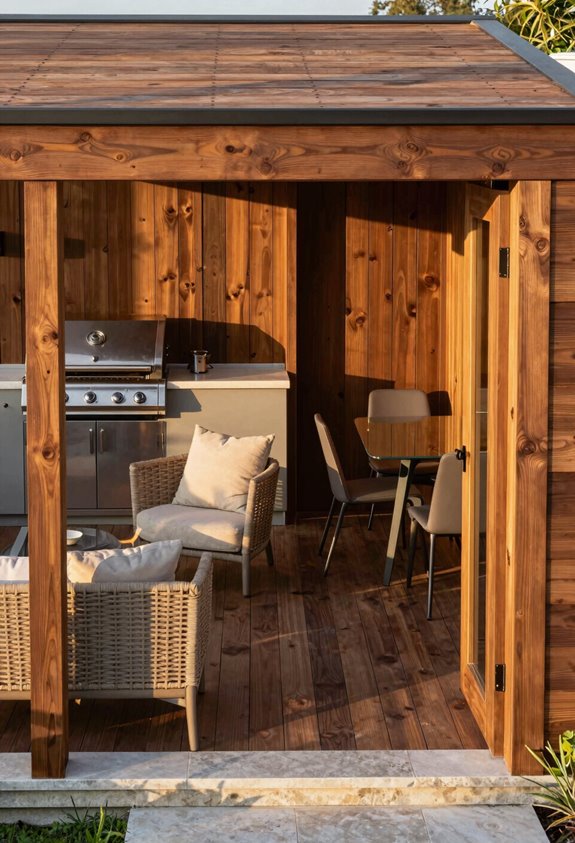
Once you’ve mapped your sun patterns and tamed your slope, the real puzzle begins: squeezing three distinct lives into one postage-stamp backyard. I learned this the hard way when I crammed a cook station, lounge pit, and compact dining area into 400 square feet of uneven turf.
| Zone | Space-Saving Strategy |
|---|---|
| Cook | Grill placement 8 feet from kitchen exit, no more |
| Lounge | Built-in seating with storage underneath |
| Dine | 36-inch round table, four chairs max |
| All | Vertical elements define without dividing |
My rectangular decking layout keeps traffic moving; no bottlenecks when carrying burgers. I added a cedar pergola over dining for shade that doesn’t steal square footage. Composite boards with limestone borders tie my outdoor zones together without shouting “renovation.” Weatherproof cushions and layered lighting mean we linger past sunset.
Stack Deck Levels to Add Room Without Expanding Outward
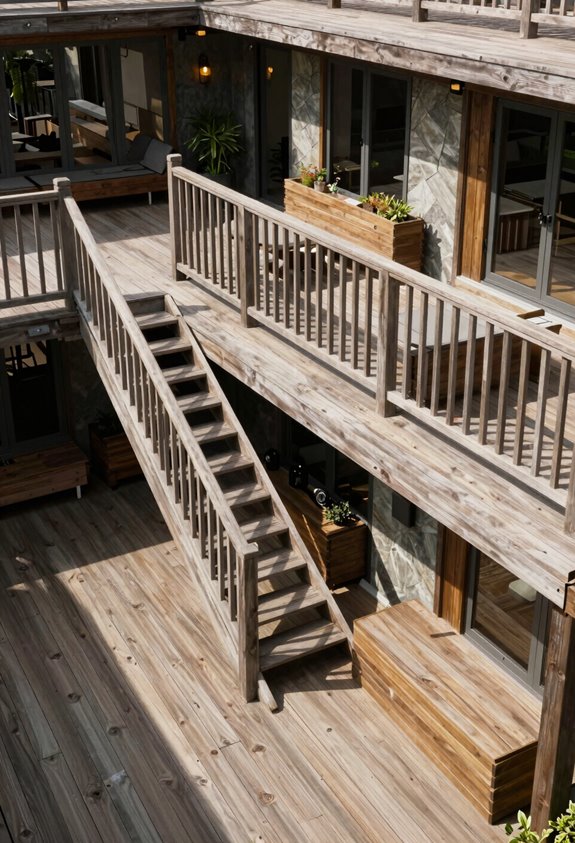
Why fight the footprint when you can build upward? I stack deck levels to squeeze more outdoor living into the same square footage, and it’s transformative. Multi-level decking deploys vertical space intelligently: my elevated deck catches morning sun for coffee, while the lower level hosts shade-loving hostas and afternoon reads. I’ve learned that gradual steps, typically 6-7 inches each, guide traffic flow without requiring permits for full staircases.
The real prize hides underneath. I converted my under-deck storage into a hot tub alcove with built-in cedar seating; waterproofed the joist bays with a rubber membrane first, naturally. That zone stays dry even in Zone 6 downpours. By dividing functions vertically, dining up, lounging below, you create distinct rooms without fences. Your yard feels larger, not cramped. Neighbors will assume you expanded.
Cover Your Patio for Summer Shade and Light Rain
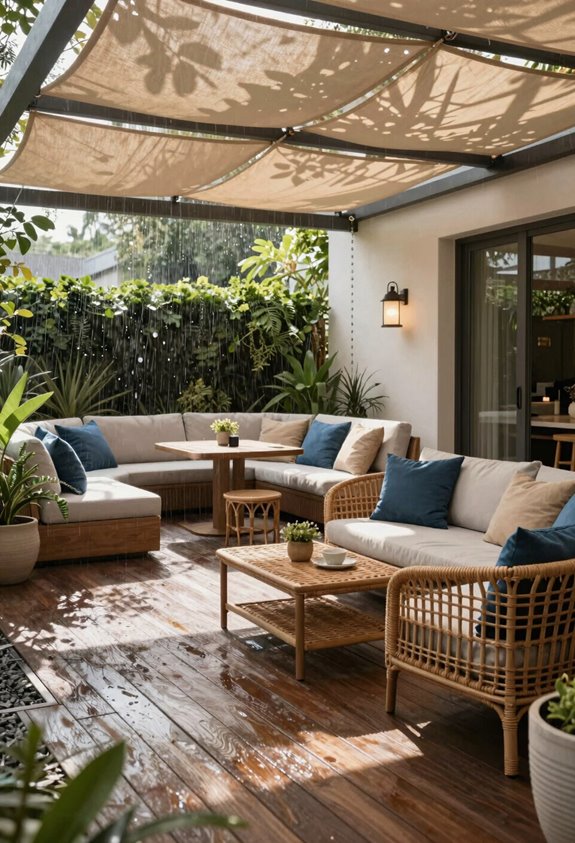
I’ve learned that beating the summer sun doesn’t require sealing yourself indoors, and after three seasons of watching my hostas crisp under a 100° Virginia afternoon while I hid inside, I finally installed a pergola with a polycarbonate overhang that blocks 85% of UV but still lets enough light through to keep my potted dwarf Japanese maple in its container at USDA Zone 7b. The 12-foot span cost me roughly $2,800 in materials and a humid Saturday of cursing slip angles, but it’s paid for itself in extended outdoor dinners.
I can now grill through a 15-minute July thunderstorm without scrambling for cover, though I keep a canvas shade cloth ($45, 90% UV block) clipped and ready to deploy when the mercury pushes past 95°F. Retractable elements aren’t just luxuries here; they’re survival tools, and I’ve found that pairing a ceiling fan rated for damp locations with Edison-style string lights changes what could be a sulky, enclosed cave into something I’d actually call a gorgeous exlawn. Just mind the airflow or you’ll host mosquitoes instead of guests.
Summer Shade Solutions
How does one cook brunch on a 95-degree July morning without wilting faster than the lettuce? I’ve learned that strategic shade changes patios from solar ovens into real outdoor dining spaces.
Pergolas with climbing wisteria (USDA zones 5-9) deliver dappled shade at roughly $3,000-$8,000 installed. Shade sails stretch 12-20 feet, cost $200-$500, and angle at 30 degrees for runoff. Retractable shelter systems let me chase shade across the deck as the sun moves.
Ceiling fans mounted 8-10 feet overhead move air at 4-5 mph, dropping perceived temperature 8°F. Combined structures, pergola base with retractable canopy, balance warmth and retreat without sacrificing sky views.
Light Rain Protection
Where does shade end and shelter begin? I’ve learned they’re closer neighbors than you’d think.
I extend my retractable canopy when clouds threaten, then roll it back for stargazing; flexibility that beats fixed roofing. My shade sail, angled at 30 degrees, sheds light rain while filtering afternoon sun; the geometry matters more than the fabric cost. For genuine outdoor shelter, I built a pergola with 18-inch overhangs aligned precisely with my kitchen door, eliminating that awkward dash during surprise showers.
The real secret? Waterproof cushions with quick-dry foam cores. Wind and drizzle cease to matter when your seating won’t harbor mildew. I learned this after replacing three sodden sets; expensive tuition, that ruined lawn.
Position your cover thoughtfully, and you’ve expanded your living room by 200 square feet, weather be damned.
Mix Wood, Stone, and Concrete for Patio Texture
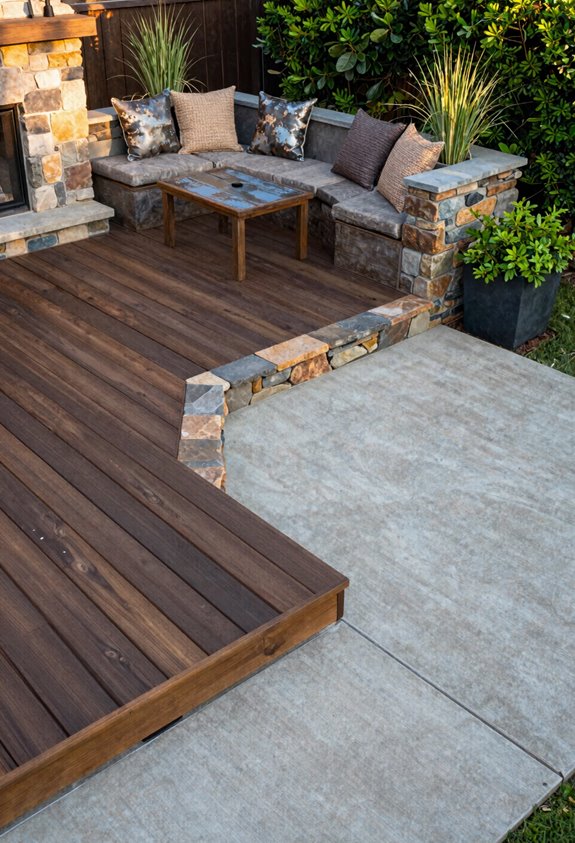
I’ve learned that mixing wood, stone, and concrete gives your outdoor space real material contrast benefits. Warm cedar decking against cool bluestone edging tricks the eye into seeing more square footage than you actually own. For texture layering techniques, I run timber planks at a 90-degree angle to concrete paver bands, keeping the wood elevated on 2×4 sleepers with ¼-inch gaps for drainage. This failed miserably in USDA zone 8a until I switched to tropical hardwoods that won’t cup after three wet seasons.
Seamless integration means letting stone veneer walls double as bench backs while concrete slabs anchor the cooking zone. I always budget $18–$22 per square foot for this trifecta. It’s expensive, but my “gorgeous exlawn” now hosts dinner parties instead of mud wrestling matches with the dog.
Material Contrast Benefits
Why settle for a flat, forgettable yard when I can layer wood, stone, and concrete into something that actually works? Material contrast changes outdoor design from monotonous to magnetic, and I’ve learned this through three failed attempts at “matching everything” that left my yard looking like a parking lot.
Wood brings organic warmth that invites bare feet and morning coffee. Stone anchors permanent features with weather-resistant dignity. Concrete delivers clean geometry and stains convincingly like flagstone at $4-6/square foot versus $15-25.
Combining all three creates shadow lines that expand perceived space by defining dining versus lounging zones. The palette uses each material’s strength: wood for comfort, stone for endurance, concrete for practicality.
This approach belongs to those who refuse one-note solutions.
Texture Layering Techniques
The real trick isn’t just stacking materials, it’s making them talk to each other without arguing. I learned this the hard way after my first deck and patio combo looked like three divorced elements sharing custody of my backyard.
Texture layering demands intention. I pair rough-sawn cedar decking, warm, gather-round territory, for seating areas against cool bluestone pavers that handle foot traffic without complaint. Mixed materials create outdoor zones without walls; your feet feel the shift before your eyes register it.
Concrete anchors the scheme. I pour integrally colored pads, 4 inches thick with broom finish, for dining spaces that ground the outdoor design. Chiseled limestone borders, 6 inches wide, separate wood from stone while grain direction changes, parallel versus perpendicular, add depth without clutter.
The result? Distinct outdoor rooms that feel inevitable, not assembled.
Seamless Integration Methods
My best integrations hide the seams so well you’d swear the materials grew together. I mix decking, patio, and stone elements to craft outdoor zones that feel inevitable, not assembled. Seamless integration demands you respect each material’s personality: concrete’s brute functionality, timber’s warm give, stone’s geologic patience.
Pair sleek composite decking with irregular flagstone edging to soften transitions between textures. Sink your patio 18 inches below an elevated deck, creating distinct outdoor zones without jarring visual breaks. Run stone paving strips perpendicular to deck boards; I’ve found 24-inch intervals anchor the eye.
Specify 4-inch concrete pads for dining areas (USDA zones 5-8, $8-12/sq ft), then butt cedar decking against them for lounging. Wrap timber decks in stone fascia; my former lawn became permanent once I stopped fighting the slope.
Layer Lighting to Extend Outdoor Evenings Safely
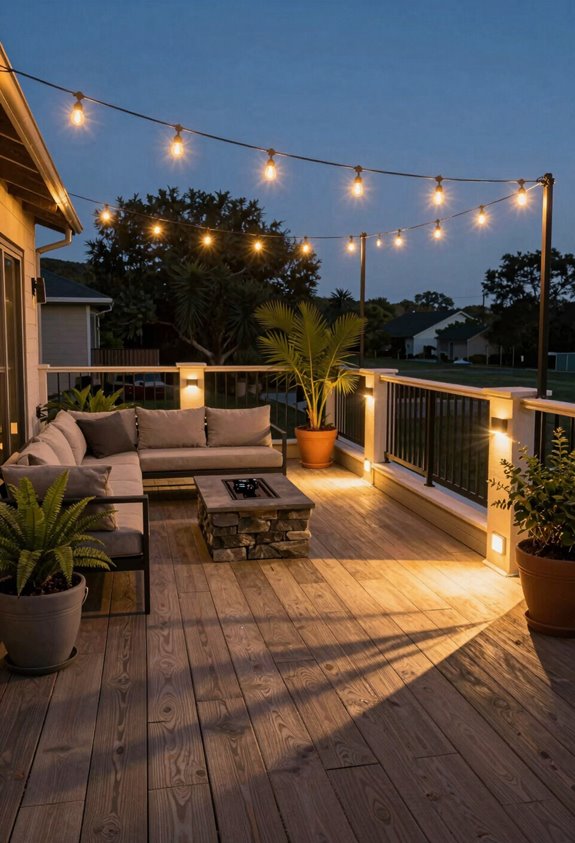
How quickly does a perfectly good patio become unusable once the sun drops? I’ve learned that layered outdoor lighting changes this nightly surrender into an invitation.
I combine three elements for safety and warmth. Pathway lighting guides footsteps, ambient string lights create canopy glow, and task lighting anchors dining zones. My deck lighting runs under railings and steps; I’ve tripped on shadows, so I don’t skimp on coverage.
Perimeter lighting defines boundaries without harsh flood effects, while dimmable fixtures let me dial from dinner party to stargazing. Solar supplements wired systems along edges where trenching hurts. I embed fixtures into architectural details; under-cap rail lights and pergola accents sculpt space after dark. The goal isn’t brightness; it’s eliminating dark corners where guests feel excluded.
| Layer | Purpose | My Go-To Fixtures |
|---|---|---|
| Pathway | Safe footing | 4-inch solar step lights, 3000K |
| Ambient | Social warmth | 24-foot string light strands, 15 sockets |
| Task | Functional visibility | 75W-equivalent dimmable pendants |
| Perimeter | Boundary definition | 2-watt LED deck post caps |
| Accent | Texture highlights | 12V under-rail strip, 2700K |
Build In Bench Seating With Hidden Storage Below
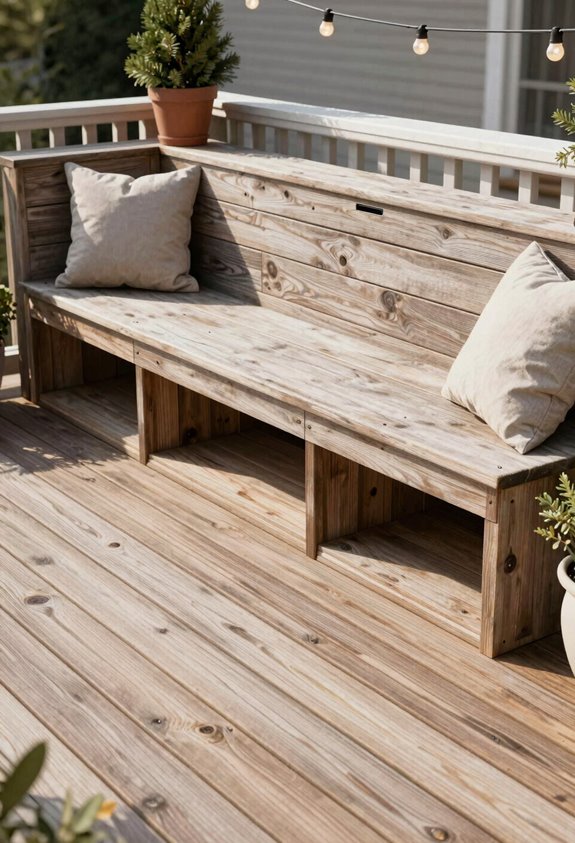
Where does all the patio clutter go when guests arrive? I built a planter bench that solves this exact problem, and it’s become the heart of my small deck.
Cinderblocks and 4×4 posts create budget-friendly hidden storage beneath lift-up seats. Integrated planters along the back edge grow trailing nasturtiums (USDA zones 9-11 as annuals). Cushions and grilling tools disappear into 18-inch-deep compartments. The seamless deck-to-garden flow eliminates visual clutter. Multi-use furniture maximizes every square foot without crowding traffic patterns.
This space-saving solution cost me roughly $340 and one regrettable Saturday. The concrete bench weathered three winters before I learned to seal the storage lids; my “waterproof” cushions grew mold in zone 7a humidity. Now guests assume I’ve hired a gardener. I don’t correct them.





