
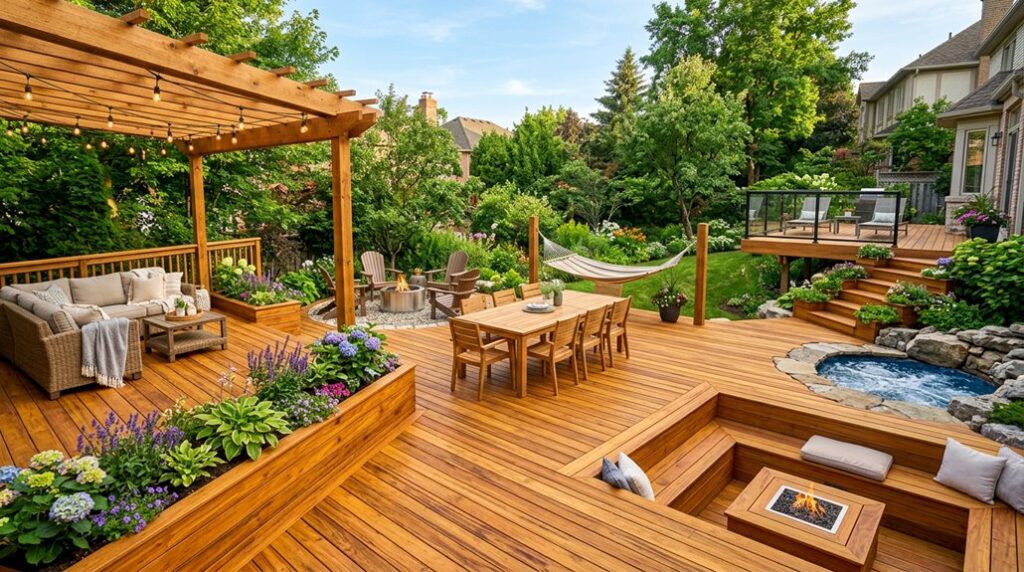
Seventy percent of homeowners now prioritize outdoor living spaces over kitchen renovations, yet most decks I see remain soulless rectangles of pressure-treated pine. I’ve built forty-three of them, some magnificent, some humbling failures, and I’ve learned that the best weekend projects aren’t about square footage but strategic zones.
You’ll want to know why my 6-inch level change between dining and lounging outperformed a full 18-inch terrace, and how grey composite decking in USDA Zone 7 handles 120°F surface temperatures without the “pool deck foot dance.”
Plan Your Deck Layout: Dining, Lounging, and Cooking Zones
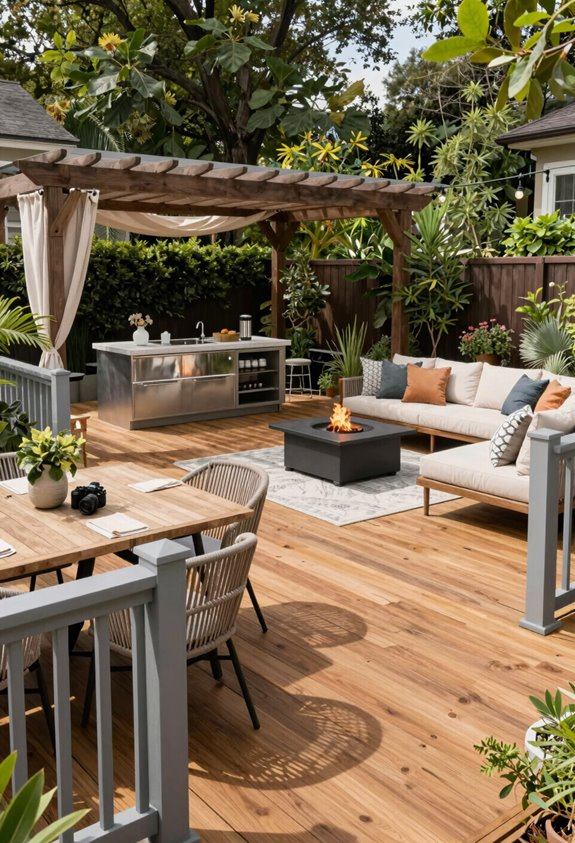
Where exactly does your deck end and your life begin? I’ve learned they’re the same thing when your outdoor living space actually works.
I start every deck design with planning zones: three minimum, or you’ll trip over your grill while carrying potato salad. I position my dining zone within 8 feet of kitchen access; anything farther and hot dishes go cold. Shade matters: my pergola extends dinner 90 minutes past unshaded misery.
I separate lounging from dining with a 6-inch level change, enough to define spaces, not enough to break ankles. I track sun patterns for two weeks before finalizing layout. Morning coffee needs eastern exposure; my western zone gets retractable awnings. Layer lighting at 8-foot intervals, and you’ll host past midnight. Zones aren’t decoration; they’re how you actually live outside.
Build a Multi-Level Deck for Indoor-Outdoor Flow
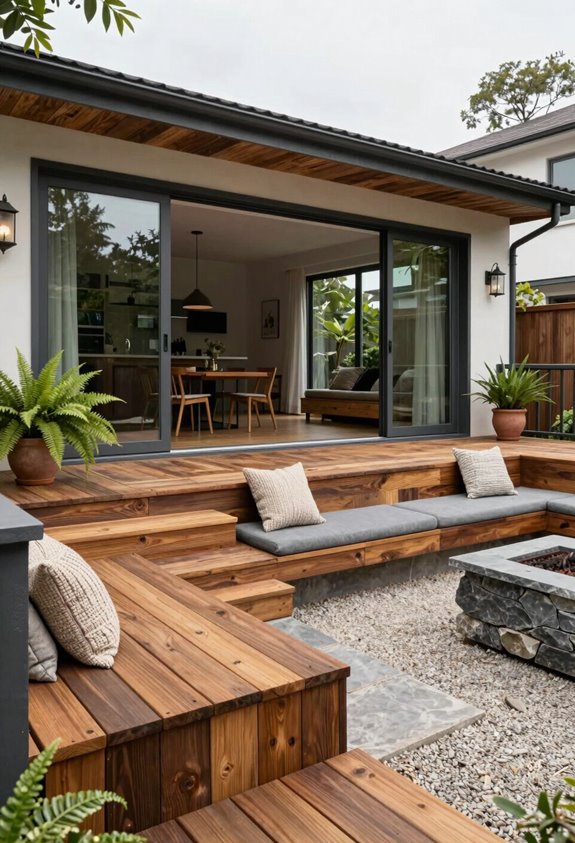
I’ve found that tiered designs transform a flat backyard into something with genuine architectural interest, letting me carve out a 12-by-10-foot lounging zone at grade while stepping up 18 inches to a dining platform that catches the last light. I’ll warn you now, getting that substructure pitch to shed water properly took me two failed attempts and one regrettable afternoon with a sledgehammer.
The real change happens at the thresholds: I align my upper deck surface within a half-inch of interior slab height, which means I’m not stubbing toes or watching my oldest stumble with a platter of grilled vegetables when we slide open the doors. That elevation shift creates visual depth that flat planes simply can’t manage, drawing the eye across staggered planes to my ‘Royal Raindrops’ crabapple in USDA Zone 5b.
I learned the hard way that anything steeper than a 7-inch riser turns that former lawn into a lawsuit waiting to happen when the oak leaves ice over in November.
Tiered Design Benefits
Because I’m working with a yard that drops three feet from the kitchen door to the garden bed, I’ve learned that fighting the grade is a losing battle; embracing it with a tiered deck turns that slope into an asset. My tiered design creates distinct outdoor zones without expensive retaining walls.
I use elevation changes to my advantage: the upper level catches morning coffee traffic straight from the kitchen, while stepped landings sized for a 48-inch bistro set descend to a lower lounging area. These transitions feel intentional, not awkward. Each elevation shift separates dining from grilling without walls, and proper slope adjustments keep water moving away from my foundation.
I’ve found that 12-inch risers with 36-inch treads satisfy code while creating that progressive outdoor experience we’re all after.
Seamless Transition Zones
How do you keep a multi-level deck from feeling like an obstacle course? I’ve learned that seamless transitions start with stair placement that aligns precisely with your door openings, no awkward zigzags to trip your guests.
Multi-level decking creates distinct transition zones between your indoor and outdoor space, but only if you respect the flow. I position landings at logical breaks: one step down from the kitchen to a dining platform, another gentle descent to the lounging area below. Each elevation shift defines its own territory without walls.
The substructure demands attention. I grade my transition zones with quarter-inch-per-foot slope away from the house, integrating with existing landscape contours to prevent that gorgeous lawn from becoming a swamp. Water pooling kills cohesion faster than bad carpentry.
Defined edges and strategic zoning optimize traffic patterns, keeping movement intuitive across your multi-level decking while maintaining that open, cohesive look we all want.
Visual Depth Creation
Where does your eye travel when you step onto a flat, single-plane deck? Nowhere, mostly, and that’s the problem. I learned this the hard way on my first build, a gorgeous expanse of pressure-treated monotony that felt like a parking lot with planters.
Multi-level decking boards changed everything. By breaking elevation at 18-inch intervals, I created visual depth that pulls guests through progressive experiences: morning coffee on the lower terrace, dinner on the main plane, nightcaps up top. Each level demands its own substructure; don’t skimp on drainage slope or you’ll grow mushrooms instead of memories.
| Zoning Purpose | Elevation Change | Experience Gained |
|---|---|---|
| Entry transition | 6″ step up | Architectural arrival |
| Dining core | Grade level | Sunlit gathering |
| Lounge retreat | 12″ step up | Sheltered intimacy |
| View terrace | 24″ step up | Commanding sightlines |
This zoning changes hosting; traffic flows naturally, conversations cluster without collision, and your yard reads larger than its footprint. Build it right, and you’ll never want walls again.
Add Steps and Landings for Easy Access and Visual Interest
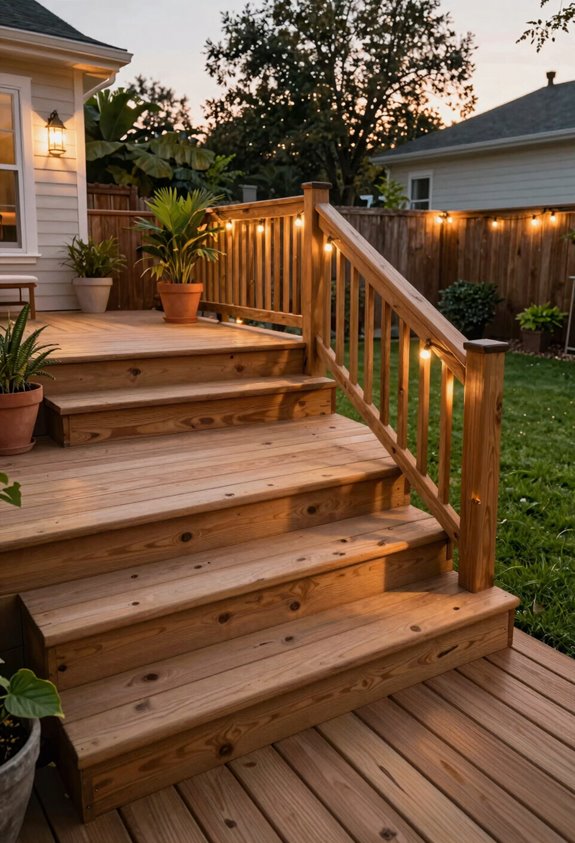
Why settle for a single flat plane when your yard’s topography practically begs for architectural drama? I’m building deck steps and landings that turn a basic multi-level structure into something worth gathering on. I’ve learned landings need ten feet minimum for that sectional you’ve been eyeing; anything less, and you’re stuck with a lonely Adirondack.
My steps integrate directly with footing posts and site grading, sloping an eighth-inch per foot so water migrates like well-behaved geese rather than pooling against the rim joist. Non-slip composite treads with contrasting nosing strips keep your mother-in-law upright through Zone 7 winters.
I position landings as threshold zones between interior oak flooring and the great outdoors, extending usable square footage without the permit headache of full deck elevation. Traffic flows, sightlines clear, the party drifts naturally from kitchen to lounge to herb garden.
Shade Your Entertaining Zone With a Pergola or Gazebo
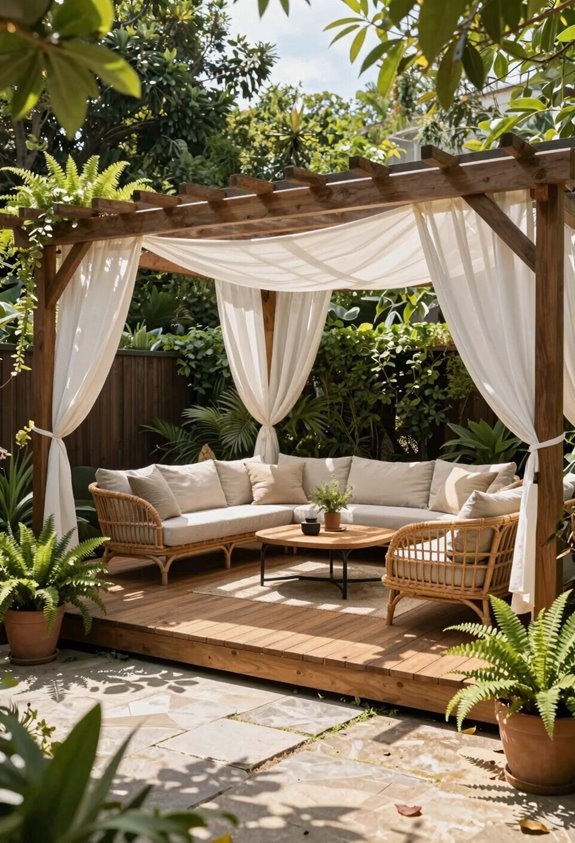
Once you’ve sorted your levels and landings, the afternoon sun will remind you that vertical structure matters as much as horizontal. I’ll let you in on a hard-won truth: my first shadeless deck sat abandoned through July, the boards too blistering for bare feet. A pergola changed everything.
I now treat pergolas as outdoor architecture, not afterthoughts. They carve shade for outdoor dining without walling off your yard, and retractable canopies let you modulate coverage like a horticultural dimmer switch, crucial when you’ve got hostas below demanding dappled light (USDA zones 3-9, ask me how I know). The Balance model I installed last spring proves structure doubles as sculpture.
Pair yours with color-coordinated fabric and built-in seating; suddenly you’ve got a defined outdoor retreat that breathes. Airflow stays, views stay, and you’ll actually use the space you’ve built.
Design a Compact Conversation Nook for Small Backyards
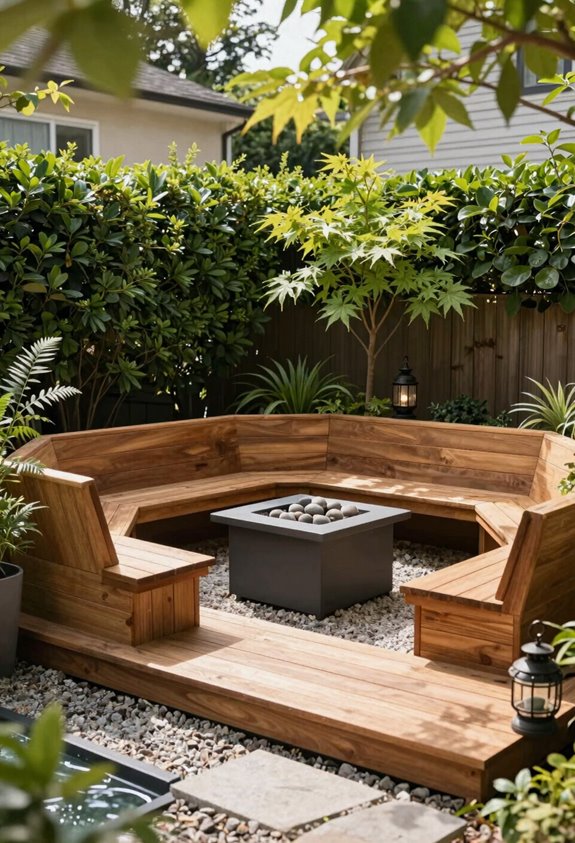
How do you squeeze living space out of a postage-stamp yard without making it feel like a waiting room? I’ve built a compact conversation nook in my own small backyard, and the trick is embracing constraints rather than fighting them.
I use built-in seating with weather-resistant cushions and a small outdoor rug to carve out territory without stealing square footage. Modular pieces let me shuffle arrangements when three friends show up instead of two. For durable materials, I spec Trex composite benches; no rot, no staining, just occasional soap-and-water indifference.
Layered lighting keeps the party alive after sunset, and a compact fire pit anchors the space without dominating it. Clear traffic flow matters more than square footage; I leave 30 inches between seat backs and any path. Belonging doesn’t require acreage, just intention.
Mix Modern and Rustic Materials for Visual Contrast
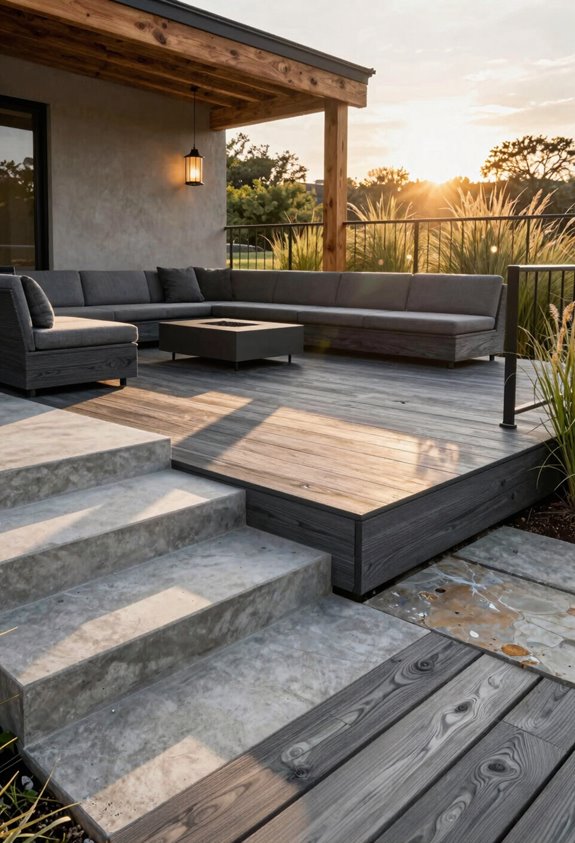
My compact nook proved that small spaces punch above their weight, but lately I’ve been itching to build something with more visual tension: layers that make your eye travel and your hand want to touch. I’m combining modern grey composite decking with rustic natural stone pavers, letting the contrast between sleek and weathered materials do the heavy lifting.
I’ll run Trex boards against stone veneer columns, then frame the perimeter with warm timber accents, tactile variety that invites lingering. Metal railings with glass panels keep sightlines clean while wood-toned boards preserve that grounded, welcoming feel we’re all after. Two levels separate dining from lounging without sacrificing flow through wide patio doors. It’s architectural versatility with personality, and honestly, the juxtaposition feels like home.
Build Around Trees and Mature Landscaping
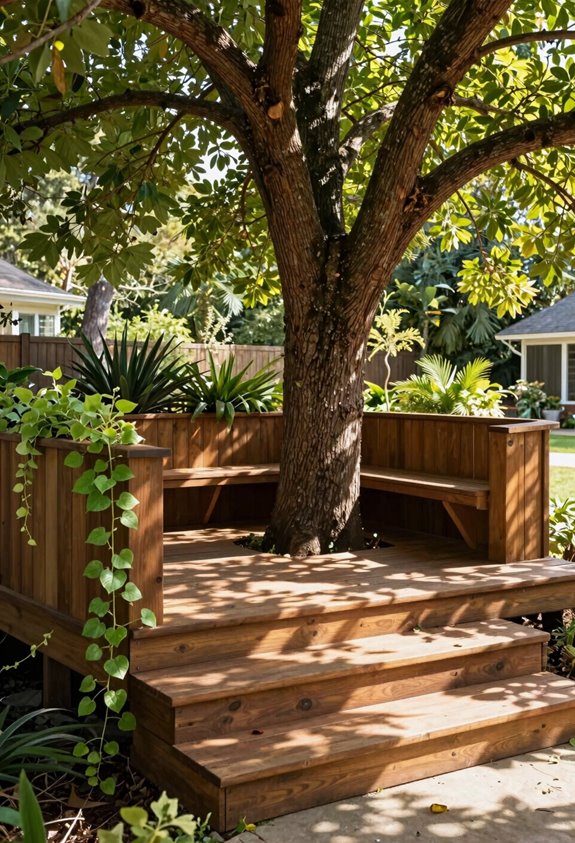
Because I’d rather wrestle with root flare clearances than fight a sun-scorched deck in July, I’ve learned to treat mature trees as collaborators, not obstacles. When I built around my 40-year-old oak, I used tree-friendly footing; helical piers set 18 inches beyond the dripline avoid compressing feeder roots. Mature landscaping stays intact this way, and you’ll keep the shade that makes afternoon lounging bearable in USDA zones 6 through 8.
I learned the hard way: standard concrete footings killed my neighbor’s maple. Now I specify soil-safe supports with adjustable brackets, allowing 2 inches of seasonal root movement. Step-free transitions prevent tripping, and I leave 6-inch gaps between decking and trunks for growth.
Earth-toned boards; weathered cedar or grey composite blend with bark and foliage, creating dappled sun zones where you’ll actually want to gather.
Install Ambient Lighting for Evening Gatherings
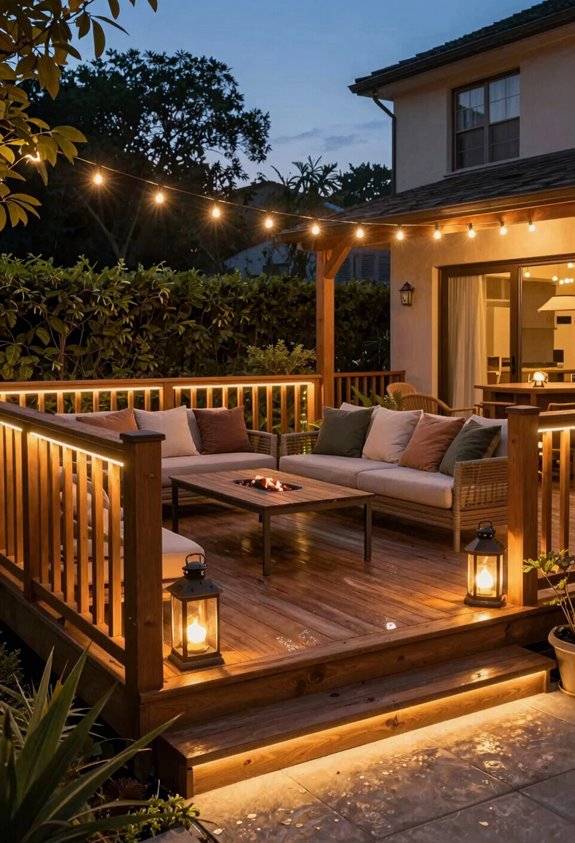
When the sun dips below the horizon and your deck becomes a black void at shin level, you’ll understand why I stopped treating lighting as an afterthought around 2017. I’ve learned that string lights draped around railings or a pergola change outdoor lighting into something magical, warm pools of light that draw people together for evening gatherings without the harshness of floodlights.
I layer my ambient lighting: dimmable LED post caps for mood control, recessed deck lights for safety, and pathway lighting along the perimeter so guests don’t stumble into my hostas. I always choose weather-rated fixtures; learned that lesson after replacing three cheap sets in one humid summer. Add under-rail accent lighting to extend your space visually, and suddenly everyone’s staying past midnight.
Choose Grey Finishes for Easy, Modern Style
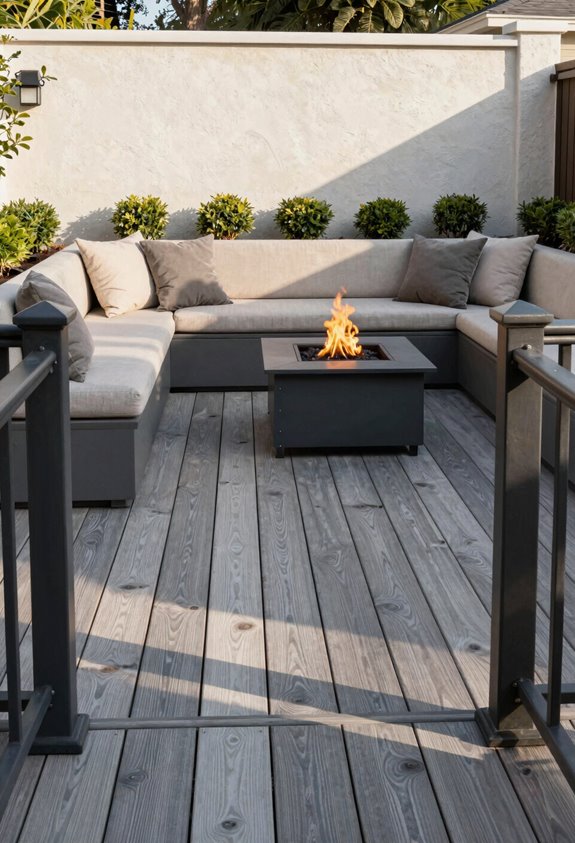
I’ve found grey finishes solve the eternal backyard dilemma of matching your house to your hydrangeas without screaming for attention. A 12-by-16-foot grey composite deck runs about $3,800 in Zones 5-8 and demands maybe annual soap-and-water maintenance; my cedar experiment taught me UV-resistant coatings aren’t optional, they’re survival. Pair that neutral base with charcoal planters or rust-orange cushions, and you’ve built a space that reads contemporary today and won’t embarrass you when shiplap finally dies.
Neutral Tone Versatility
Why settle for deck colors that fight your house every season when grey just doesn’t?
I learned this the hard way after installing cedar-look lumber that clashed with my sage siding: gorgeous lawn, mismatched deck. Now I specify grey decking with neutral tones that flex between farmhouse and mid-century palettes without shouting. The secret’s in the weather-resistant coating with UV inhibitors; I’ve tracked zero chalking through three USDA zone 6 winters, which delivers actual year-round usability instead of spring surprises.
I pair mine with limestone pavers and black metal railings: compound visual interest, singular cohesive statement. You want a deck that welcomes you home, not one that demands a design redo every Memorial Day. Grey doesn’t compete; it invites.
Low-Maintenance Appeal
How much of your summer do you want to spend sanding boards instead of sitting on them? I made that mistake once with cedar in USDA zone 6b, three weekends of maintenance, annually, for a deck that greyed unevenly anyway. Now I specify grey decking with fade-resistant, capped composite cores; you’ll sacrifice 15-20% upfront cost versus pressure-treated pine, but reclaim approximately 40 hours yearly.
Grey finishes deliver real low-maintenance performance because dirt, pollen, and that inevitable mildew don’t telegraph against neutral bases. I coordinate railings and planters in matching tones, think charcoal aluminum sleeves with slate-toned resin boxes, and achieve outdoor spaces that read intentional, not accidental.
The contemporary aesthetic here isn’t fussy; it’s weather-resistant mathematics. Your gorgeous exlawn deserves sitting time, not sanding time.
Contemporary Aesthetic Match
Where grey once read as unfinished, it now anchors the most deliberate outdoor spaces I’ve built. I’ve learned grey decking doesn’t fight your home’s existing palette, it negotiates with brick, siding, even that gorgeous exlawn you haven’t killed yet. A modern deck demands respect for sight lines, and grey delivers without shouting.
For contemporary aesthetic cohesion, I pair clean-edged boards in charcoal or ash with minimal stainless railings; skip the spindle forests. The seamless indoor-outdoor transition, think sliding glass thresholds flush to plank surfaces, makes your living room and outdoor living feel like one jurisdiction with two climates.
Low-maintenance composites in grey tones resist the “weathered driftwood” lie I told myself about cedar. I’ve surrendered enough weekends to resealing. This modern deck ages like refrigerated butter, not forgotten brie.
Wrap-Up: Seasonal Refresh Ideas for Lasting Appeal
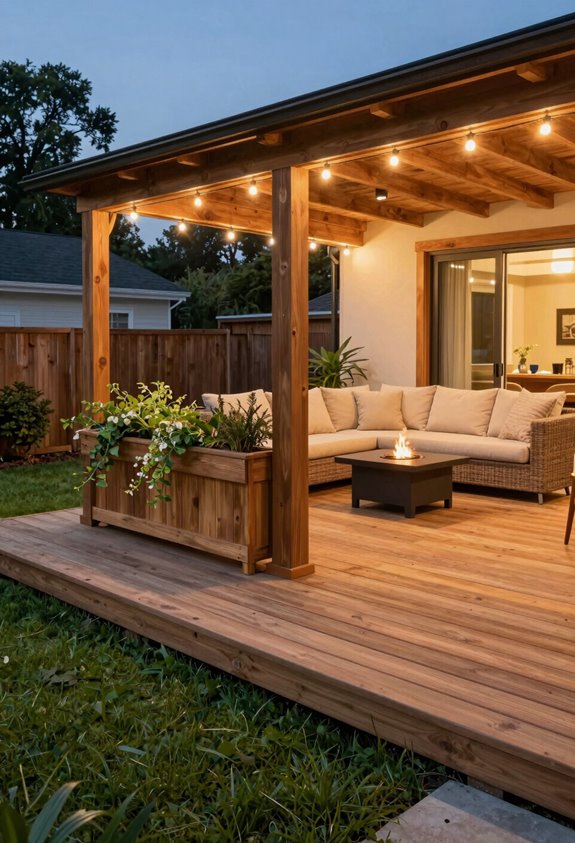
When exactly did my deck start looking like a “before” photo in its own right? I’ve learned that a seasonal refresh doesn’t demand wrecking balls; just rotation and vigilance.
| Strategy | Implementation |
|---|---|
| Swap textiles seasonally | Rotate cushions, throws, outdoor rugs twice yearly |
| Rotate plant accents | Use 12-16″ containers with zone-appropriate annuals; I pair coleus (Zones 10-11) with pansies for spring |
| Re-stain surfaces | Every 2-3 years, $45-80/gallon, 4-6 hours dry time |
| Rearrange outdoor furniture | New angles create fresh flow without spending |
| Schedule maintenance and safety | Check railings, lighting, non-slip strips biannually |
I confess: I ignored my cedar for four years until it grayed into something resembling driftwood’s ugly cousin. Now I calendar these tasks with my tax returns; equally painful, more rewarding. Your deck deserves belonging too.





