
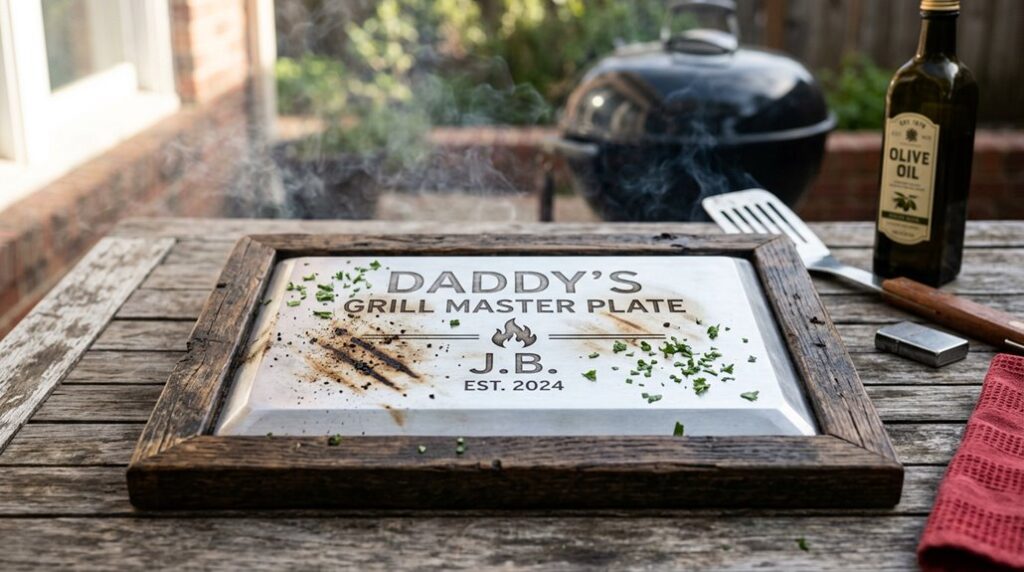
Like Icarus but with better heat management, I learned that 350°F cures handprint flames without the plate cracking, though my first attempt at 425°F produced a gorgeous explosion of ceramic shards. You’ll want 91% isopropyl alcohol, not that weak 70% stuff, and exactly 30 minutes in the oven if your grates are to survive a single dishwasher cycle.
The black enamel base? That’s where most folks botch it.
Your DIY Grilling Plate: Final Look and Timeline
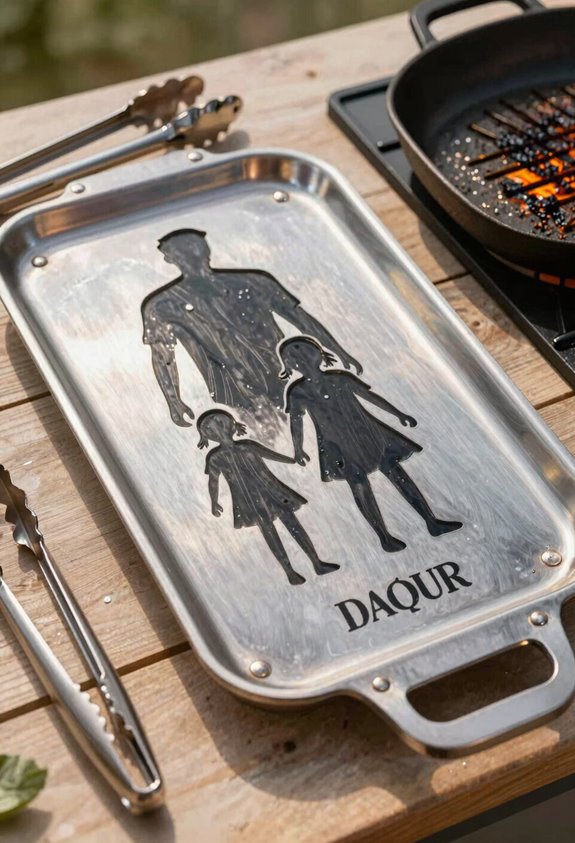
How does a slab of glazed ceramic transform into something that’ll make Dad actually use the phrase “I’m not crying, it’s just smoke from the grill”? You press those tiny handprints against glazed ceramic, add flame-shaped strokes that evoke his beloved grill, and suddenly you have Father’s Day Gifts that hit different.
I’ve watched this 10.5-inch plate come together: your kids’ prints become the fire, optional lettering personalizes the joke, and a wooden stand completes the display piece he’ll actually showcase.
Timeline matters though; those prints need 24 hours drying before you cold-start the oven, bake 30 minutes at 350°F, then let it cool gradually while you resist peeking. Hand-wash only afterwards; it’s keepsake, not dinnerware. The gorgeous result of sentimental craft, achieved.
Gather Your Grilling Plate Supplies: Dollar Store Finds
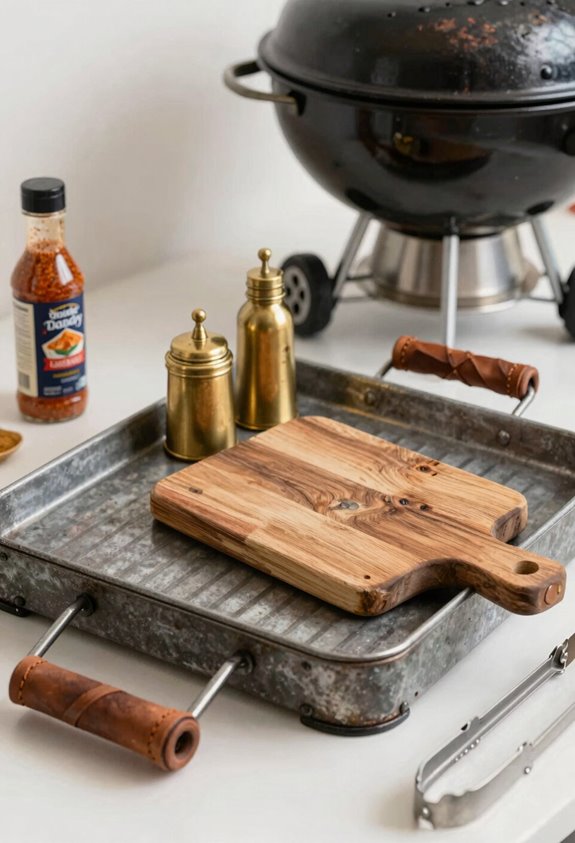
I’ll hit the dollar store first, where I’ve learned that a 10.5-inch glazed ceramic plate and basic brushes won’t run you more than four bucks total if you shop smart. You’ll want washable acrylics marked food-safe, not the cheap stuff that peels after one wash. I’ve made that mistake, and it’s a gorgeous exlawn of a finish.
Grab a wooden easel while you’re there; it’s three dollars well spent for displaying Dad’s handiwork without the plate sliding onto the patio stones.
Essential Kit Components
Where exactly does one find the makings of a sentimental Father’s Day gift without hemorrhaging cash at the craft store? I’ve assembled my essential kit piece by piece, and I’m walking you through it.
The star is a 10.5-inch ceramic plate, glazed and festooned with pre-printed grill imagery, complete with handprint zones for your little sous chefs. Mine came from Dollar Tree, though Walmart works too. It’ll live on a wooden display stand; let’s be clear, this ceramic plate never touches food unless you fancy serving a side of acrylic with your brisket.
You’ll snag two kid-certified washable acrylics, two brushes, and a mixing palette. The paints bond beautifully to glazed surfaces, and I’ve tested this, my three-year-old’s “abstract” fingerprint phase washed off my table but adhered to the plate flawlessly. Assembly takes twenty minutes; sentimental value lasts indefinitely.
Budget Shopping Tips
Why pay boutique prices when the discount aisle delivers identical results? I scored my ceramic canvas at Dollar Tree for $1.25, and you can too. The gardening section occasionally stocks oddly suitable pieces; terracotta-hued platters that mimic fired clay, though any smooth dinner plate works.
I’ve learned that rubbing alcohol ($0.99) beats fancy ceramic cleaners; its isopropyl content strips manufacturing oils without residue. For paints, I hunt oil-based enamel marked non-toxic, typically $2-3 per bottle in craft aisles. Avoid the temptation of premium brands; this gift doesn’t require them.
Budget thirty minutes for store-hopping, another hour for air-drying post-application. My first attempt cured at 350°F for thirty minutes; the plate survived, though I confess I forgot the oven timer and nearly created gorgeous exhaust. Dishwasher-safe? Eventually, if you’re patient.
Prep Your Plate: Clean It Right So Paint Sticks
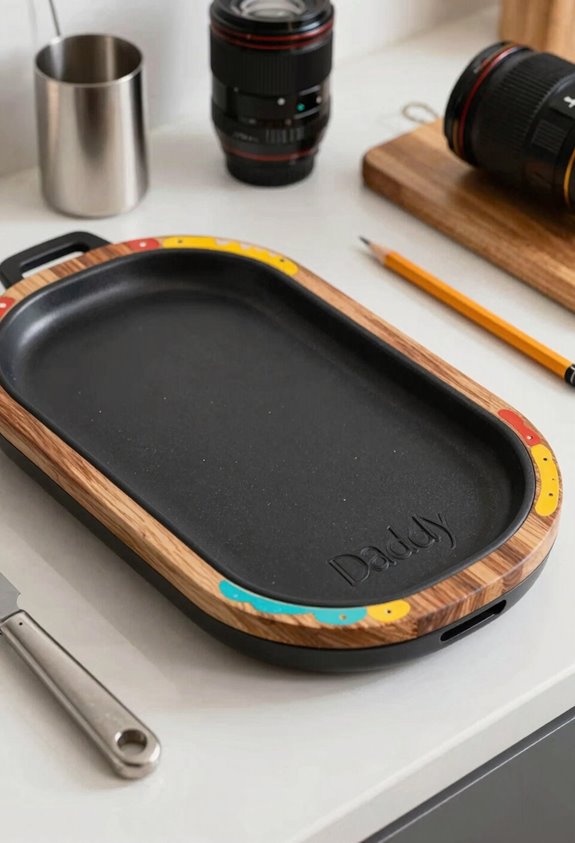
A clean plate is the difference between a keepsake that survives a decade of Father’s Day barbecues and one that flakes off before the charcoal’s even lit, so I start every grill plate with ninety-one percent isopropyl alcohol and a lint-free cloth, none of that watered-down seventy percent stuff that leaves enough fingerprint oil behind to sabotage your whole afternoon.
I wipe every inch in one direction, flip the cloth, and hit it again. Then I wait. Patience separates us from the weekend warriors who rush and ruin everything.
- Scrub with 91% isopropyl alcohol, not that seventy percent imposter
- Ditch paper towels; lint-free cloth only or you’ll chase fuzz for hours
- Dry time runs fifteen minutes minimum in my humid USDA Zone 7b garage
- Inspect against window light for lingering smudges you missed
- Confirm zero dust before you even think about cracking paint
A properly prepped plate bonds like family, tight, permanent, worth the wait.
Paint Handprint Flames: Turn Little Fingers Into Fire
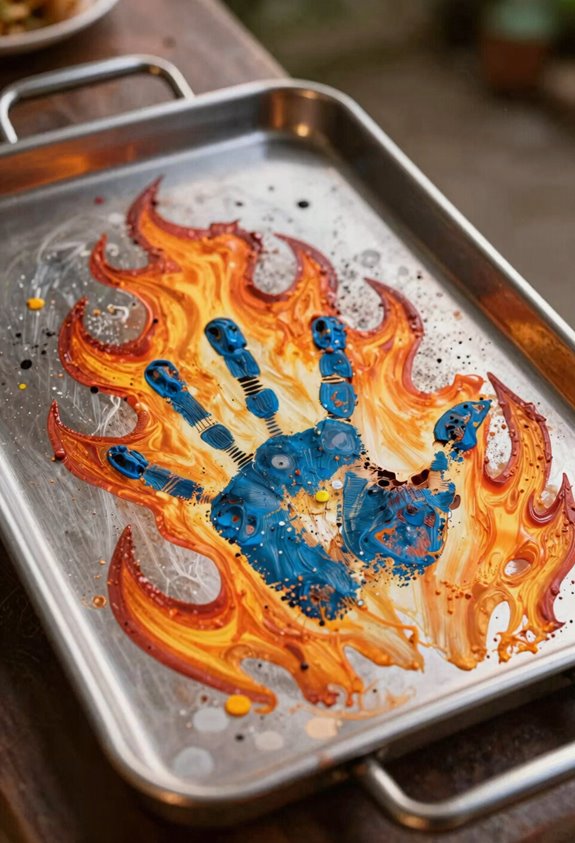
I’ll start by selecting enamel craft paint that’s food-safe and rated for dishware. I’ve learned the hard way that skipping this step means watching your gorgeous flame design peel like sunburned skin after the first wash. When I press my kid’s painted hand onto the plate, I keep wet wipes within arm’s reach because orange fingerprints migrate to upholstery faster than bindweed colonizes a garden bed, and I angle those little fingers upward so the print rises like a 6-inch flame lick rather than drooping like a drought-stressed coleus.
Once the red-to-yellow ombre dries for sixty minutes, no less, or you’ll hear the enamel crack like ice on a Zone 5 pond, I layer the black grill bars underneath, then bake the whole thing in a cold oven ramping to 350°F for thirty minutes to fuse a finish tough enough for the dishwasher’s daily deluge.
Choosing Safe Paints
Three coats of the wrong paint, and I learned the hard way that “non-toxic” on the label doesn’t mean “won’t peel off into the burgers.” For this project, I stick with enamel craft paint that’s explicitly rated 100% kid-safe: no vague assurances, no art-store guesswork.
Grab washable acrylics in flame colors: scarlet, tangerine, goldenrod. Swab the ceramic with rubbing alcohol first; oils kill adhesion faster than weeds in Zone 5 clay.
Let those tiny handprints rest 24 hours before anyone touches them. Cure properly: air dry one hour, then bake at 350°F for 30 minutes. Cool completely in the oven; thermal shock cracks more plates than my “gorgeous exlawn” experiments.
This finish survives dishwashers, skeptical fathers, and toddler enthusiasm.
Applying Handprints Cleanly
Where exactly do sticky toddler hands become controlled artistic tools? Right here, friend, with a little prep and a lot of patience.
I start by cleaning my plate with rubbing alcohol, letting it dry completely; skipping this step means your handprints peel like sunburned epidermis in USDA zone 9. I squirt bright enamel craft paint (red, orange, or yellow; about $2.99 per bottle) onto a paper plate, spreading it thinner than a miserly compost layer. I press each clean, dry hand firmly onto the grilling plate, five to ten seconds per impression; no wiggling, or you’ll get a smudged disaster resembling diseased petioles rather than flames. I add names in black paint afterward, then let everything air dry exactly one hour before baking. Gorgeous exlawn, right?
Creating Flame Effects
How do small palms become conflagration? I’m transforming my kid’s handprints into licking flames for this Father’s Day craft, and the effect is striking.
- Coat little hands in red, orange, or yellow paint and press them rising upward from the plate’s bottom edge
- Let the handprints air dry for one hour; patience now prevents smeared catastrophe later
- Paint a black grill grate beneath the flames so fingers appear to leap from below
- Add Dad’s name or the kids’ ages in black paint nestled within the flames for contrast
- Let the final glaze cure; it renders the piece top-rack dishwasher safe, not merely decorative
This grilling plate becomes heirloom, not dust-catcher. The botanical energy of those ochre digits against midnight grills? Gorgeous exlawn charm without the turfgrass maintenance. USDA zone irrelevance noted.
Add Grill Details: Black Paint Finishes the Design
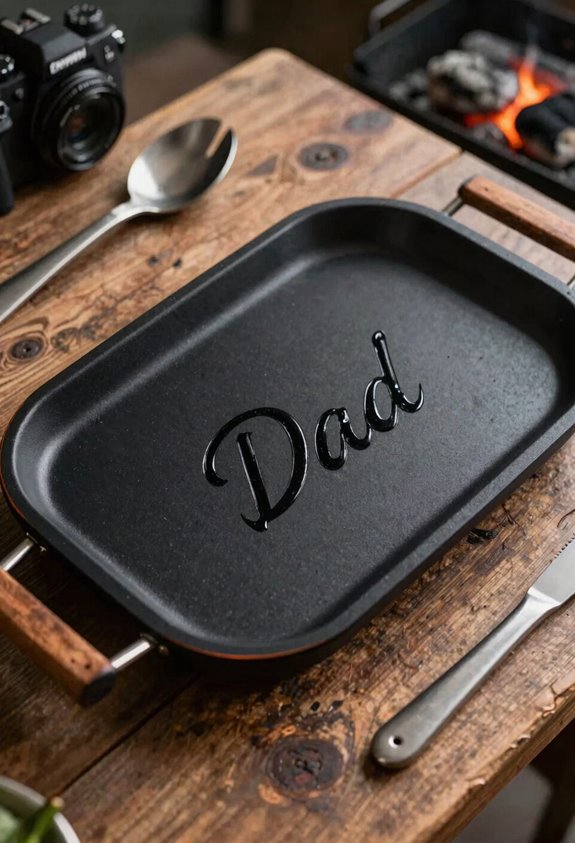
Now comes the part where we transform this colorful handprint chaos into something resembling actual cooking equipment, and I’ll admit I’ve botched this stage enough times to know what not to do. I grab black enamel paint, ceramic-safe, not craft acrylic, and paint horizontal bars beneath those vibrant handprints, creating grill grates that make the flames actually read as flames. I add names, ages, maybe “Dad’s BBQ” in my shakiest lettering. The contrast snaps everything into focus; suddenly it’s not toddler art, it’s a grilling plate.
I work thin, even coats; thick globs crack in the oven. This black layer needs about an hour of air drying before baking, though patience isn’t my strong suit. The finish won’t be food-safe, but it’ll look gorgeous displayed, hand-washed only.
Let Paint Dry: How Long Before Baking
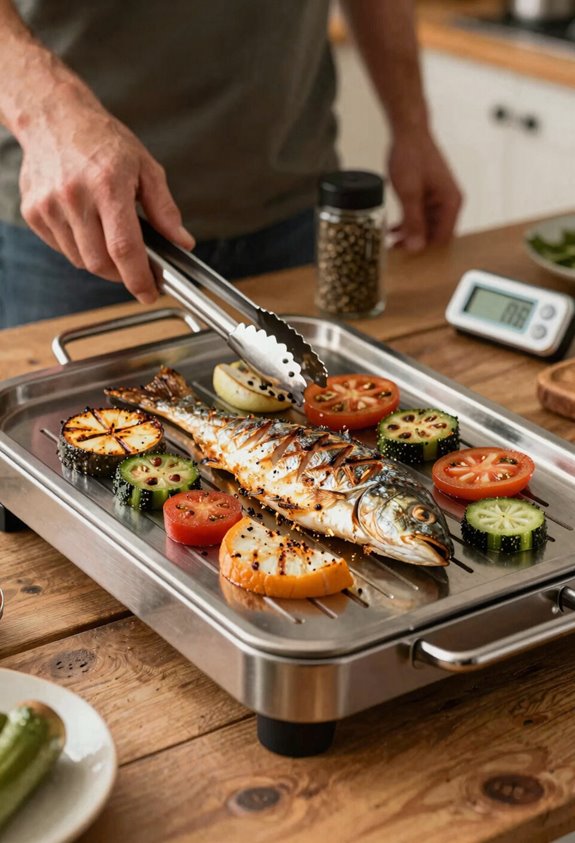
Several thin coats of black enamel sit glistening on that ceramic surface, and I’ve learned the hard way that impatience here costs you the whole project. I once shoved a plate into the oven after twenty minutes because my kid was napping and I thought I’d beat the clock. The design smeared into a gorgeous lawn of black streaks, and I started over.
Drying time isn’t negotiable, folks. We’re in this together, and I want your plate to survive the bake.
- Air dry 1 hour minimum before that cold oven goes on
- Footprint designs need 24 hours for full cure; experience has taught me this the hard way
- Sharpie method? Several hours, but 24+ is your sweet spot
- Completely dry means zero tackiness when you touch
- Proper drying prevents color smearing during handling
Bake Your Grilling Plate: Oven Settings That Cure Without Cracks
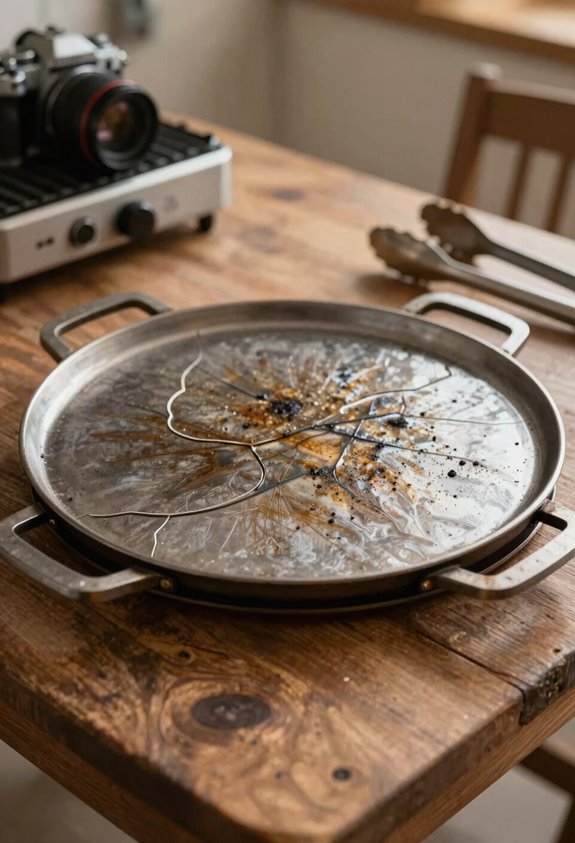
That plate’s finally dry to the touch, and I’m already itching to get it cured so we can move on to the fun part, actually using the thing. I’ve learned the hard way that rushing this step cracks your design, so here’s exactly how I do it.
| Step | Action |
|---|---|
| 1 | Place plate in cold oven, set to 350°F |
| 2 | Bake 30 minutes, then turn oven off |
| 3 | Cool completely inside, no peeking |
I never pull it out early; thermal shock ruins everything. This slow cure seals the paint properly, making your grilling plate top-rack dishwasher safe. I still hand wash mine; preserves that finish, but knowing it’s tough enough for the machine? That’s the good stuff. Patience here pays off.
Expect These 3 Color Changes When You Bake
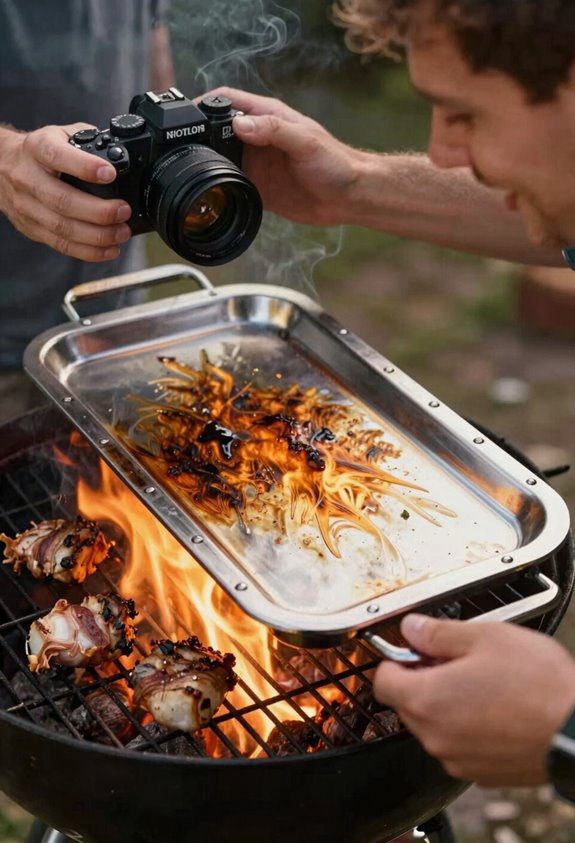
Why do I still get a little thrill when I pull open that oven door, even knowing full well what’s waiting for me? It’s the color changes, my friend, the Alchemy at 350°F that transforms our handiwork into something fired and finished.
I’ve learned to expect these pigment metamorphoses:
- Orange shifts to red-orange, like a marigold leaning into sunset
- Blue develops a green hint, the cobalt oxidizing its way toward verdigris
- Overall tones deepen and richen as heat cures the ceramic chemistry
These alterations happen because the paint’s molecular structure rearranges under thermal stress; nothing’s gone wrong, promise. If you’re matching your daddy’s alma mater colors exactly, test a spare first; I’ve learned that lesson watching my gorgeous exlawn scheme veer toward Christmas.
Care for Your Plate: Why Hand Washing Preserves the Design
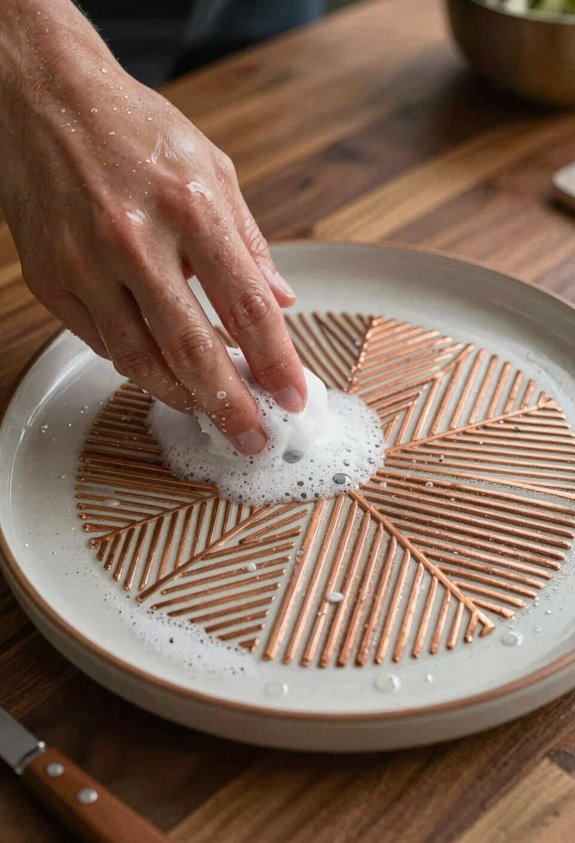
How exactly do you keep a handprint from becoming a smudge? I hand wash every plate, and I’ve learned it matters more than you’d think.
| Your Approach | What Happens |
|---|---|
| Gentle hand wash | Glaze stays intact, colors remain vivid for years |
| Dishwasher shortcut | Design erodes like my patience with aphids |
| Abrasive scrubbing | Handprint ghosts out, chipping begins |
The curing process locks in that artwork, but dishwasher cycles chew through finishes faster than slugs through tender seedlings. I skip harsh detergents entirely: mild soap, soft sponge, done. This plate’s display-worthy, not dinner-duty tough, so drying time matters too.
Let it cure fully before stacking. I’ve rushed it; don’t be me. Belonging means passing down something whole, not a faded reminder of what was.





