
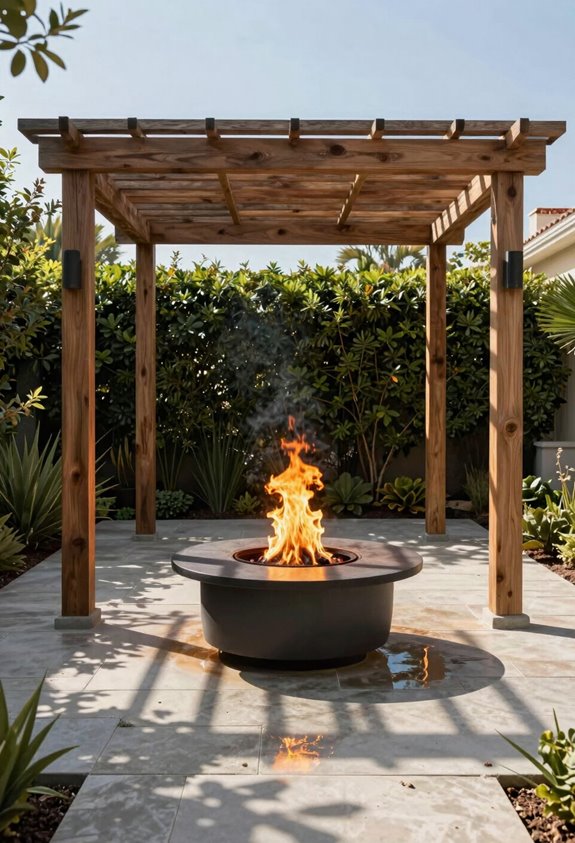
I’ve roasted marshmallows under my pergola in USDA zone 6b, and I’ll tell you straight: the answer’s yes, but only if you’re willing to math your way through BTU ratings like a paranoid accountant. My first attempt, a gorgeous exlawn moment with 150,000 BTU and exactly 83 inches of clearance, taught me that one inch of arrogance costs about $2,400 in charred cedar replacement.
Codes exist because fire behaves like a badly trained vine: it climbs whether you planned for it or not, and your local inspector has zero patience for botanical optimism.
Yes, You Can Build a Fire Pit Pergola: But Check Codes First
Although I’ve roasted more marshmallows under open sky than I care to count, I’ll confess that my first attempt at combining fire and timber frame ended with a very educational conversation with my county inspector. Turns out, your dream fire pit pergola demands homework before striking a match.
I learned local regulations and permits vary wildly; my gorgeous ex-lawn nearly became a citation zone. BTU ratings dictate everything: under 200,000 BTU needs 36 inches horizontal and 84 inches vertical clearance distances with ventilation through open-sided design; 200,000–400,000 BTU requires 50% open overhead using non-combustible materials; above 400,000 BTU, forget the pergola entirely.
Safety standards aren’t suggestions, they’re survival. My advice? Schedule professional consultation before buying lumber. Following codes saves both embarrassment and insurance claims.
Choose the Right Fire Pit Fuel for Your Pergola
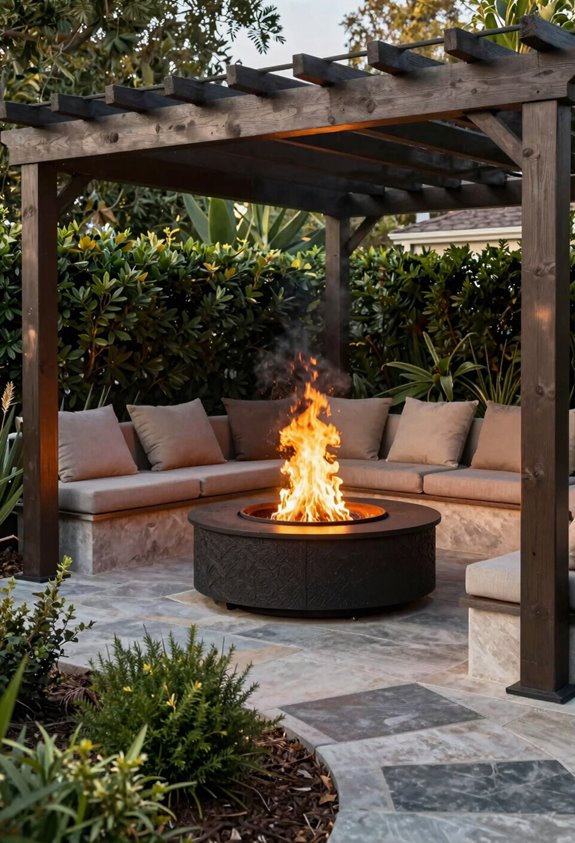
Precision matters when I’m choosing what burns beneath my cedar beams, and I’ve learned that fuel selection isn’t merely about ambiance; it’s about whether my insurance agent ever returns my calls. I’ve found that a gas fire pit keeps my pergola safer and cleaner than wood-burning fire pits, which my local fire regulations practically ban for any fire pit under pergola setups anyway.
When I checked safety codes for my fuel type, I discovered that ventilation and clearance requirements vary wildly. Some jurisdictions demand 10 feet of overhead space; others care more about BTU output. I always verify manufacturer specs against local fire regulations before committing. Portable options let me test what works under pergola conditions without building something permanent I’ll later regret.
Pick Heat-Resistant Materials and Proper Ventilation
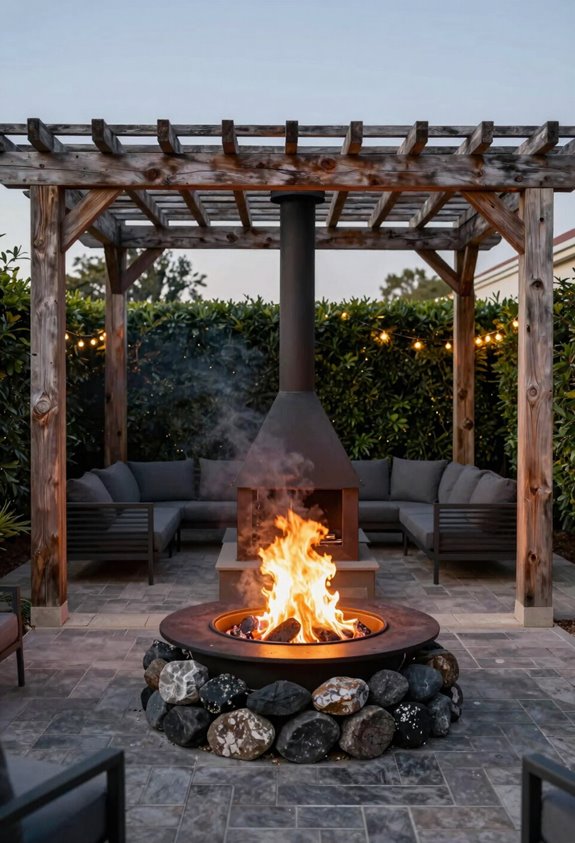
Once I’ve settled on gas over smoldering oak, I turn my attention upward, because a pergola that can’t handle heat becomes kindling faster than you can say “structural failure.” I’ve learned this the hard way: my first cedar overhead warped like a potato chip after two seasons above a 60,000 BTU burner, and the replacement cost me $2,400 plus a weekend of dismantling charred beams.
Now I insist on heat-resistant materials, aluminum, powder-coated steel, or non-combustible composites, for any overhead structure near a fire pit. Proper ventilation matters just as much: your pergola needs generous airflow, so I’m partial to open-sided designs with slatted ceilings that let heat escape. For anything pushing 200,000–400,000 BTU, keep 50% of that overhead area completely open, or skip the roof entirely.
- Swap combustible wood for aluminum or steel framing that won’t degrade under radiant heat
- Design open-sided structures with gap-toothed roofs so smoke and hot air rise unimpeded
- Match your airflow strategy to your BTU rating, more firepower demands more sky showing through
Set Safe Clearance Heights and Spacing
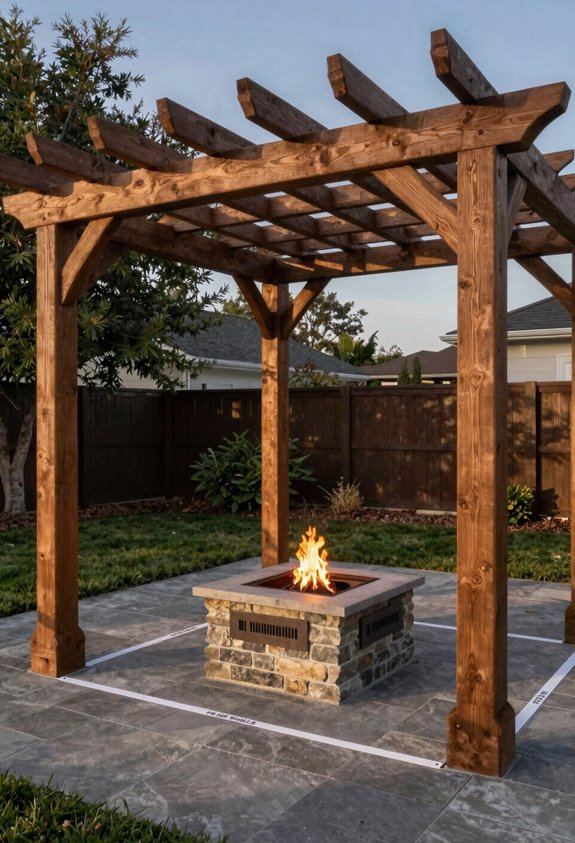
How high is high enough? I’ve learned the hard way that fire pit clearance isn’t negotiable when you’re building community around flames. For setups under 200,000 BTU, I maintain 84 inches of overhead clearance from burner to pergola height; that’s seven feet of breathing room. Push past 200,000 BTU and your overhead structures need 50% open ventilation with non-combustible materials; anything above 400,000 BTU kills the pergola dream entirely.
Horizontal spacing matters equally. I keep 36 inches of non-combustible buffer from burner edge to combustible clearances; no exceptions. Two open walls allow proper airflow, preventing that gorgeous lawn from becoming a smoke-choked regret.
These safety guidelines aren’t bureaucratic fluff; they’re the difference between gathering safely and explaining failure to your insurance adjuster. BTU limits exist because physics doesn’t negotiate.
Arrange Your Fire Pit Pergola Layout for Safe Gathering
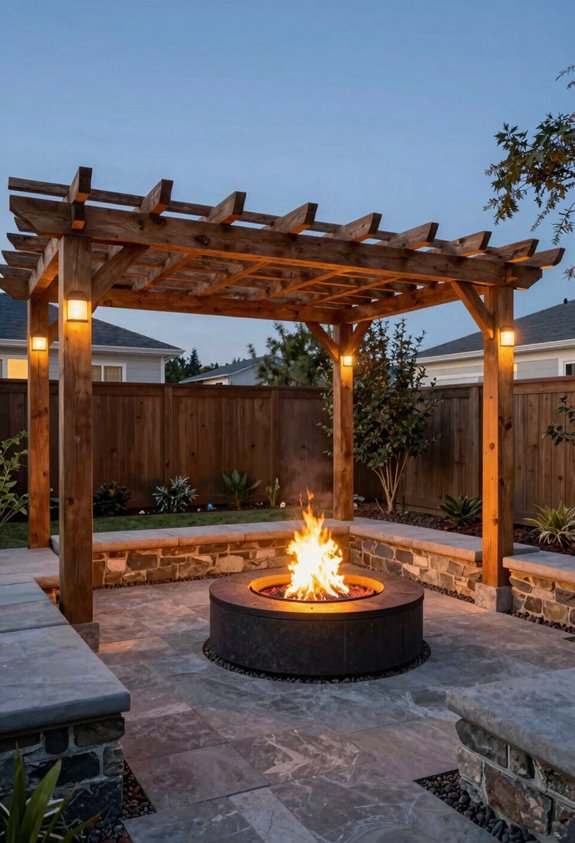
Getting the heights and materials right only gets you halfway to a gathering space that actually works. Now I’ve got to think about how people move through it without singeing their eyebrows or tripping into the flames. I position my fire pit under pergola setups centrally, leaving five feet of fire pit clearance for seated guests and ten feet from the house per setback guidelines. That gorgeous exlawn space needs protecting too.
My pergola layout safety depends on ventilation. I favor open-sided designs or confirm fifty percent overhead openness for burners between 200,000-400,000 BTU. Non-combustible materials like aluminum overhead and stone underfoot keep things from getting crispy.
I always verify codes and permits first, since HOAs love crushing outdoor living space dreams. Spark screens are my insurance policy against ember escapes.
- Check local codes and permits before lighting anything. My neighbor learned this after a $500 citation
- Install spark screens even with gas; they’re cheap peace of mind for safe gathering
- Keep seating outside the five-foot perimeter so nobody backs into flames unconsciously





