
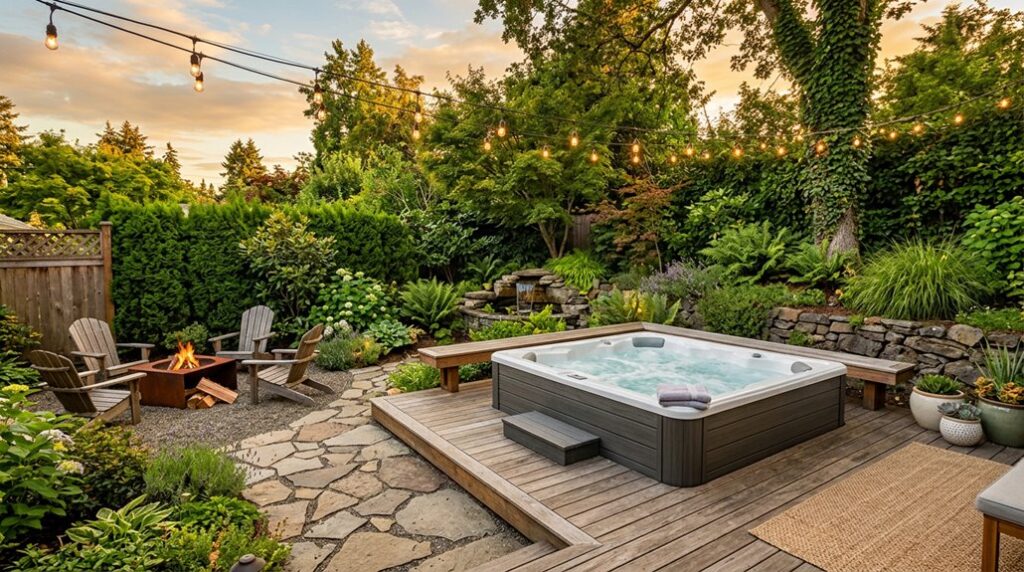
I’ve never proven that a hot tub’s placement matters more than the tub itself, but fifteen years of ripping out failed installations, my own included, suggests the theory holds water. In USDA zone 6, I sank $8,000 into a “perfect” sunken cedar design that rotted in eighteen months because I’d ignored drainage slope; now I start every project with a ¼-inch-per-foot grade minimum and a $300 permit.
The real trick isn’t the glamour shot; it’s whether you’ll still soak in February when your “privacy hedge” of Leyland cypress becomes a wind tunnel.
Choose Your Hot Tub Style Before You Plan the Build
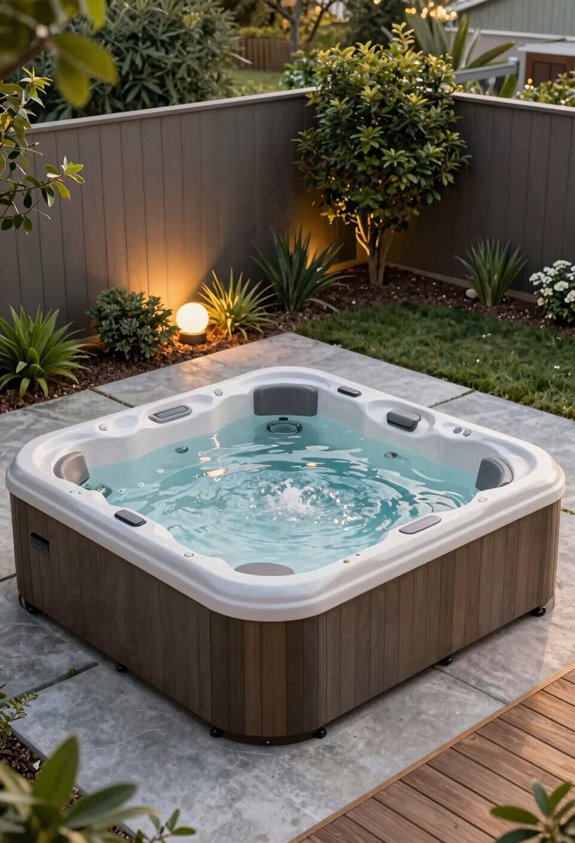
Before I pour a single bag of concrete or mark a deck board, I stop and ask myself what kind of soak I’m actually after, because that decision locks in everything else, from electrical runs to whether I’ll be cursing my past self through three feet of snow come January.
I’ve learned that hot tub design ideas fall into three camps: perched above-ground for that commanding focal point, a sunken hot tub that disappears into decking, or ground-level on concrete for utilitarian simplicity. MasterSpas units are self-contained marvels, same-day soaking possible with a solid surface and a licensed electrician handling that 240V, 50-amp GFCI electrical connection. Most contractors beg you to integrate during new deck construction rather than retrofitting later.
Your outdoor living space demands cohesion. I’m talking landscaping around your hot tub that flows into hardscape, perhaps a privacy screen of Thuja ‘Green Giant’ (USDA zones 5-9) positioned for winter windbreak and summer seclusion. Leave two to three feet clearance for maintenance access, learned that one the hard way, and make certain your pathway from house to spa won’t become an ice rink.
Check Access, Permits, and Feasibility for Your Yard
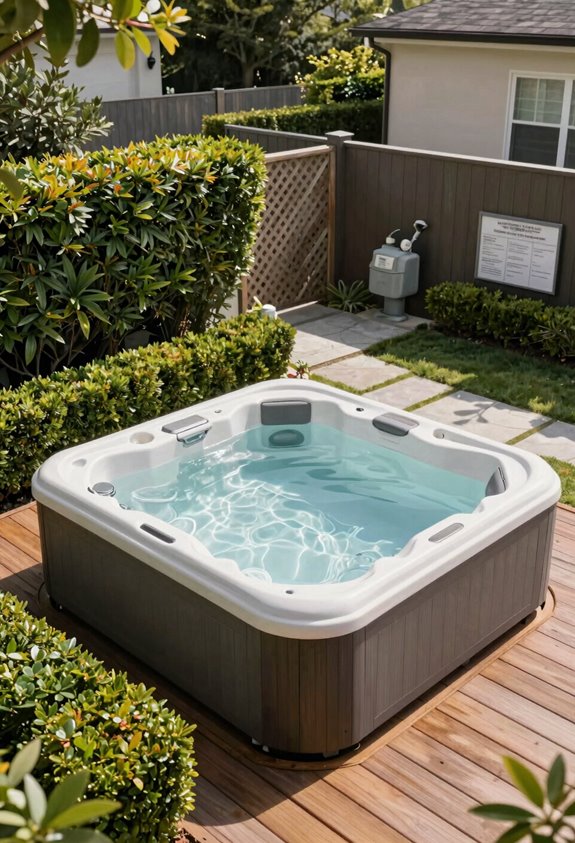
Once I’ve locked in that cedar-surround soaking vault or the utilitarian acrylic wedge, I immediately start measuring gates and cursing narrow alleyways, because a 500-pound dry shell won’t teleport through a 36-inch opening without me renting a crane that starts at $800 and climbs toward mortgage-payment territory if overhead wires complicate the lift. Access dictates everything, whether I choose a drop-in acrylic shell or a site-built cedar kit that arrives in manageable pieces.
I check local Regulations next: NYC DOB Permits often govern lot coverage, and my co-op board’s approval timeline can stretch months. Feasibility means mapping Electrical requirements per NEC Article 680; I’ll need a licensed electrician for that 240V circuit, and ensuring two to three feet of Clearance surrounds the tub for maintenance. Delivery day shouldn’t surprise me with impassable turns or buried utility conflicts I’ve ignored.
Run Electrical and Utility Lines Before Hardscape Goes In
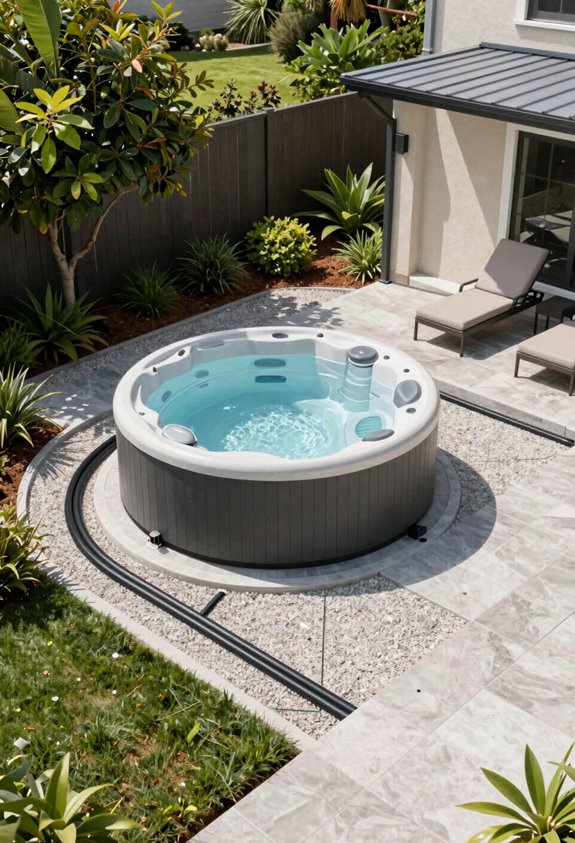
I always route my electrical and utility lines before a single paver goes down, because trying to trench through finished hardscape is a special kind of expensive mistake I’ve made once and won’t repeat.
You’ll want that licensed electrician to pull a dedicated 240V, 50-amp GFCI-protected circuit through a pathway with 24 to 36 inches of side clearance for future maintenance; you’ll thank yourself when the control panel throws a code at 10 p.m. in February.
Coordinate permits and HOA approvals early, too, since nothing kills a project timeline faster than discovering your gorgeous exlawn of Kentucky bluegrass now sits atop a web of conduit that should’ve been inspected weeks ago.
Strategic Utility Routing
Because I’ve learned the hard way that concrete has zero patience for second thoughts, I always tell folks to get their electrical sorted before a single paver hits the dirt. Your hot tub placement hinges on where that 240V, 50-amp GFCI-protected circuit can reach, and I’ve seen gorgeous ex-lawns shredded by retrofit trenching. Map utility routing from the main panel early, coordinating doorways and sightlines to minimize disruption.
I give myself 2–3 feet access clearance per side; you’ll appreciate this when the pump fails mid-winter. Check permit requirements and HOA rules before the electrician arrives. Outdoor electrical safety isn’t discretionary, and inspections have a habit of arriving unannounced.
| Planning Move | Why It Saves Your Sanity |
|---|---|
| Locate panel-to-tub path | Avoids crossing existing root systems |
| Mark future seating zones | Prevents cord-trip hazards |
| Snap inspection photos | Documents buried conduit for resale |
Code Compliance Essentials
Before you even think about flagstone patterns or cedar stain samples, you need to get your electrician on-site with a trencher and a permit application, because nothing kills a Saturday quite like discovering your 240V run needs to bisect the deck you just mortared in place.
Most hot tub installation projects demand a dedicated 240V circuit with GFCI protection installed by a licensed electrician who knows NEC standards inside and out. You’ll need that permit and inspection scheduled before you bury anything. Don’t forget maintenance access: leave two to three feet of clearance around the unit or you’ll be crawling through mulch to reset a breaker.
Skip the shortcuts; even plug-and-play models work better with proper hardwiring and solid advance planning.
Build a Base That Handles Tub Weight and Manages Drainage
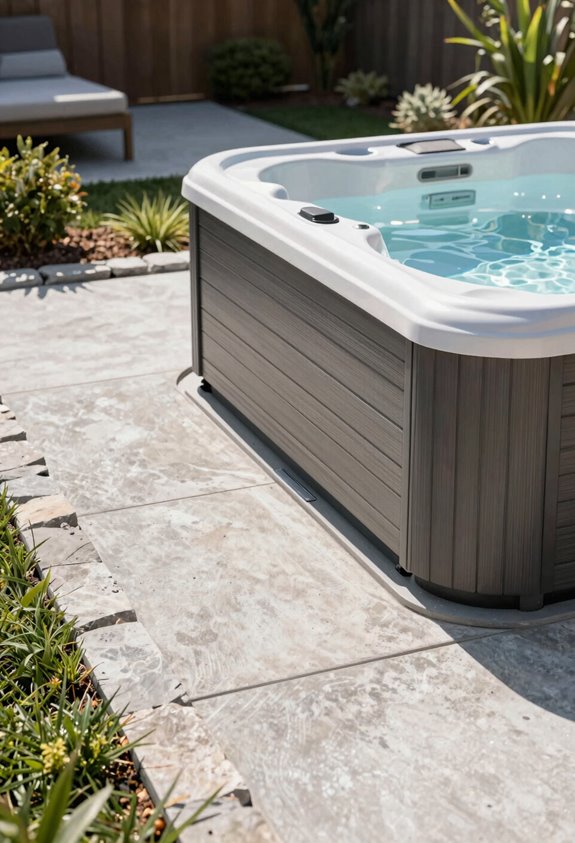
I’ve learned the hard way that a hot tub base isn’t something you eyeball and hope for the best. My first install settled three inches over two winters because I skimped on the sub-base, so now I insist on engineered solutions: your surface must handle 100 pounds per square foot minimum, shed water through a 2% grade or perimeter French drain, and give you 24 to 36 inches of clearance on all sides for filter changes and that inevitable pump repair at 11 PM.
Skip the structural assessment for an elevated deck, and you’re gambling with eight thousand pounds of water doing its best impression of a waterfall through your living room.
Structural Load Requirements
How much weight can your patio really handle before it turns into an expensive lesson in hydrodynamics? I’ve watched a gorgeous exlawn become a cracked disaster when a 4,000-gallon setup met inadequate base options.
Your structural load must hit 100 psf minimum; anything less courts settling and catastrophic failure. Let me walk you through what actually works:
- Pour a 4-inch reinforced concrete pad on compacted subgrade for ground-level permanence
- Layer compacted gravel with pavers if you’re after flexibility (but verify that 100 psf rating)
- Book a structural professional for elevated installations; deck support demands reinforced joists, beams, and footings they’ll calculate precisely
Drainage planning starts at this stage; slope everything away from your stable foundation. I’ve learned this from failures I won’t repeat.
Drainage System Design
Once you have the weight figured out, water becomes your next negotiation, and it will win every time if you do not plan for its escape. I learned this after my former lawn turned into a mosquito pond.
Base preparation means nothing without proper slope. I pitch every tub pad at 1/4 inch per foot minimum; anything less invites hydrostatic pressure problems. Your drainage must channel away from structures. I have seen 2,000-gallon floods undermine foundations over one soggy season.
Waterproofing is required on adjacent decking.
Site clearance matters more than you might expect. I leave 2–3 feet for drainage access and pump maintenance; crawling through mud to reach a filter is not my idea of relaxation.
Water drainage continuity drives my designs. I integrate tubs during deck planning; retrofitting nearly guarantees failure, and drainage problems are not minor issues when your pergola rots.
Surface Material Selection
Where exactly you park two tons of water matters less than what catches it, and I’ve buried enough failed bases to know the ground doesn’t forgive shortcuts. Your surface material choice determines whether you’ll soak in bliss or watch your investment sink, literally.
Here’s what actually works:
- Concrete pad – Pour 4-inch reinforced concrete for ground-level simplicity; it delivers base stability at roughly $6-10 per square foot and handles 100 psf without flinching.
- Stone pavers – Set compacted gravel topped with interlocking pavers; this breathable system manages drainage beautifully while supporting full tub weight.
- Engineered deck – Commission a structural engineer to design reinforced deck framing with proper footings, joists, and waterproofing for elevated installations.
Skip the shortcuts. Your future self, dripping wet, stepping onto solid ground, will thank you.
Position Your Hot Tub as the Backyard’s Natural Gathering Point
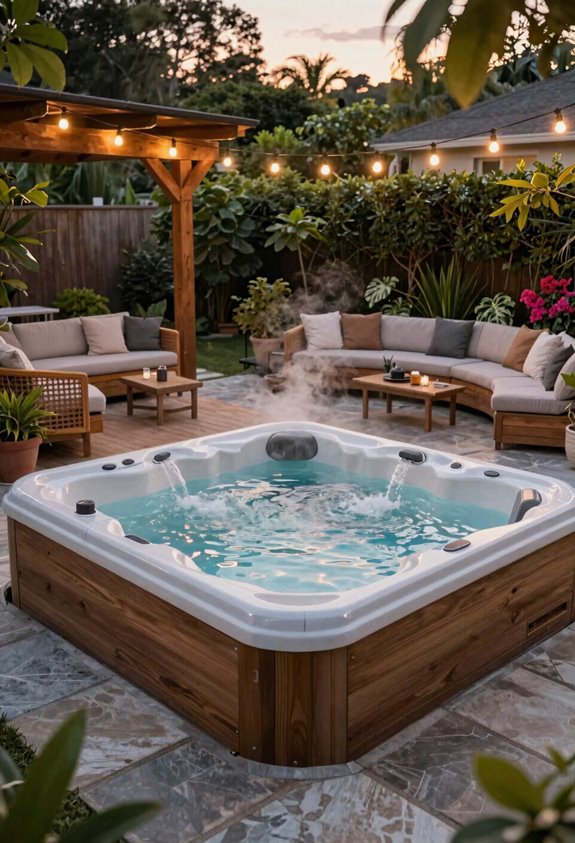
If I’ve learned anything from installing three tubs across two decades, it’s that a hot tub shoved against the garage becomes expensive lawn art, but one positioned with intention changes your backyard into something people actually use.
I always anchor my hot tub as the gathering point, nestling it between outdoor seating and a fire pit where conversations flow naturally. I leave three feet of circulation space on all sides: nothing kills a party like towel-clad guests playing chicken with a scalding corner. I align sight lines toward patio doors so the house feels connected, not abandoned. Matching decking to existing hardscape unifies the space, and I frame edges with soft grasses that maintain privacy without building a fortress.
The result is a backyard that actually gathers people.
Layer Evergreen Hedging for Year-Round Privacy
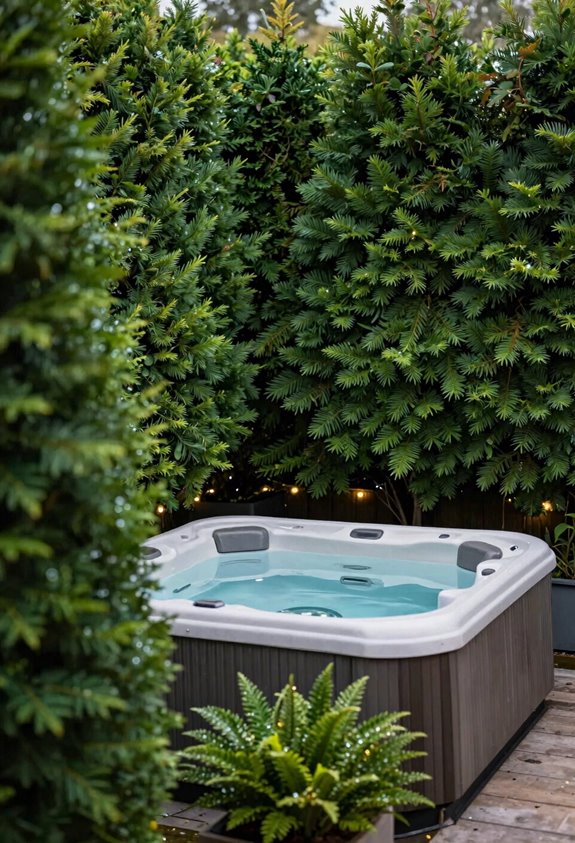
A gathering point only works if your neighbors aren’t rating your bathing suit choices from their deck, so I learned fast that privacy needs architecture just like seating does. I build year-round privacy into hot tub placement using layered evergreen hedging that doesn’t drop its guard in December.
Here’s my screen planting hierarchy:
- Schip cherry laurel or European hornbeam as your privacy screening backbone: dense, deer-resistant, 8-12 feet
- Boxwoods at 2-3 feet for formal structure around the spa terrace perimeter
- Maiden grasses interspersed for seasonal movement and softness against solid green
I calculate hedges height maintenance upfront; that 15-foot dream becomes a ladder nightmare. My mixed planting pairs loose textures with tight evergreens so you’re secluded, not imprisoned.
Leave Room to Move, Sit, and Socialize Around the Tub
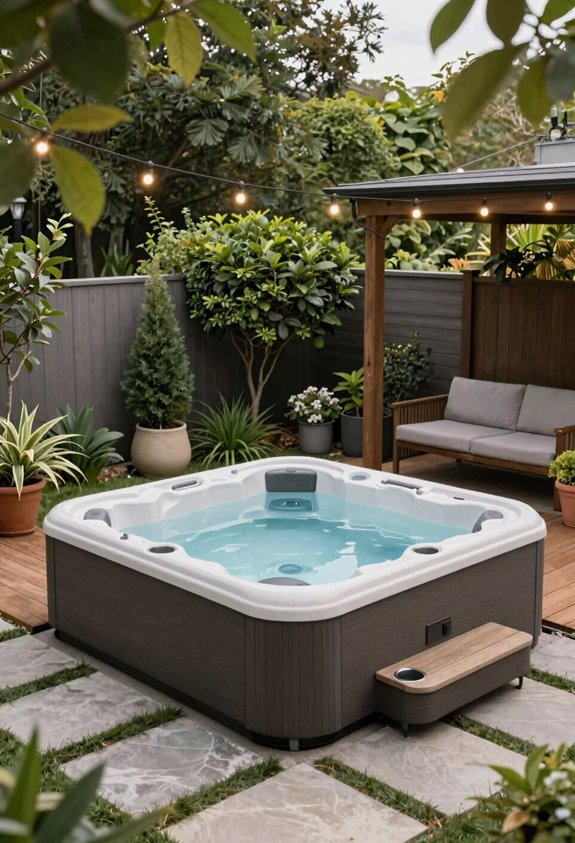
How often have I watched a gorgeous hot tub install collapse into choreography chaos because nobody measured past the acrylic shell? I always allow 30 to 36 inches of circulation space between the tub edge and any obstruction: towels spill, drinks tip, and three people climbing out simultaneously demand breathing room, not bumper-car constraints.
I thread pathways wide enough for safe night navigation, positioning outdoor seating and a distinct lounge area within conversational earshot but outside splash radius. Privacy screens frame without suffocating; I align sightlines toward kitchen doors so hosts remain anchored to gathering.
Storage and utilities, hose bibs, chemical lockers, towel hooks, merge into the hardscape perimeter, invisible until needed. Every square foot earns its keep; nothing ruins the vibe like tripping over your own infrastructure.
Built-In vs. Freestanding: Pick What Fits Your Space
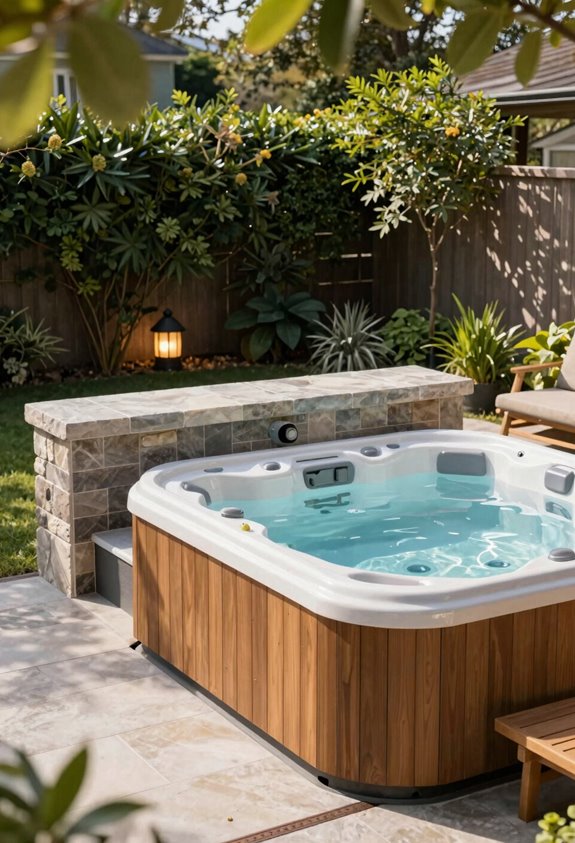
Where you plant that tub determines whether you’re sculpting the yard or parking an appliance, and I’ve learned the hard way that “portable” doesn’t mean “easy to hide.” Built-ins let me bury the mechanical bulk beneath bluestone and cedar, turning what could be a plastic island into terrain that actually belongs to the garden; think sunken configurations where the waterline kisses the deck boards, or L-shaped benches that turn the tub into a social corner rather than a lonely centerpiece.
For my Brooklyn garden, space planning meant choosing built-in over freestanding; the seamless integration with horizontal knotty cedar fencing and concrete pavers turned a 10-by-12-foot utility zone into our crew’s Thursday headquarters. Concealment isn’t vanity, it’s survival in tight quarters.
- Built-ins dodge crane drama in urban backyards where gate widths measure 36 inches.
- Freestanding wins when you’re renting or relocating within five years.
- Decking height around recessed rims determines whether you step down or tumble in.
Privacy plantings, hemlock hedges, zone 4 hardy, complete the enclosure; without them, you’re bathing in a fishbowl.
Cover Your Tub With a Pergola for Rain and Evening Light
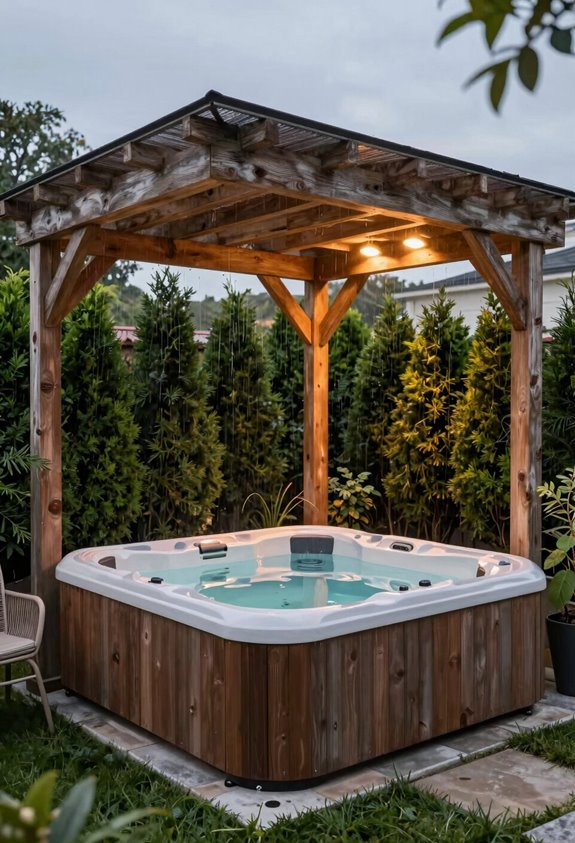
Why stop at soaking when you can soak *under something*? I learned this lesson after one too many rain-shortened soaks, and now I won’t install a tub without a pergola overhead.
A pergola transforms your outdoor spa area into genuine rain shelter; you’ll extend soaking season by months. I specify weatherproof cladding on at least two sides, paired with polycarbonate roofing or a tight lattice that blocks precipitation without trapping steam. For evening lighting, I recess LEDs into the crossbeams and weave string lights through; the ambiance beats any bathroom fixture I’ve owned.
I anchor pergolas directly into wood decking; cedar or teak framing resists moisture, though I always pressure-treat the posts. Add privacy screens or climbing clematis on trellis sides, and you’ve built something between structure and sanctuary. The neighbors see nothing; you see stars.
Soften Stone and Concrete With Grasses, Timber, and Layered Planting
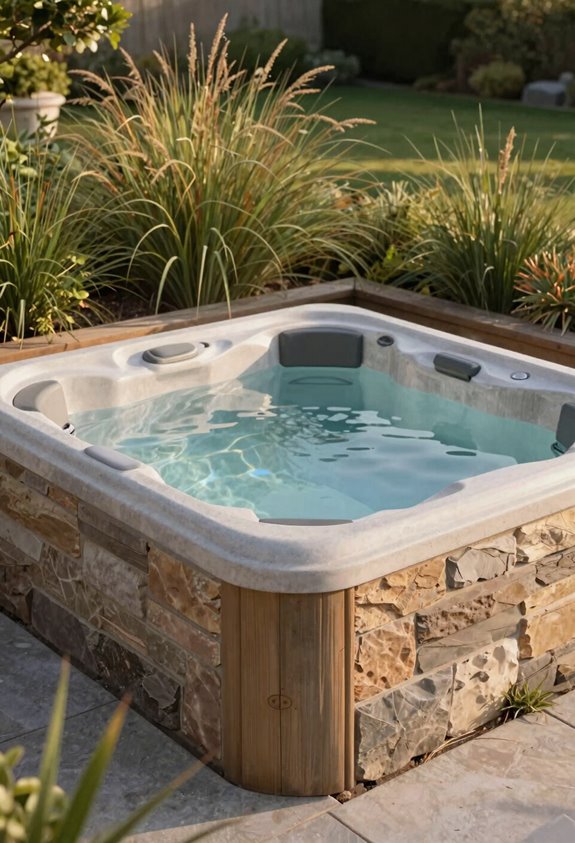
I like to pair natural materials in deliberate combinations, think ipe decking against poured concrete, or cedar edging framing a limestone surround, because the contrast keeps the eye moving without fighting the hardscape’s geometry.
For layered planting, I have wasted too many seasons on haphazard borders, so now I structure privacy in descending tiers: Schip cherry laurels and European hornbeam at the back (Zones 5–8, though I have pushed hornbeam to 6b with winter wind protection), boxwoods at chest height, and maiden grasses whispering against the stone at knee level. It cycles evergreen backbone with seasonal texture, and if you stagger raised beds at 18 to 24 inches high, you get that lush, secluded feel without blocking the view you paid for.
Natural Material Pairings
Stone and concrete will fight you every step of the way if you let them dominate a hot tub installation, which is why I’ve learned to weave in materials that actually want to be there. I’ve found three pairings that actually earn their keep:
- Cedar decking pressed against natural stone creates that cohesive transition my clients always ask about, warmth meeting weight without the awkward handshake.
- Ornamental grasses, my go-to is Miscanthus sinensis ‘Morning Light’, soften concrete’s glare while swaying through zones 5-9 for year-round privacy that doesn’t feel like a stockade fence.
- River stones packed around boulders at the tub base anchor everything; I learned this after my “gorgeous ex-lawn” erosion disaster of 2019.
The grasses move, the timber breathes, and suddenly you’re not soaking in a parking lot.
Layered Planting Strategies
Where exactly do you draw the line between “private retreat” and “botanical cage match”? I learned this the hard way after planting arborvitae too close and creating a green wall that felt like a hostage situation. Now I structure layered planting with purpose. Evergreen shrubs form backbone privacy screening against neighboring windows, while ornamental grasses, maiden grass especially, introduce movement that concrete can’t provide.
I pair these with denser Schip cherry laurels or European hornbeam to frame the tub tactilely. Native stone steps anchor the composition, climbing through raised beds arranged from low groundcovers to mid-height plantings. I specify drought-tolerant perennials suited to my zone 7b trial-and-error history, sustained by drip irrigation timers I’ve set to fail gracefully during vacation. The result: year-round enclosure without imprisonment.





