
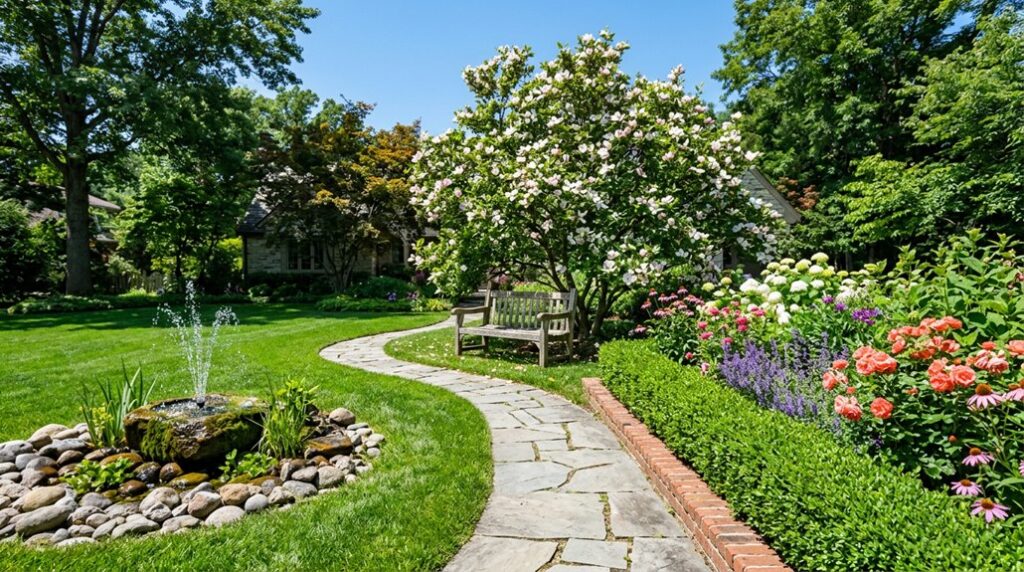
I’ve learned that instant curb appeal is mostly a polite fiction, but I’ve also discovered seven shortcuts that come remarkably close.
After converting my own “gorgeous exlawn”, a phrase I use with the bitterness of someone who’s reconciled three times with Bermuda grass, into something approaching presentable, I’ve catalogued what actually works versus what Pinterest promises.
The trick isn’t lavish spending; it’s knowing that a $23 galvanized stock tank from the feed supply in USDA Zone 7b planted with ‘Karl Foerster’ feather reed grass delivers more visual punch than $400 in terracotta.
I’ll walk you through the specific calculations: spacing at 24 inches on center, mulch depth at exactly three inches, path width at thirty-six inches minimum for comfortable passage, because I’ve measured the failures too, including the regrettable “statement shrub” I installed in partial shade that became a statement about my impatience.
Here’s what holds up.
Start With Container Gardens for Instant Color
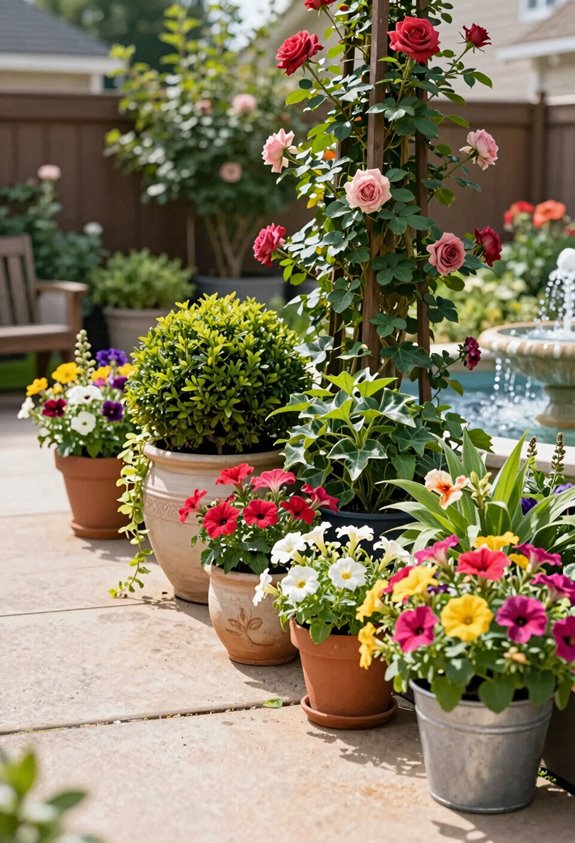
A few well-placed containers will transform your entryway from “meh” to memorable before your morning coffee’s gone cold. I learned this after wasting three summers on border plantings that nobody noticed from the street.
Container gardens deliver instant color without the commitment of digging beds. I arrange mine on porch steps flanking the front door, creating a visual runway that draws the eye. Mix annuals like ‘Profusion Orange’ zinnias (USDA zones 9-11, cheap annuals everywhere) with perennials such as autumn-blooming ‘Rozanne’ geranium (zones 5-8) for season-long rotation.
Use weatherproof pots; resin beats cracked ceramic after one freeze, and high-contrast colors against your siding. My beige house needed electric purple calibrachoa to register at all. Add rail planters or hanging baskets for layered impact; $40 total beats regrading your driveway.
Edge Backyard Beds and Refresh With Mulch
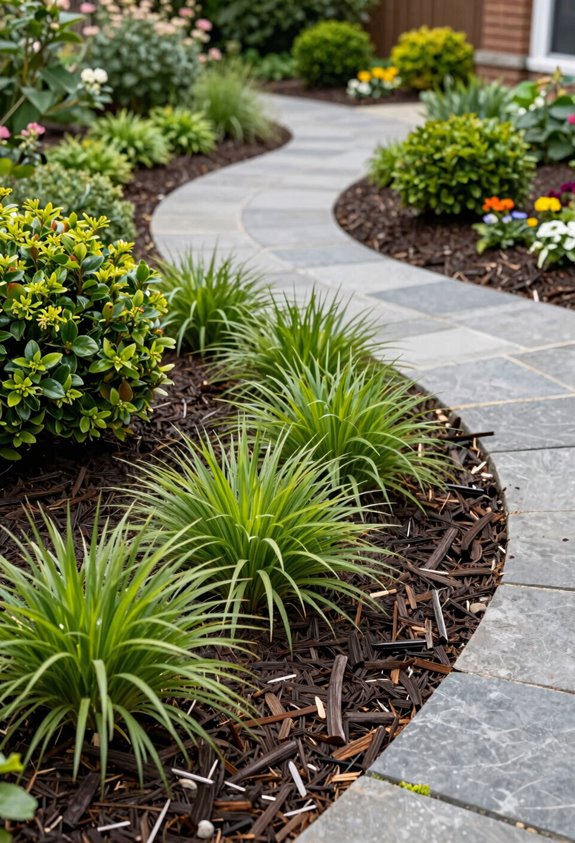
The sharpest container gardens in my neighborhood still looked half-finished until I tackled the beds themselves, where ragged grass lines had been creeping into my perennials like an invasive thought. I grabbed a half-moon edger, twenty bucks at any hardware store, and carved four-inch-deep trenches along my bed lines, tossing the severed turf into my compost like divorce papers. The crisp borders changed my yard from “gorgeous exlawn” to intentional landscape in under an hour.
Then came the mulch: two inches of shredded hardwood, declining to touch plant stems to prevent rot. I’d spread it in May when soil moisture still cooperated, suppressing weeds through August and cutting my watering by half. The refresh cost me sixty dollars and one Saturday morning, but now my beds look like they belong to someone who actually belongs here.
Plant Low-Maintenance Perennials for Lasting Color
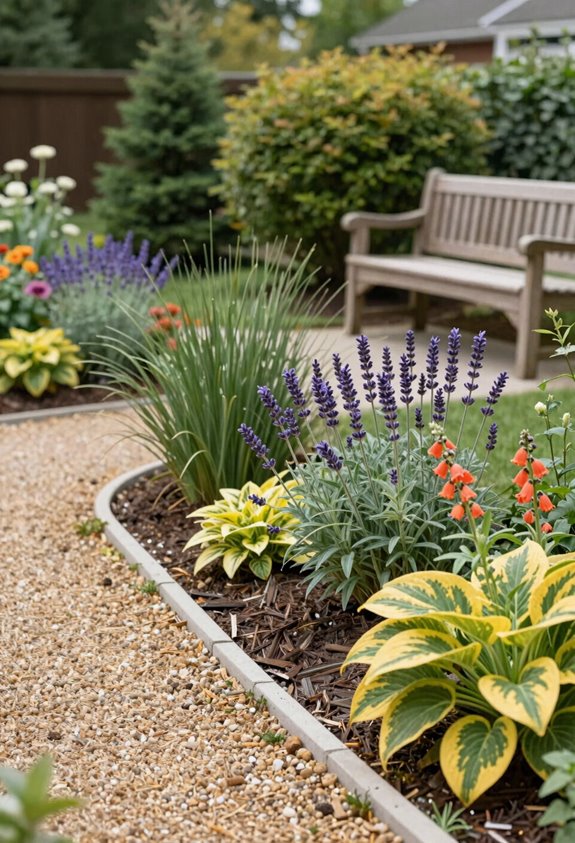
| Plant | Bloom Time | My Real Talk |
|---|---|---|
| Sedum ‘Autumn Joy’ | Aug–Oct | Ignored for 6 years; still performs |
| Shasta Daisy | Jun–Aug | Divide every 3 years or risk colonial takeover |
| Salvia ‘May Night’ | May–Jul | Hummingbirds mob it; I don’t deadhead |
| Black-Eyed Susan | Jul–Sep | Self-seeds everywhere; edit ruthlessly |
Odd-numbered clusters deliver that loose, we’ve-always-been-here look we crave.
Position a Focal Point to Anchor Your Layout
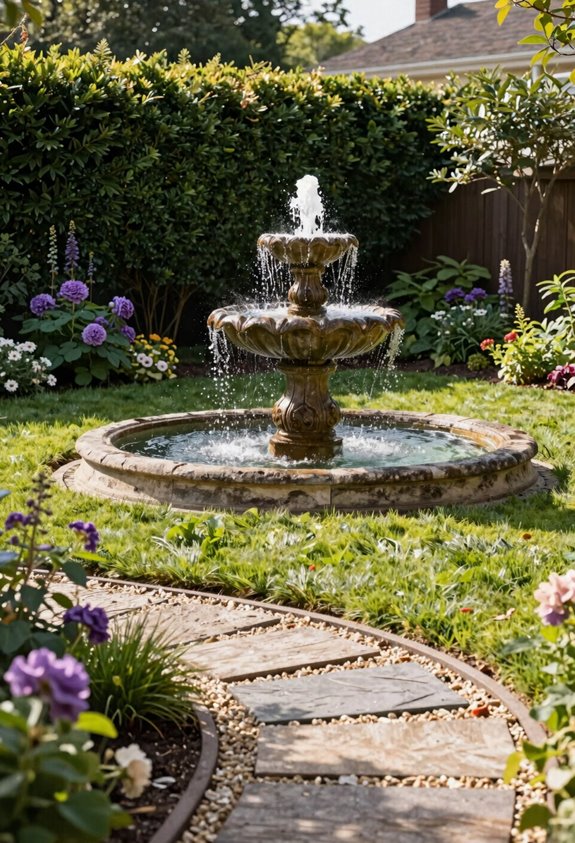
Once you’ve got perennials spaced in those stubborn threes and fives, your eye still needs somewhere to land, and mine kept wandering until I parked a $45 galvanized stock tank, painted matte black, filled with ‘Karl Foerster’ reed grass, dead center where my scraggly lawn used to die every August. That tank became my focal point, and suddenly my random plantings looked intentional.
You don’t need sculpture-gallery drama. A dwarf Japanese maple or ‘Prairifire’ crabapple ornamental tree pulls weight for decades with maybe twenty minutes of annual pruning. Container gardens ringed around your focal point let you shuffle color without breaking soil, and crisp mulch edges finished in one Saturday make the whole assembly look like you planned it. Odd-numbered clusters frame the center; even numbers look like airport parking.
Lay a Simple Backyard Path With Stepping Stones
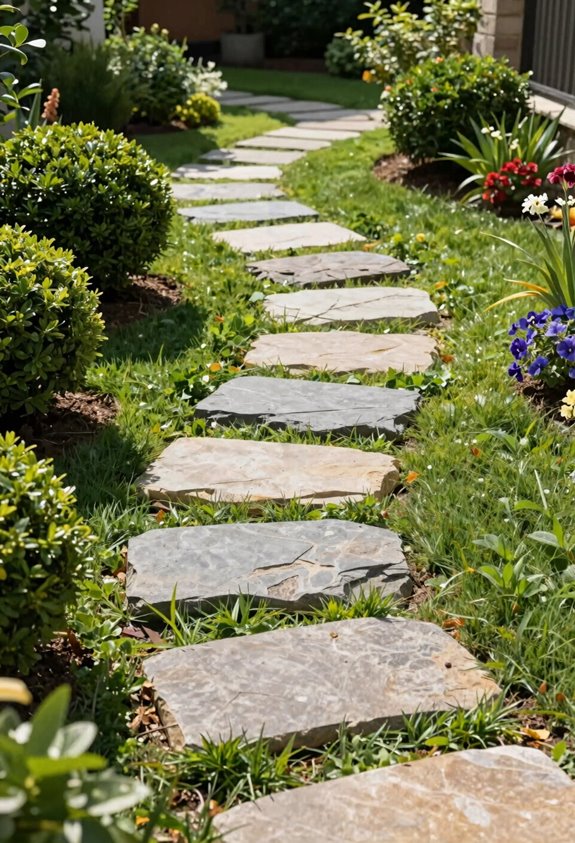
I learned the hard way that a straight shot from porch to shed looks like a service entrance, so now I carve curves that follow where my dog actually walks, which turns out to be the most honest landscape design feedback I’ve ever received.
I lay stepping stones about 24 inches apart, center to center, which matches my natural stride; anything closer feels fussy, anything wider demands hopscotch. I dig each hole three inches deep, tamp the base, and set the stone dead level with surrounding soil so I don’t catch the mower blade.
Between stones, I plant creeping thyme, USDA zones 4-9, which releases scent when bruised and never needs edging. My path now connects the porch to my raised garden beds in a gentle S-curve that frames the view rather than exposes it. I spent maybe $80 on salvaged concrete pavers and three Saturday afternoons, and the result feels less like a yard and more like somewhere I actually belong.
Add Soft Lighting for Nighttime Ambiance
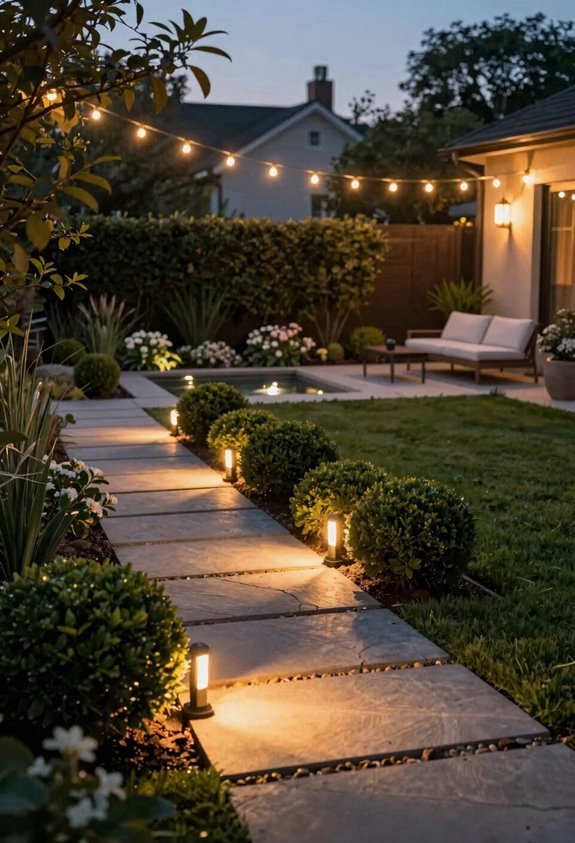
I’ve learned that solar path lights work best when you stagger them five to eight feet apart at roughly fourteen inches high, creating even coverage without that airport-runway look my first attempt produced. For something more whimsical, I weave fairy string accents through shrubbery where the tiny diodes catch dew at dawn, just be sure you’re buying outdoor-rated strands, or you’ll be replacing them after the first heavy dew.
Both options run under fifty dollars for basic setups, require no trenching, and throw just enough glow to keep guests from stumbling while avoiding that overlit “prison yard” aesthetic I accidentally achieved in 2019.
Solar Path Lights
Why stumble through the dark when a few well-placed solar path lights can turn your evening garden into something navigable? I space mine five to eight feet apart, fourteen inches off the ground, exactly where the packaging suggests and precisely where my first failed attempt taught me better.
Solar path lights deliver low-voltage outdoor lighting without the trenching disaster I wrought in Zone 7 when I tried wired fixtures. I alternate placement on opposite path edges, creating balanced pools of amber that delineate planting borders without the “runway” effect of matching sides.
Solar-powered stake lights slide into beds or lawns in minutes, charging by day and glowing reliably by dusk. The energy efficiency appeals to my bill-conscious neighbors; the maintenance-free operation appeals to my lazier self.
Fairy String Accents
Though solar path lights handle the ground-level work, I’ve found that fairy string lights claim the vertical territory where nothing else quite manages, wrapping porch rails and tree trunks in a glow that reads “intentional” rather than “leftover from Christmas.” I run mine on a dedicated low-voltage transformer; yes, the same one I buried too shallow in Zone 6 and had to re-trench after one hard freeze; spaced roughly twelve inches apart along the front eave, which throws enough amber light to navigate the steps without attracting every moth in the county.
Choose weatherproof, outdoor-rated options in warm white or amber. You’ll stretch the look of your yard from dusk without drilling holes in siding. Pack them away come November, and you’ve got a gorgeous exlawn that neighbors actually stop to admire.
Create a Backyard Seating Nook You’ll Actually Use
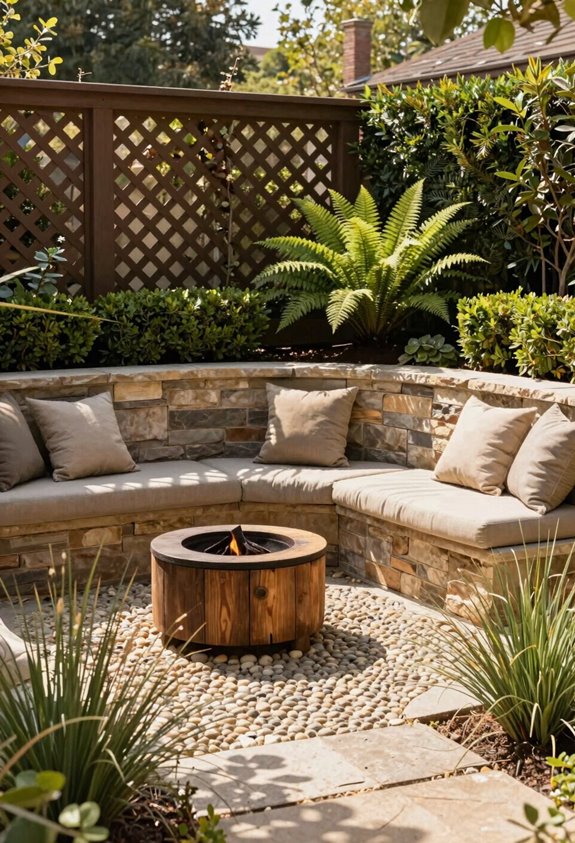
I’ll start by scouting a quiet corner, mine’s a 10-by-12-foot neglected bed (USDA Zone 6b, full shade after 2 p.m.) where I’ve planted nothing but regret, and anchor it with a $50 refinished cast-aluminum bench, three mismatched weatherproof chairs, and a stubborn birdbath that housed mosquitoes until I drilled proper drainage.
I arrange seating in threes, because pairs look confrontational and fours resemble a waiting room, then ring the perimeter with $15 solar stake lights that actually last about 18 months before the batteries surrender to my climate’s humidity. Add containerized color, ceramic pots at 16 inches minimum, nothing smaller dries out in July, and you’ve got a conversation pit that functions past dusk without the excavation guilt of permanent plantings.
Choose Quiet Corner
Where exactly does your yard feel ten degrees cooler or somehow hushed even when the neighbor’s mower’s running? That’s your spot.
I roll out a pathway with stepping stones, gravel, or pavers to create an inviting route that defines this quiet corner and adds visual interest. I build a cozy seating nook by adding a small bench or chairs, using weatherproofed outdoor furniture to withstand the elements. I use low-maintenance plants and container gardens to keep the area lively with minimal upkeep.
I incorporate strategic lighting, such as solar-powered stake lights along the path, to extend usability into the evening. I choose odd-number plantings; threes, fives, sevens; around the seating nook to create natural visual balance.
Add Comfy Seating
Why settle for patio furniture that looks like it belongs in a dentist’s waiting room when you can build something you’ll actually want to sink into? I learned this the hard way after wasting $400 on aluminum chairs that squeaked and seared thighs in July sun.
Comfy seating changes your outdoor space from a pretty picture into a living room without walls. I weatherproofed a $30 thrift-store bench with marine-grade sealant, three coats, 24 hours drying between, and it’s survived four Minnesota winters. Match cushion colors to your siding’s undertones; my sage green echoes the cedar shakes perfectly.
Mix seating types: one bench plus two chairs creates natural conversation clusters. Tuck everything near a Japanese maple or oversized planter for visual anchor. You’ll use this nook.
Include Soft Lighting
A seating nook without lighting is just a place you stop using at 7:47 p.m. when the mosquitoes win. I’ve learned this the hard way, so now I always install stake lights around my perimeter. Solar ones cost about $3 each at season’s end.
I supplement with a $12 string of LED globes draped through my low-maintenance plants. The sweet spot is 8-10 lumens; anything brighter kills the mood. Zones 5-8, I’ve had success with solar caps lasting three seasons.
| Light Type | Placement |
|---|---|
| Solar stake lights | Path edges, 6 ft apart |
| LED globe strings | Overhead, 7-8 ft height |
| Battery lanterns | Table center, 12-inch diameter |
| Uplights | Behind ornamental grasses |
| Timer stakes | Near seating, 4- hour setting |
I wired my last set wrong and fused the timer. Don’t be me; check polarity.





