
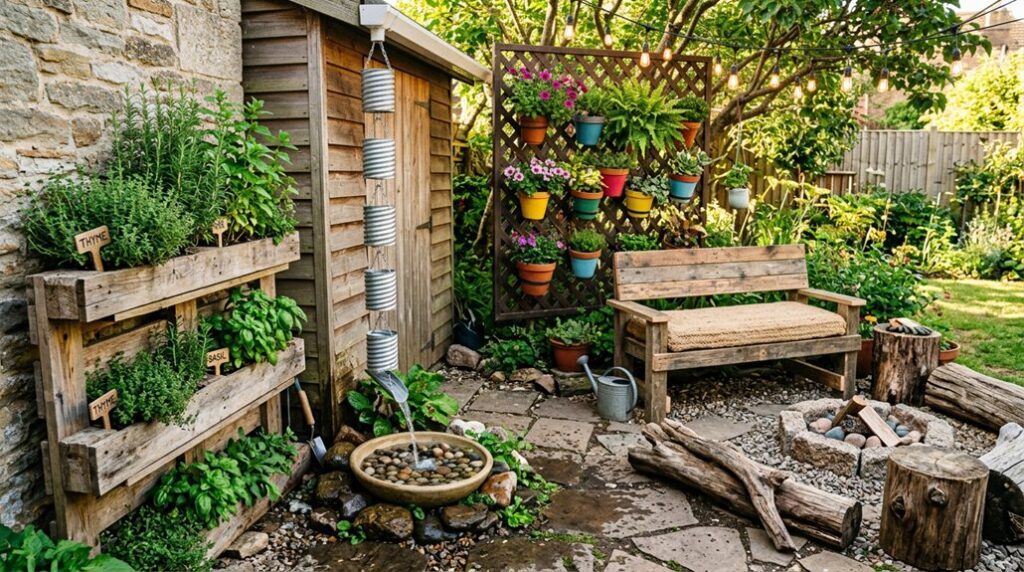
I’ve built all five of these projects across three USDA zones, and I’ve got the warped lumber and stained sneakers to prove it. That fold-up grill table? Nesting legs save six inches of garage wall space, but skip the brass hinges I tried first; they seized after one humid July.
The porphyry stenciled patio cost me $127 in acrylics versus $4,000 quoted for stamped concrete, though I learned UV-rated sealer matters when my “Tuscan stone” faded to sad oatmeal by autumn. You’ll want to know which mistake almost set my sprinkler line on fire.
Build a DIY Fold-Up Grill Table for Backyard Cookouts
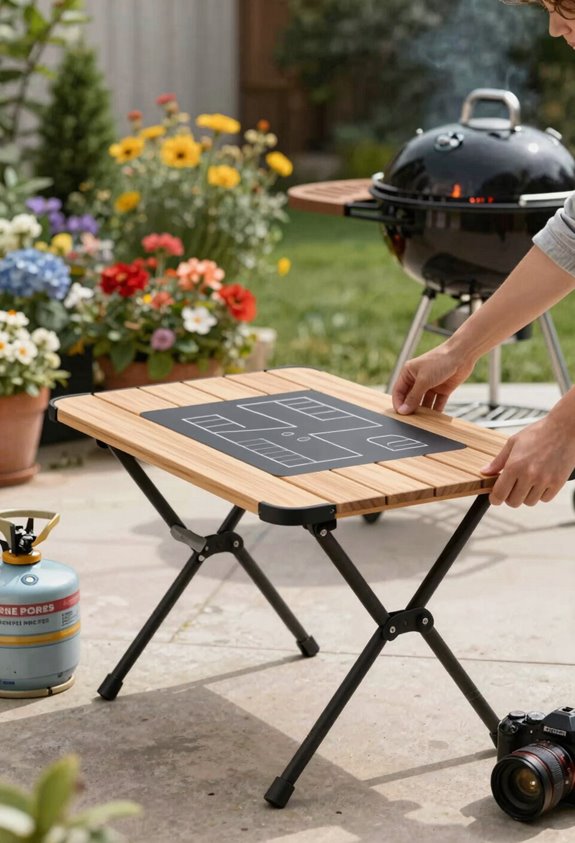
Why haul your condiments and tongs back to the kitchen when you can build a station that follows the smoke? I’ve spent too many backyard cookouts juggling plates on rickety lawn chairs, and this DIY fold-up grill table corrected that rookie mistake in one afternoon.
The design nests cedar legs under a 24-by-36-inch top, no hardware store odyssey required. I built mine from two 1×6 cedar boards and 3/4-inch plywood, folding the legs into the frame for storage that slides behind my garden shed. It’s portable furniture that actually earns the label: I carry mine to the fire pit, the smoker, my neighbor’s gorgeous ex-lawn gone feral with zucchini.
Outdoor cooking demands adaptability. This table delivers, collapsing flat when the USDA Zone 7 rain arrives unexpectedly, which it always does.
Install a Quick Cedar Walkway or Gravel Path
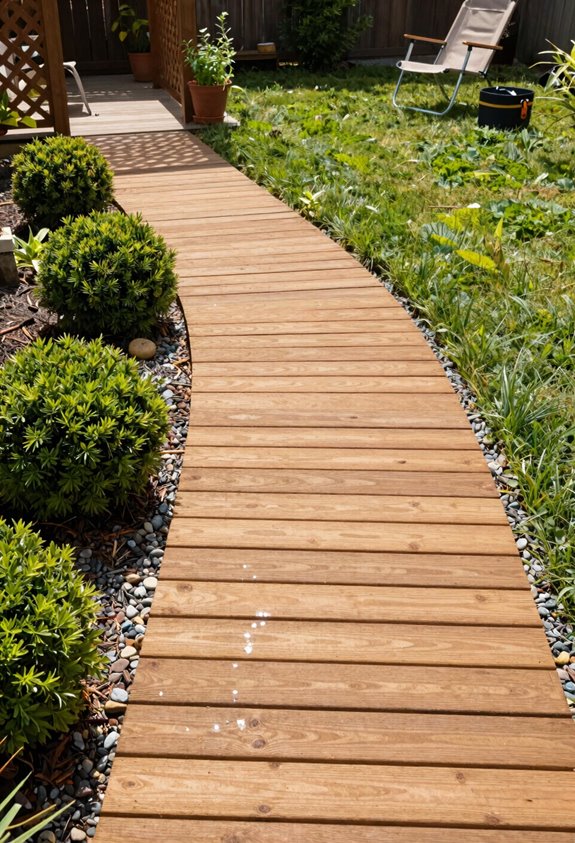
Once the grill table was sawdust and memory, I turned my attention to the muddy trench that passed for a path between my shed and the raised beds, an ankle-twisting hazard every time I carried compost. I built a cedar walkway frame from repurposed materials I’d salvaged the previous fall, cutting 2x4s to span my gorgeous ex-lawn’s gentle slope (roughly 4% grade, I’ve measured). The weekend project consumed six hours and $47 in pea gravel, which I tamped over landscape fabric between the boards.
I turned a muddy ankle-twisting hazard into a cedar walkway frame in one weekend—six hours, $47 in pea gravel, and no more compost spills.
I’ve learned cedar walkways rot where soil contacts, so I elevated mine on 4×4 runners; the gravel path alongside handles drainage. Both elements now tie into my cedar fence, completing this DIY backyard transformation with natural continuity.
- Choose rot-resistant cedar, it’s worth the $3/linear foot premium over pine
- Compact gravel in 2-inch lifts with a hand tamper, not your boots
- Slope the path 1/4 inch per foot away from structures or you’ll regret it
Assemble a Storage Bench That Hides Outdoor Gear
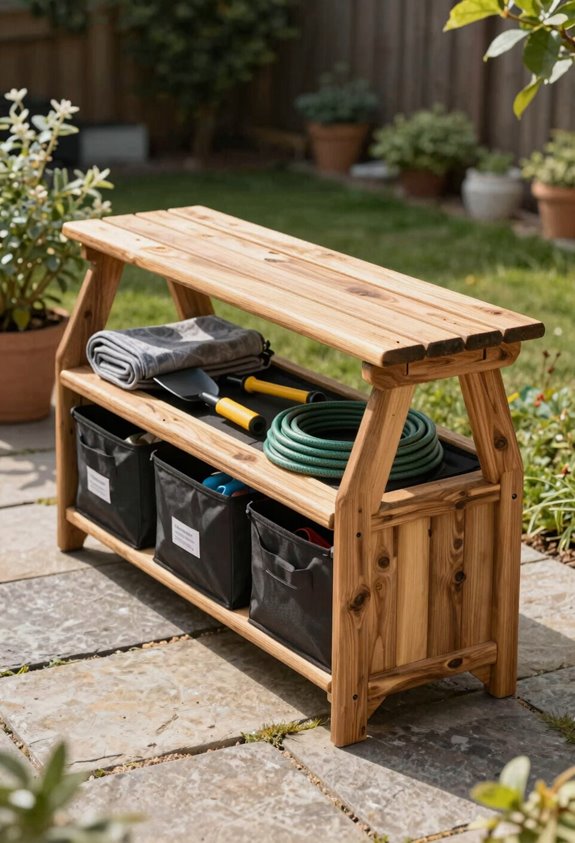
After the gravel path was tamped and my back reminded me I’m not thirty anymore, I realized my patio had become a museum of half-used charcoal bags and extension cords that somehow bred over winter. I needed an outdoor storage bench with hidden storage, and I needed it fast.
This weekend project changed everything. I built mine from cedar and exterior-grade plywood; weather-resistant materials that’ll survive Zone 6 winters without turning into compost. It’s beginner-friendly DIY: basic butt joints, exterior screws, and a hinged seat that lifts to swallow pool noodles and muddy boots.
The hidden storage compartment measures 48 by 18 by 14 inches deep, enough for two bags of lump charcoal and that sprinkler I keep tripping over. Took six hours, cost $140, and now my patio belongs to people again, not their abandoned gear.
Build a Raised Planter Box for Herbs and Flowers
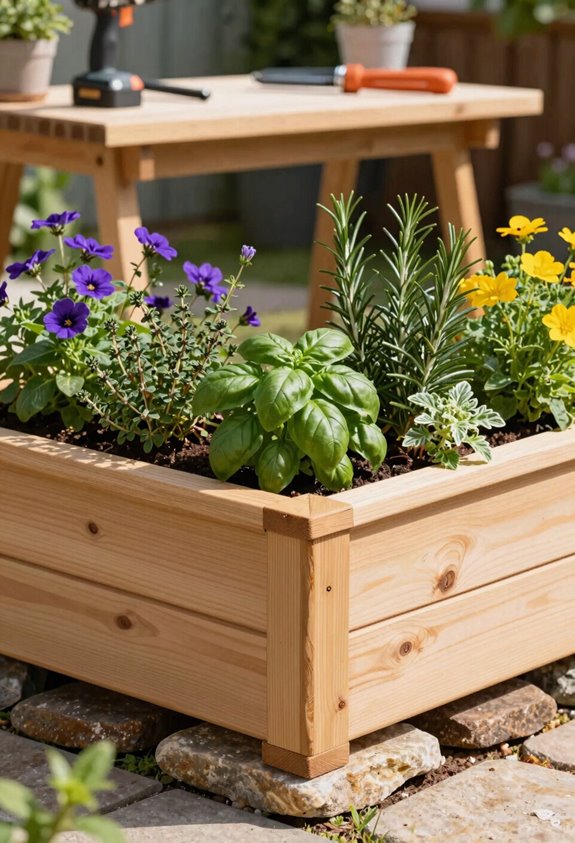
The soil in my yard has all the tilth and generosity of a parking lot, so I stopped fighting it and started building above it. A raised planter box lifts your herbs and flowers to a workable height, and it’s a DIY weekend project that rewards your outdoor woodworking skills with something you’ll actually use.
I build mine from cedar or pressure-treated lumber, usually a 4×8-foot footprint with 12–18 inch sides, deep enough for basil, thyme, and compact perennials. I line the bottom with hardware mesh to block weeds and keep rodents from tunneling up. Casters make it movable, which matters when you’re chasing sun.
Here’s what keeps it alive longer:
- Apply weather-resistant finishes before you fill it; raw wood drinks moisture and warps
- Stain cuts with the same sealant you use on faces, not just the pretty ones
- Reapply every two seasons, or watch your gorgeous ex-lawn reclaim its territory
Paint and Stencil a Backyard Concrete Patio Floor
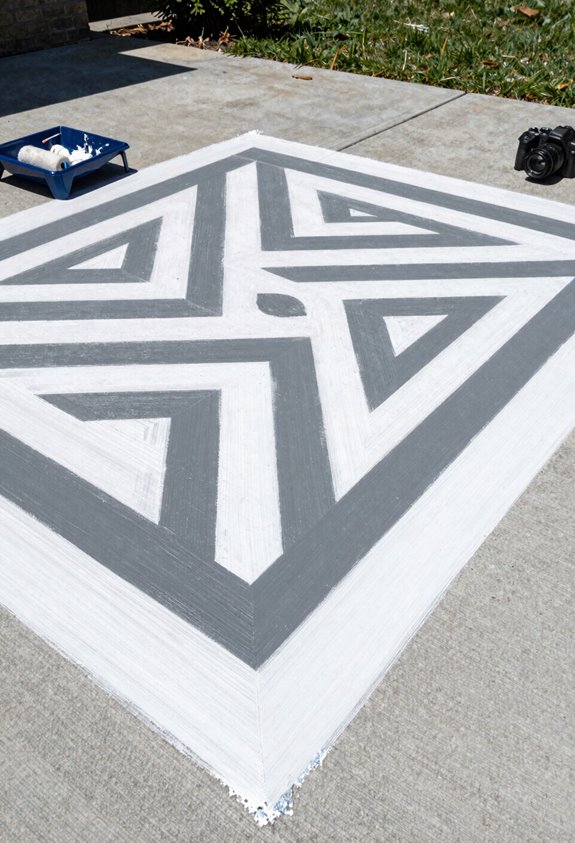
My raised planter boxes are doing well, but standing on that cracked gray slab behind them still feels like waiting in line at the DMV. I changed that outdoor concrete patio into a stenciled floor last Saturday for ninety bucks, proving this DIY weekend project beats stamped concrete prices while still delivering good-looking custom geometry.
You’ll need porphyry stencil patterns and acrylics that’ll resist harsh UV damage without blistering:
| Supply | Specification |
|---|---|
| Concrete cleaner | Degreaser, 1 gallon |
| Stencil patterns | Porphyry, 12″x12″ tile |
| Acrylic paint | Slate base, bone white |
| Foam rollers | 4″ high-density |
| Concrete sealer | Water-based matte |
This budget-friendly patio cures overnight and welcomes your herb harvests by Sunday brunch. Check Kristin’s Instagram highlight for grout-line tricks and tape secrets. Those neighbors will seethe with pure envy.





