
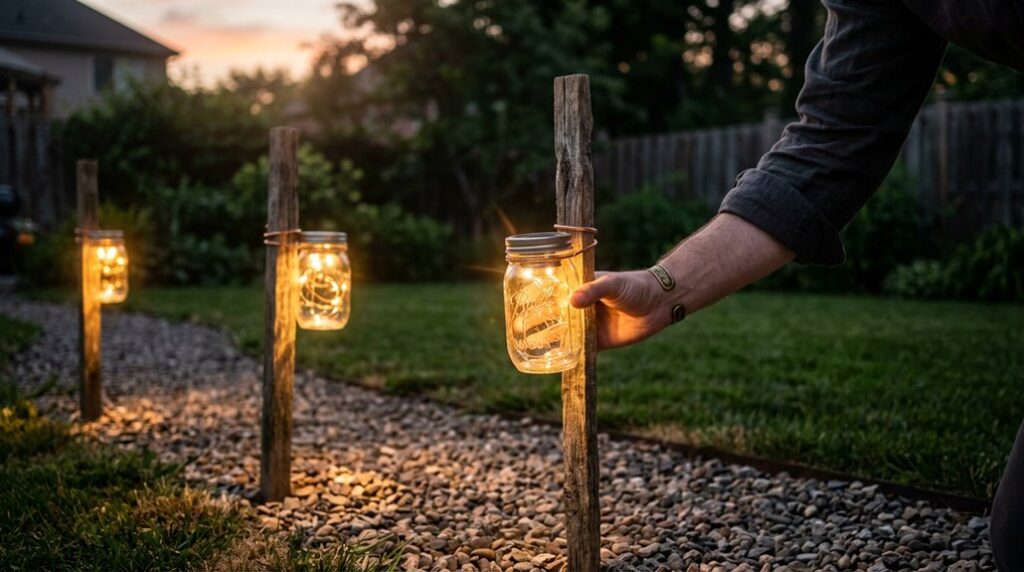
I’ve killed enough cheap solar path lights to know the garden deserves better than landfill fodder. My current setup, two 10-watt panels, a salvaged MPPT controller, and a 35 Ah AGM battery, keeps my Heuchera beds lit through three cloudy days in Zone 6b.
The math really matters here: 240 watt-hours daily becomes 480 when you double for winter insolation and battery degradation. I’ve watched 17-volt open-circuit panels sag to 12 under load, which taught me why MPPT controllers matter when your wiring runs longer than thirty feet.
The real trick isn’t sourcing components; it’s accepting that your first battery will probably die young, overcharged or undercharged, because you skimped on the controller.
Calculate Your Daily Power Needs and Component Sizes
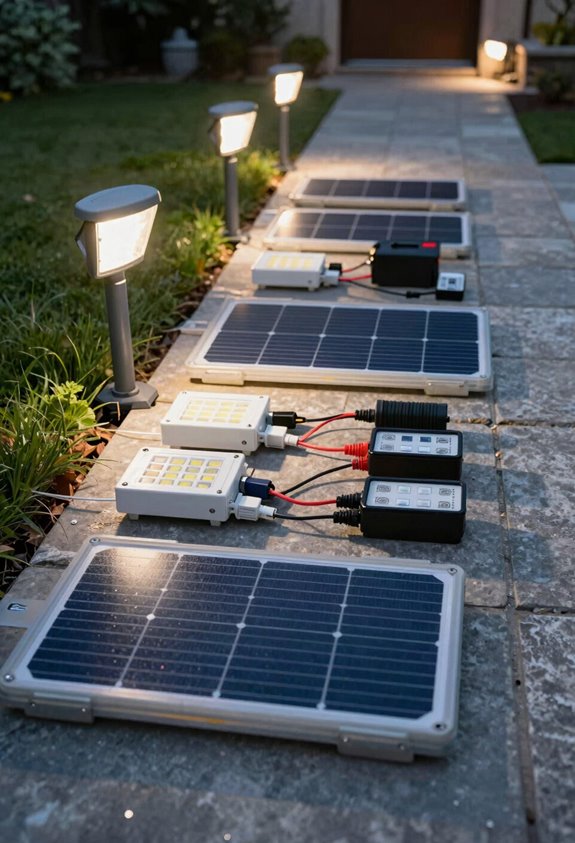
Where do we even begin when the sun’s generosity feels so fickle? I start with daily power needs for my solar lighting, calculating watt-hours for two 10 W LED lights running 12 hours, that’s 240 Wh/day, though I double it for reliability.
Insolation drives my panel size: 7.5 hours of decent sun means roughly 30 W yields 225 Wh, so I plan for 300 W output to cover real-world inefficiencies. For dusk-to-dawn sizing, I multiply wattage by hours, then double again for safety margins and that gorgeous exlawn glow through cloudy spells. Battery capacity follows suit.
I choose between MPPT and PWM regulator options, MPPT handles higher voltages efficiently, while PWM saves cash but wastes precious photons.
Source Solar Panels, Batteries, and Controllers (New or Used)
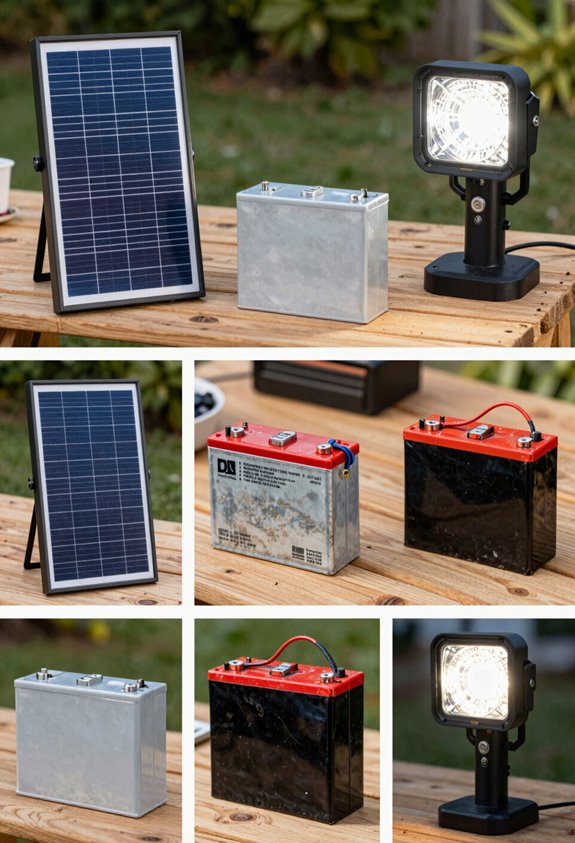
Now that I’ve mapped out my power appetite, I’m hunting down the hardware that’ll feed it, and I’ve learned that scrimping on the wrong component turns your garden gala into a midnight blackout. I’m choosing between amorphous bargain bin panels and glass-faced silicon workhorses, and I’ve settled on aluminum-framed mono- or polycrystalline beauties for longevity in my Zone 7a perennial beds.
My solar panels need an open-circuit voltage of 17–20V for my 12V system, though an MPPT regulator lets me push higher if I’m feeling flush. For batteries, I’m scavenging SLA battery units, 12V or 6V configurations, yet I’m ruthless about culling used ones with resting voltages below ~10.5V or ~5V respectively. I’m doubling my energy estimates based on insolation hours, then doubling again because midnight blackouts make gorgeous exlawns look merely haunted.
Wire, Mount, and Test Your Full Dusk-to-Dawn System
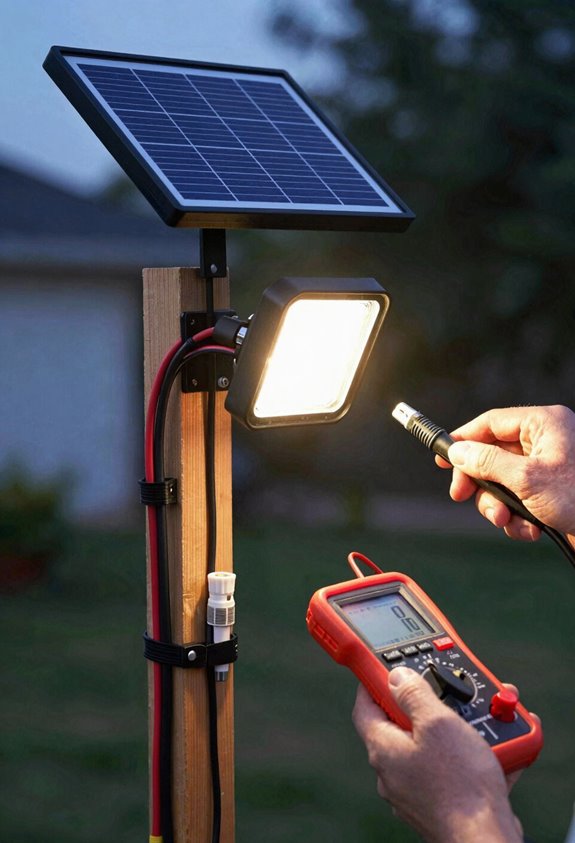
Why do so many solar builds look splendid at noon yet ghost their owners by twilight? I’ve been there, and the culprit is usually botched wiring or stingy battery sizing.
For reliable dusk-to-dawn outdoor solar lighting, I size my load in watt-hours, then double it; so two 10 W LEDs running 12 hours need 240 Wh/day with margin to spare. My solar charge controller must offer low-voltage disconnect and dusk-to-dawn auto-control; I splurge on MPPT vs PWM when my panel open-circuit voltage runs high, though PWM suffices for budget 12V system builds.
I verify panel open-circuit voltage hits 17–20 V, then run weatherproof wiring in 12–14 gauge to keep resistance low. System testing means multimeter checks in direct sun, then watching my gorgeous exlawn glow through three nights without fail.





