
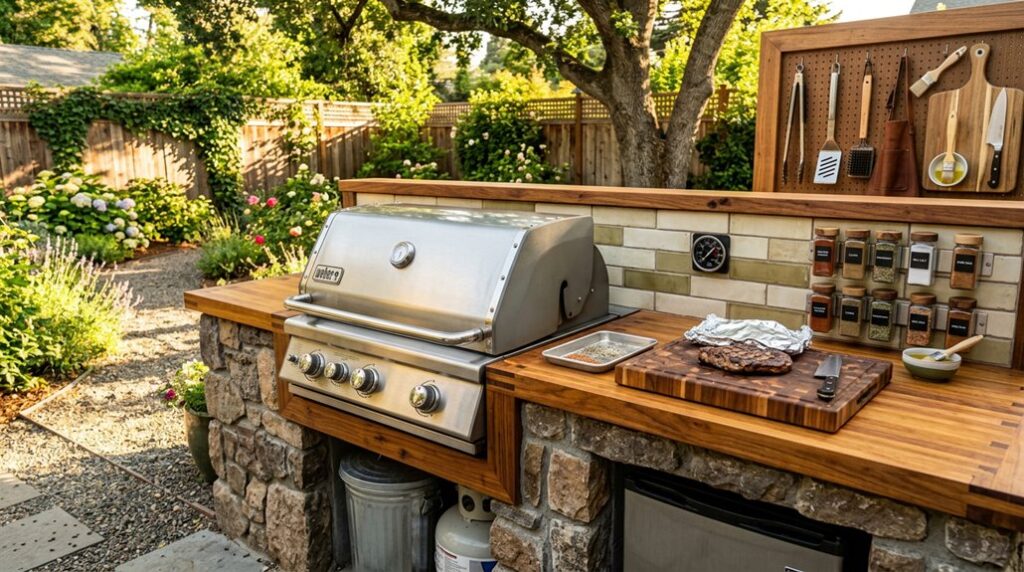
I learned the hard way that a $3,000 grill on sinking pavers cooks unevenly and breeds resentment.
After rebuilding my own outdoor kitchen twice, once in USDA Zone 7b clay that heaved, then in proper compacted gravel with drainage, I can tell you that method matters more than marble countertops.
You’ll need to choose between kit islands, modular systems, or full custom before you dig a single trench for gas lines.
The permits alone stopped me for three weeks.
Pick Your Build Method: Kit, Modular, or Custom Construction
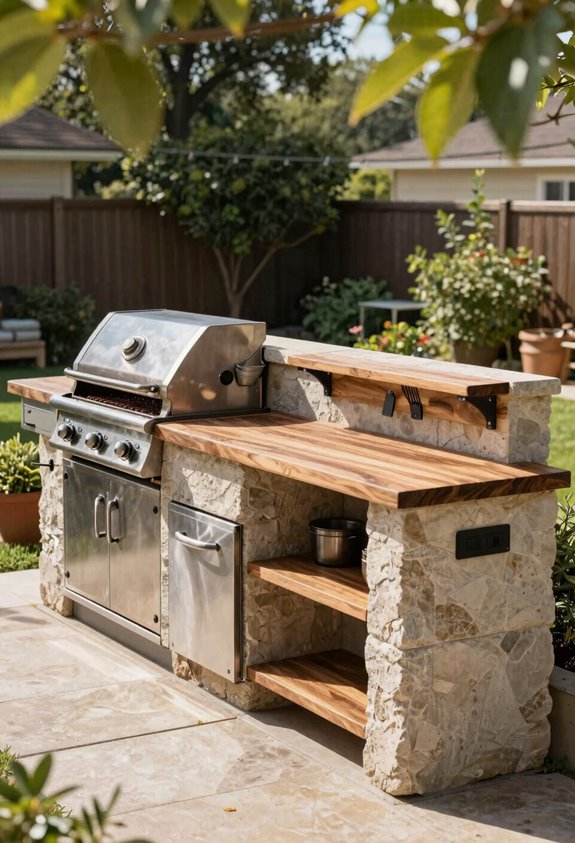
So you’re standing in your backyard with a tape measure in one hand and a half-melted beer in the other, wondering how exactly you’ll turn that patch of crabgrass into something that won’t embarrass you come Memorial Day. I’ve been there, and I’ll tell you: outdoor kitchens live or die by your build method.
Kit grill islands arrive ready-to-finish: pre-fab frames with appliance cutouts. You’ll skin them in stone or stucco without touching a stud, skipping weeks of framing.
Skip the stud-finding headaches: pre-fab frames let you skin and finish without ever touching a hammer to raw framing.
Modular stations interlock like ambitious LEGO, balancing customization against your sanity; some units even land fully assembled, which I learned matters after my “simple” weekend bled into six.
Custom builds? Gorgeous lawn potential, but you’ll coordinate contractors, gas lines, and electrical; nobody’s saving you from that permit maze. Your call: programmable speed, flexible modularity, or bespoke bragging rights.
Budget and Timeline: What Each Outdoor Kitchen Approach Requires
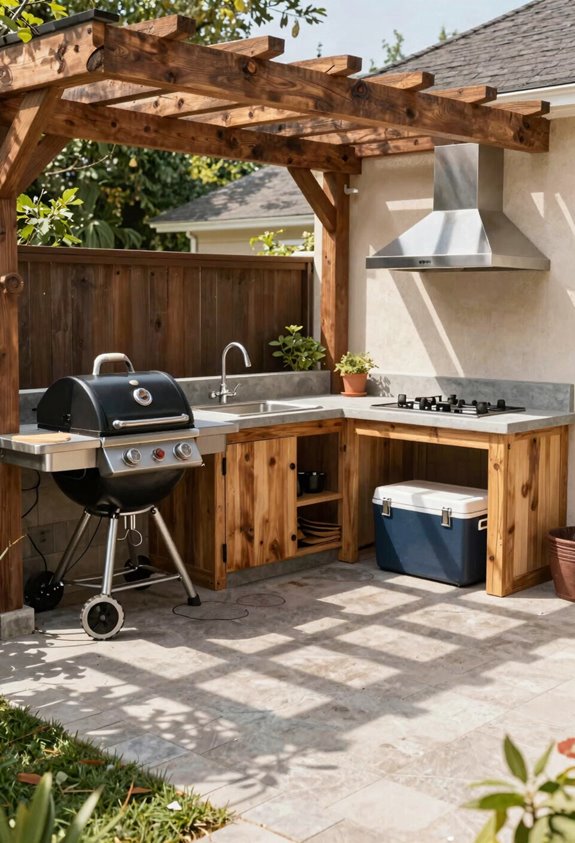
Once you’ve settled on whether you’re kitting, moduling, or going full custom, the numbers start talking. Your budget shapes everything. I’ve learned that the hard way after underestimating permit costs for my first built-in station.
Ready-to-Finish islands run leanest: expect $2,000–$5,000 and 2–4 days of your life back. Modular systems hit the sweet spot, typically clocking $4,000–$8,000 with week-long timelines.
Full custom? That gorgeous exlawn vision demands $10,000-plus and several weeks, especially when you’re trenching gas lines and waiting on inspections.
Design Layout, Work Zones, and Safety Clearances
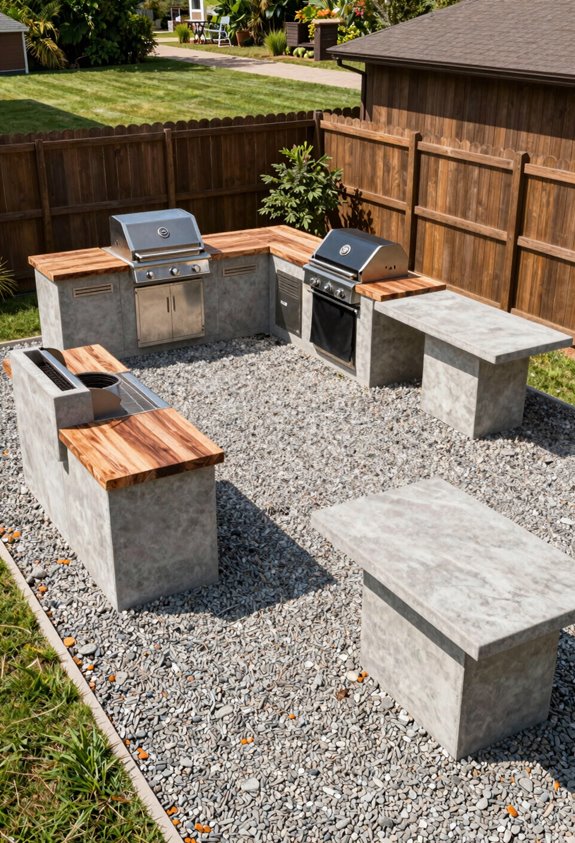
I’ll map out my work zones first—prep, grill, and serving stations arranged in a tight triangle so I’m not hauling raw brisket past flaming coals like I did in my 2019 “gorgeous exlawn” disaster that scorched a 6-foot radius of Kentucky bluegrass. You’ll want 10 feet of clearance on all sides from combustibles, which sounds excessive until a grease flare-up sends you scrambling and you appreciate the breathing room.
I’m also sloping my paver base 1/4 inch per foot toward the yard drain, learned that standing water and propane don’t mix, especially in USDA Zone 6b where freeze-thaw heave can turn a “level” landing pad into a tilted skillet.
Zone Planning Basics
Where exactly should I put the burgers, the tongs, and the inevitable grease fire? I map four zones: prep, cooking, cleaning, and storage. This outdoor living setup keeps me from sprinting mid-flip.
I place the grill with 10-foot setbacks from structures and 3-foot clearance from combustibles, learned that after singeing my gorgeous ex-lawn. I grade the base 1/8 inch per foot away from work zones, using 4-inch steel edging to trap gravel where it belongs.
Utilities dictate placement: I run gas lines 18 inches deep, route drainage through 4-inch perforated pipe, and make sure there’s 6-foot overhead clearance for ventilation. My landing pad spans 8 by 12 feet minimum, poured 4 inches thick with rebar at 24-inch centers.
Clearance Requirements Check
How much room does a propane tank really need to feel safe? I’ve learned the hard way that 36 inches isn’t negotiable; it’s code, and it’s survival. I’ve measured my gorgeous exlawn too tight once; never again.
Here’s what separates the backyard heroes from the cautionary tales:
- Give your grill breathing room: 36 inches clear on all sides keeps flames where they belong, not near your house or that desperate shortcut someone pitched online.
- Zone your workspace: Prep, grill, and cleanup areas need dedicated paths; I’ve tripped carrying hot tools, and you don’t want that story.
- Anchor everything level: Stable base, proper drainage, and heat-resistant finishes mean your setup won’t shift when you’re flipping burgers in USDA Zone 7 at dusk.
Check local permits; inspectors exist for reasons I’ve tested.
Excavate and Level Your Base for Drainage and Stability
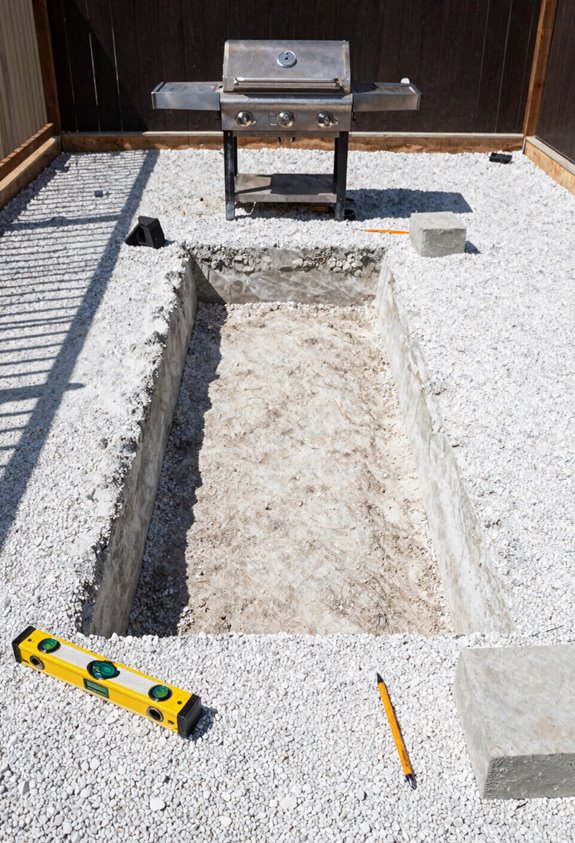
I mark my excavation boundaries with spray paint and string lines, then attack the grass with a square shovel, 2 inches down, no more, no less, because my “gorlawn” will undermine the whole operation if I get lazy about depth. I slope that dirt pad 1 inch per 8 feet away from the house, a lesson learned after a Memorial Day flood turned my first grill station into a wading pool, and I compact the base layer with a plate compactor rented for $45 rather than my boot heel, which takes 45 minutes and spares me the back spasms.
Proper drainage isn’t glamorous, but neither is explaining to guests why they’re ankle-deep in burger runoff when the sky opens up.
Mark Excavation Boundaries
Why settle for wobbly pavers when two inches of focused destruction fixes everything? I grab my square and pointed shovels and attack the clay dirt, carving down exactly two inches to match my paver thickness. The gorgeous exlawn becomes my canvas.
- Excavate aggressively, break through stubborn clay until I’ve got a fairly even dirt pad; no shortcuts here
- Deploy your weed-block fabric, pull it taut, pin it down with landscape staples, and stop future invaders before they start
- Backfill smart, layer topsoil and sand, smooth with a board, then test-fit a paver until it sits flush with the surrounding grade
I check my work constantly. That test paver reveals every low spot, every miscalculation. When it finally rests level, I know my base won’t betray me during the first summer barbecue.
Achieve Proper Slope
With the boundaries marked and the first two inches of clay conquered, I’m already eyeing the real enemy: standing water. Nothing kills a grilling station faster than puddles lapping at your propane tank, so I excavate my dirt pad level with adjacent surfaces but always angling away, roughly 1–2% slope, for drainage that actually works.
I strip grass to paver depth (about two inches, the gorgeous exlawn now compost-bound), then backfill in thin layers with sand or topsoil. Rake spreads it; a board levels it; a test paver judges it. I adjust, tamp, adjust again until that pilot stone sits flush where I want it, water already plotting its escape route away from my future flames.
Compact Base Layer
How deep is deep enough? I dig out my gorgeous ex-lawn about two inches, matching paver thickness, because nobody wants a lumpy grill station that drains toward their burgers.
I break through stubborn clay with square and pointed shovels, chasing a fairly even dirt pad. Then I roll out weed-block fabric, the unsung hero that suppresses tenacious dandelions, and pin it down like I’m securing a crime scene. Low spots get backfilled with topsoil and sand; I rake and level with a board cut to match my landing pad width.
- Dig 2 inches for paver height matching.
- Lay weed-block fabric with landscape pins to stabilize.
- Test-fit a paver to verify flush placement before final backfill.
I learned this after my 2019 patio heaved like sourdough, USDA Zone 6b, clay soil, zero mercy.
Frame Your Outdoor Kitchen: Grill, Appliances, and Surfaces
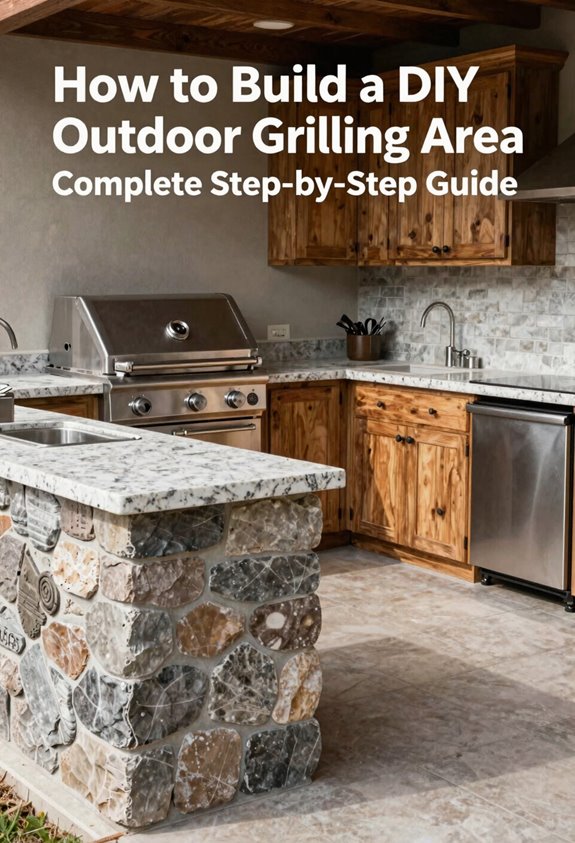
Where exactly do I stand when I’m flipping burgers in July heat, that’s the question that’ll shape every decision from here on out. I map my 16-paver layout on paper first, because eyeballing turns your gorgeous exlawn into a wobbly disappointment. I dig two inches deeper than paver thickness, lay weed block fabric like I’m tucking in a stubborn child, and backfill with sand I level using a scrap board.
Each paver gets the level treatment and neighbor-check; I adjust dirt microscopically until water flows where it should, not toward my toes. Red lava rock fills gaps flush with surfaces, decorative, practical, and entirely mine.
| Element | Purpose |
|---|---|
| 16 pavers | Clean, modern footprint |
| 2-inch depth | Structural integrity |
| Lava rock | Drainage + aesthetic |
This is my station. Akismet my spam, not my sanctuary.
Run Utilities: Hire Pros and Pull Permits
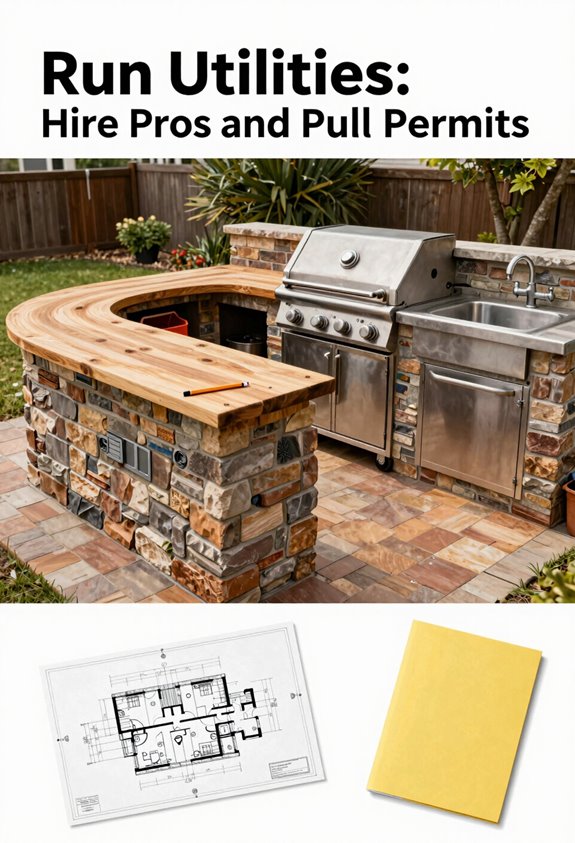
Pavers locked and lava rock settled, I’m ready to bring this station to life, which means confronting the one thing I can’t fake my way through: actual utility lines.
I check local authorities for permits. Some jurisdictions won’t budge without inspections and licensed contractors for gas and electrical. I’ve learned this the hard way: skipping permits invites fines, insurance headaches, and that special shame of explaining to neighbors why the Fire Marshal’s visiting.
Here’s what’s non-negotiable:
- Hire certified pros, NFI-Certified experts nail gas shutoff locations, conduit routing, and clearances around the grill island.
- Pull permits early, scheduling utility work before finishing prevents retrofits and protects your gorgeous exlawn from trench-scarring do-overs.
- Verify everything, licensing, insurance, references, and quotes covering trenching, line runs, permits, and inspections.
I get multiple bids, confirm soil restoration timelines, and sleep soundly knowing code compliance means my ribs won’t include a side of explosion.
Test Your Setup and Fix First-Use Problems
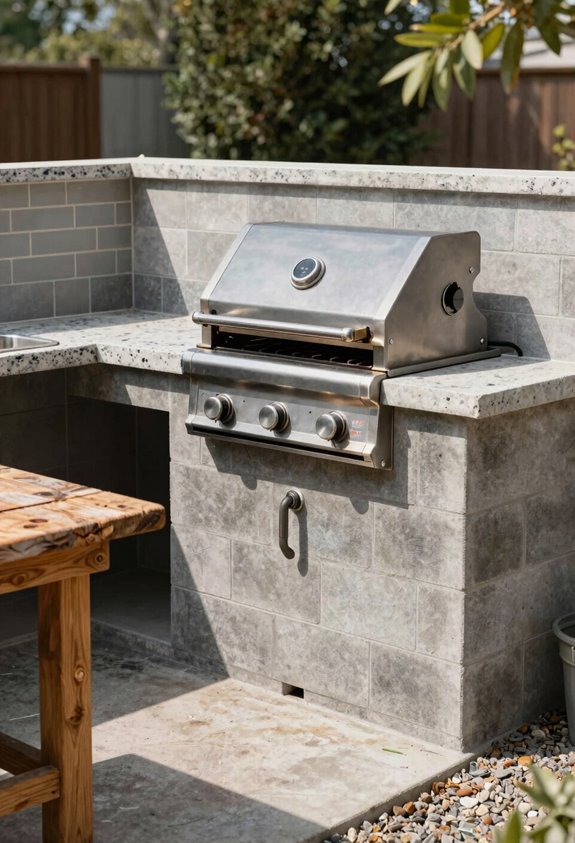
So what’s the point of all this earthmoving if the thing doesn’t actually work when I’m standing there with a spatula and a dream? I place my grill on the finished landing pad and fire up a “surf n turf” test; steak sizzling, shrimp curling; to watch how heat behaves, whether airflow chokes, and if my knees have clearance when I flip.
I rinse the entire pad with a hose, timing how water evacuates; it must flee the grill’s zone like Akismet filters spam, not pool around my ankles. I stomp pavers under simulated weight, checking for wobble, and I scrutinize joints while heavier accessories load the surface. Combustible materials stay distant, non-slip edging holds, and I mark any uneven seating or rogue weed-barrier wrinkles for immediate backfill correction.





