
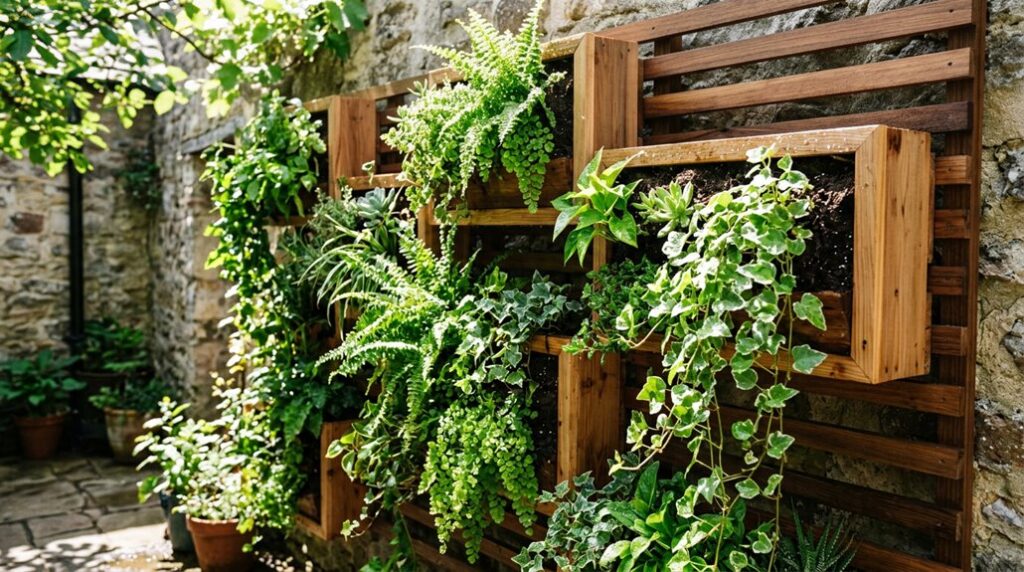
I learned the hard way that a living wall collapses when you skip the math: my first frame weighed 80 pounds empty and cracked the fence posts in a week. Now I build lean-to frames from ½-inch plywood and 2x4s, staying under 40 pounds per 4×6-foot section, and I always anchor with four-inch lag bolts into masonry or stud-backed siding.
Six-inch vertical spacing between slatted planters prevents root rot in crowded zones, and I’ve found drought-tolerant trailers like Sedum rupestre ‘Angelina’ (USDA 5–8) survive missed watering better than the coleus I fussed over. The real trick isn’t the plants; it’s the drainage slope I forgot my first summer, which turned my gorgeous exlawn into a swamp.
I’ll walk you through the frame geometry that saves both your back and your security deposit, but first you’ll need to decide if you’re drilling into brick or cheating with a freestanding solution.
Pick a Location With the Right Sun Exposure
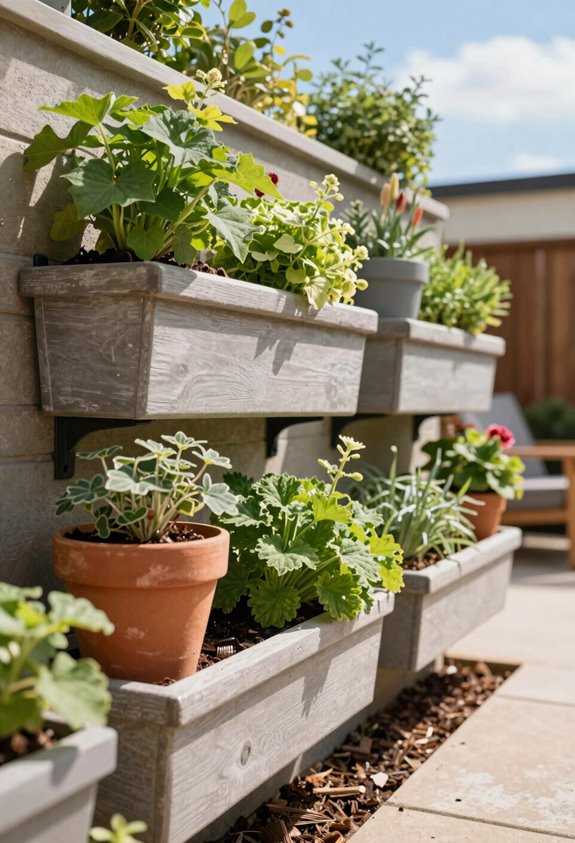
Where exactly will this living wall live? I’m glad you’re asking, because I’ve killed enough shade-lovers with misplaced optimism to know better.
For sun exposure, I stalk my outdoor space like a slightly unhinged neighbor. I observe at 9 AM, noon, and 4 PM across multiple days. Trees shift shadows seasonally, and that “partial shade” spot in March becomes a solar fryer by July. Match your site’s light to your plant palette’s majority vote: full sun (6+ hours), partial shade (3–6 hours), or full shade (under 3 hours). I’m in USDA zone 7b, where my eastern-facing cedar trellis gets stable morning light; gorgeous ex-lawn, zero fried ferns.
Avoid competition from mature oaks or your garage’s afternoon shadow. Leave 18 inches minimum for hose access and future drip-line tweaks. You’ll thank me when you’re not dismantling everything to fix a clogged emitter in August’s swamp.
Measure Space and Sketch Your Lean-To Design
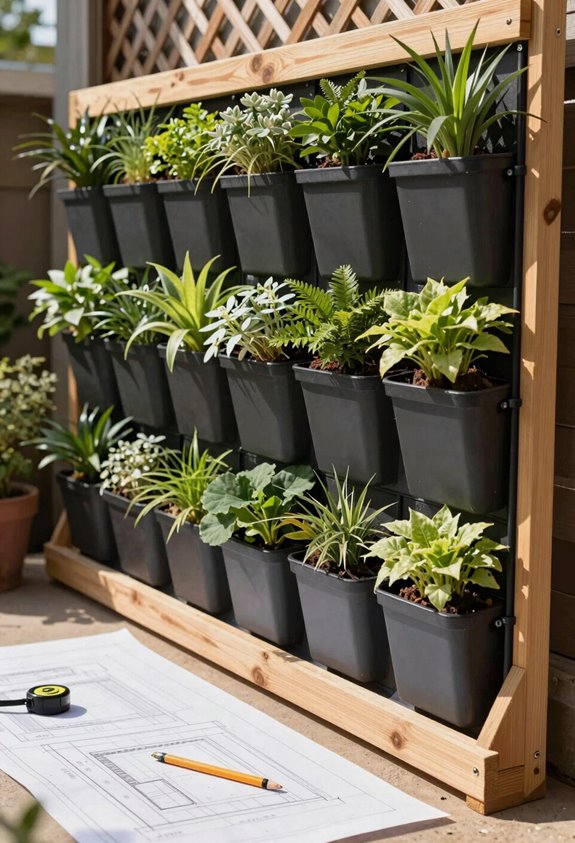
Once I’ve stalked my light patterns and committed to a spot that won’t murder my shade-lovers, I grab my tape measure and start getting greedy with vertical real estate. I measure height and width twice, learned that splinter when my first outdoor living wall didn’t clear the deck railing, but I keep it portable, a lean-to that tilts against the wall without permanent anchors, because who knows when I’ll rearrange my gorgeous exlawn.
I mark eastern exposure on my sketch, noting where afternoon shade creeps in, then space plant pockets evenly across my vertical garden grid, leaving a corner for a letter board that’ll read something clever I’ll regret by July. Six feet tall, four feet wide, three-inch pocket spacing, precision prevents the humiliation of lopsided ferns.
Build a Lightweight Outdoor Wall Frame With 2x4s and Plywood
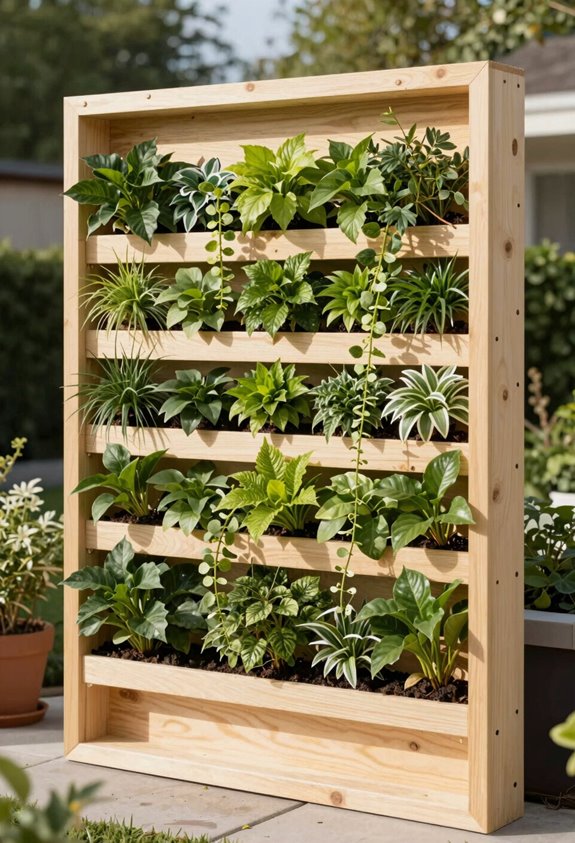
Because I value my security deposit and my spine in roughly equal measure, I build my frame light enough to muscle around solo but rigid enough that a gusty afternoon doesn’t send my heucheras flying into the neighbor’s smoker.
I sandwich two 4×8 plywood sheets with cut-off strips for internal support, then wrap the perimeter with four 2x4s. My living wall leans against the garage, no drilling into siding, no landlord panic. Before committing, I lay out my vertical gardens: heavy-grade felt pockets, 4.5-inch slots, and my precious letter board dead center.
| Component | Purpose |
|---|---|
| Plywood sandwich + strips | Keeps weight under 80 lbs |
| 2×4 outer frame | Prevents racking in wind |
| Lean-to stance | Saves walls, enables relocation |
| Dry layout first | Confirms focal point breathing room |
This modular vertical garden system lets me rearrange when my fern collection gets out of hand.
Stain and Seal Your Frame for Weather Resistance
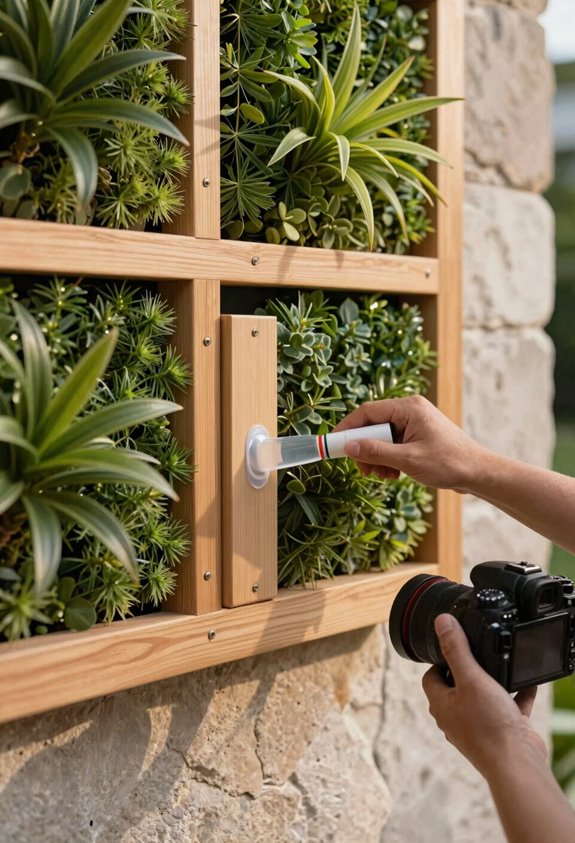
I stain my interior plywood with Early American and the outer frame with Ebony for contrast, then brush on three coats of exterior-grade polyurethane. I’m planning a fourth because I’ve learned the hard way that moisture finds every weak spot. I sand between coats with 220-grit, which takes an extra afternoon but prevents the peeling disaster I suffered in Zone 7b two summers ago.
I always pick stains with UV blockers and wait a full week before exposing my gorgeous ex-lawn installation to the elements. Premature weathering turns a crisp ebony frame into sad, silvery driftwood faster than you can say “polyurethane curing time.”
Selecting Protective Wood Stains
How much punishment can your poor frame take before it warps into modern art? I’ve learned the hard way that choosing the right stain means the difference between a living wall that lasts for years and one that becomes compost by spring.
I always select a penetrating, semi-transparent stain with built-in UV blockers; this gives me outdoor protection without turning my cedar into plastic-looking furniture. The water-repellent sealant integrated into quality stains buys me time before I need that dedicated topcoat.
I test on scrap wood first because “Canyon Brown” looks deceptively like “Mold Orange” in afternoon light. Two thin coats with the grain, allowing proper curing between applications, prevents the peeling nightmare I suffered in Zone 7b two summers ago. Your frame deserves better than becoming modern art.
Applying Waterproof Sealant Coatings
Why gamble with a $200 cedar frame when three coats of sealant cost fifteen bucks and an afternoon? I grab my brush and get to work.
First, I select a polyurethane or marine-grade sealant rated for outdoor use, something that laughs at UV rays and shrugs off freeze-thaw cycles. Three thin coats, not one thick gloppy mess: that’s the rule. I wait four hours between each layer, letting the wood drink it in. My gorgeous ex-lawn taught me patience here; trap moisture and you’ll host rot by spring.
I check the label, some formulas need 48 hours to cure fully before I mount anything living. Skimp now, and you’ll restain by zone 6 winter. I’ve learned that twice.
Ensuring Long-Term Durability
Once the sealant’s cured and your frame’s ready for the elements, it’s time to think like a carpenter who expects this thing to outlast your mortgage. I’ve learned the hard way that skipping steps here turns your gorgeous exlawn into kindling.
I apply weather-resistant sealant with UV protection to every exposed surface, including cut ends where water wicks fastest. Pre-finishing both faces before assembly, especially back-to-back joints, blocks moisture that your irrigation system will constantly splash upward. I use exterior-grade lumber, gap-free joinery, and corrosion-resistant screws because rust never sleeps.
For USDA zones 7b and wetter, I’ll layer two or three coats of polyurethane over stain, curing 24 hours between. It’s tedious, but so is rebuilding. Seal end grain with penetrating conditioner; unchecked, it warps like a cheap cutting board left in the sink.
Mount Slatted Planters to Your Frame
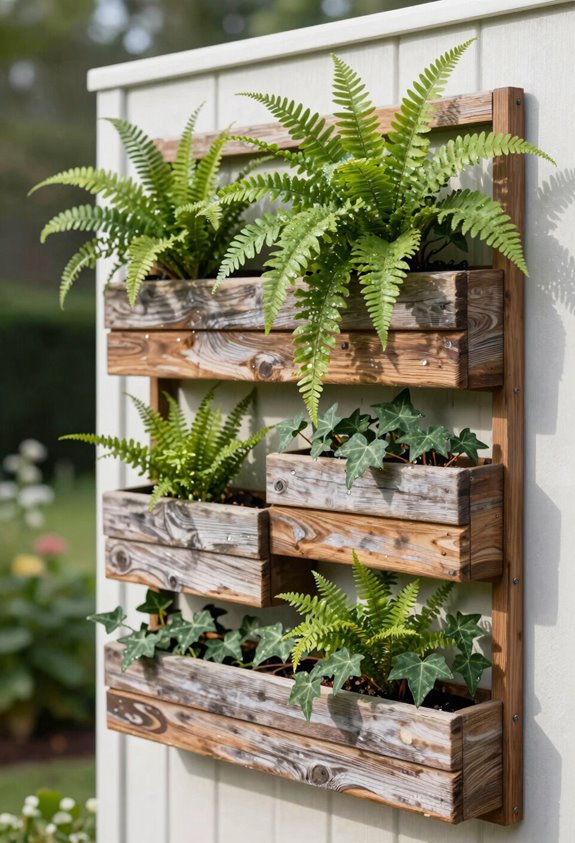
I’ll pick planters that suit my wall’s microclimate and drainage needs; shallow rooted succulents laugh at six-inch soil depths while ferns demand deeper boxes, and I’ve learned that lesson watching a gorgeous exlawn turn crispy in Zone 7b. I’m fastening my slatted planters with lag bolts through pre-drilled countersink holes, spacing each row six inches apart vertically so root balls don’t throttle each other, and I’m setting back mounting holes two inches from edges with six-inch horizontal spacing.
Skip this, and your wall’s geometry goes drunken sailor in one growing season. Alignment demands a spirit level and patience. Eyeballed planters in last summer’s build still haunt my dreams with their tipsy cascade.
Choose Planter Style
How exactly should a planter attach to a living wall frame without becoming a permanent fixture or a wobbly disaster? I’ve settled on black plastic window boxes: clean lines, featherweight, and forgiving on my pine frame through every season.
My cleat system lets me pop planters off for winterizing or drip irrigation maintenance without dismantling the entire vertical space. I cut 45° slats matching each box’s back, pre-drilling mounting holes two inches from edges so everything aligns with frame-mounted partners spaced six inches apart. Stainless washers and 1-1/4″ screws keep cleats flush and removable.
- Black vessels catching morning light against weathered pine
- Metal biting wood with that satisfying torque
- Planters sliding home like drawers in a conquered cabinet
- Empty slots waiting for your next botanical experiment
Secure Mounting Method
Where exactly do you draw the line between secure and stuck-forever? I’ve learned your living wall needs a mounting system that holds firm but releases gracefully when seasons shift.
I attach cleats to each planter’s back using 1-1/4″ screws with washers; pre-drill holes two inches from edges, spacing them six inches apart for alignment you can trust. For the frame, I cut extra 45° slats matching planter lengths, then pre-drill counter-sink holes for flush mounting. Horizontal slats attach six inches apart with six screws each: two centered, two at each end.
| Component | Fastener Spec | Spacing |
|---|---|---|
| Cleat to planter | 1-1/4″ screw + washer | 6″ apart |
| Back holes | Pre-drilled 2″ from edge | Per planter width |
| Horizontal frame slats | Six screws per slat | 6″ vertical gap |
| Counter-sink holes | Pre-drilled for flush fit | Match slat length |
This rigidity lets you lift any planter free without tools, which matters when frost threatens your former lawn.
Spacing and Alignment
With the frame locked to the wall, you’re staring at a grid that promises order but threatens chaos if you eyeball it. I space my slats 6 inches apart for that vertical rhythm that makes strangers stop and ask how I did it; plus the airflow keeps root rot from crashing my party. I pre-drill counter-sink holes for every slat; learned that lesson when my first pine frame split like a bad joke.
Component C anchors the centers with 1-1/4″ screws, creating the cross-point where alignment either lives or dies. My 14 horizontal slats, cut 5 feet with 45° centers, form rails that look intentional, not accidental. Pre-drill planter backs 2 inches from edges, holes every 6 inches, and your cleats will seat flush.
- Six-inch gaps breathing between slats like ribs on a sleeping chest
- Component C screwing dead center, the spine holding everything square
- 45° angles catching morning light like cat ears
- Drill bit biting wood, promising planters that won’t twist or sag
Pick Low-Maintenance Plants for Your Outdoor Wall
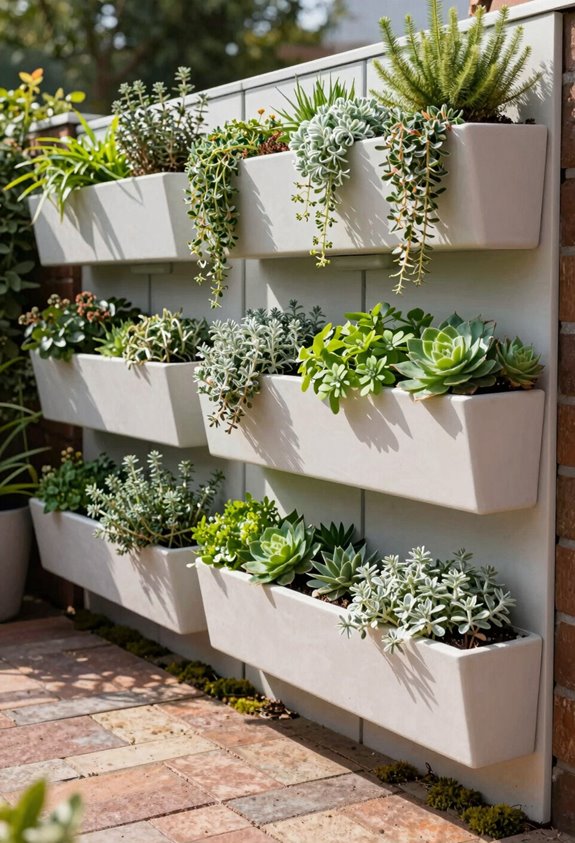
Why start with fussy divas when you can build a wall that mostly tends itself? I learned quick that matching plants by thirst and sun tolerance saves you from playing referee later.
My living wall pairs drought-tolerant workhools like Moonbeam Coreopsis (Zones 5-9, 45 cm) with Ajuga Bugleweed; both shrug off neglect and play nice in the same irrigation zone. Stick to compact species under 50 cm so vertical pockets don’t become overcrowded battlegrounds. I tuck in water-storing crystals and run drip lines through the irrigation system; suddenly you’re watering weekly, not daily. Small plugs root faster than mature plants, cutting establishment time by two weeks.
| Plant Choice | Strategy |
|---|---|
| Match light/water needs | Simplifies care schedules |
| Under 50 cm height | Fits pockets, prevents crowding |
| Annuals + perennials + herbs | Texture with minimal fuss |
| Water crystals + drip irrigation | Cuts watering frequency |
| Small plugs, not mature plants | Faster root establishment |
Select Drought-Tolerant Plants With Trailing and Color Accents
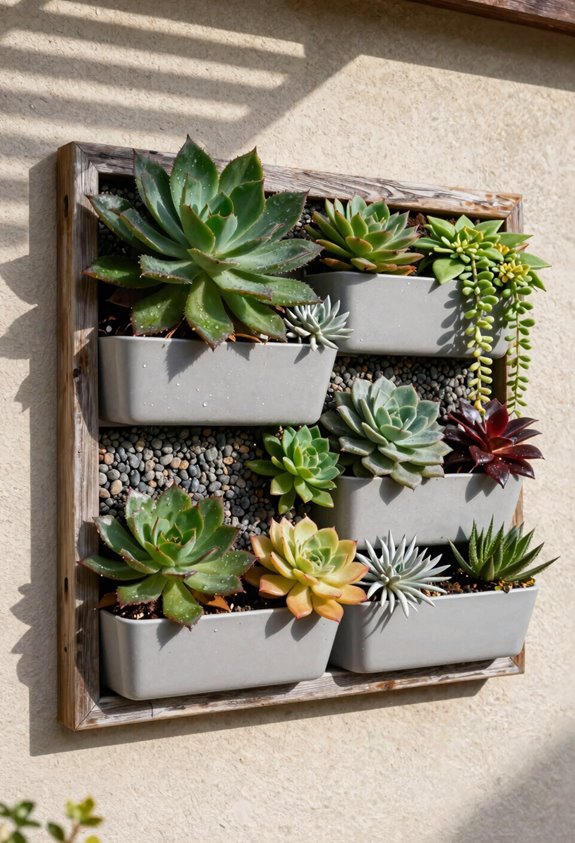
How do you keep a vertical garden from looking like a green flat wall? I layer drought-tolerant plants with trailing habits and strategic color accents, turning my green wall into living sculpture.
- Moonbeam Coreopsis spilling yellow threads like sunlight caught in mid-fall
- Vinca Vine cascading down, its variegated leaves creating waterfalls of cream and emerald
- Ajuga Bugleweed’s bronze rosettes threading between stones, a ground cover that refuses to stay grounded
- Campanula’s white bells ringing against the vertical plane, softening edges with cottage-garden nostalgia
I pair trailing varieties with compact, color-rich perennials; similar light and water needs mean I’m not playing plant referee. My former lawn now grows upward, not outward, and I’ve learned that drought-tolerant doesn’t mean dull; it means surviving my occasional neglect with botanical grace.
Add Irrigation or Water-Storing Crystals
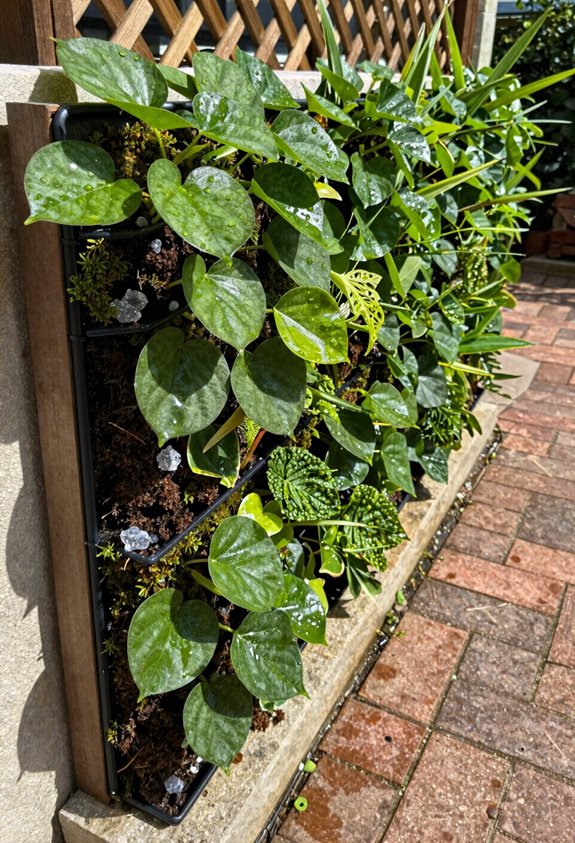
Where vertical gardens go to die isn’t drought, it’s inconsistency, and I’ve buried enough casualties to know that hydrophobic soil and my travel schedule don’t negotiate. I’ve learned to cheat fate with water-storing crystals, Miracle-Gro’s version, mixed at ½ teaspoon per gallon of potting soil, swells to hold moisture between my sporadic watering sessions. Don’t eyeball it; root burn from over-application taught me precision matters.
For the committed, I retrofit drip irrigation later, threading ¼-inch tubing planter-to-planter with a battery timer on the mains supply. It’s the difference between a decent display and compost. Pair either strategy with drainage holes and monthly leaching, crystals trap salts that accumulate. Watch new plantings closely; vertical systems dry differently, and I’ve drowned more seedlings through assumption than neglect.
Maintain, Prune, and Seasonally Refresh Your Living Wall
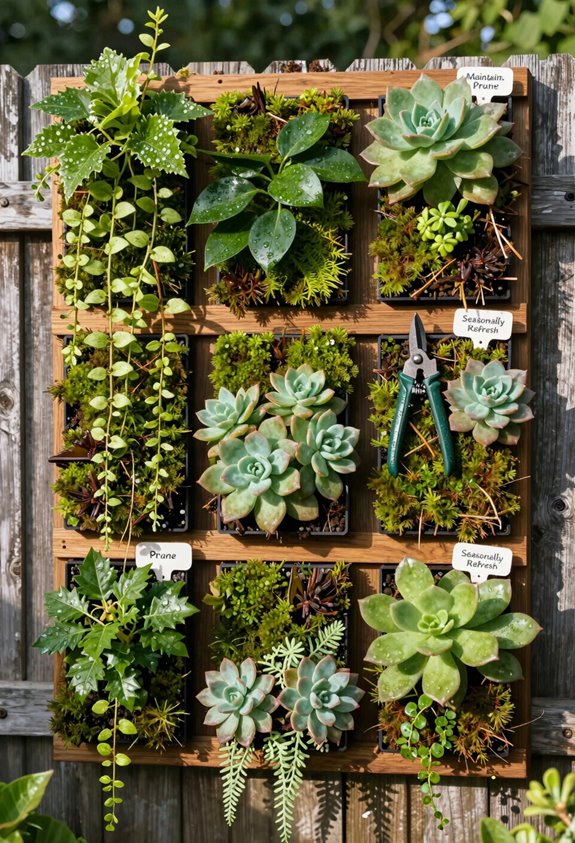
When exactly did my living wall start looking like a neglected hedge fund? I learned the hard way that maintenance demands respect, not sporadic panic. I prune monthly, snipping overgrown branches and stripping dead leaves before they invite rot. My irrigation runs on weather-watching discipline, drippers adjusted when humidity spikes, and emitters inspected weekly for clogs at tray junctions.
- Emerald tendrils cascading over weathered cedar frames
- Morning mist catching on clipped boxwood spheres
- Rust-colored leaves signaling nutrient depletion
- New viola plugs nestling into refreshed peat-free compost
I rotate plants seasonally, swapping spent specimens for cold-hardy herbs in USDA Zone 7 winters. Slow-release fertilizer every twelve weeks keeps roots vigorous without the feast-famine cycle. This living wall rewards consistency. I’ve stopped chasing perfection and started cultivating presence.





