
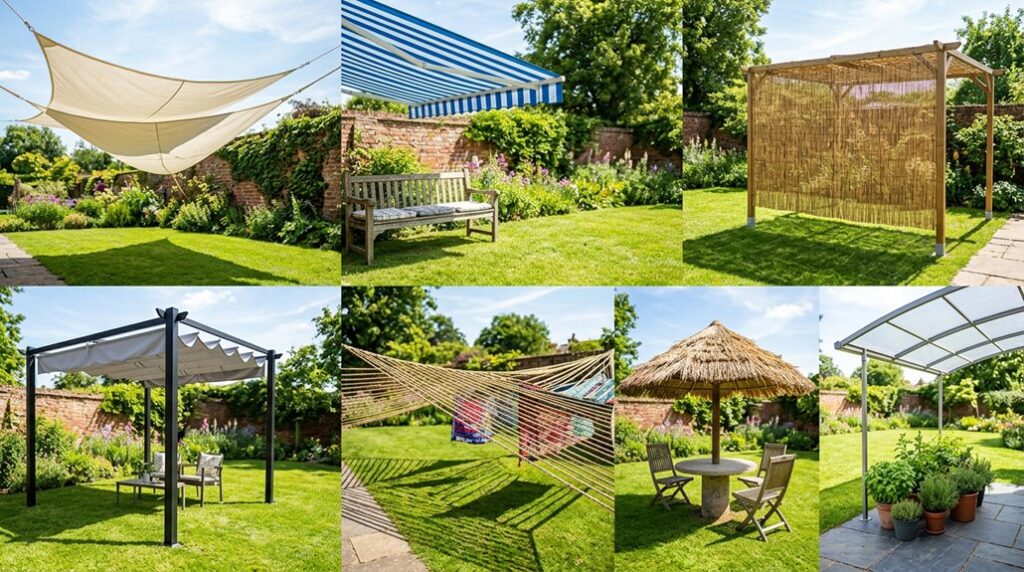
I’ve spent three summers refining a portable shade system that moves with the sun from my vegetables in USDA Zone 7b, and I’ve learned that effective cooling depends less on coverage area than on strategic placement and airflow. I discovered this when my first tarp installation turned my patio into a convection oven.
The seven methods I’ll walk through range from zero-dollar repurposing to modest investments under $150, with setup times between ten minutes and two hours. I’ll confess that my “ten-minute” shade sail took three attempts and a torn bedsheet before I understood proper tensioning angles.
You’ll want to know which materials actually block UV versus just diffuse light, and why your ground surface matters more than you’d think for perceived temperature.
Start With Movable Backyard Shade That Follows the Sun
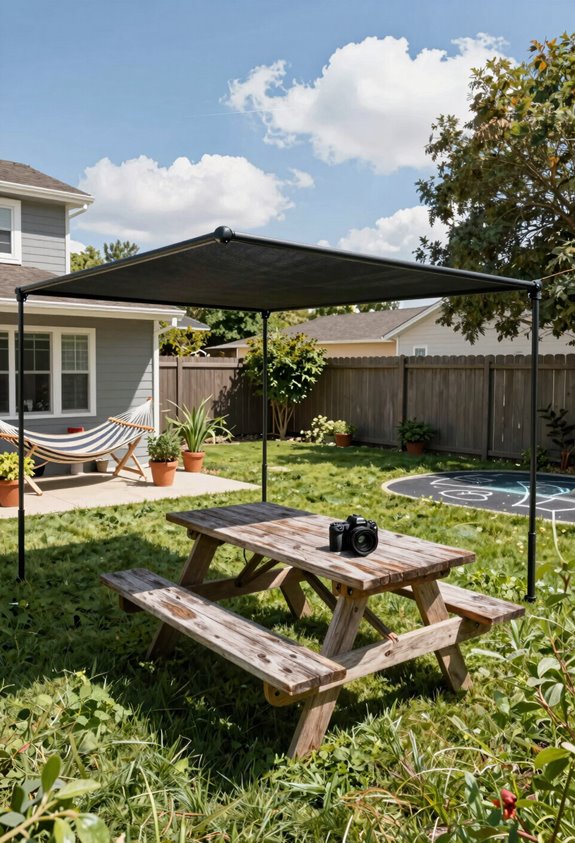
Why chase shade when you can make it follow you? I learned this the hard way after baking on my gorgeous ex-lawn until 3 PM daily. Cantilever umbrellas became my salvation; they tilt and rotate, needing only a heavily weighted base to resist wind, and they’re perfect for rentals since there’s zero permanent installation.
Budget models under $200 exist, but they wear fast; I’ve watched two collapse mid-summer. Shade sails offer another path, though calling them “movable” stretches truth. They demand turnbuckles, deep footings, and 100–300 square feet of tensioned fabric that fights you like a stubborn rhododendron. DIY kits work if you’re handy; otherwise, hire pros. Either way, you’re adapting without construction, and that flexibility keeps you in the garden longer.
Repurpose Household Items for Instant Zero-Cost Shade
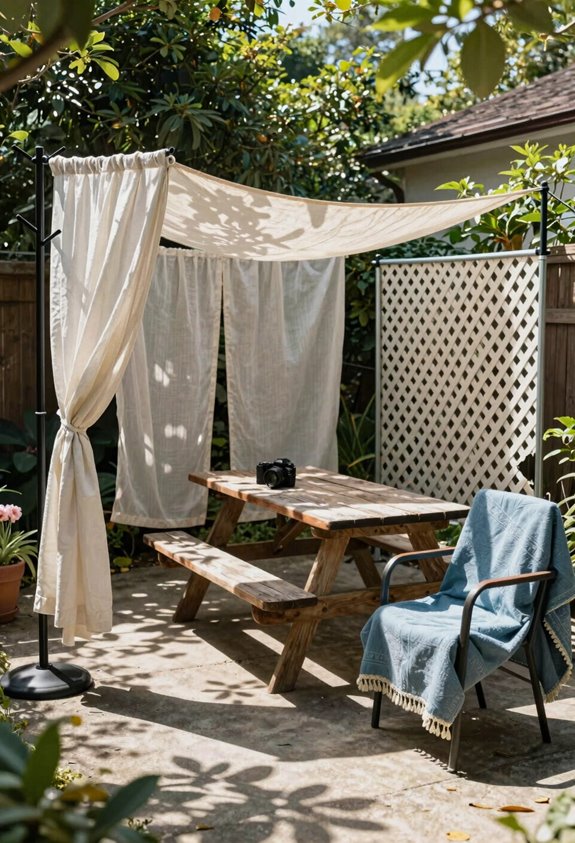
I’ve built more shady retreats from household castoffs than I care to admit, and I’m betting you already have the raw materials for immediate relief stuffed in a linen closet or garage corner. Creative sheet forts aren’t just for childhood nostalgia: they’re deployable sun blocks that’ll drop your skin temperature 15 degrees when draped over patio chairs and weighted with potted succulents, though I learned the hard way that lightweight percale rips in anything above 12 mph gusts.
Tarp tent hacks and umbrella canopy clusters round out the zero-dollar arsenal, with the former requiring nothing more than bungee cords and ambition, and the latter demanding only that you cluster three found umbrellas at 15-degree angles to eliminate those gaps where UV sneaks through.
Creative Sheet Forts
Where else can you summon instant shade from thin air but your own linen closet? I grab faded cotton sheets, my favorite shade cloth substitute, and stretch them over chair backs or a broom-handle tripod lashed with twine. Ten minutes, zero dollars, instant refuge.
I’ve learned binder clips beat clothespins for grip, and tucking edges under heavy planters prevents that sagging catastrophe we all dread. My cardboard-and-stick frames collapse spectacularly in breeze, so I stick to windless afternoons and short-term shade solutions only.
Keep exits clear, mind your grill’s heat radius, and accept this temporary canopy won’t survive August storms. But for that desperate 2 PM moment when the patio becomes a solar oven? Your linen closet delivers.
Tarp Tent Hacks
Three tarps, two trees, and a fence post later, I’ve built shade palaces that rival my neighbor’s $400 pergola, and watched them sail into his hydrangeas when I skipped the guy lines.
Tarp tents belong to the resourceful tribe, transforming forgotten drop cloths and ratty camping gear into instant shade solutions. I scour my shed for UV-weakened tarps (Zone 6-9 gardeners, check yours annually) and any anchor-solid fence posts or oak limbs. I learned that breathable fabric—old cotton sheets, canvas tarps—beats synthetic saunas.
My rigging’s artless: 18-inch bungee hooks, 50-pound garden stones at corners, and always that X-pattern of guy lines I ignored once, catastrophically. I position for 10 AM to 4 PM shade coverage over my seating zones, angling for maximum solar interception. My rule now: quick-release knots and wind alerts on my phone. Weather turns, and I’m that neighbor whose hydrangeas survive.
Umbrella Canopy Clusters
When my last tarp rigging collapsed during a surprise thunderstorm, I salvaged what I could and stared at the five lopsided patio umbrellas tilting against my garage wall: three from estate sales, one free from my mother-in-law’s “garage phase,” and a golf umbrella I’d won at a charity raffle. I cluster them now, overlapping canopies like clumsy mushrooms, and I’ve got instant shade without driving a single stake.
Umbrella canopy clusters work best when you weight bases heavy—concrete blocks, sand-filled buckets, whatever keeps them grounded when that afternoon gust hits. I anchor two legs per umbrella where my deck allows.
Light UPF 50+ fabric buys me actual protection, not just psychological comfort. It’s imperfect, portable, and entirely mine.
Stretch Fabric Between Posts for Quick DIY Coverage
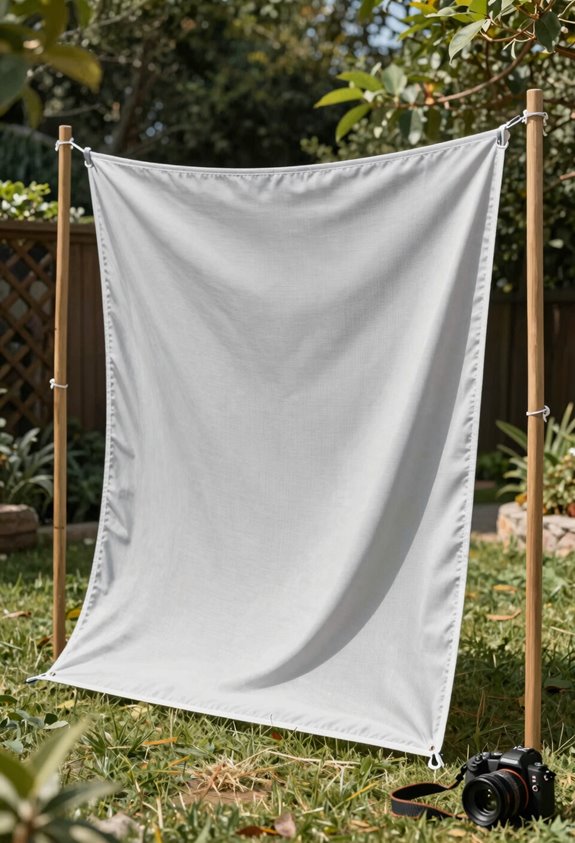
Why fuss with pouring concrete and welding steel when a few pressure-treated posts and a bolt of UV-resistant fabric can transform your baking patio into a refuge in an afternoon? I stretch fabric between posts for quick DIY coverage whenever friends need shade fast, and this shade solution rarely cracks $500.
Skip the concrete and steel—pressure-treated posts and UV fabric turn a baking patio into shade in an afternoon for under $500.
Tension fabric drum-tight; sagging steals your shadow and looks like a gorgeous exlawn disaster.
Anchor posts 24 inches deep with concrete or heavy brackets. I’ve watched unsecured versions cartwheel across Zone 7b gardens.
Choose breathable, UV-rated material; cheap polyester rots by August.
Accept the trade-off: this setup moves easily but won’t survive derechos without reinforcement.
It won’t suit renters or storm seasons, yet for temporary play areas, nothing beats the airflow beneath.
Build Vertical Screens to Block Low-Angle Afternoon Sun
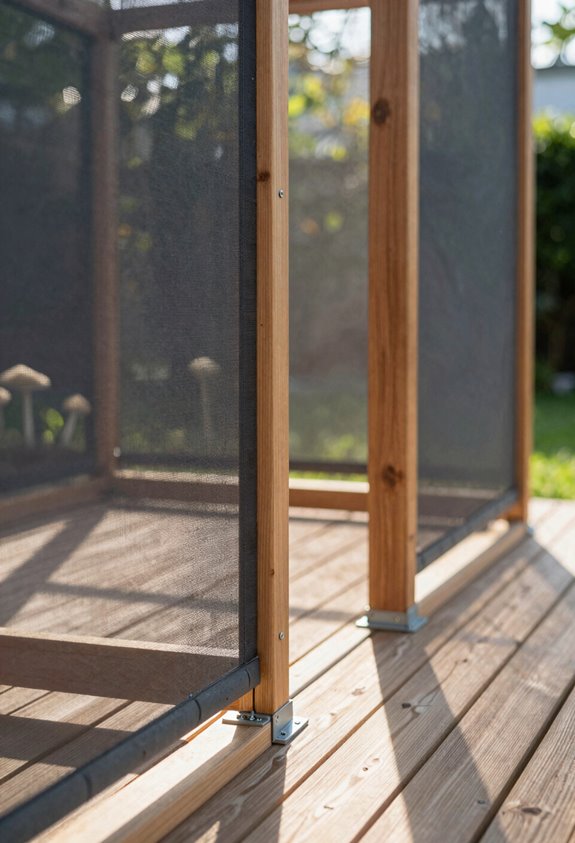
I’ve learned the hard way that blocking low-angle afternoon sun isn’t about slapping up a wall and calling it a day. It’s a calculated dance of panel placement strategy, material selection guide, and height and spacing that’ll make or break your pergola’s comfort zone. You want those screens positioned where the sun actually hits, not where you wish it would, because that gorgeous exlawn you’re nursing along won’t forgive a 15-degree miscalculation that leaves your ferns crispy by 4 p.m.
I’ll walk you through the exact spacing I’ve tested, typically 8 to 12 inches between tensioned mesh panels for optimal airflow, plus the UV-resistant fabrics that won’t turn your west-facing deck into a convection oven. This all comes from three summers of sweating through my own botched installations in USDA zone 7b.
Panel Placement Strategy
Where exactly does that merciless afternoon sun sneak in? I’ve learned it assaults west- and southwest-facing walls mercilessly unless you intercept it with smart shade placement.
Here’s my battle-tested vertical screens strategy:
- Mount screens low or on existing structures to catch those sneaking horizontal rays without choking your breeze.
- Layer hedge walls, tall planters, or pergola-mounted shade cloth for defense that breathes. My lawn recovered once I stopped suffocating it.
- Plant wisteria or clematis (Zones 4-9, about $15-25 per vine) and wait 2-3 seasons for living architecture that actually works.
- Slot side panels into louvers when you need extra depth; they’re optional insulation against low-angle punishment.
Pair with permeable ground cover and reflective hardscaping, or you’ll bake in your own radiant trap.
Material Selection Guide
Once you’ve mapped where that afternoon sun punches through, the real question becomes what you actually hang there to stop it. I learned the hard way that not all vertical screens are created equal; flimsy panels sag, trap heat, or tear in the first stiff breeze. You want breathable materials that move air while blocking glare, and mounting hardware rated for actual tension, not wishful thinking.
Here’s what I’ve tested:
| Material | Pros | Cons |
|---|---|---|
| Woven shade fabric | Blocks 90% UV, lasts 5+ years | Higher cost, needs tensioning |
| Poly mesh panels | Cheap, airflow excellent | Fades fast, 2-3 year lifespan |
| Bamboo slats | Gorgeous, natural aesthetic | Heavy, requires sturdy frame |
| Shade cloth + climbers | Layered cooling, adds privacy | Annual vine maintenance |
I mount mine west-facing with structural bolts, not screw-eyes, because I’ve watched too many “temporary” installations become permanent disasters.
Height and Spacing
The sweet spot for stopping that 4 p.m. sun assault sits higher than most people guess, and I’ve got the sunburned neck to prove it. I’m talking eight to ten feet minimum for vertical screens, and I’m spacing mine with deliberate intention.
I plant west-facing panels to intercept those brutal rays before they torch my patio. I leave airflow-friendly gaps between sections, because nobody invited stagnant heat to happy hour. I’m layering lattice and slatted panels at uneven intervals for dappled shade that doesn’t suffocate. I’m spacing screens to preserve sightlines; your gorgeous exlawn deserves the spotlight.
This isn’t about building walls, it’s about crafting breathable boundaries. With thoughtful spacing, I’ve blocked the blaze without losing my yard’s openhearted feel.
Use Portable Shade Furniture for Small Backyard Spaces
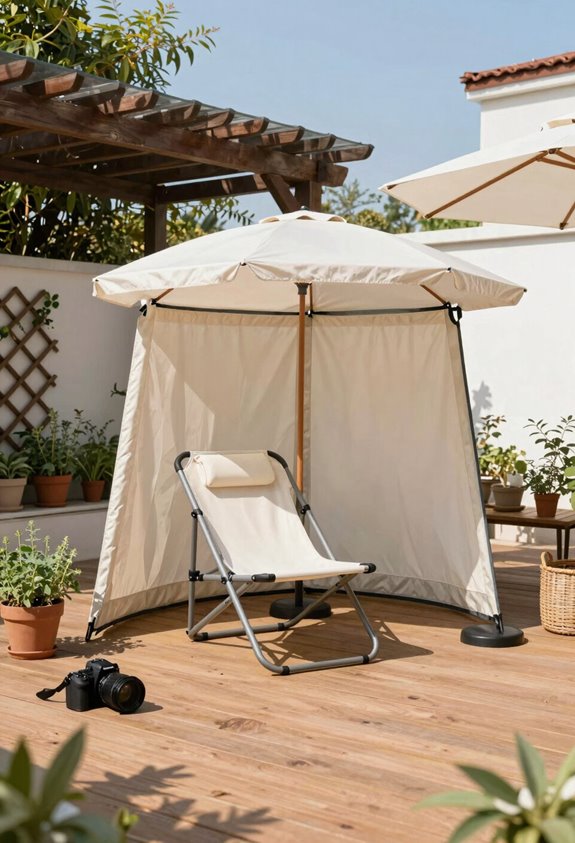
Why wrestle with pergola permits when your shade can roll away on demand? I’ve found portable shade furniture changes my small backyard into a flexible retreat without anchoring nightmares. My egg chair with its overhead canopy seats one perfectly. My daybed’s retractable top shelters two when friends visit. These pieces move where I need them, then stash away before storms hit.
Coverage runs tight, typically 4–6 square feet per person, so I position strategically. Wind’s my nemesis here; I’ve learned to weight bases with 25-pound sandbags or watch my gorgeous ex-lawn become a projectile zone. I pair everything with breathable Sunbrella fabrics (roughly $45/yard) to keep airflow moving and avoid that cluttered, suffocating feel compact spaces risk. Setup takes ten minutes; satisfaction lasts all afternoon.
Cool the Ground Under Your Shade With Light Surfaces
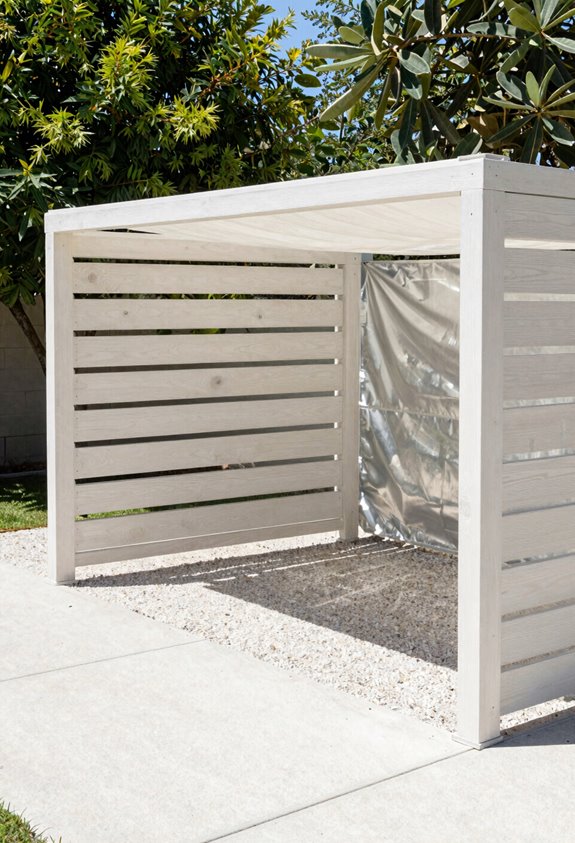
Where’s the relief when your shade structure’s overhead but the ground’s still frying your feet? I’ve learned that cooling my outdoor space demands attention below the canopy, not just above it.
Your shade structures work harder when paired with reflective surfaces. I swapped my gorgeous ex-lawn’s asphalt-adjacent darkness for light-hued hardscaping, think creamy Unilock pavers that bounce solar radiation back skyward. The difference hits immediately; you feel it through your soles.
Here’s my ground-level playbook:
- Light pavers reflect heat instead of absorbing it like blacktop does
- Living ground cover lowers surface temps and adds that airy feeling we crave
- 2–3 inch mulch layers keep soil cool and protect roots near your shade posts
- Strategic misting works in dry zones, but I ventilate well, humidity turns my refuge soggy otherwise
Your feet, and your shade investment, will thank you.
Fix Common DIY Shade Mistakes That Trap Heat
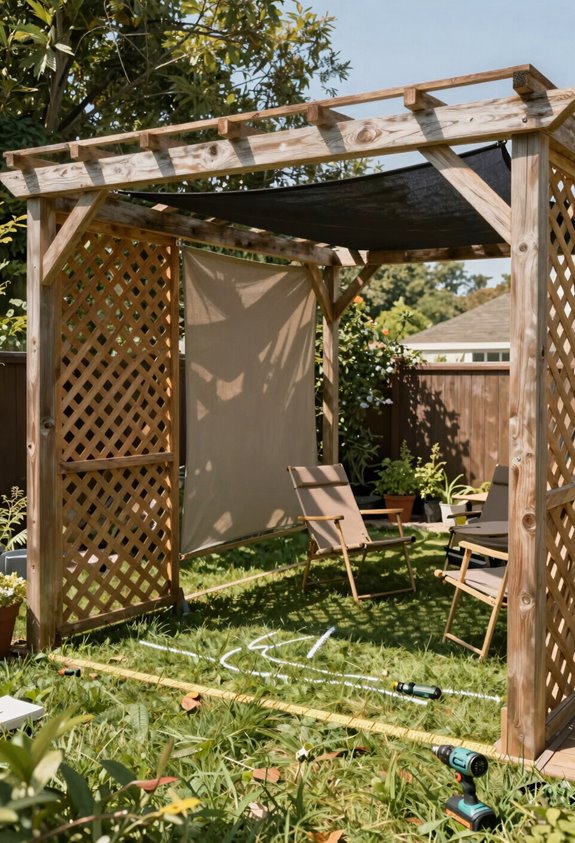
I ditched flimsy popup canopies after one became a kite in 35-mph gusts. Wind-rated umbrellas (minimum 50-lb base, cantilever models hitting $300–$500) or properly anchored sails on 4×4 posts set in 24-inch concrete footings keep my backyard from becoming America’s Funniest Home Videos. Tight tension prevents sag; pooled water tears fabric fast. I’ve learned to check National Weather Service alerts and strike temporary structures before storms, my “gorgeous ex-lawn” recovered from one collapsed trellis, thank you very much.
Vertical layering wins in tight yards: slim cedar pergolas (8-inch beams, $400 DIY) with running post beans or espaliered figs channel airflow upward instead of trapping it. I measure twice, anchor once, and breathe easier.





