
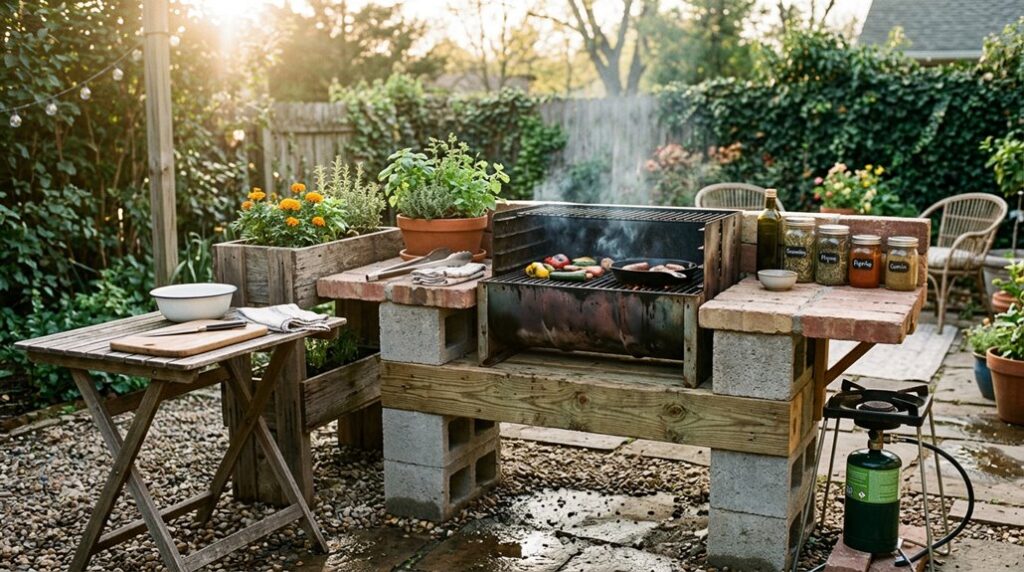
I built my first outdoor kitchen for $87 and change, and it lasted exactly one winter before the countertop turned into a “gorgeous ex-lawn” of moss and regret. Cinder blocks, a bag of concrete, and misplaced optimism; I’ve learned what actually survives USDA zone 6 frosts and what becomes expensive kindling.
The real trick isn’t the materials list; it’s knowing which corners you can cut and which ones collapse under the weight of a cast-iron Dutch oven. I’ll walk you through the five steps that kept my second attempt standing through three seasons, including the drainage slope I eyeballed wrong and paid for later.
Build a Budget Outdoor Kitchen Base for Under $100
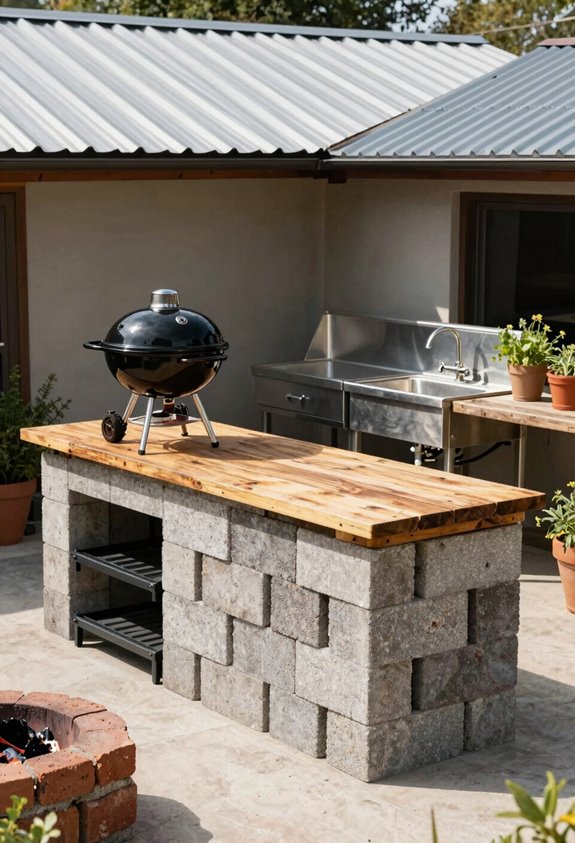
Three cinder blocks and a bag of concrete mix, that’s what got me started, and honestly, it’s all you need if you’re clever about it. I’m building an outdoor kitchen that’s functional, not fancy, and I’ve learned you can create solid prep space on a cinder block base without draining your wallet.
I stack two columns of blocks three feet apart, level them on compacted gravel, and pour a thin concrete slab between them. That becomes my countertop, rough, durable, and costing about $87 total. It’s not granite; it’s gritty determination.
I’ve positioned mine 35 feet from my back door, near the hose bib for easy cleanup, following a simple work triangle: prep here, grill there, serve there. For a budget under $100, you’ll belong to the club of practical dreamers who build smart.
Choose and Install Your Countertop
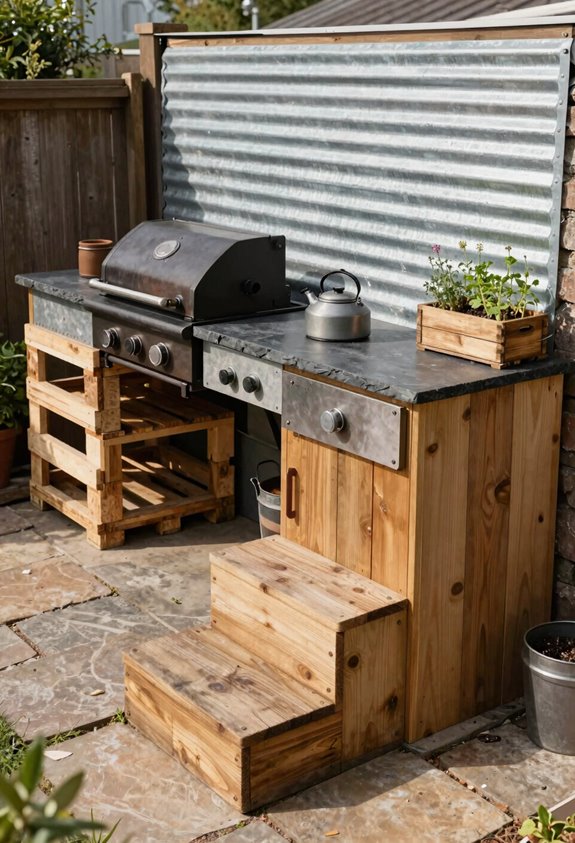
A solid countertop transforms your cinder block base from “construction site chic” into something that actually holds a cutting board without wobbling, and I’ve found concrete delivers that upgrade for roughly $4 per square foot versus granite’s $40-plus insult to your wallet. I started with salvaged plywood, then graduated to poured concrete countertops once my confidence and budget expanded.
Here’s what I learned the hard way: your base needs a level surface before anything else, or you’ll chase wobble forever. Build in a drainage slope, about ⅛ inch per foot toward the front, or rainwater pools behind your prep zone like a mosquito nursery. Skip indoor laminates entirely; they delaminate faster than my first marriage. Instead, invest in exterior-rated sealants and weather-resistant finishes. Concrete’s porous soul drinks moisture without protection, so I reseal mine annually.
Add Tool Hooks and Hidden Spice Storage
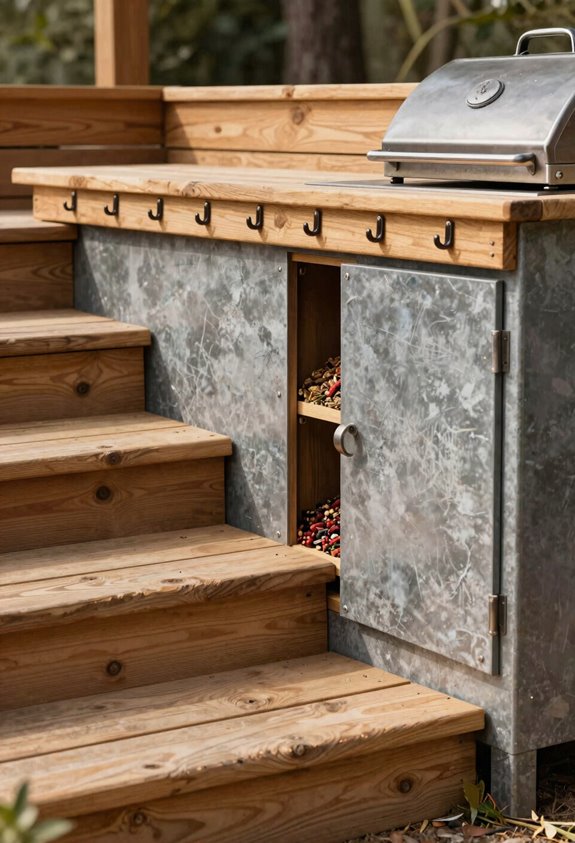
Where do you stash your tongs when the grill’s flaring up and you need them *now*? I’ve learned that outdoor kitchen storage lives or dies by accessibility, so I mount magnetic tool hooks directly to my prep area’s side panel; no rummaging through drawers while your steaks carbonize.
For hidden spice storage, I repurposed a shallow drawer under my butcher-block surface; it slides out with one finger, keeping paprika and cumin close but protected from afternoon thundershowers. Under-counter storage doubles down on this: a woven basket behind a removable slat panel conceals brushes and oil bottles without visual clutter. I added a magnetic tea towel bar above the action, because soggy linens breed despair. This setup cost maybe forty dollars, yet changes chaos into choreography.
Connect Water and Drainage on the Cheap
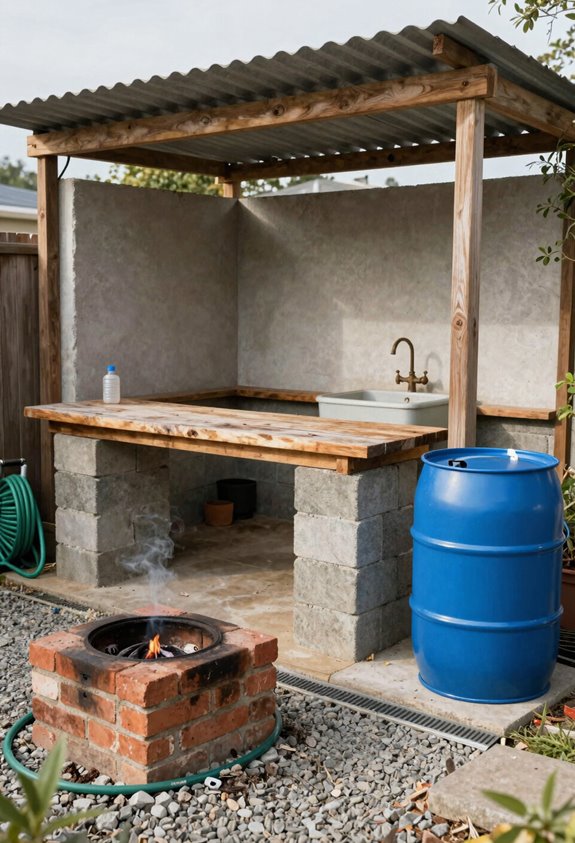
Once your tools hang at attention and your cumin sleeps safely in its drawer, you’ll notice the real luxury gap: running water without dragging the garden hose through your prep zone every five minutes.
I’ve cracked this with a plumbing-free outdoor sink hooked to my existing hose bib, which keeps my budget intact and my sanity somewhat restored. Water access becomes painless when you’re tapping what’s already there.
For drainage, I sloped my countertops at 1/8 inch per foot toward the front edge, learned that after a puddle warped my first plywood attempt in USDA zone 7a humidity. The sink drains through gravity into a five-gallon bucket I empty onto my gravel bed; no pump, no permits, no tears.
If permanent fixtures feel daunting, grab a portable jug-and-pump station. You’ll belong at every barbecue knowing you washed those tomatillo hands properly.
Roof Your Outdoor Kitchen for Under $200
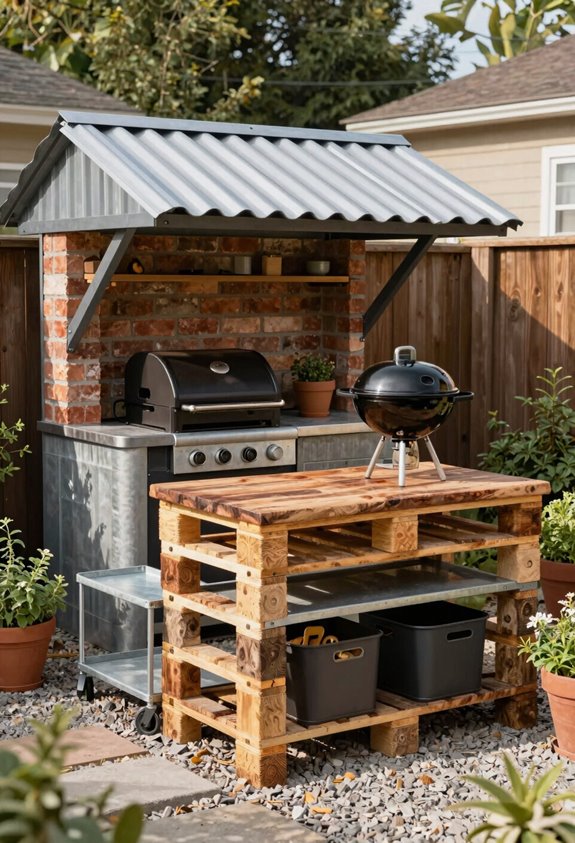
Sun-beaten countertops and a grill that rusts in two seasons taught me that shade architecture isn’t a luxury; it’s survival gear for anyone who wants to cook outside past August. For roofing on a strict budget, I’ve leaned hard into shade sails and heavy-duty tarps stretched between 4×4 posts set two feet deep in concrete; total spend hovers around $50–$150, including hardware.
This weatherproofing hack delivers real protection, blocking UV that degrades granite and rain that corrodes burner assemblies. I’ve pitched mine at a 15-degree angle for drainage; standing water collapses tarps and breeds mosquitoes.
Check local codes; some jurisdictions demand permits for permanent structures, which torpedoes the whole under-$200 promise. Anchor everything against wind; I’ve watched a gorgeous ex-lawn become a kite graveyard. Your outdoor kitchen deserves better.





