
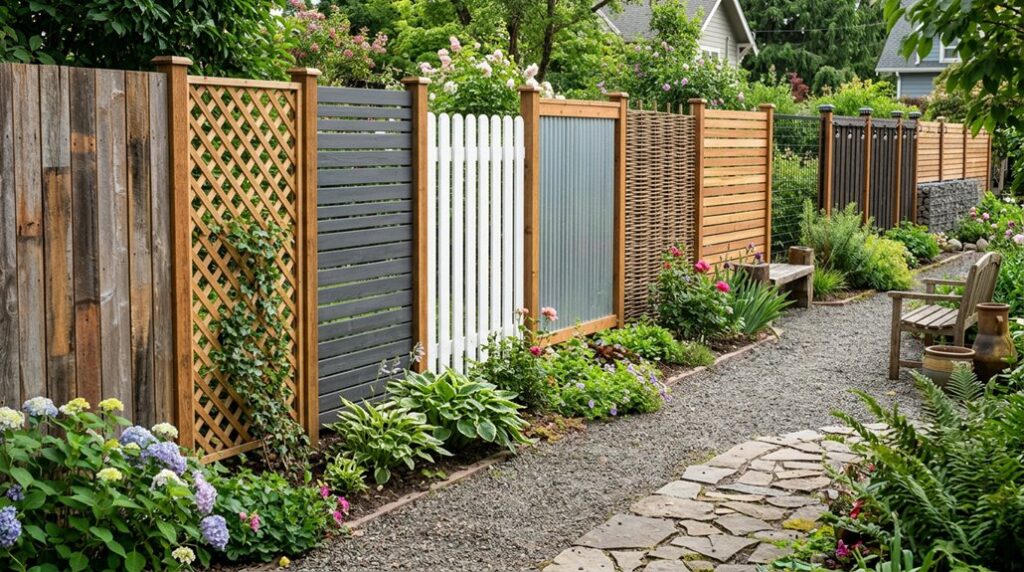
I’ve long suspected that attractive backyard fencing demands either deep pockets or professional installation, but a decade of failed experiments, like the cattle-panel windbreak that collapsed in a Nebraska thunderstorm, has convinced me otherwise.
Most homeowners can achieve perimeter definition for $8-$15 per linear foot using pressure-treated pine or repurposed pallets, though you’ll want Southern Yellow Pine rated for ground contact in USDA zones 4-8.
The real question: which budget method won’t become a maintenance albatross by year three?
How to Make Cheap Fences Look Expensive
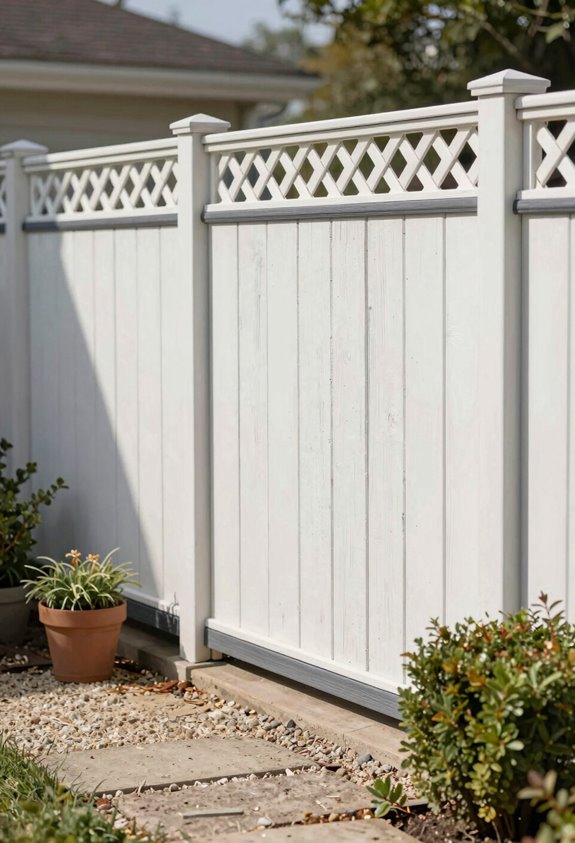
There’s a peculiar satisfaction in watching neighbors crane necks at a fence that cost half their estimate, and I’ve spent years refining exactly how to pull it off. I’ve learned that privacy fence ideas don’t demand deep pockets, just strategic choices.
I tack lattice panels atop existing chain-link; suddenly, I’ve got vertical dimension without replacing a post. Horizontal slats read custom at lumberyard prices, and scalloped pickets catch shadows like expensive millwork. I paint with outdoor acrylic latex matched to my shutters, and the fence design integrates as if I planned it from the foundation up.
For DIY privacy on a budget, I frame partial fences with deliberate board alignment—no gaps, no excuses—and train ivy or string lights before sunset. The result? Polished, affordable, and unmistakably mine.
Choose Your Budget Fence: 4 Questions to Answer First
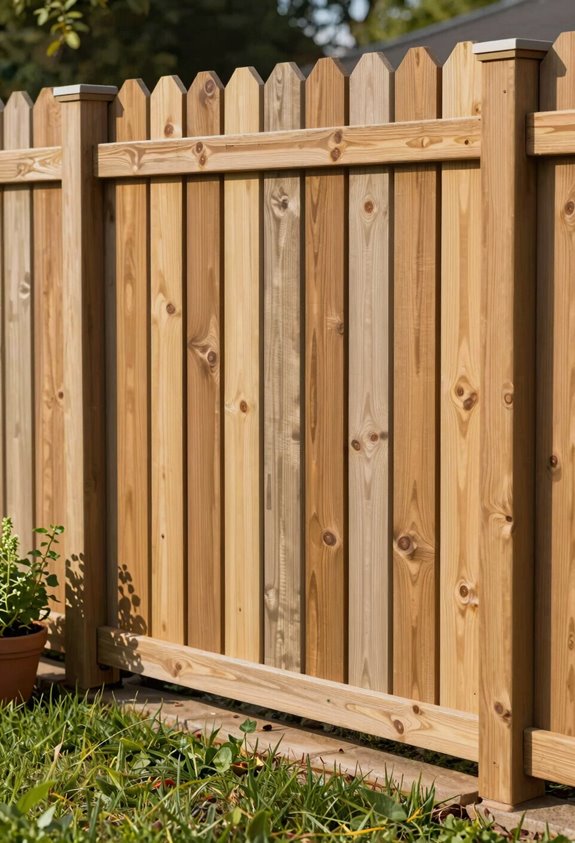
Before I grab a shovel and start digging post holes, I need to know exactly why I’m fencing and what I’m working with, because nothing kills a budget faster than installing a slip-board fence only to realize my “small to mid-sized dog” is actually a fence-leaping escape artist who needs that wire mesh upgrade.
I’ve learned to measure twice, account for slope grade (anything over 12% changes your rail length and post depth), and check local setback requirements, usually 6 inches from property lines, though my neighbor’s costly lawn dispute taught me that “usually” isn’t worth the $2,400 rebuild.
Soil composition matters too: clay-heavy ground in USDA zones 4-6 heaves posts, so I add 4 inches of gravel below concrete footings, whereas sandy loam in zones 7-9 lets me get away with tamped earth and a 36-inch depth instead of 42.
Define Your Purpose
Why sink thousands into a fence that fights your actual needs? I always start by nailing down my fence purpose before browsing a single board. Budget-friendly fencing only works when it’s built for your specific life, not some magazine spread.
Ask yourself: are you corralling dogs, blocking a nosy neighbor, or marking property lines? Each answer steers you toward different cost-effective materials and construction. I’ve learned that purpose-driven design saves 35% to 40% off premium options.
Slip Board fences with horizontal rails and optional wire mesh handle security without the splurge. Picket fences contain pets at varying heights without full privacy costs. Know your “why,” and you’ll belong among homeowners who build smart, not just cheap.
Assess Your Space
How precisely does your yard’s personality dictate which budget fence won’t become an expensive mistake six months later? I learned this the hard way when I eyeball-measured my sloped yard and ended up with three inches of daylight beneath my “secure” barrier.
Your space assessment isn’t optional arithmetic. Measure twice, accounting for grade changes, drainage patterns, and that gorgeous exlawn your maple will drop come October. Flat terrain suits picture-perfect picket fence ideas, while uneven ground demands flexible post-and-rail configurations with supplemental wire mesh.
I calculate materials by the linear foot, adding 10% for mis-cuts and mid-project epiphanies. Budget-friendly options like slip board designs use 35% less lumber than solid privacy walls, stretching your affordable fencing dollar without sacrificing containment.
Match your fence to your microclimate’s demands, and you’ll belong among homeowners who plan smart.
Pressure-Treated Wood Privacy Fences That Last
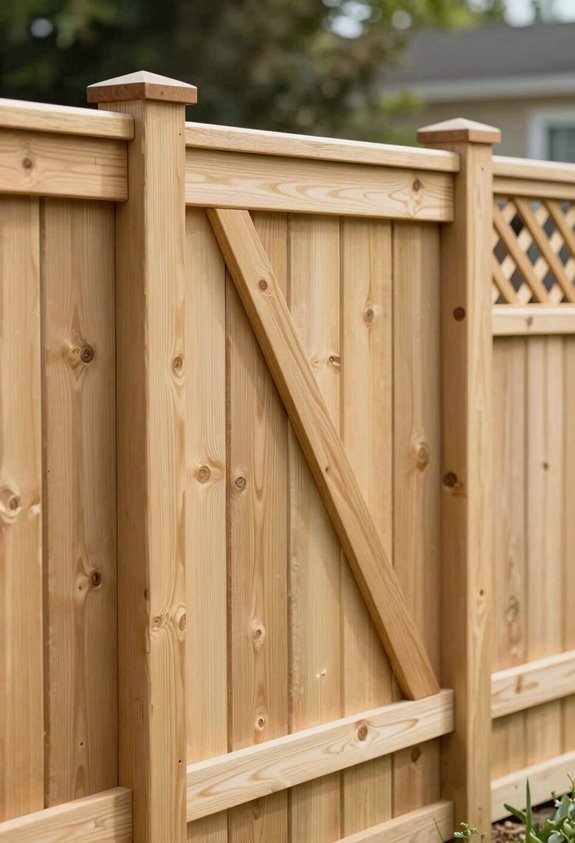
I’ve installed pressure-treated pine privacy fences across three properties now, and at roughly $15-25 per linear foot for materials, they deliver serious bang for your buck when you factor in the 15-20 year lifespan you get with proper care.
The chemical infusion, copper azole or ACQ, depending on when you’re reading this, creates that familiar greenish tint that fades to a warm silver-gray I actually prefer, though you’ll want to stain within six months if you’re chasing that cedar-rich aesthetic. Sure, you’ll reseal every 2-3 years and replace the occasional warped 4×4 post, but compared to vinyl’s upfront cost or cedar’s rot susceptibility in USDA zones 6-8, you’re looking at perhaps the most forgiving compromise between your wallet and your property line.
Cost-Effective Durability
Where exactly does a budget-minded gardener draw the line between cheap and flimsy? I’ve wrestled with this question across three USDA zones and countless fence failures, and pressure-treated wood keeps proving its worth.
- Initial costs run 30-40% below cedar or composite, making it genuinely cost-effective for sprawling boundaries
- Chemical treatment penetrates 1/4-inch deep, repelling rot and insects for 15-20 years with competent maintenance
- Annual inspections catch warping early; I stain mine every 3-4 years at roughly $0.75 per linear foot
- Durability demands respect; leave ground contact untreated, and you’ll witness gorgeous exlawns turn to compost
- DIY installation saves labor costs, though post-hole digging at 24-inch depth in clay soil tests one’s commitment
The maintenance trade-off isn’t glamorous, but neither is replacing vinyl in a hailstorm.
Natural Aesthetic Appeal
Why does pressure-treated pine still dominate suburban sightlines despite flashier alternatives? I’ve installed miles of the stuff, and I’ll tell you: pressure-treated wood delivers a natural aesthetic that vinyl simply fakes. It’s budget-friendly upfront, roughly $15-$25 per linear foot for 6-foot panels in my Zone 7 trial runs, and that warmth under afternoon light belongs in your yard, not a factory mold.
| Element | What You Actually Get |
|---|---|
| Grain pattern | Real annular rings, not embossed deception |
| Color evolution | Silver-gray patina or customized stain absorption |
| Curb integration | Seamless blending with established landscaping |
| Neighborhood tone | The “we’ve got our act together” signal |
Here’s my confession: I once skipped sealing a stretch, watched it gray prematurely, and learned upkeep-free long-term costs are a fantasy. Hit it with quality stain every 3-4 years. You’ll preserve that gorgeous exlawn charm without bleeding money on replacement boards.
Long-Term Value
That silver-gray patina I mentioned? Skip it if you want lasting fence costs to stay sensible. I learned pressure-treated wood demands commitment, but rewards you with genuine long-term value when you show up for the work.
Pressure-treated wood resists decay and insects through chemical infusion, buying you decades in USDA zones 4-8. You’ll invest $15-$30 per linear foot upfront, mid-range, but honest pricing for the category.
Stain or seal every 2-3 years; I ignored this once, and my “gorgeous exlawn” became compost adjacent. Maintenance runs roughly $200-$400 annually for a standard 150-foot run, depending on your elbow grease tolerance.
Proper care yields 15-20 years, crushing the long-term value of cedar alternatives that cost double.
The math works if you do.
Split Rail Fences: Rustic Boundaries for Large Properties
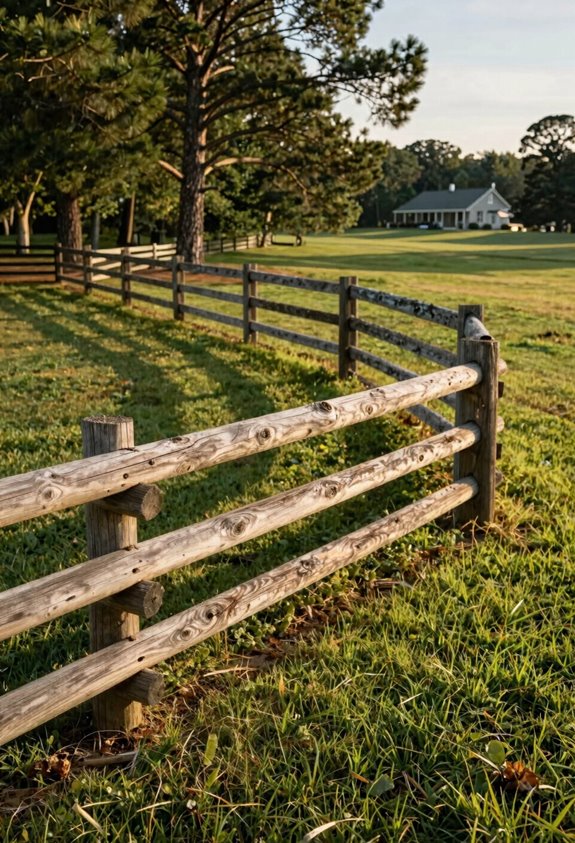
How does a fence manage to look like it’s barely trying and still costs less than my last attempt at container gardening? I discovered the split rail fence after my third failed zucchini season in USDA Zone 6b, and it’s been my go-to for large properties ever since.
This rustic wood fence uses locust or cedar posts with two to four rails split lengthwise and interlocked, creating boundaries that feel established without blocking views. I installed 200 linear feet in a single Saturday with my neighbor’s post-hole digger and $800 in materials, roughly $4 per foot versus $25 for privacy fencing.
For large properties, you’ll use 40% less lumber than solid panels. Add wire mesh between rails for livestock containment, or plant low groundcover like creeping thyme at the base. The weathered gray patina arrives naturally within two seasons, no stain required.
Pallet Fences That Double as Garden Planters
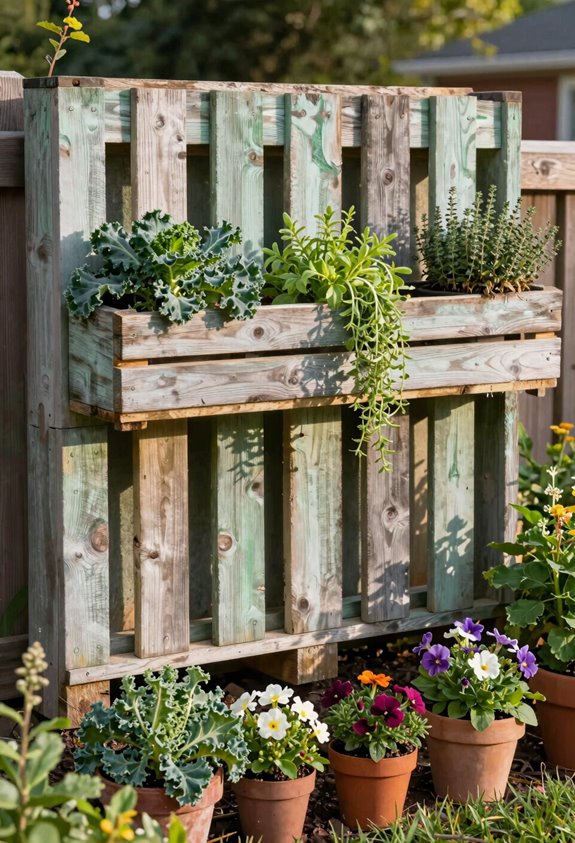
I usually score HT-stamped pallets for free behind industrial warehouses, steering clear of the MB-stamped chemical-treated ones that’ll leach into your heirloom tomatoes. For vertical integration, I pack the slats with six inches of potting mix, enough for strawberries in USDA zones 5-9, and let nasturtiums trail down to hide the scrappy “gorgeous exlawn” aesthetic I created when the posts leaned.
You’ll want 4×4 posts set every six feet and a coat of Thompson’s Water Seal. Skip this and you’ll be rebuilding the whole thing in eighteen months like I did after that particularly wet winter in USDA Zone 7.
Pallet Sourcing Tips
Where exactly do you find pallets sturdy enough to survive three growing seasons without turning into termite condominiums? I learned this the hard way when my first DIY fence collapsed mid-summer, taking three tomato plants with it. Proper pallet sourcing separates gorgeous exlawn from real regret.
Check local hardware stores for heat-treated (HT) stamps, avoiding chemical-soaked MB pallets entirely. Inspect for rot, nails, and mysterious stains before loading your trunk. Scour Facebook Marketplace and industrial parks on Monday mornings when businesses purge weekend inventory.
Budget $0-$5 per pallet; free ones often require more sanding than they’re worth. Seal with exterior wood preservative within 48 hours of acquisition.
This budget-friendly approach protects your pallet fences from the fungal doom that claimed my 2019 attempt. Prevention beats rebuilding.
Vertical Garden Integration
Why stop at a fence when you can build a living pantry? I turned my pallet fence into a vertical garden last spring, and it’s become the centerpiece of my backyard. The slatted design practically begs for greenery integration; just tack landscape fabric behind each slat, fill with potting mix, and you’ve got instant planters. I grow cascading nasturtiums and compact cherry tomatoes in mine; the living wall shields my patio from neighbors while producing actual food.
My setup cost under $80 in pallets and soil, versus $600+ for basic privacy fencing. Climbing pole beans twine through the upper slats, enhancing the screen without extending the footprint. For year-round structure, I intersperse evergreen herbs like thyme and rosemary. Rustic charm meets function; plus, fellow gardeners always linger at my gate, swapping cutting tips and cultivar recommendations.
Stability and Weatherproofing
All that vertical growing potential means nothing if your fence warps into modern art after one rainy season, so let me tell you how I keep my pallet planters standing straight and rot-free.
I’ve learned budget-friendly weatherproofing isn’t optional: it’s survival. My first pallet fence lasted exactly eight months before becoming compost, so here’s what works now:
I seal every surface with exterior-grade polyurethane, two coats, paying special attention to end grain where water sneaks in.
I sink 4×4 posts 24 inches deep in gravel, then attach pallet sections with exterior screws for stability through freeze-thaw cycles.
I elevate bottom boards 2 inches off soil to prevent capillary rot, which helps durability considerably.
I apply fresh sealant each spring, which costs maybe $15 and takes an hour.
I select HT-stamped pallets, avoiding chemically-treated MB stamps near edibles.
These pallet fences now weather three years minimum, and you’ll belong to the club of smug neighbors whose gardens look intentional.
Wood-and-Wire Fences for Open Views and Pet Containment
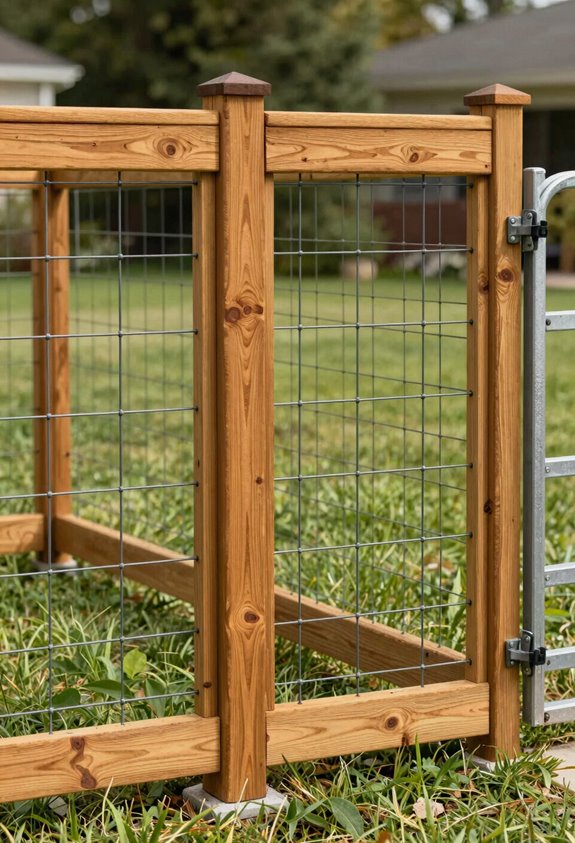
Sometimes the best fence is the one you barely notice, and I learned this the hard way after installing a solid cedar panel enclosure that turned my Zone 7b backyard into a claustrophobic shoebox. I tore it out within eighteen months and rebuilt with wood posts and wire mesh, spacing cedar uprights every eight feet with 2-inch welded wire between them.
The difference was immediate: open views restored, my terrier contained, and my checking account barely bruised at $12 per linear foot versus $28 for stockade panels. You can stain the wood frame to match your deck or let it weather to that silvery gray we all secretly covet. Chicken wire works for rabbits, but I splurged on vinyl-coated 14-gauge for rust resistance.
My tomatoes get full southern exposure now, and the neighbor’s kids wave through the gaps. Belonging to a neighborhood doesn’t require hiding from it.
Horizontal Slat Fences (That Work on Slopes Too)
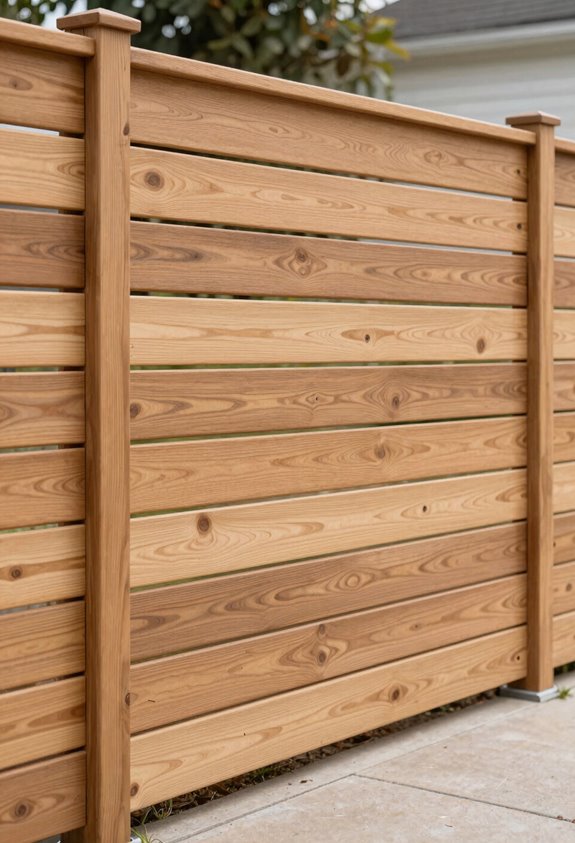
Vertical boards fight gravity on a grade, but horizontal slats work with it. I figured this out after watching my neighbor’s cedar pickets warp into a picket fence impression of a roller coaster across his 12-percent slope in Zone 8a. Horizontal slat fences became my gorgeous exlawn solution: budget-friendly, slope-friendly, and forgiving for DIY installation.
- Wider boards mean fewer cuts and less waste, dropping material costs to roughly $8-12 per linear foot
- Stepped or staggered courses follow slopes without the drunken sailor effect
- A simple wood frame with optional ground-level wire keeps dogs contained without prison aesthetics
- Tutorials abound for weekend builds requiring basic tools and one moderately patient helper
- That streamlined, modern look signals you belong to the club of people who planned this, not inherited it
Corrugated Metal and Wood: Industrial Style on a Budget
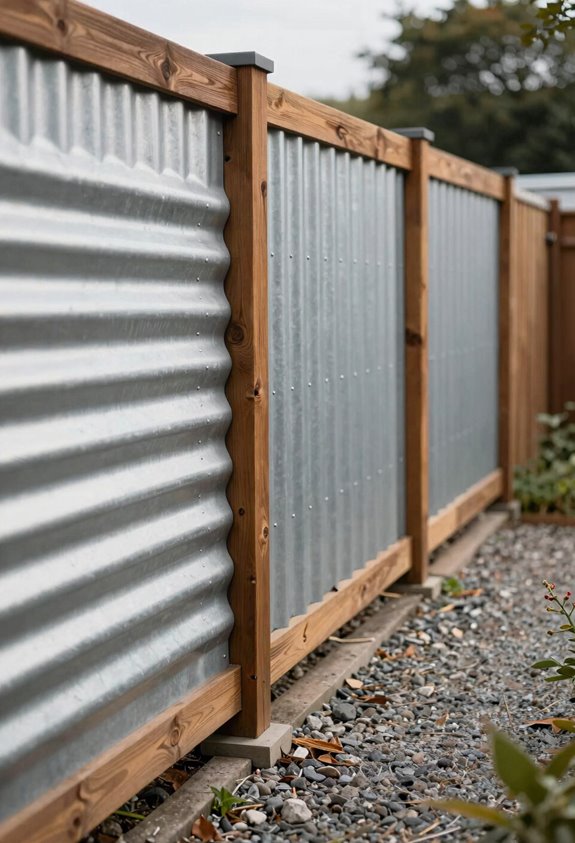
Why settle for a fence that whispers “subdivision” when you can build one that growls “warehouse district chic” for roughly the same money? I’ve built this combo twice, corrugated metal panels screwed to pressure-treated wood posts, and it delivers serious industrial style without the wrought-iron price tag. At $8-12 per linear foot, it’s budget-friendly.
| Visual Element | What Your Neighbors See |
|---|---|
| Rust-patina panels | “They hired a designer” |
| Horizontal corrugation | Mid-century modern vibes |
| Cedar post caps | Warmth against the steel |
| Shadow gaps at dusk | Gallery-wall lighting |
| Your dog peeking through | Instagram gold |
The panels cut clean with tin snips, handle slopes better than vinyl, and laugh off hail. I’ve left mine raw in Zone 7b for three years: zero maintenance, a good backdrop for the former lawn. Mix materials strategically: metal where you need privacy, wood lattice elsewhere.
Lattice Panels for Light-Filled Privacy
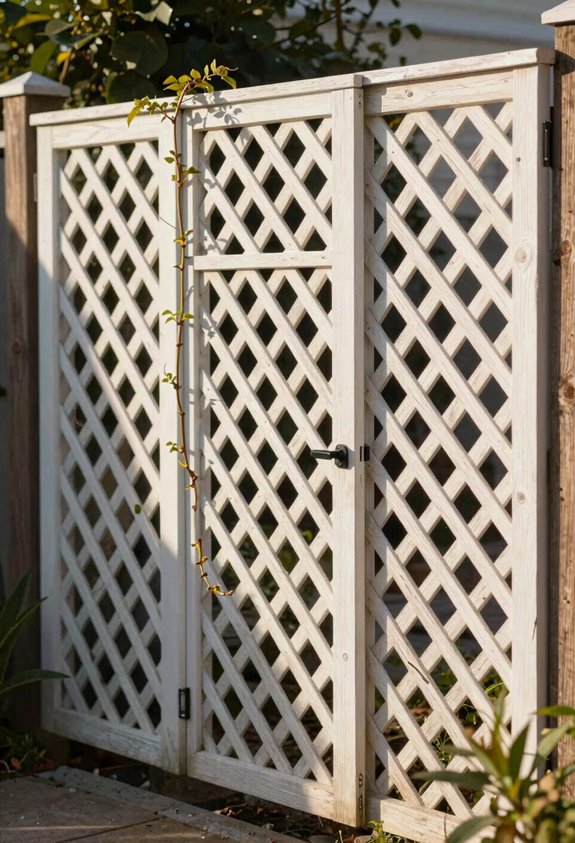
Where else can you get privacy without building a wall that blocks every sunset? I’ve found lattice panels deliver that sweet spot, defined boundaries without the bunker mentality. My light-filled backyard fence upgrade cost roughly $180 for 40 linear feet and one Saturday morning.
- Lattice panels install over existing fencing, saving demolition costs
- Privacy remains intact while dappled sunlight filters through
- Airflow prevents that stagnant corner feeling in humid USDA zones 7-9
- Climbing clematis and jasmine transform the structure into living architecture
- Weekend warriors complete this without specialized tools or permits
I learned the hard way: untreated pine rots within two seasons. Spend the extra $30 on pressure-treated stock or cedar. Your future self, admiring trumpet vines engulfing that gorgeous ex-lawn, will thank you.
Repurposed Materials: Windows, Doors, and Shutters as Fencing
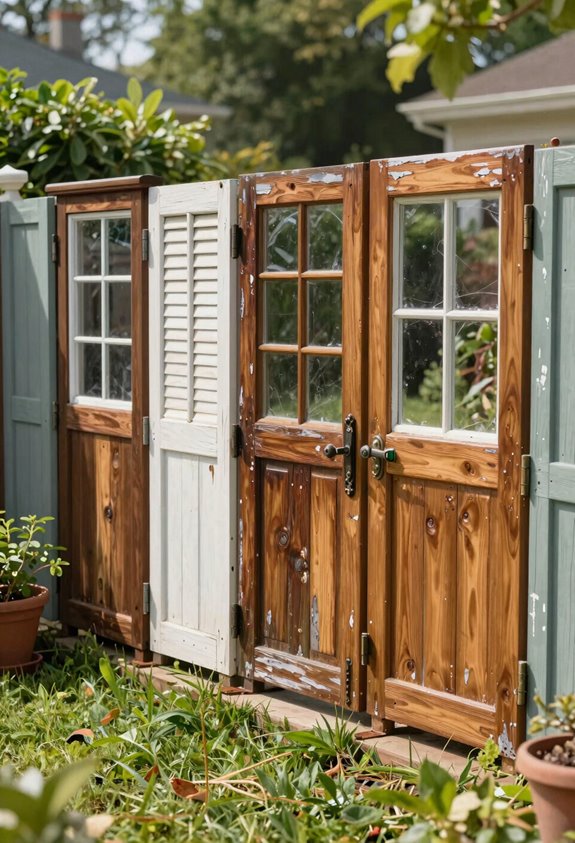
How many dumpsters have you walked past without spotting fence potential? I’ve built three rustic DIY-fences from salvaged windows and shutters, and I’m still finding treasures.
Reclaimed panels transform into privacy fencing with nothing but 4×4 posts set 24 inches deep and a simple wooden frame. I arrange repurposed materials at staggered heights: old doors at six feet, shutters at four, creating visual rhythm while blocking sightlines. Last summer, I spent $47 on hardware and four weekends assembling my “window wall” in Zone 7b.
The trick? Remove all glass first; shattered panes make gorgeous ex-lawns but terrible memories. Pair your installation with Clematis montana for seasonal coverage.
These fences aren’t just sustainable; they’re conversation starters that prove belonging comes from creativity, not cash.





