
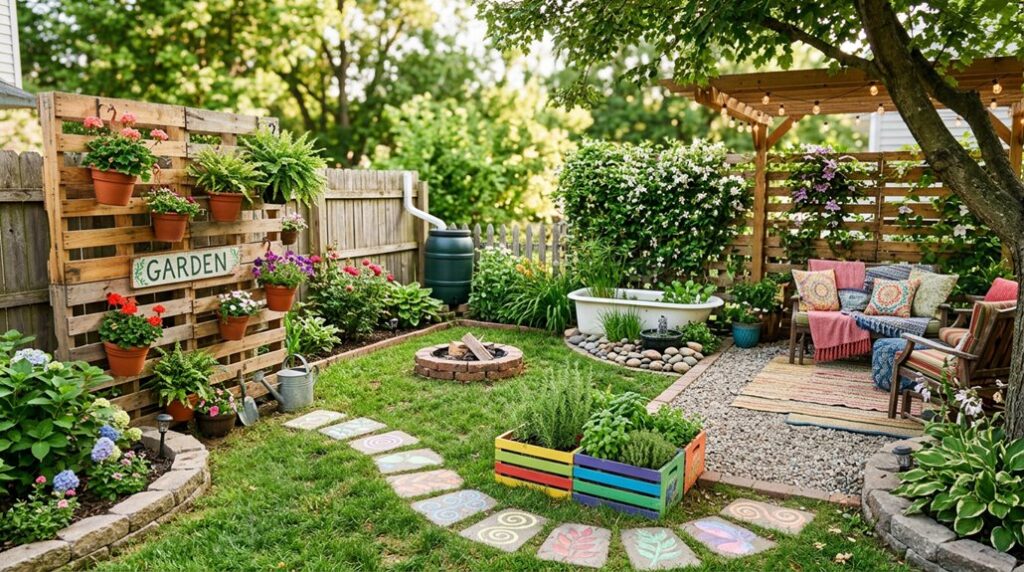
I once spent $847 on a “professional” patio that drained directly into my neighbor’s begonias, which taught me that backyard transformation isn’t about spending, it’s about spending wrong.
My current stenciled concrete “pavers” cost $73, took one Saturday, and haven’t drowned a single plant in three years.
I’ve since prototyped nine other budget builds that actually work, each measured against the same brutal standard: would I pay for this again with my own money?
Some crashed spectacularly.
Others earned permanent residency in my zone 7a yard.
You’ll want to know which is which before you dig your first hole.
Map Your Backyard Budget Before Building
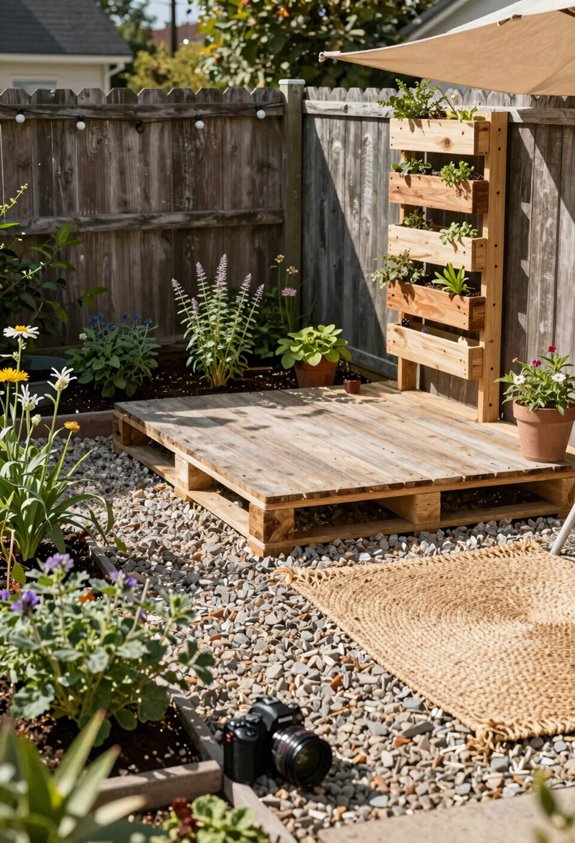
Where do I even begin when my wallet’s thin and my ambitions run wild? I’ve learned that solid budget planning saves me from the gorgeous exlawn of regret. I start by carving my budget into three trenches: materials, tools, and labor I might outsource.
Then I embrace phased spending, breaking my backyard into 10×10 foot zones I tackle monthly rather than hemorrhaging cash upfront. I assess what I’ve got (that cracked patio isn’t dead, just resting) and prioritize seating areas where friends actually gather.
I hunt end-of-season sales like a possum raids compost; October netted me 40% off cedar last year. Second-hand pavers, repurposed raised beds, and patience stretch my dollars. Budget isn’t a dirty word; it’s my blueprint for belonging outdoors without drowning in debt.
DIY Concrete Stencil for Under $100
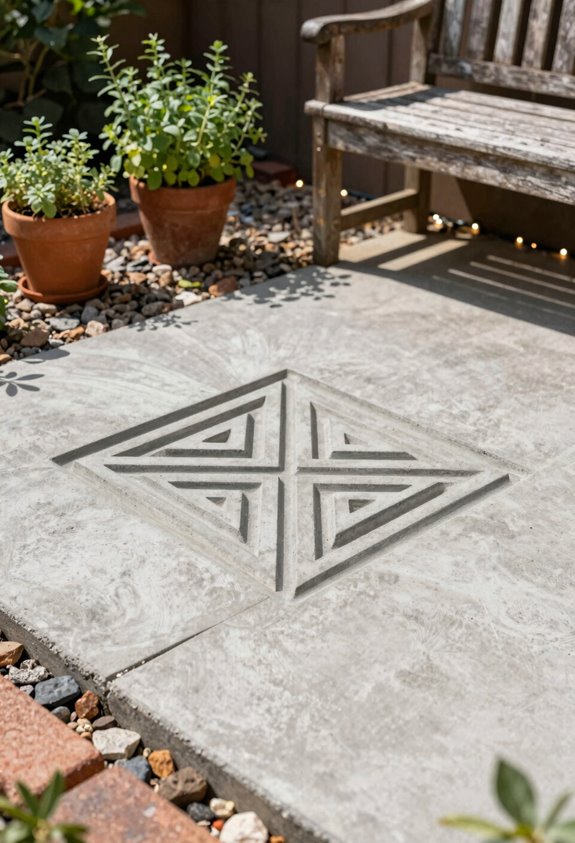
A concrete stencil is my go-to method for faking expensive paver work without the paver price tag. Kristin’s project clocked in at $90 total, proving you don’t need deep pockets to transform tired concrete into something worth showing off.
I laid my stencil over existing patio slabs, rolled on concrete stain in a herringbone pattern, and suddenly my outdoor space looked intentional rather than inherited from the previous owner. The technique rewards patience; tape edges firmly, work in sections, and resist the urge to lift prematurely.
Kristin’s Instagram highlight saved me from my first botched attempt where I skimped on surface prep. For budget-conscious renovators, this delivers maximum visual impact per dollar. My neighbors now ask which mason I hired. I don’t correct them.
Build a Budget Gravel Patio
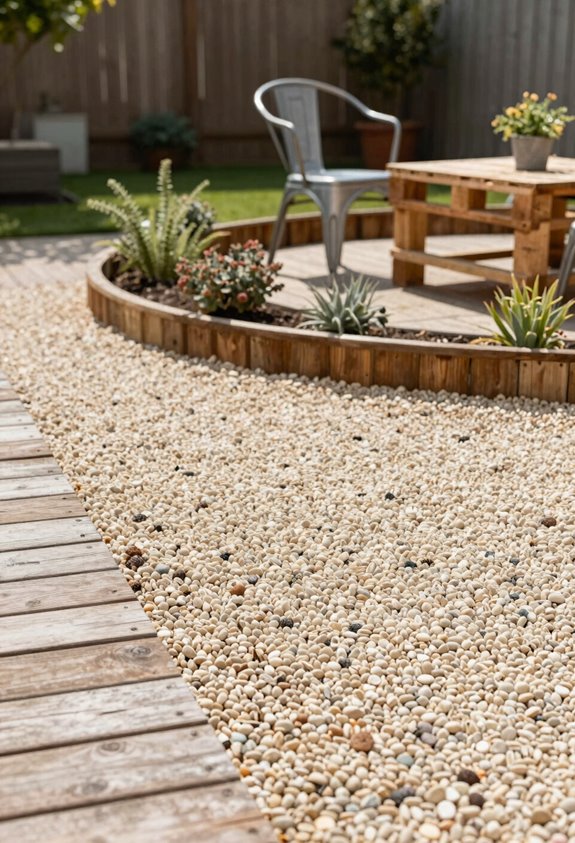
I’ve built three gravel patios in USDA zones 6b through 8a, and I’ve learned that choosing angular crushed stone over rounded pea gravel prevents the “marbles underfoot” effect that sent my first attempt sliding downhill after every rain. You’ll want to excavate 4–6 inches, slope 1 inch per 8 feet for drainage, and install steel or repurposed paver edging before compacting your base; skip the weed barrier fabric if you enjoy pulling dandelions through loose stone every May.
Maintenance means topping off with a half-inch refresh every 2–3 years and raking leaves promptly, because decomposing organic matter creates soil where you specifically planned not to have any.
Gravel Selection Tips
Why pour concrete when unstable ground and a thin wallet both point toward loose aggregate? I build my gravel patio with three non-negotiables: proper edging, weed barrier fabric, and the right stone size. I’ve learned that 3/4-inch crushed limestone locks together better than pea gravel, which migrates like unruly guests at a party.
For edging, I scavenge pressure-treated lumber or steel strips from salvage yards, anything that corrals the stone without draining my savings. The weed barrier fabric goes down before a single pebble; skip this step and you’ll battle crabgrass through your gorgeous ex-lawn by July.
I aim for four inches of compacted depth, which runs roughly $3-4 per square foot if I time purchases with spring sales. Pair it with a cedar walkway and strategic plantings, and you’ve got cohesion without the concrete crew’s invoice.
Site Preparation Steps
Where exactly does one start when converting turf to terrace? I strip the sod with a flat shovel, aiming for four inches of depth across my marked perimeter—roughly 120 square feet for my zone 6b experiment. I grade the soil with a 1:50 slope away from the house, because standing water turns ambition into regret.
I scavenge leftover gravel from a neighbor’s driveway project and hit Memorial Day sales for the rest. After raking and compacting the subsoil, I stomp it in boots when the compactor rental feels steep. I unroll thick weed barrier, overlapping seams by six inches like I’m tucking in a gorgeous ex-lawn. Finally, I pin flexible plastic edging along my curve, defining where this gravel patio ends and the yard begins.
Edging and Maintenance
Although that flexible plastic edging looked crisp against the curve when I pinned it yesterday, I’ve learned to hammer landscape spikes every thirty inches and leave exactly three-quarters of an inch above grade so the pea gravel stays corralled without creating a tripping hazard. I know from last spring’s brutal frost heave in zone 6b that I’ll be replacing at least two popped stakes each April.
My gravel patio maintenance runs lean: I rake displaced stones monthly, spot-spray vinegar on weeds breaching the fabric, and top-dress thin patches every eighteen months with half a yard of fresh pea gravel. That $2,700 investment spread across 2.5 years feels manageable when I pace myself.
| What I Worry About | What Keeps Me Grounded |
|---|---|
| Frost heave unzipping my edging | The rhythm of seasonal touch-ups |
| Weeds colonizing the gorgeous exlawn | Neighbors asking how I did it |
| Popped stakes at 2 AM in my mind | April’s ritual of replacement |
| Gravel migrating into the lawn | Clean lines that define my space |
| Cost overruns | Phased work, reused materials |
Build Simple Steps for a Sloped Yard
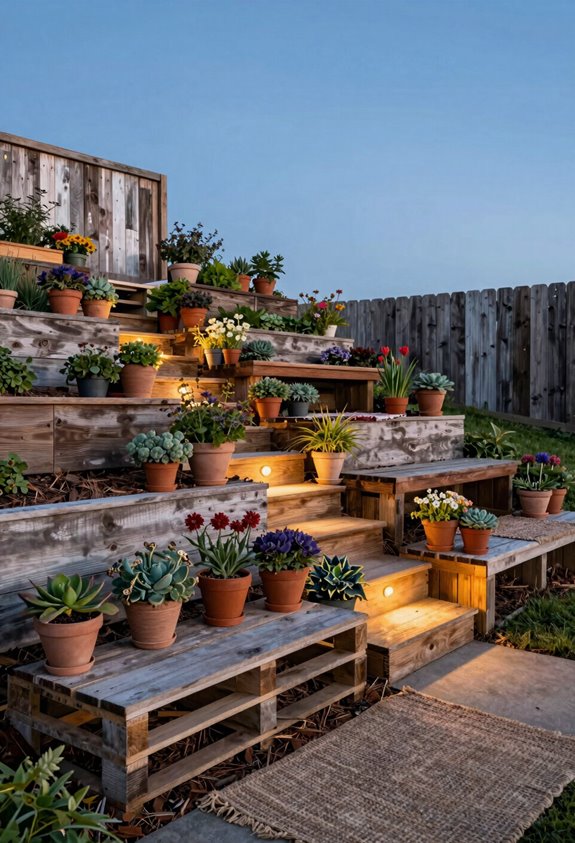
How many times have I trudged up a sloped yard only to slip on wet grass and curse my lack of foresight? Backyard steps fixed that, and this budget transformation cost me little more than sweat and six pressure-treated 4x6x8 boards.
I built nine U-shaped units for my 54-inch rise, height divided by six inches per step, and cut treads at 15.5 inches wide. Each step uses eighteen- and twenty-four-inch pieces, predrilled and joined with eight lag screws front-to-sides, lag bolts side-to-side. Countersunk everything for flush faces. I anchored the bottom unit with rebar through access holes, checked level obsessively, then stacked upward.
Wood preservative on cut ends; learned that lesson the hard way, then dirt backfill and pea gravel between treads. Repeated level checks saved my former lawn from cascading failure.
Build a DIY Pergola for Under $1,100
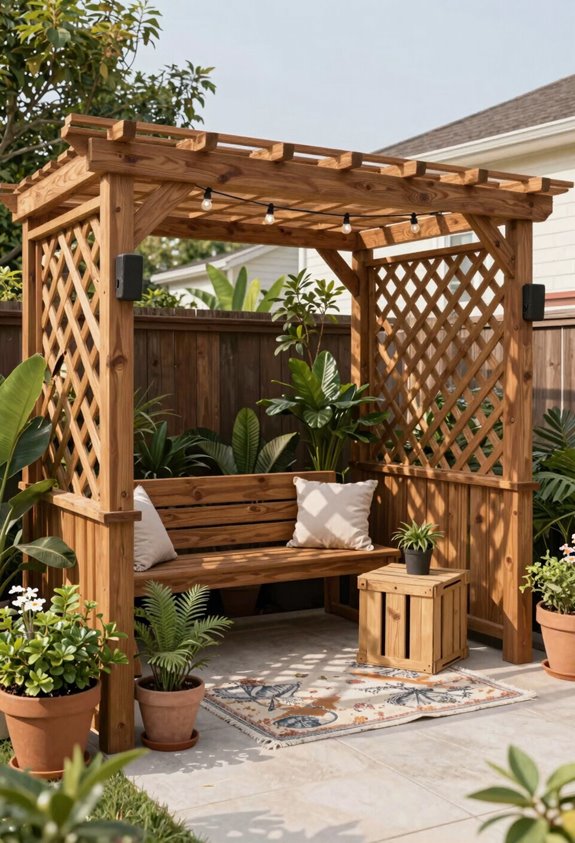
Why spend three grand on a contractor when $1,100 and a free weekend builds something sturdier than my marriage? I built my DIY pergola using Toja Grid brackets, $800 for hardware and $300 for lumber, and skipped the wobble that defines my early projects.
I extended my existing concrete slab first. Nothing says “welcome to outdoor living” like ground that doesn’t shift.
The bracket system calmed my collapse terrors; I’m no structural engineer, but I’m also not a fool. I stained it black eventually, after a year of weathered indecision. Now it’s my budget-friendly anchor for movie nights and morning coffee. Cross-reference my outdoor theater post if you want the full backyard symphony.
Add a Weatherproof Bed Swing
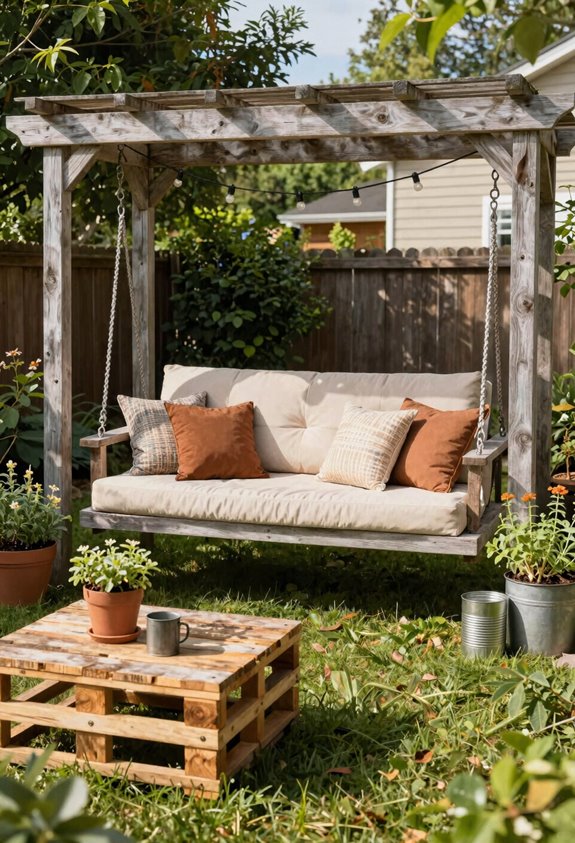
I’ll build my bed swing from cedar two-by-fours rated for 400-pound loads, screwing eye hooks directly into ceiling joists I’ve located with a stud finder; no shortcuts on hardware, since I’ve watched a poorly anchored swing drop six inches and dump my cousin onto the patio.
Around it, I’m dragging in weatherbeaten stumps from the ash I felled last year, letting them cure into organic coffee tables that cost nothing but the chain oil on my saw. For curtains, I’m dyeing drop cloths in diluted olive paint and hanging them on tension wire, though I learned the hard way that unsealed fabric mildews by August in Zones 7b and warmer, so I’ll spend the extra twelve dollars on a water-repellent spray this round.
Building Your Swing
Where exactly does one put a full-size bed outside without inviting rot, regret, and the judgment of one’s HOA? I built my bed swing with my brother-in-law, repurposing a tree-stump coffee-table concept we’d sketched three summers back. We anchored screw eye hooks into ceiling joists, actual joists, not wishful thinking, and tested every connection before trusting our combined weight to physics.
Weatherproofing demands vigilance: I applied wood preservative to every cut side like I was sealing a hull, and I mounted this beast under my existing pergola, a sheltered-ready location that laughs at afternoon squalls. The design stays budget-friendly through thrifted decor, scavenged lumber, and the gorgeous exfoliation of my former lawn into functional space.
Check swing height, clearance, and ground stability; your knees will thank you, and your back certainly will too.
Styling Your Space
Once that swing passes the weight test and stops swaying like a metronome in a hurricane, I’m ready to dress the space around it, and I start with textiles because bare wood invites splinters but draped fabric invites naps. I dye IKEA curtains olive green; $14.99 panels turn custom in a stockpot, and I hang them where they’ll catch breeze without rotting (learned that in USDA Zone 7b, where humidity murders untreated cotton).
My brother-in-law helped me build this anchor, and now I arrange repurposed tree stumps as coffee tables, positioning everything so the swing becomes the undeniable focal point of this outdoor living space. I thrift ceramic planters and that inherited wicker chair, keeping the palette neutral and low-clutter. This budget-friendly approach doesn’t look cheap; it looks lived-in, like you belong here.
Turn Discarded Wood Into Outdoor Furniture
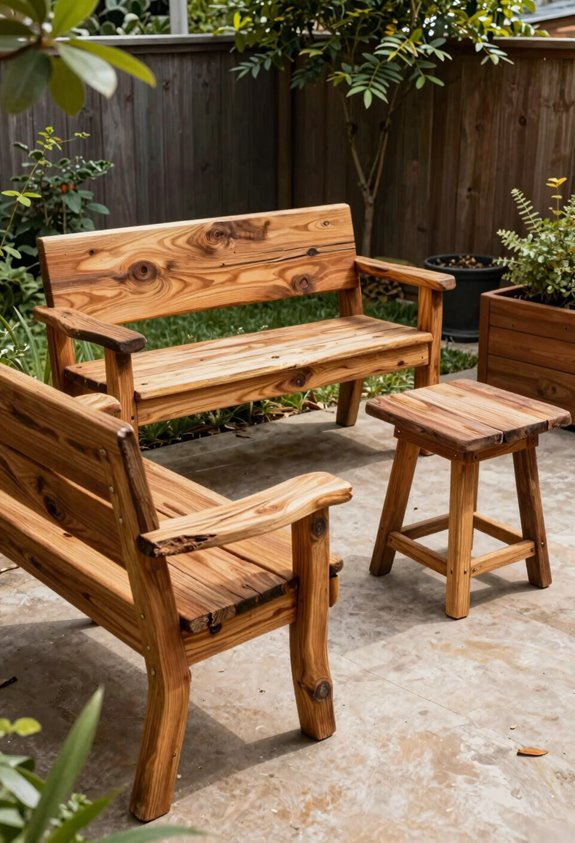
Because I’ve spent too many weekends dragging home waterlogged fence posts from the curb, I now know that discarded wood isn’t just free lumber, it’s a test of patience and sandpaper inventory.
I plane smooth-sawn reclaimed lumber into benches and fire-pit seating, then seal everything with exterior-grade stain. For my fold-out coffee table, I bolt IKEA boards ($12) to salvaged 2x4s with hinges. Total cost stays under $20.
| Wood Source | Treatment Required | Best Use Case |
|---|---|---|
| Fence posts | Plane and double-seal | Bench legs |
| Pallet planks | Sand, stain, seal | Tabletops |
| Old decking | Chemical strip, seal | Planter boxes |
Multi-functionality saves space: my bench doubles as a planter, and my coffee table hides citronella candles. This outdoor furniture turns curb rejects into gathering spots, budget-friendly proof that one person’s trash becomes your weekend war story.
Hang a Bed Swing Safely Without Structural Damage
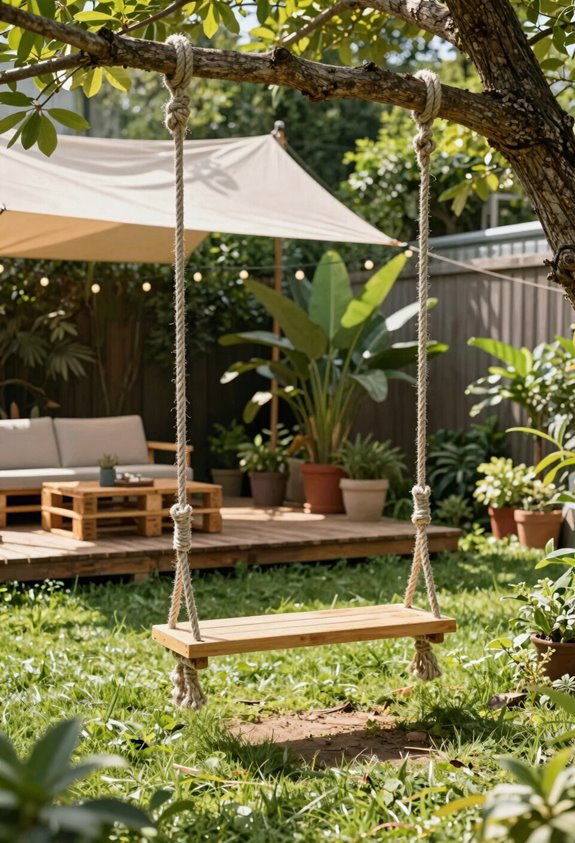
I learned that hanging a bed swing without wrecking your porch ceiling starts with finding the actual ceiling joists, those 16-inch-on-center structural members that’ll take the load, because drywall anchors won’t cut it when you’re swinging 400 pounds of human and mattress. I bolted heavy-duty screw eye hooks directly into the joists using 3/8-inch lag screws, pre-drilling to avoid splitting the wood and sinking them flush so nobody catches a shin.
Before my brother-in-law and I climbed aboard for the inaugural test, I’d calculated the dynamic load, roughly 2,000 pounds at peak swing arc, to confirm my 1970s ranch house could handle the stress without becoming a very expensive skylight.
Locating Ceiling Joists
The difference between a relaxing afternoon nap and an expensive trip to the emergency room starts with knowing exactly where your ceiling joists live. I grab my stud finder and sweep the ceiling slowly, marking each solid hit with painter’s tape. Drywall crumbles; joists hold.
Verify joist spacing with a tape measure, typically 16 or 24 inches on center. Tap with your knuckles; hollow sounds mean nothing, solid thunks mean structure. Locate multiple joists for distributed mounting across the outdoor load.
Double-check with a small drill bit before committing to full lag screws. I pre-drill every hole to prevent splitting, countersinking for flush hardware. Your bed swing’s mounting depends on this detective work.
Skip it, and you’re swinging from wishes and plaster dust.
Installing Secure Hardware
Where exactly will your afternoon collapse, into the hammock or through the ceiling, depends on what you’ve screwed into those joists. I’ve learned that proper hardware transforms a reckless gamble into real security.
For installation, I pre-drill pilot holes and countersink screws flush against sturdy joists, never drywall, never hope. I use diagonal mounting brackets or reinforced eye hooks secured with lag bolts, anchoring across multiple joists when possible to distribute shear forces. It’s tempting to rush, but I check torque specs and add thread-locking compound.
I inspect hardware each spring for rust bloom or stress cracks, replacing anything questionable before porch season. Your afternoon deserves better than a spectacular failure; it deserves the quiet confidence of bolts holding fast.
Weight Capacity Considerations
How much weight can one afternoon hold before it snaps? I’ve learned the hard way that outdoor mounting demands respect for load capacity, or your gorgeous exlawn becomes a crash zone.
I screw eye bolts into ceiling joists, never drywall, and verify each joist handles the combined heft of swing plus occupants. Heavy-duty eye bolts rated for treated lumber are non-negotiable; lag screws bite deep into reinforced beams I locate first with a stud finder and patience.
- Distribute weight evenly across the frame
- Avoid swinging over concrete or pavers
- Install soft landing zones beneath
- Inspect hardware seasonally for corrosion
I recheck limits after storms, replacing worn rope or slings without sentiment. Safety isn’t glamorous, but neither is explaining a collapsed swing to your neighbor’s kid.
DIY Outdoor Lighting for Under $50
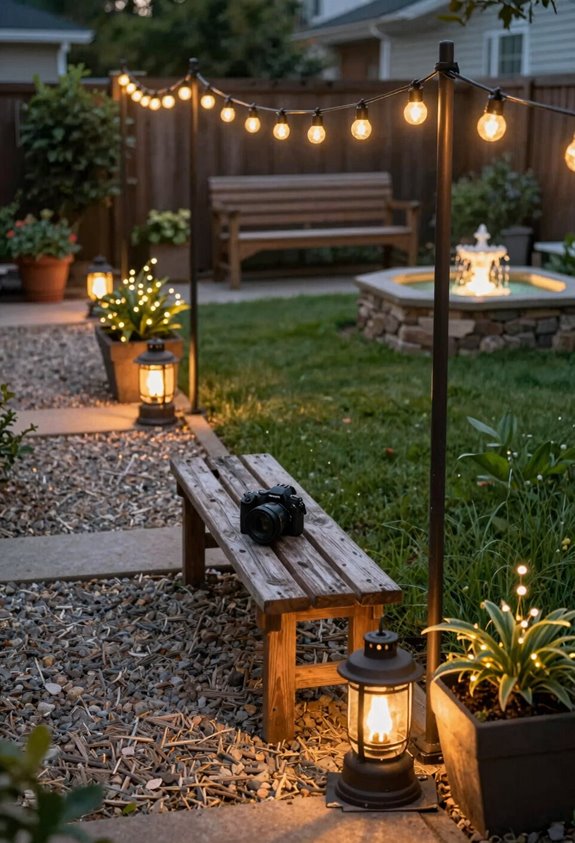
Why drop hundreds on landscape lighting when I’ve lit my entire patio for less than a takeout dinner? I started with solar lights: path lights along my walkway and wall-mounted fixtures by the door. No wiring, no electrician bills, just stick them in and forget them until they glow at dusk.
For outdoor lighting overhead, I strung solar-powered globe lights between fence posts using cup hooks and conduit poles I had lying around. Total cost: $34. The combination makes my tiny yard feel like a curated space, not a DIY afterthought.
The real highlight? Mason jar lanterns with tea lights and punched tin cans (candles inside, holes punched with a nail) clustered on my steps. Budget-friendly? Absolutely. Gorgeous? My neighbors started asking questions, and I finally felt like I belonged on this block.
Start Small: Plant Your Backyard in Budget-Friendly Phases
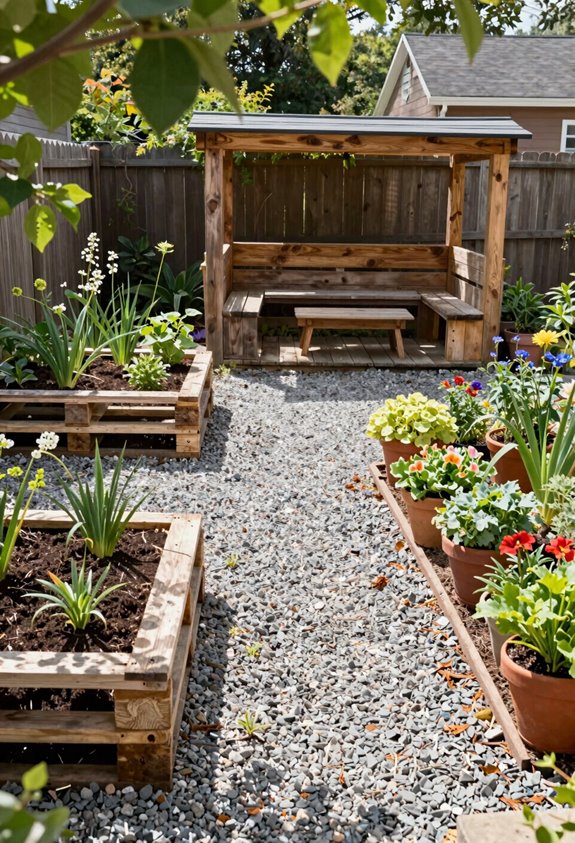
Now I build budget-friendly gardens through phased planting, and you can too. Start with one 4×8 raised bed using untreated pine ($35) or scavenged lumber. Position it where you’ll see it daily; psychological payoff matters.
Start small with one raised bed in your sightline—visibility fuels the habit, and $35 in lumber buys you in.
Phased planting means mapping five-year expansion now, building soil infrastructure first. I shape space with native drought-tolerant perennials (USDA zones 4-9, $8-12 each) before adding complexity.
My strategy hinges on timing:
- Shop end-of-season sales (August-October) for 60% discounts
- Repurpose pallets, concrete blocks, and broken terracotta for edging
- Divide established plants rather than purchasing new stock
- Lay out irrigation spine before expanding bed count
Your garden grows with your wallet, not despite it.





