
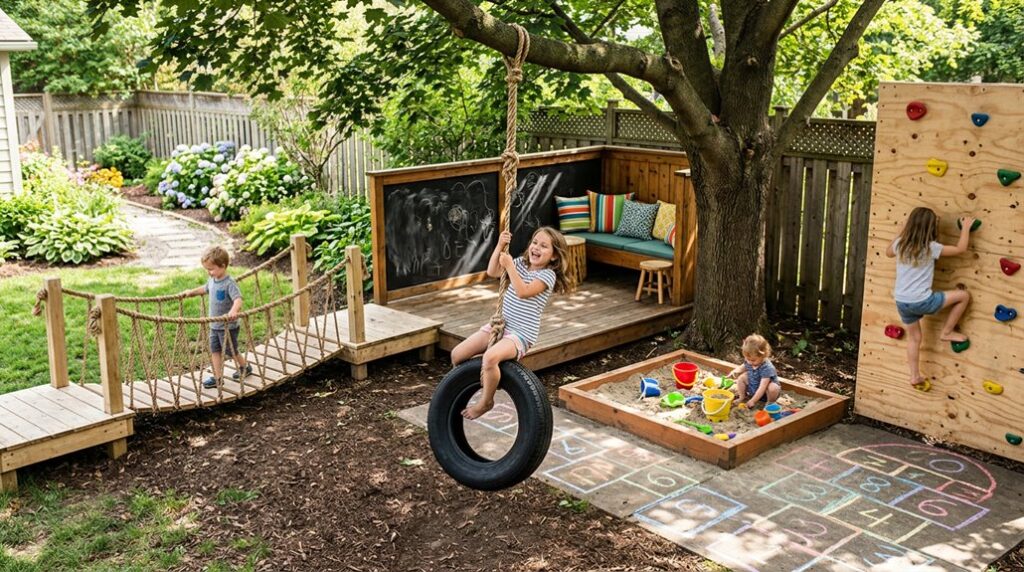
I built my first play structure with a handsaw and misplaced optimism, then watched it wobble through one winter before rebuilding it properly.
Weekend projects demand honest assessment: your yard’s drainage, your budget’s elasticity, and your tolerance for re-cutting lumber.
I’ve learned that 16-by-20 feet accommodates most configurations without consuming the yard entirely, and that cedar resists rot in USDA zones 5 through 8 better than pressure-treated pine, though you’ll pay roughly double.
The real question isn’t whether you can finish in two days; it’s whether you’ll account for the six-foot fall zone before you sink that first post.
Is a DIY Backyard Playground Right for Your Yard?
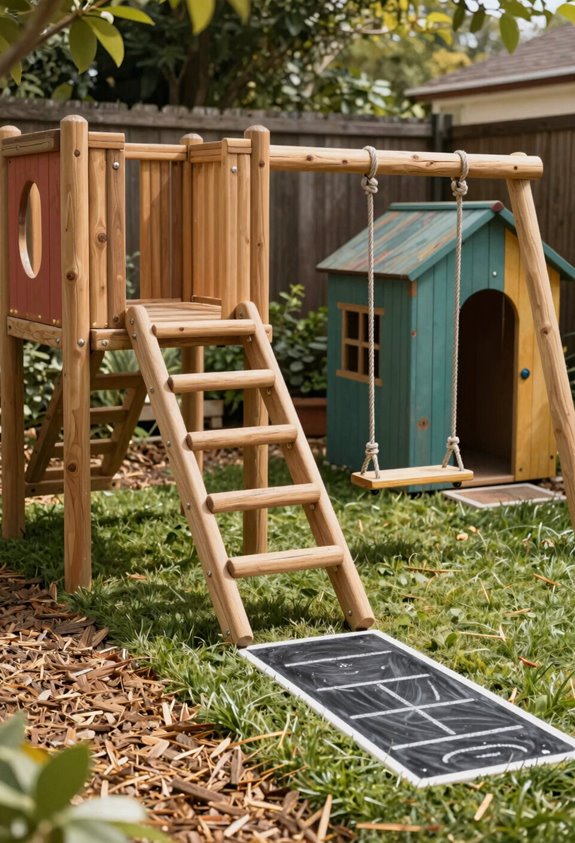
Before I commit a single Saturday to digging post holes, I ask myself whether my yard can actually handle what I’m planning, and you should too. I measure my space layout twice, because a 16 by 20 feet footprint isn’t negotiable once those posts are set.
I calculate safety clearances around swings, slides, and climbing zones, then verify I’ve got room for surface cushioning. I won’t bury decent sod under inadequate mulch. My DIY backyard playground stays under $350 when I’m disciplined: $224 for lumber, $112 for materials, and 12–13 hours of labor I’ll feel in my shoulders.
I design for multi-use from day one, fitting sandbox, swing, and playhouse without crowding my former lawn. Planning saves my backyard from becoming an expensive regret.
Pick Wood and Materials That Survive Kids and Weather
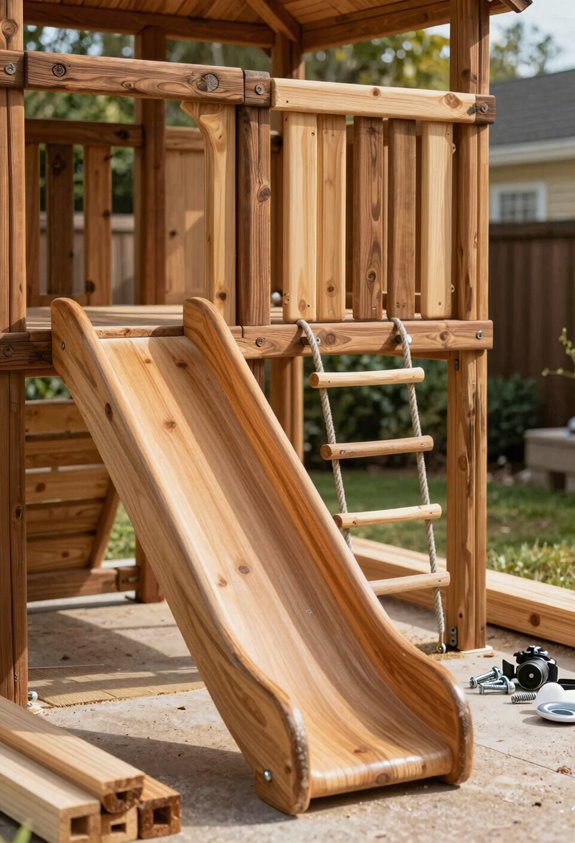
How do I choose lumber that won’t turn my playground into a splinter farm by year three? I’ve learned this the hard way: durable wood matters more than gorgeous grain.
Pressure-treated pine gives us the sweet spot, solid weather resistance without draining the college fund. It’s safe for outdoor play equipment, and I’ve built three sets that still stand after eight years of kid chaos. Cedar’s the premium dream with natural rot resistance, but when my budget laughed at me, pressure-treated pine became my faithful cedar alternative.
Here’s what I don’t skip: ground-contact treatment for anything touching soil, and safety seals applied yearly. Treated lumber needs love, not abandonment.
I check posts every spring because moisture sneaks in, and I’ve replaced one beam I ignored. Never again.
Measure Space and Mark Safety Zones Before You Build
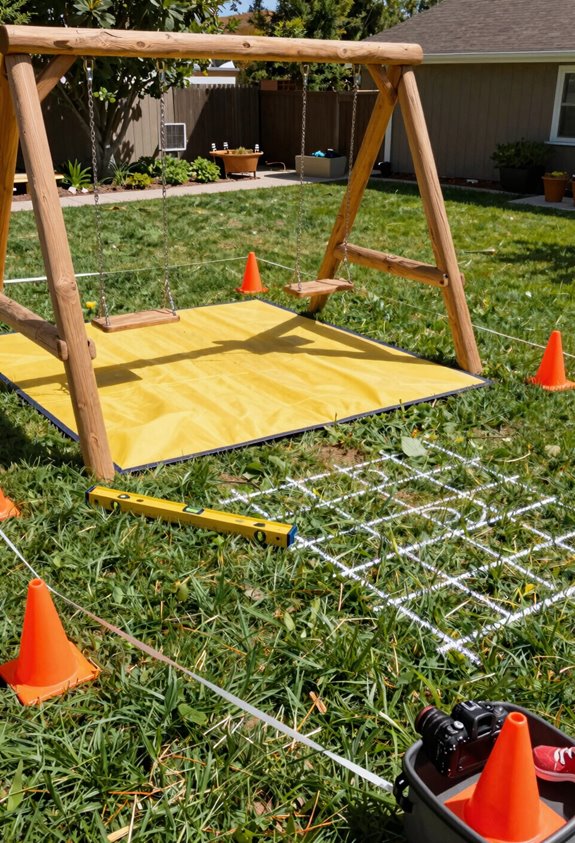
Once I’ve got my lumber stacked and ready, I grab my tape measure and face the yard itself, because even the finest cedar won’t save me from a slide that launches kids into the neighbor’s hydrangeas. I measure space carefully, noting slopes, tree roots, and drainage patterns that’ll shape my DIY weekend projects.
Six feet of boundary clearance around every structure prevents collisions with fences or my old lawn’s raised beds. I mark a 16-by-20-foot footprint with string and stakes, reassessing the rough layout to optimize play equipment placement. Shade and canopy positioning matters: metal slides blister small hands without it. This backyard playground belongs where sun exposure works with us, not against.
| Zone | Clearance | Purpose |
|---|---|---|
| Swing arc | 6 feet front/back | Prevents collision injuries |
| Slide exit | 6 feet minimum | Safe landing buffer |
| Structure sides | 6 feet all around | Access and fall protection |
Assemble the Frame: Base, Floors, Wall, and Ladder
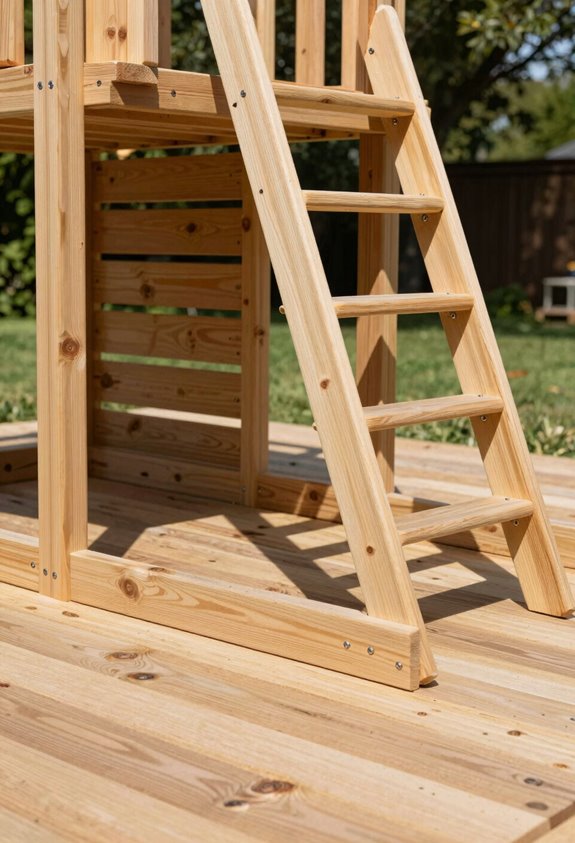
Where does a backyard playground actually begin? For this weekend project, it starts with a level base, your foundation for everything that follows. I build the base box from two 4x4s and 2x6s, cutting 2x6x8 boards to 48 inches, then square and level obsessively; a crooked playground frame invites disaster and tears.
I secure corners with galvanized carriage bolts through pilot holes, planning an initial upper box height around 64 inches to test fit for smaller climbers. The second level rises on 2×6 joists with a 2x4x8 middle brace near the climbing wall.
Deck floors with 1×4 or 1×6 planks fastened by deck screws or pocket alternatives. I attach the climbing wall with 2x4s and deck screws, then angle the ladder at roughly 45 degrees, steep enough for challenge, shallow enough for scraped-knee confidence.
Sand, Paint, and Finish Your Backyard Playground
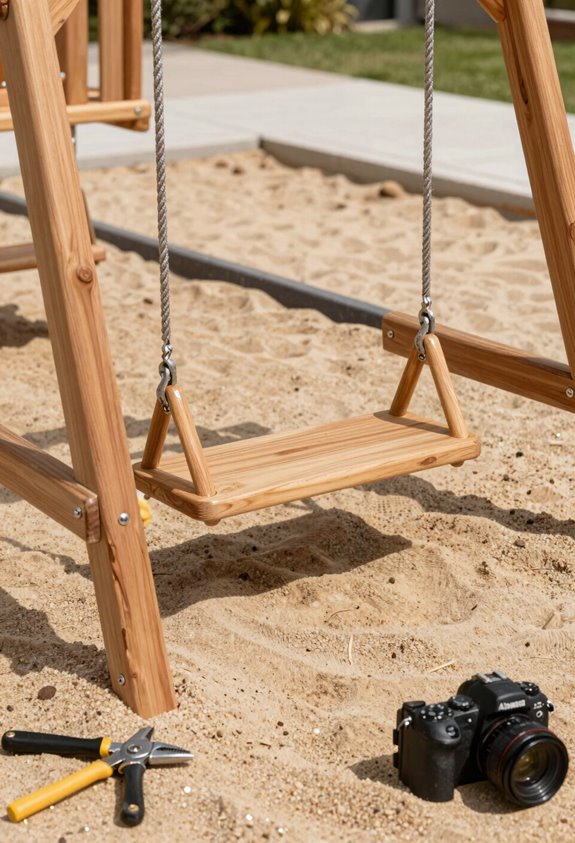
Why do so many DIY builders rush past the most tedious phase and wonder why their kids end up with slivers the size of toothpicks? Sanding isn’t glamorous, but I’ll grab my palm orbital sander and hit every surface twice. Sand until the cedar surrenders its splinters; it’s Step 8 in our weekend projects, and I’m not skipping it.
When the structure’s smoother than my driveway negotiations, I’ll paint, finally, the enjoyable part. I’ll obsess over railing design choices that balance aesthetics with safety, perhaps upgrading from my original workable-but-boring plan. These finishing touches change functional lumber into a DIY backyard playground worth photographing. I’ll seal everything against my zone 6a winters. Your finish determines whether neighbors ask “where’d you buy that?” or whisper “lawsuit waiting to happen.”





