
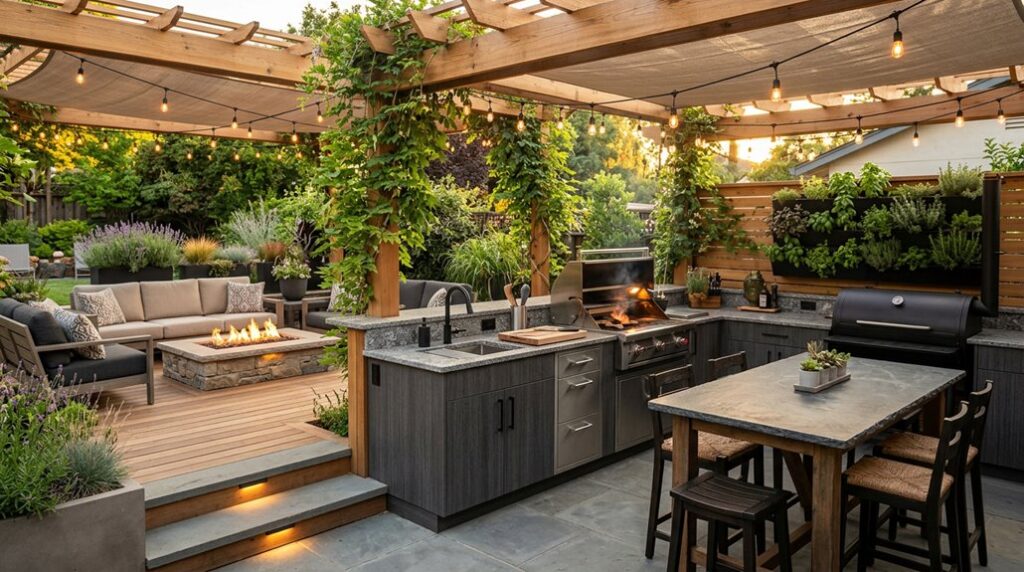
I know outdoor kitchens sound extravagant, but I’ve built mine for under $4,000 using salvaged brick and a Weber Summit; no contractor required. After three summers of singed eyebrows and one unfortunate incident with a propane line in USDA Zone 7b, I’ve learned that successful BBQ design isn’t about square footage. It’s about managing heat, smoke, and the desperate human need to hover near the cook.
You’ll want to hear what happened when I ignored the 10-foot clearance rule.
Design Your Backyard BBQ Area Around Three Zones
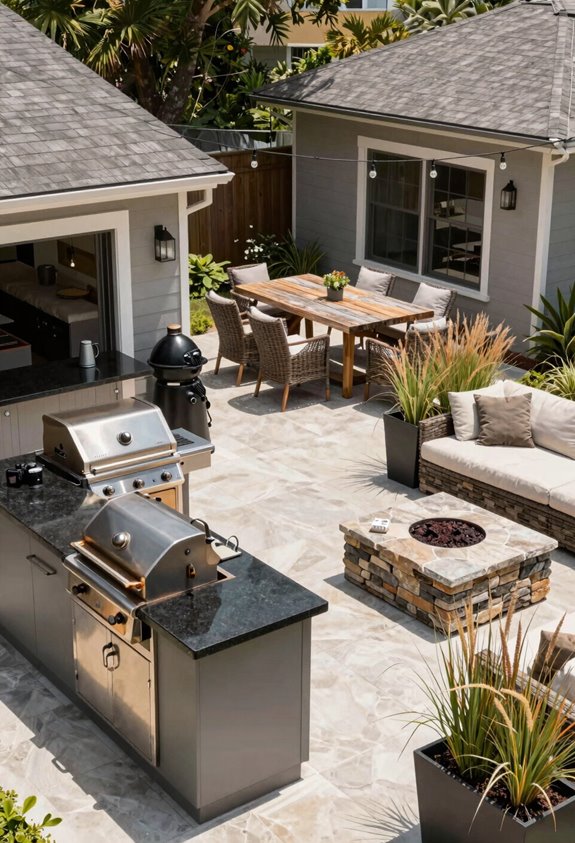
How do you keep a summer party from collapsing into chaos? I build around an outdoor kitchen core with three flowing zones, and I’ve learned the hard way that tripping over guests while flipping burgers kills community fast.
First comes cooking/prep: I cluster my grill and 36-inch prep counters along one wall, anchoring the space with stone countertops that laugh off errant embers. Next sits the dining area, tucked under a louvered roof for weather protection; my former lawn thanks me when sudden storms hit. Finally, the lounge/entertainment zone wraps nearby with weatherproof sectionals and a gas fire pit, close enough that friends chat while I sear.
I’ve learned durable materials and integrated utilities matter. Built-in storage, ambient lighting, and outdoor-rated outlets keep all three zones humming after sunset.
Position the Grill for Safety, Smoke Control, and Flow
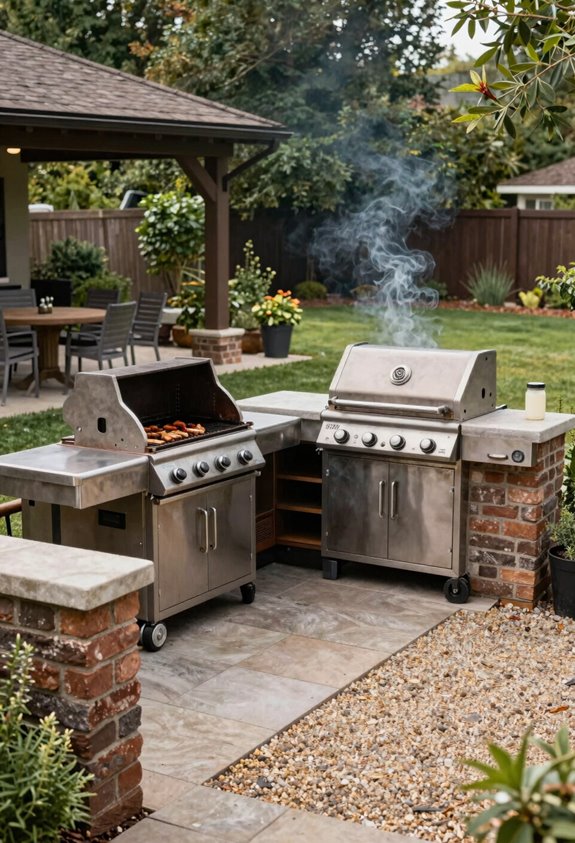
My first grill placement was a masterclass in miscalculation, positioned downwind from the patio, it transformed every dinner party into a tear-gassed evacuation. I’ve learned grill placement demands respect for physics and friendship alike.
I now prioritize safety clearance first: ten feet minimum from fences, sheds, windows, and doors prevents heat damage and keeps drifting smoke from infiltrating living spaces. For smoke control, I study prevailing winds before committing to any cooking spot, positioning the grill so exhaust drifts away from guests. Natural shelter, hedges, walls, or a pergola, stabilizes heat and manages wind without trapping fumes.
In covered zones, I open louvres and lift side screens to improve ventilation. Proper seating flow requires unobstructed movement around the cooking zone, with space for lid opening and safe workflow. Your guests will thank you.
Plan Clear Walkways That Separate Hot and Social Zones
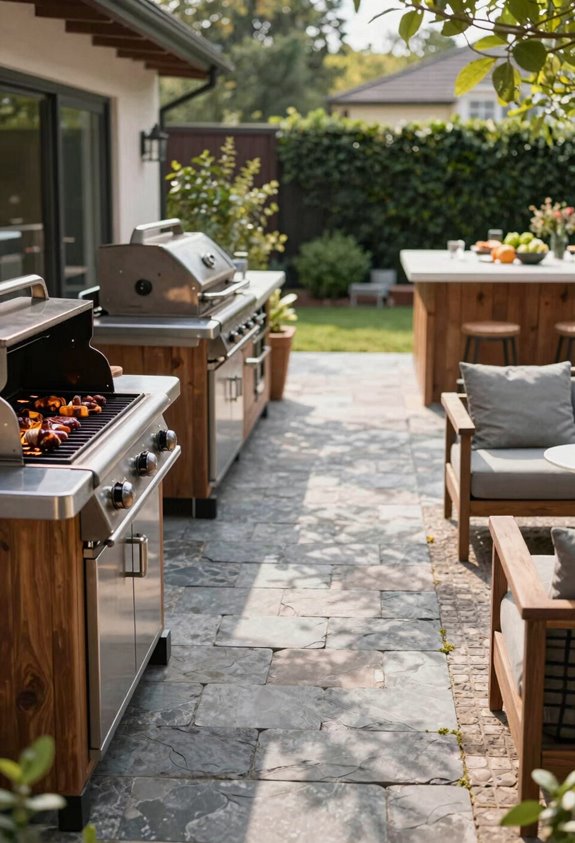
I’ve learned the hard way that smoke doesn’t respect conversation circles, so I always carve out a three-foot non-slip buffer between my Weber and the wrought-iron seating area, using dark river rock against pale flagstone to create a visual warning track that keeps guests from wandering into the blast radius while still letting me flip burgers without breaking the flow of chatter.
When I redesigned my zone 6b setup last spring, I ran utilities along the northern perimeter, burying gas lines eighteen inches deep beneath cedar mulch, so maintenance crews never trample the social circuit during the July basil harvest. By keeping these arteries dedicated and distinct, I’ve managed to prevent the awkward choreography of guests dodging lid swings while preserving that gorgeous exlawn where my St. Augustine actually survives the foot traffic.
Hot Zone Spacing
Where exactly should the grill sit so your uncle doesn’t singe his eyebrows while flipping burgers? I’ve learned the hard way that grill safety demands serious outdoor kitchen planning, not guesswork.
Your cooking zone needs generous clearance, at least 4 feet behind and 2 feet on each side, so lids swing freely without whacking seated guests. Position the grill with prevailing winds in mind; proper ventilation carries smoke away from noses, not toward them. I place heat-safe pavers or concrete underfoot to stop radiant heat from cooking my former lawn into brown patches.
Face seating opposite the heat source. Nobody wants to dine in a convection oven. Durable materials withstand 500°F splatter, and that walkway you’ve planned keeps the crowd moving safely past the flames.
Social Zone Flow
Why do guests always cluster exactly where I’m trying to flip ribeyes? I’ve learned that smooth guest flow requires intentional separation between hot zones and social spaces. My outdoor dining area now features clear walkways, physical buffers that keep the party moving while I tend the flames.
| Zone | Distance from Grill | Function |
|---|---|---|
| Hot zone | 0–3 feet | Direct cooking, burners active |
| Transition | 3–6 feet | Prep stations, tool access |
| Seating arrangement | 6–10 feet | Casual gathering, appetizers |
| Outdoor dining | 10–14 feet | Plated meals, conversation |
| Cool retreat | 14+ feet | Relief from radiant heat |
This layout prevents that awkward dance where someone’s reaching for a beer while I’m wielding tongs. Position seating away from direct heat, make certain grill lid clearance overhead, and use L-shaped configurations to guide movement naturally. Your guests belong in the conversation, not your smoke stream.
Build Out Your Prep Station With Ample Counter Space
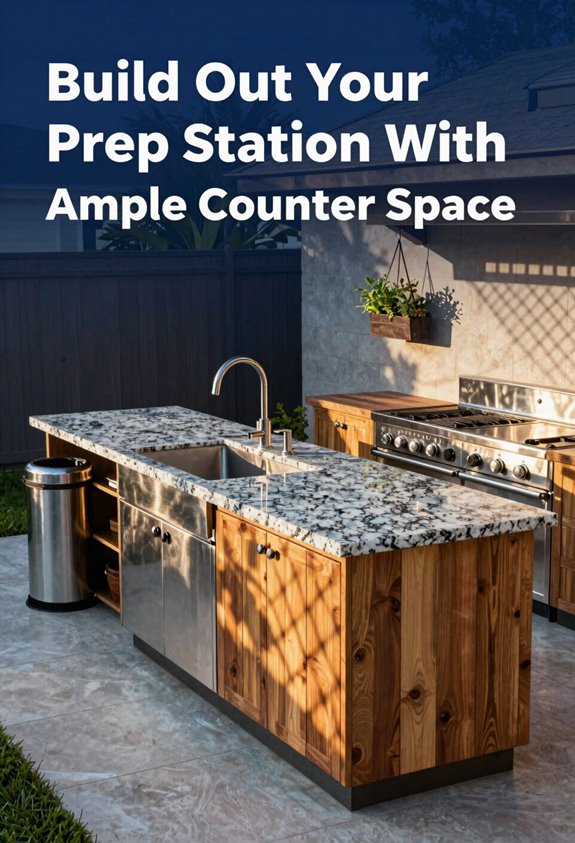
Because I’ve learned the hard way that juggling a cutting board on my knee while flipping burgers ends in tears (and band-aids), I always tell folks to prioritize counter space above almost everything else in their outdoor kitchen. I’ve found that a proper outdoor prep station turns chaos into choreography, letting me assemble kebabs and stage sauces without elbowing guests.
A proper outdoor prep station turns chaos into choreography, letting you assemble kebabs and stage sauces without elbowing guests.
My built-in island spans eight feet, non-negotiable after hosting twenty and watching platters pile onto folding tables. I packed mine with storage drawers for tongs and thermometers, plus a cabinet for marinades. For tighter plots, I’ve helped friends design L-shaped units incorporating coolers and side burners without sacrificing walkway clearance.
Here’s what separates functional stations from pricey mistakes:
- Expand horizontally: twenty-four inches minimum depth prevents plate avalanches.
- Layer storage vertically: drawers below, open shelving above.
- Anchor adjacent zones: position your outdoor prep station between cooking and dining with forty-eight-inch pathways.
- Invest in weather-resistant materials: my stone composite survived three Minnesota winters without the cracking that claimed my neighbor’s tile.
Select Heat-Safe, Weatherproof Countertop Materials
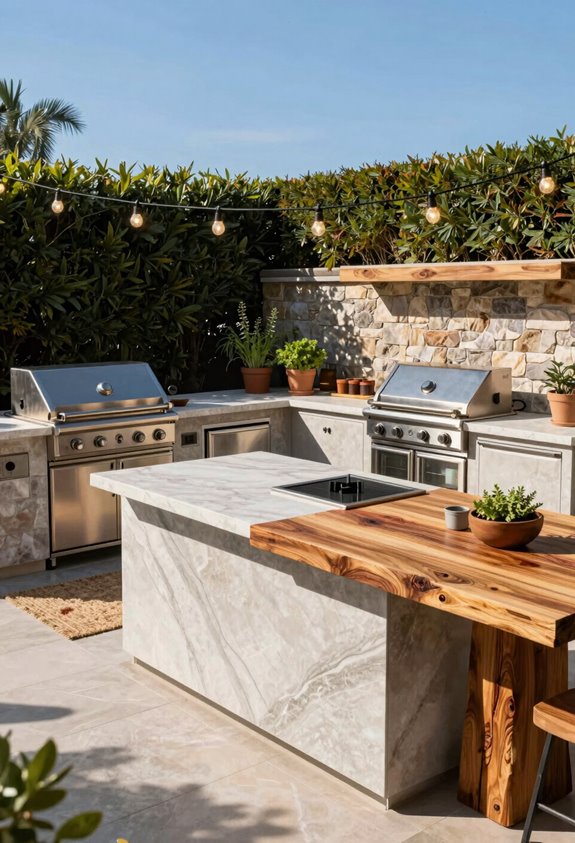
When I’m selecting countertop materials for my outdoor kitchen, I prioritize heat-resistant, weatherproof surfaces that won’t buckle under August sun or a sizzling grill pan. Granite remains my go-to choice. It’s scratch-resistant, easy to clean, and handles temperature swings well, though I’ll admit it warms up under direct sun (I learned to position my prep zone east-facing). Stone offers timeless versatility for any style, but I’ve watched it stain when my sprinkler overshot.
Skip wood near cooking zones: it’s cheaper but demands constant maintenance. Tile works for budgets, yet breakage haunts me still.
Light Your Cooking Surface for Safe Evening Grilling
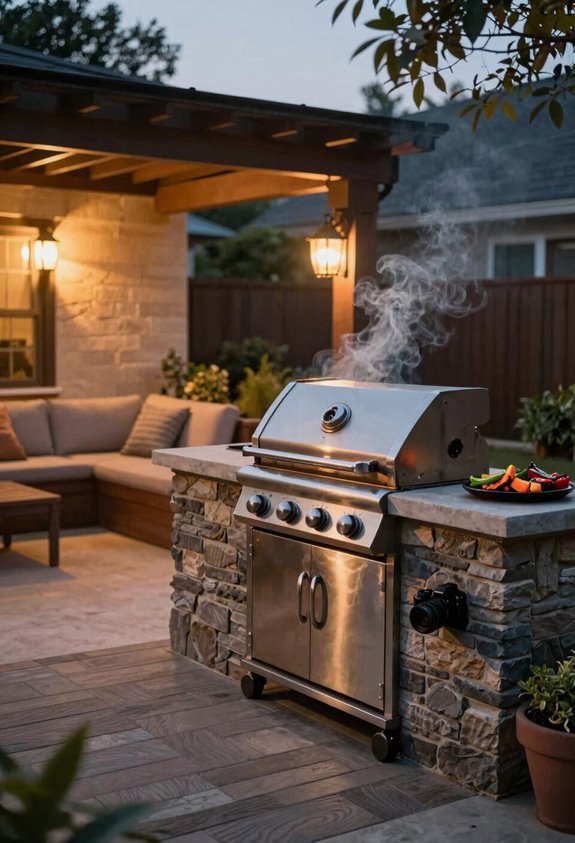
I’ve spent too many evenings squinting at chicken that’s either raw or charcoal, so I’ve learned to treat grill lighting as seriously as my countertop choice. Proper grill lighting transforms night grilling from guesswork into craft, and I’ve found that layered illumination keeps everyone safe without killing the vibe.
Here’s what actually works:
- Install task lighting directly above your cooking surface: pendants at 30-36 inches deliver precise visibility for judging doneness without shadows.
- Select weatherproof fixtures rated IP65 or higher; my LED arrays survived three Minnesota winters without flicker.
- Balance bright cook zones with ambient exterior lighting along paths; guests navigate safely, and you avoid the interrogation-room effect.
- Zone your circuits: full wattage for searing, dimmers for post-dinner lounging.
This approach keeps your gatherings flowing from flame to conversation without anyone stumbling home.
Add Concealed Storage for Fuel, Tools, and Tableware
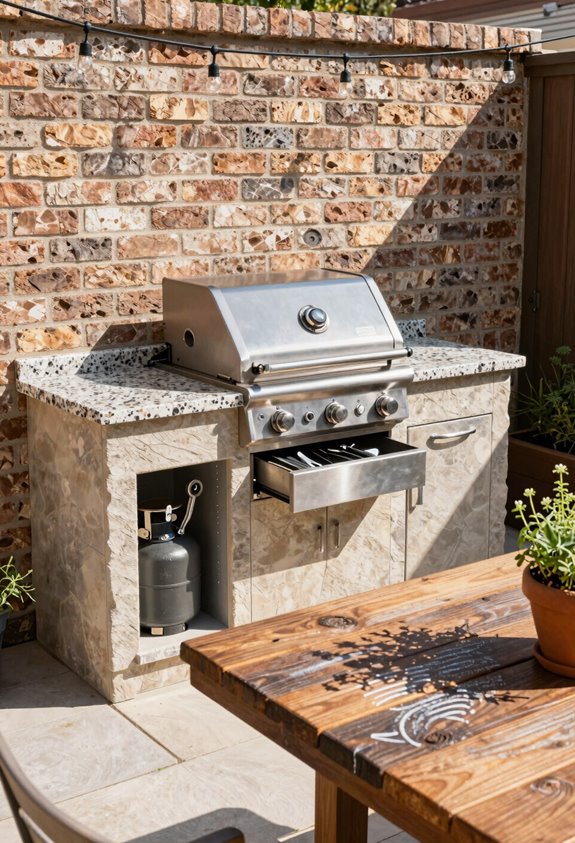
The sight of a propane tank lounging beside your dining table kills the ambiance faster than an overcooked brisket, which is why I’ve become obsessive about building storage that disappears into the architecture.
Nothing kills outdoor ambiance faster than a propane tank lounging beside your dining table.
Built-in cupboards transform dead space into sleek outdoor storage that swallows fuel canisters, grilling tools, and mismatched tableware. I specify marine-grade plywood with silicone seals and stainless hardware, about $400 and a weekend to install, creating weather-protected storage that laughs off coastal humidity (zones 8b-10a).
Wall-mounted storage keeps my prep zone level: slim cabinets holding sauces and cutlery, positioned 36 inches above the countertop. Utensils hooks line the backsplash rail, corralling tongs and thermometers that once colonized every flat surface.
The payoff? Guests gather without navigating propane hazards, and I cook without hunting through chaotic drawers.
Roof Your Backyard BBQ Area for Year-Round Use
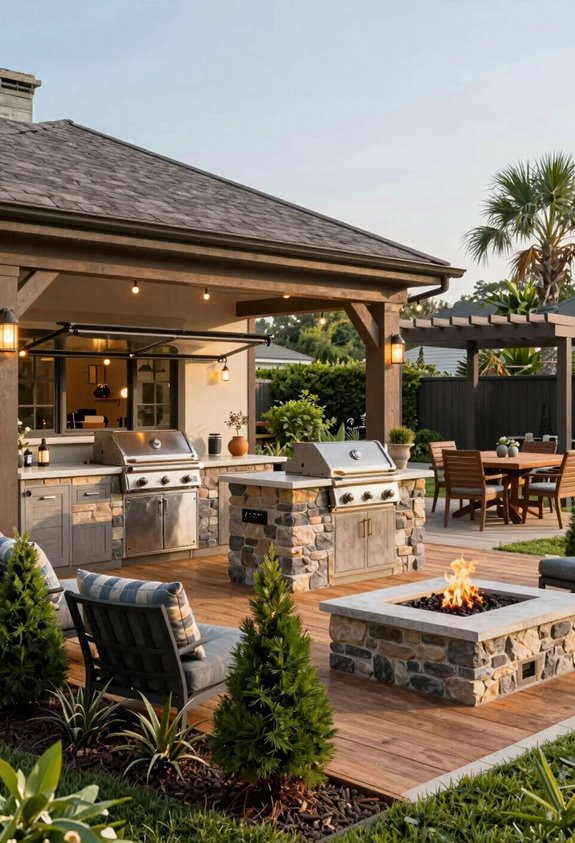
Concealed storage keeps your gear tidy, but it won’t save your Memorial Day ribs from a surprise thunderburst or your July forehead from solar assault. I’ve learned that shelter integration changes sporadic grilling into real year-round entertaining.
My roofed patio started as a simple louvered system, 6′ x 12′, aluminum, $3,200 installed, and it’s worth every penny when rain strikes mid-brisket. You’re not just buying shade; you’re securing weather protection that adapts: louvers open 90° for starlight, seal tight against surprise squalls.
Here’s what matters when roofing your outdoor kitchen:
- Match pitch to prevailing winds: a 4/12 slope sheds rain but won’t fight gusts above your zone’s average (Zone 7b, expect 15-20 mph).
- Integrate utilities early: gas lines and outlets tucked in beams prevent the “extension cord dance” I’ve performed during too many parties.
- Plan for thermal mass: covered patios trap heat; I added a 36″ wall-mounted fan ($280) when my gorgeous ex-lawn became a convection oven.
- Light for function, not romance: under-beam LEDs at 2700K keep prep safe without the firefly aesthetic.
I’ve failed with flimsy awnings; don’t repeat my soggy Memorial Day disaster.
Arrange Seating With Full Sightlines to the Cook
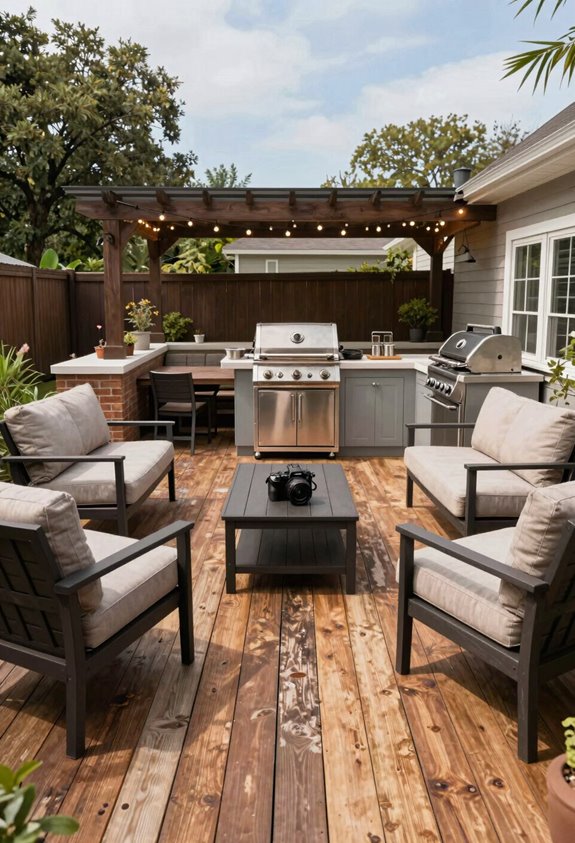
I’ve learned that nothing kills a backyard party faster than guests craning their necks to see if the burgers are burning, so I arrange every chair, stool, and weathered Adirondack with one uncompromising rule: the cook stays in view. I angle my bar-height cedar stools at 45 degrees toward the grill and place my salvaged-pallet sectional in a gentle arc about 8 feet back, close enough to catch the sizzle sounds but far enough to dodge the hickory smoke that’ll sting your eyes at USDA Zone 7 humidity.
When I tested sightlines last spring, I caught my own mistake, a rogue hydrangea I’d planted in 2019 had grown into a glorious 4-foot privacy screen that blocked half the sightlines, so I relocated it to the property line and now conversations flow naturally toward the chef instead of drifting toward the fence line.
Social Gathering Focus
Why do so many backyard layouts treat the grill cook like a penal colony, isolated behind heat and smoke while guests mingle elsewhere? I’ve learned that outdoor seating with clear sightlines turns the cook from exile to host. When I arrange my dining zone, I make sure every chair captures the grill view. No one gets left out of the sizzle.
Here’s how I build belonging into my layout:
- Position corner lounge pieces at 45-degree angles so guests track the action without crowding the cook
- Extend bar seating 24–30 inches from the grill edge: close enough to converse, far enough to dodge flare-ups
- Deploy modular benches with hidden storage; they reconfigure as social zones shift from prep to plating
- Install 2700K LED strips under counters so night gatherings keep the cook visible, not vanished into shadow
Entertainment Flow Design
That same principle of keeping the cook in the conversation extends beyond seating angles into how the whole party moves through your space. I’ve learned that outdoor entertaining dies when the grill master vanishes behind smoke and isolation, so I arrange every chair, bench, and Adirondack with direct sightlines to the grill station; no exceptions. My dining flow separates guest traffic from the cooking zone using 4-foot-wide limestone pathways that prevent bottlenecks without sacrificing visual connection.
I position each shade structure, whether a 10×12 cedar pergola or a cantilevered umbrella, precisely where it blocks harsh afternoon sun while preserving that sightline to the cook. Your guests should never have to pick between comfort and community. When the pizza oven fires up and cocktails flow, everyone belongs in the same shared frame.
Keep Your Backyard BBQ Area Cool With Strategic Shade
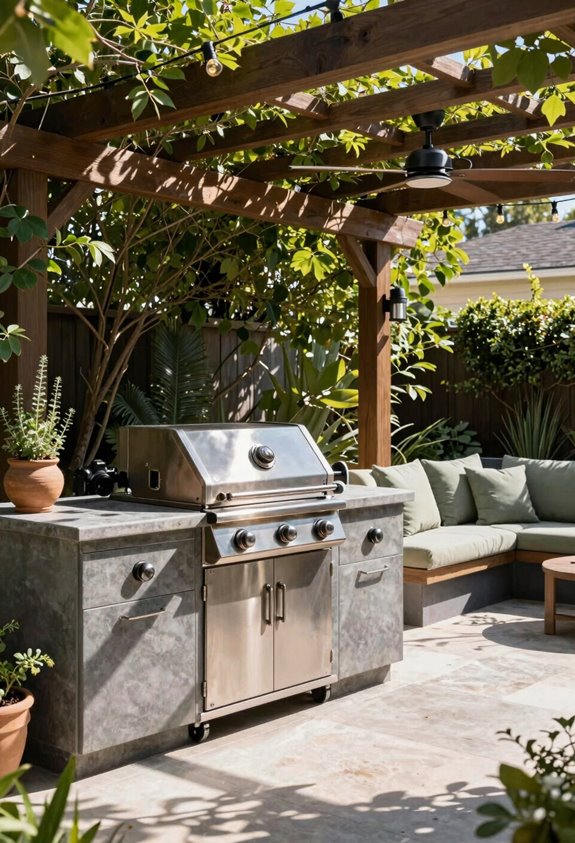
When the mercury pushes past 85°F and my grill grates start radiating like a blacktop driveway in July, I’ve learned that cooking without shade isn’t bravery, it’s poor planning. I’ve transformed my outdoor cooking space by prioritizing shade solutions that let me host longer without wilting.
Strategic shade keeps my outdoor kitchen comfortable and protects guests from heat exposure. I’ve found four approaches worth considering:
Strategic shade keeps your outdoor kitchen comfortable and protects guests from wilting in the heat.
- Install a retractable awning, my 4m x 3m electric motorized grey model extends for blazing afternoons and retracts when stars emerge.
- Position a cantilever parasol beside your grilling area; it adjusts without blocking movement.
- Build a wooden or aluminum shelter frame for fixed coverage that preserves airflow.
- Combine fixed covers with flexible options to extend outdoor entertaining through light rain.
Your crew will linger longer when they’re not baking alongside the burgers.





