
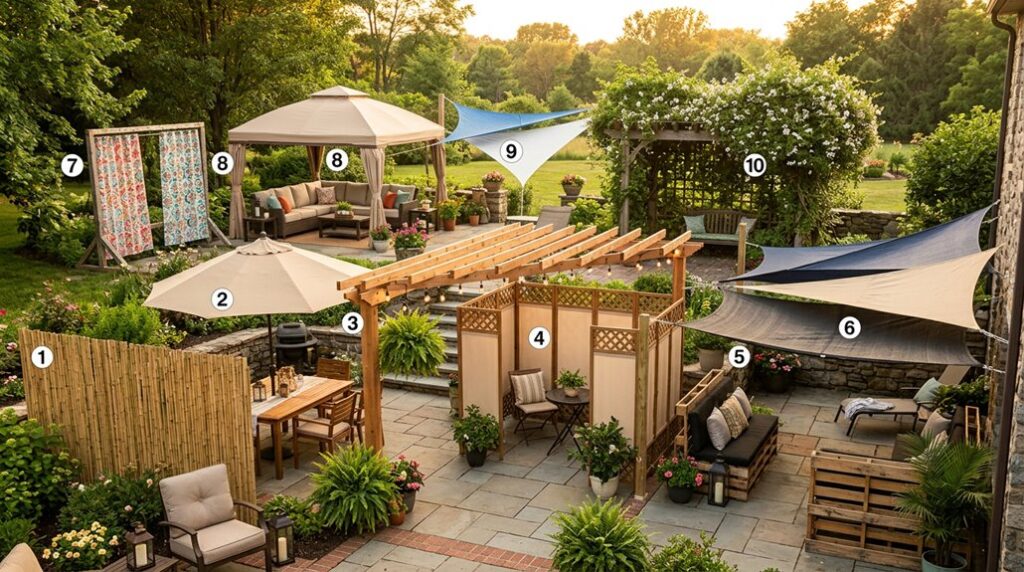
I’ve tried most of these shade solutions in my Zone 7b backyard, and I can tell you that $100 disappears fast if you don’t plan for wind. My first pop-up canopy lasted exactly one afternoon before it relocated to my neighbor’s forsythia thicket.
Now I anchor everything with 3/8-inch eye bolts and cinder block counterweights, and I’ve learned that shade sails fail catastrophically when you skip the tension wires. Build your structure for the worst weather, not the Instagram photo.
Hang Outdoor Curtains for Instant Privacy
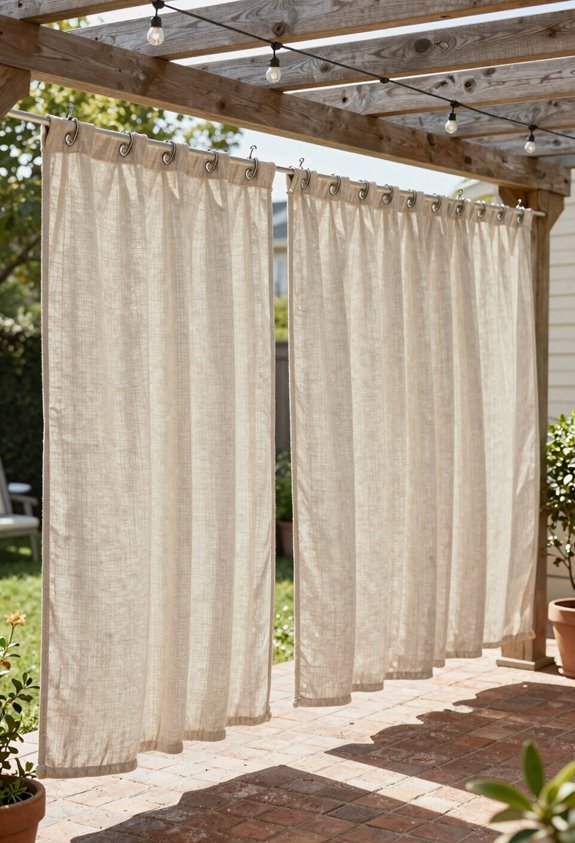
Why spend a fortune on hardscaping when you can rig up privacy in an afternoon? I hang outdoor curtains using polyester or olefin fabrics, which are UV-resistant and block enough heat to keep my patio bearable through Zone 8 summers.
Rig up privacy in an afternoon with UV-resistant outdoor curtains that block heat and transform your patio without the hardscaping bill.
I’ve learned to fasten hardware tight; loose rods become sailboat rigging in a 20 mph gust. Layer three panels for that coveted cabana fullness, and you’re suddenly hosting Sunday brunch like you’ve got your act together.
Pick fade-resistant, easy-clean fabrics unless you enjoy scrubbing mildew between margaritas. Match hardware finishes to your existing furniture—bronze brackets against rusted bistro chairs look like you planned it, not inherited it.
Total cost: $45. Installation time: two hours, including one stubborn wall anchor.
Anchor Curtains to Fences With Tension Wire
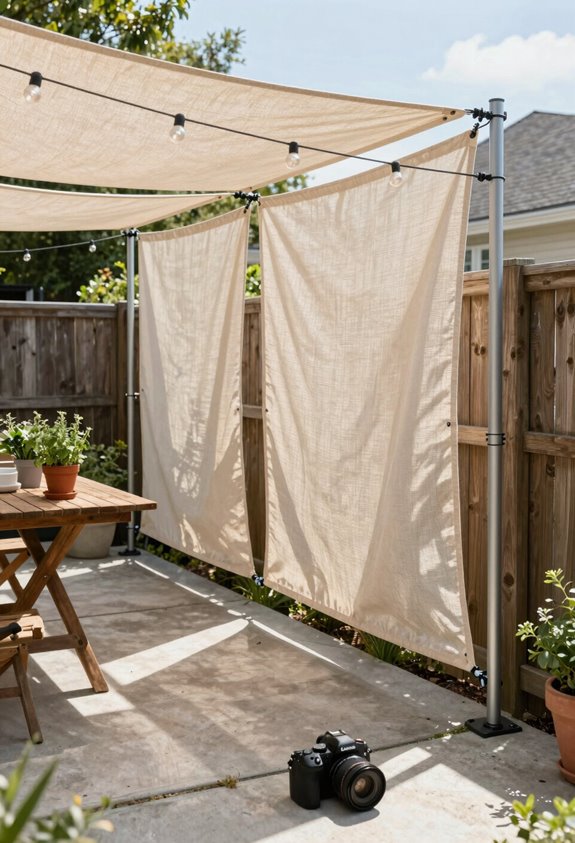
I stretch a tension wire between two fence posts at seven feet high, any lower and you’ll trip, any higher and the UV-block won’t reach your neck at noon. I’ve hung mine with stainless steel carabiners spaced every eighteen inches, but grommets work if you’re patient with the spacing math; skip the zip ties unless you enjoy replacing them after the first summer storm.
Your fence anchors need to handle about fifty pounds of tension, so I wedge mine with four-inch lag bolts into the posts, not the pickets, because I’ve watched a gorgeous olefin curtain face-plant into my hostas when a bracket ripped clean out.
Tension Wire Setup
Since I’ve fried two cheap vinyl shade sails in Texas summers and watched my neighbor’s grommets rust straight through, I’ve learned that tension wire beats every DIY shortcut I’ve tried. I anchor mine to fence posts with ¼-inch coated stainless steel cable, usually 1/16″ to 1/8″ gauge, and heavy-duty eye bolts rated for outdoor load. The wire runs taut between anchors with just enough sag to handle fabric weight and wind; I leave 2–3 inches clearance so abrasion doesn’t shred my investment.
Here’s what separates weekend warriors from folks who actually enjoy their patios:
- Corrosion-resistant hardware saves you from replacing rusted tension kits mid-July
- Grommeted curtains clip on fast and come down before storms without tools
- Slight intentional sag prevents catastrophic snaps when gusts hit 40 mph
Curtain Hanging Options
How do you block a west-facing fence line without pouring concrete or begging permits? I thread outdoor curtains onto tension wire, and suddenly I’ve got adjustable shade that moves with the sun.
| Component | Specification | Cost |
|---|---|---|
| Tension wire | 3/16″ vinyl-coated aircraft cable, 30 lb test | $12-18 |
| Eye bolts | 3/8″ x 3″, stainless steel, 2-pack | $8-11 |
| Curtain fabric | Polyester or olefin, 54″ wide panels | $15-25 each |
I space eye bolts every six feet along fence posts, then string the cable drum-tight with turnbuckles. Grommet-top panels slide smooth as barn doors; I’ve learned three panels minimum for my 8-foot stretch.
Tie-backs keep them from flapping into my hydrangeas when the afternoon breeze picks up.
Fence Attachment Methods
Why let a perfectly good fence post go to waste when it’ll anchor a shade system that won’t sail into your neighbor’s hostas at the first breath of wind?
I run galvanized steel tension wire between fence posts, securing it with eye bolts at each end: this creates a track for outdoor curtains that laugh at gusts. I attach fabric with grommet hooks or zip ties, leaving just enough slack so the cloth breathes without sagging into the dirt.
- Space the wire 1–2 inches from the fence to stop flutter that shreds polyester in a season
- Choose UV-resistant hardware or you’ll be replacing rusted brackets by Labor Day
- Stick with olefin or outdoor-rated fabric unless you enjoy the gorgeous ex-lawn of sun-rotted curtains
Move Your Pop-Up Canopy to Track the Sun
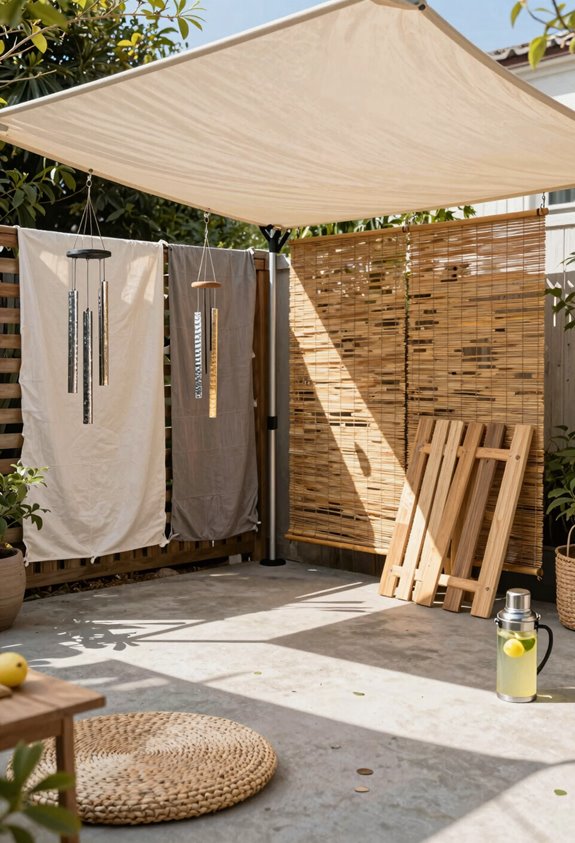
Where else can you get ninety square feet of adjustable shade for the price of a decent dinner out? Pop-up canopies are my trusty companion for all-day lounging, and I’ve learned they’re only as good as your willingness to hustle. I reposition mine every hour or two, tracking that shifting shade edge like a sundial-obsessed gardener chasing the perfect light.
I size my canopy to the seating area plus two feet of buffer; USDA zone 9’s midday sun waits for no one. When the angle drops, I tilt those adjustable legs and re-stake against wind, which once carried my “secure” setup into my neighbor’s formerly manicured yard. Stakes plus twenty-pound weights now, because failure teaches. Choose clearance space wisely; walls and mature trees become captors of your mobility.
Make Tie-On Panels From Old Bedsheets
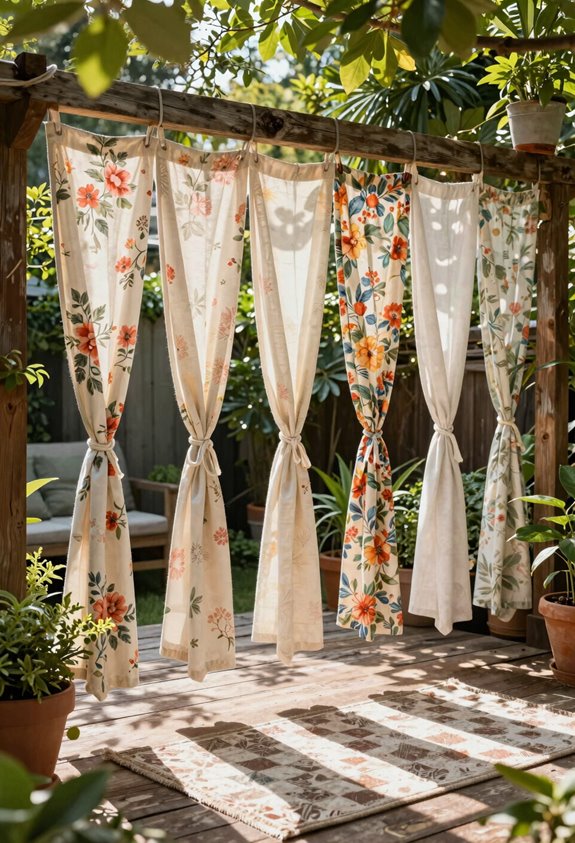
What sits in every linen closet awaiting a second act? Your orphaned bedsheets, threadbare but promising, beg for transformation into backyard shade solutions that cost pennies and perform admirably. I slice mine to 48-inch widths, fold a one-inch double hem, and stitch channels along the top edge; channels that accept fabric ties or paracord for lashing onto pergola rafters. Choose 180–200 thread count cotton or polyester; anything thinner turns to gorgeous ex-lawn under UV assault. I learned this the hard way with a 120-count specimen that shredded mid-July.
UV- and water-repellent spray extends your panel’s lifespan through two seasons, minimum. Double or triple your panels for a fuller, cafe-style drape that actually blocks sunlight.
Vary lengths intentionally; the layered look fools the eye into seeing intentional design, not budget constraint.
String Up a No-Sew Shade Sail Between Posts
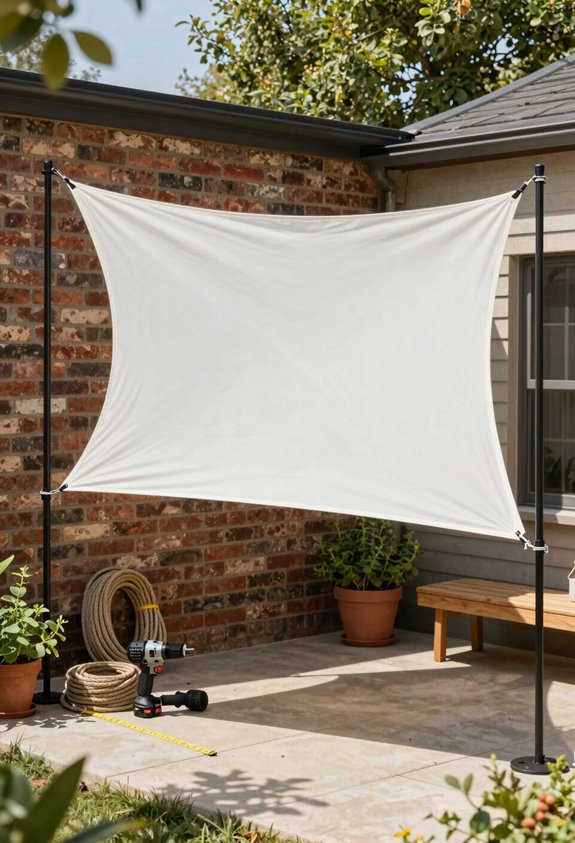
Need more shade but allergic to sewing machines? I string up a no-sew shade sail between cedar posts and finally feel like I’ve joined the ranks of competent outdoor people.
I install coated cables with tension hooks to existing posts, or sink two lightweight cedar four-by-fours three feet deep in concrete if I’m starting fresh. The sail stretches taut with a ten-degree slope for runoff, and I adjust angles independently to track the sun. Pre-cut fabric with grommets eliminates stitching entirely; I just clip, tighten, and enjoy.
This backyard shade costs roughly sixty dollars, takes two hours, and withstands zone 7 gusts when anchored properly. I’ve learned the hard way that loose sails become gorgeous kites. Tension matters. Your patio deserves this modern, flexible coverage.
Clip Shade Cloth Onto Deck Railings or Pergolas
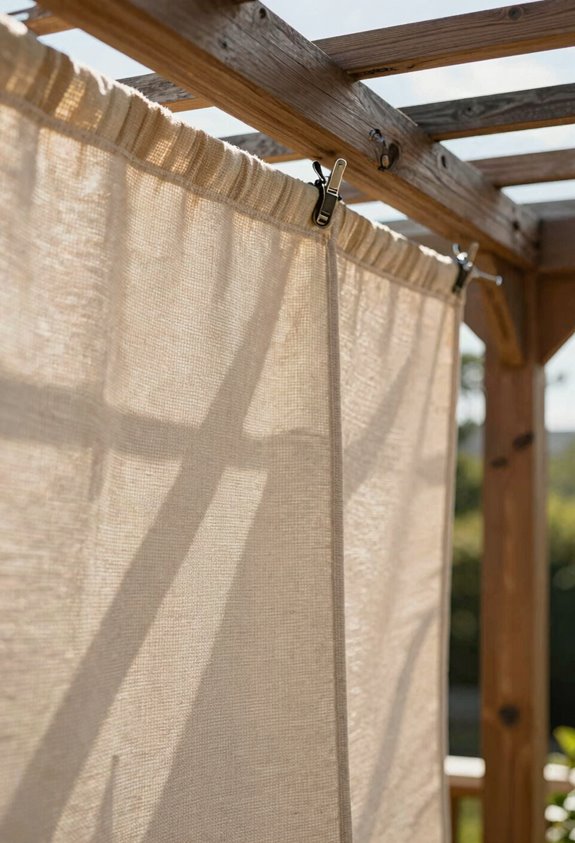
Why wrestle with awnings when a bolt of UV-resistant fabric and a fistful of zip ties will do the heavy lifting? I clip shade cloth onto my deck railings every season, and it’s turned my concrete slab into something vaguely civilized.
Zip tie shade cloth to railing posts, then stretch to opposite beams or tension lines, sag kills the vibe. Drape over pergola top beams and clip edges to uprights for layered, breezy coverage.
Choose UV-resistant weights (30-70%) based on your sun tolerance and desired airflow.
I learned the hard way that shade cloth traps heat if you block all ventilation. Leave gaps, hose it down monthly, and it’ll outlast your interest in tending plants. Total cost: $40-60 for my 12×16-foot space.
Weight Down Patio Umbrellas With Cinder Blocks
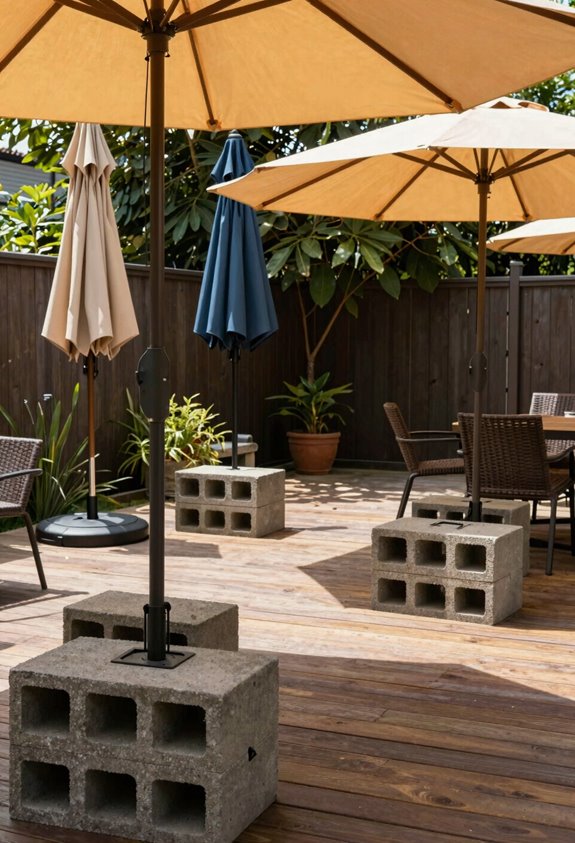
I’ve learned that anchoring a patio umbrella with cinder blocks isn’t elegant, but it’s effective; each 28-pound concrete block adds serious mass, and stacking two to four per pole creates a base that won’t budge in gusts up to 25 mph. I usually wrap mine in outdoor fabric to prevent scratches and hide the industrial look, though I once skipped this step and gouged my gorgeous elm lawn beyond repair.
Keep blocks on flat, non-slip surfaces and clamp that pole tight, or you’ll find yourself chasing shade across the yard like I did in USDA Zone 7 last summer.
Wind Protection Basics
A sudden gust can turn your patio umbrella into an expensive helicopter blade, and I’ve watched mine cartwheel across the zinnias more than once before learning to respect the physics of wind.
I anchor my backyard umbrellas with two to four 50-60 pound cinder blocks positioned on the legs or crossbase, and I’ve found this keeps them upright through everything except tornado warnings.
Use non-slip mats under blocks to protect your patio surface from scoring. Inspect blocks seasonally for cracks; crumbling concrete won’t hold in a gale. Position on level ground only; even a slight tilt multiplies tipping forces.
My 9-foot market umbrella takes three blocks to stay planted in zone 6b’s afternoon thunderstorms. The zinnias have finally forgiven me.
Block Stability Tips
Since a single cinder block costs about three dollars at any hardware store, I’ve never understood why more gardeners don’t use them as the world’s least elegant counterweights. I secure my outdoor shade by flanking the umbrella base with two 50–60 lb blocks, totaling 100–120 lb for moderate winds. I position them on clean, dry faces to maximize ground friction, staggering them to resist lateral shift while keeping the base accessible.
A wide, non-slip mat underneath protects my patio from abrasion and prevents the whole arrangement from wandering during backyard gatherings. I’ve learned the hard way that wobbly outdoor shade collapses faster than my enthusiasm for weeding in July. For six dollars, this system outperforms fussy commercial weights.
Build a Pallet Canopy Frame for Under $50
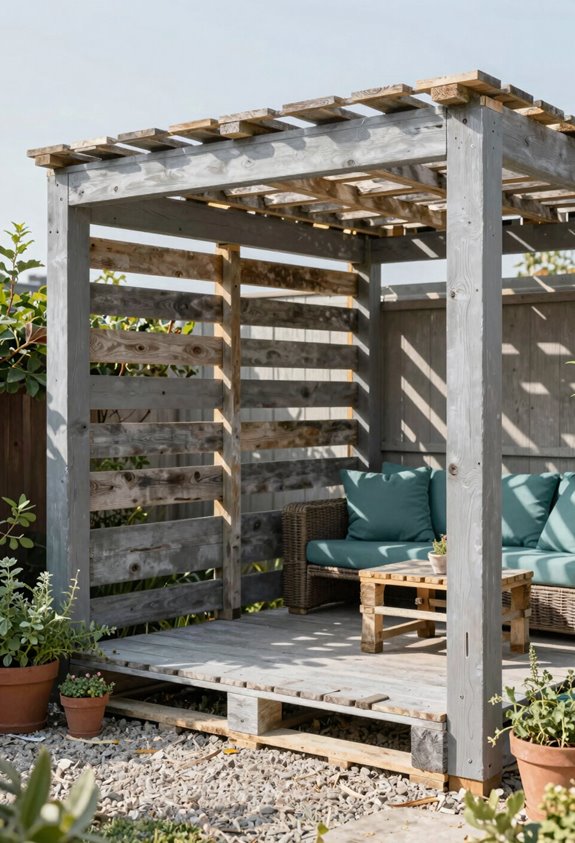
Why burn through three hundred dollars on prefab aluminum when I can construct a rugged shade canopy from four salvaged pallets, eight galvanized L-brackets, and roughly forty-two dollars? I stack pallets upright, screw them firm, and brace corners tight; weatherproof sealant keeps rot at bay for three seasons minimum. Top it with drop cloth or lightweight outdoor fabric, and suddenly I’ve got shelter from that brutal Zone 8 afternoon sun. Paint matches my fence; string lights complete the vibe.
Here’s what makes this build sing:
Free pallets from warehouse loading docks, just ask nicely and haul same-day. Six dollars in corner brackets prevent the “gorgeous ex-lawn” collapse I suffered in 2022. Fabric top clips on with tarp clamps, no sewing, zero skill required.
Hang a Bamboo Screen for Soft, Filtered Light
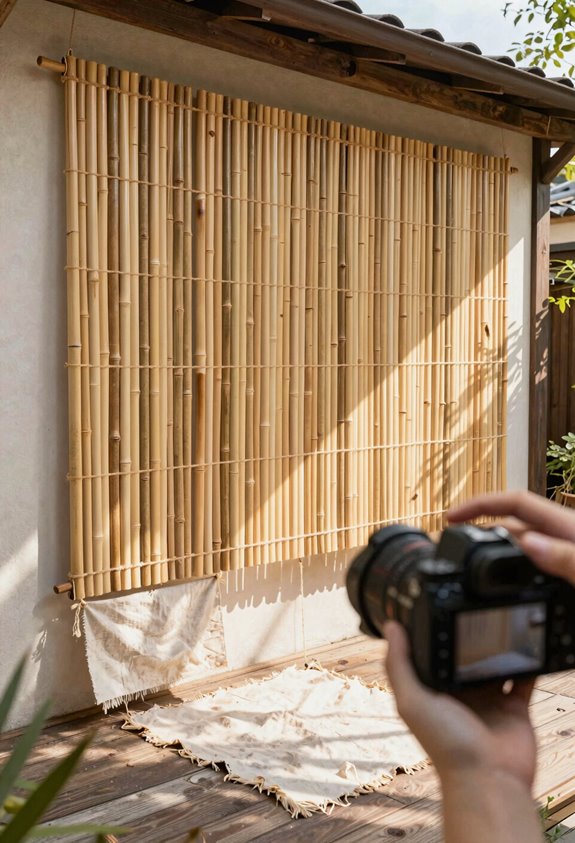
How does dappled afternoon light sound instead of the usual solar assault? I’ve hung bamboo screens both ways, vertical for privacy, horizontal for overhead shade, and the transformation hits different. Zip ties work in a pinch, but I’ve learned screws prevent the sagging that makes your shade look like a failed hammock.
| Setup | Personal Note |
|---|---|
| Vertical wall mount | Blocks neighbor sightlines, lets breeze through |
| Horizontal overhead | Adjusts for sun angle; roll-up mats shine here |
| Sealed with teak oil | Adds 2-3 years before graying sets in |
| Layered with curtains | Your patio becomes the neighborhood envy |
Bamboo screens filter rather than block, giving that rustic, eco-friendly warmth we’re all craving. Mine’s held through three Zone 7 summers because I mounted it on a frame, not hope.
Build a Trellis Now for Shade Later This Summer
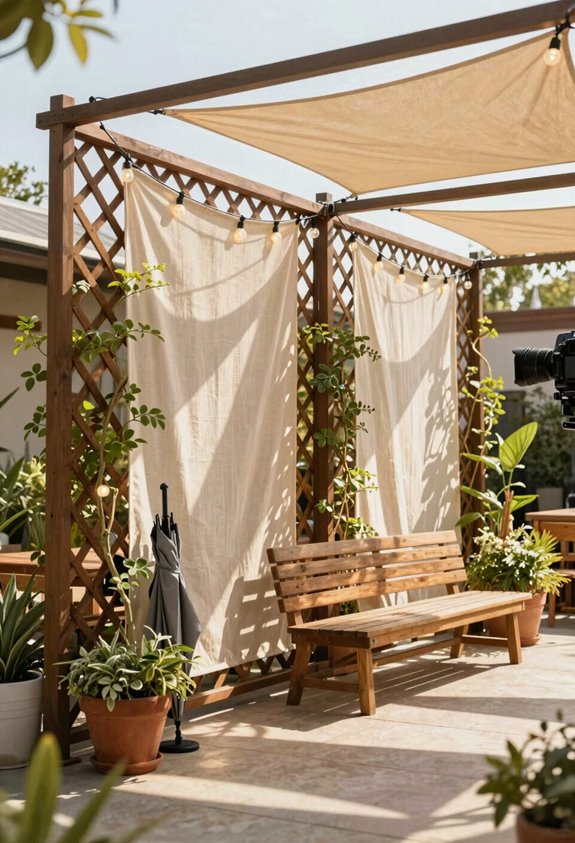
I’m building a simple 6-by-8-foot cedar frame this weekend because I’ve learned the hard way that fast-growing vines like wisteria or hardy kiwi won’t wait for perfect weather; they need something to climb now if I want any measurable shade by next July. I space my slats four inches apart, which gives the tendrils enough purchase without turning the structure into a sail when August winds hit. I’ve switched to concrete footings after watching one poorly anchored trellis peel itself from the ground like a half-peeled banana under grapevine weight.
The initial outlay runs about sixty dollars in materials, and though I’ll sweat through this summer’s sun, I’m already planting for the gorgeous exlawn of dappled green I’ll inherit in eighteen months, provided I remember to water through that first brutal winter, which I famously forgot in Zone 7 and regretted.
Choosing Fast-Growing Vines
- Wisteria rockets several feet yearly in full sun, blooming while it builds your canopy
- Ivy blankets vertical surfaces fast; I’ve seen it climb three meters in one season on a sturdy frame
- Broad-leaved varieties with wind-tolerant roots maximize coverage through September
Training these on a trellis now creates layered shade later, as the framework supports ongoing leaf expansion. Choose wisely, and you’ll actually belong to that exclusive club of people who planned ahead.
Building Simple Frames
The trellis I’ve built for under forty bucks has outlasted three pergolas and a marriage, so I’ve got opinions on frame construction. I grab pressure-treated 2x4s, galvanized brackets, and my drill. Twenty minutes later, I’ve got a vertical framework that’ll carry wisteria through zone 7 winters.
I build mine six feet tall, four feet wide; scalable if you’ve got ambition and a wider patio. I anchor legs eighteen inches deep with concrete or bracket to brick. Your call, but I’ve watched too many gorgeous ex-lawns eat toppled frames. I slap on weatherproof sealant and paint to match the fence, because ugly infrastructure haunts you longer than the vines take to grow.
The shade comes later. The structure stays now.





