
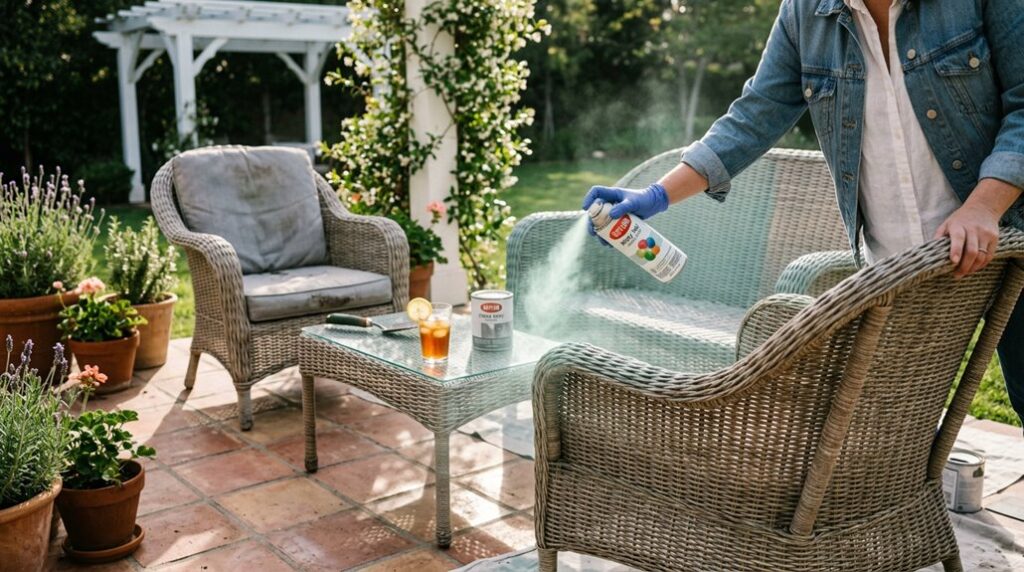
I’ve spray-painted enough resin wicker to know the real question isn’t whether you can, it’s whether you’ll still like the results after two Zone 8 winters.
My first attempt, a gorgeous eucalyptus-green loveseat, chalked to pastel misery within fourteen months because I skipped the bonding primer and UV topcoat.
You’ll need outdoor-rated acrylic enamel, 6–8 inches of spray distance, and the patience to hit every crevice from three angles.
The catch? Even done right, you’re looking at touch-ups every 2–3 years in freeze-thaw climates.
Here’s what actually works.
How Long Spray Paint Lasts on Resin Wicker
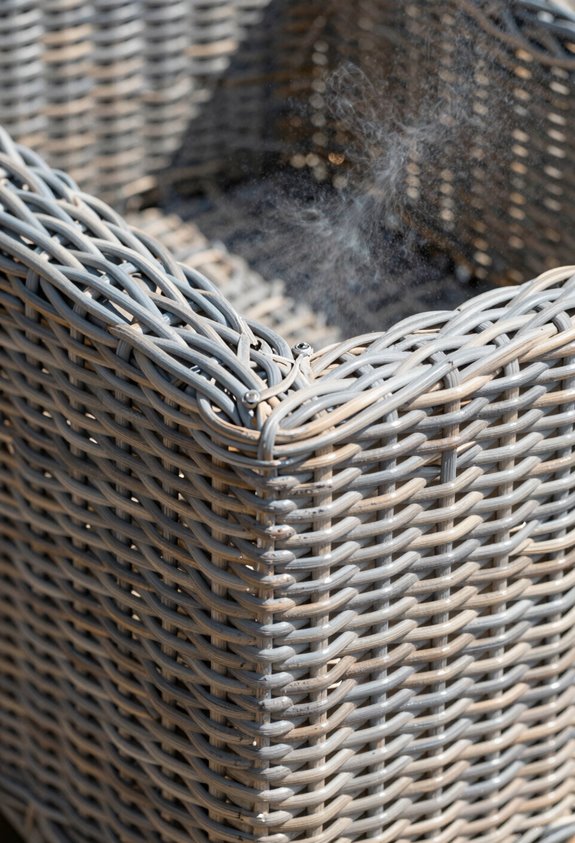
Grab that rattle can, and I’ll tell you exactly how long your handiwork’ll hold up on resin wicker; not forever, which is the first confession I’ll make after three summers of touch-ups on my once-gorgeous ex-lawn set in Zone 7b. I’ve learned that spray paint durability on this stuff spans months to maybe three years if you’re lucky and live where freeze-thaw cycles don’t wage war nightly.
Weathering attacks from day one: UV melts the sheen, rain sneaks under layers, and those expansion-contraction cycles I measured at 2-3mm daily in July stress every joint until chips spiderweb across armrests. Bonding primer buys you time, maybe eighteen months versus six months bare, but it’s no magic shield.
Outdoor maintenance becomes ritual. I touch up Memorial Day and Labor Day, accepting that resin wicker demands this rhythm. Skip the primer, and you’ll join me in premature repainting.
Clean Wicker Crevices Before Painting
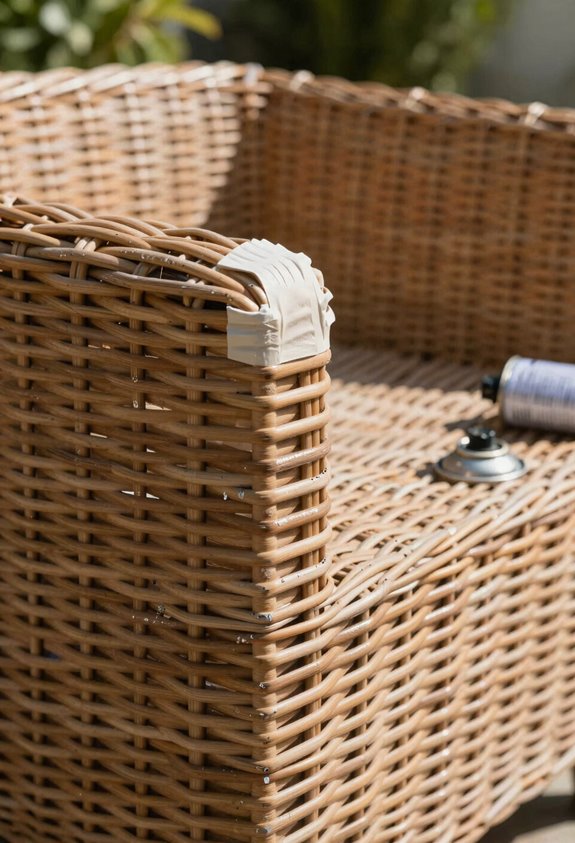
Those touch-ups every Memorial Day won’t stick worth a dime if I haven’t wrestled the real enemy out from between every woven strand first, and that enemy is the grime you don’t see until primer starts beading up like water on a hot skillet.
I’m cleaning wicker crevices with my shop-vac, chasing dust and pollen through those botanical geometries like I’m defusing a bomb. Then I wipe with a damp microfiber cloth, reaching into every nook where Carolina jasmine debris hides.
If I’m working indoor, I brush loose material free before the hose comes out; I learned that one the hard way about protecting your garage floor. Bleach water scrubs mold from crevices, but I dry thoroughly because trapped moisture ruins primer adhesion. Inspect twice, because outdoor spray paint demands pristine wicker crevices for that gorgeous exlawn finish we crave.
Choose Brush or Spray for Wicker Coverage
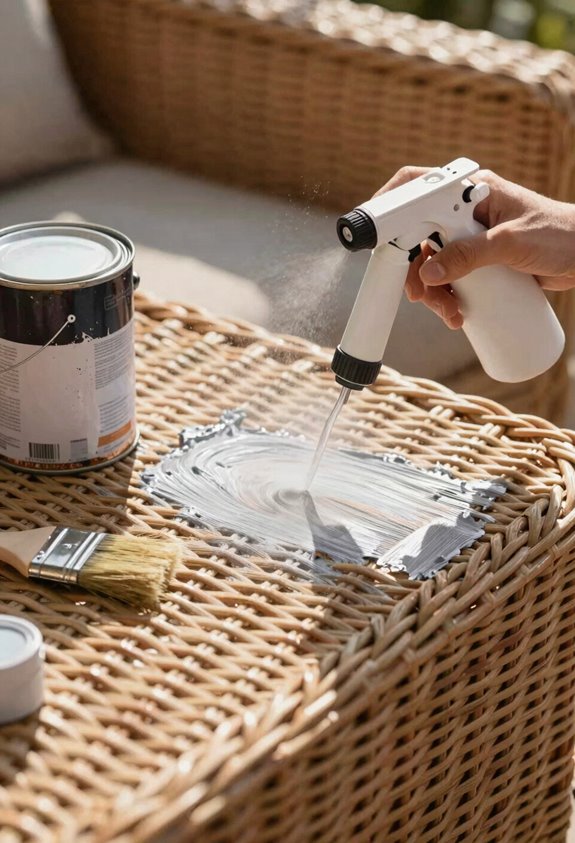
I’ll pick spray paint every time for wicker work, since nothing else penetrates those maddening crevices between the weave without leaving brush marks or bald spots. That said, I’ve rescued a few pieces with a brush when I was out of propellant; just mist the paint lightly from several angles rather than laying it on thick, which pools disastrously in the valleys.
For anything larger than a side table, though, my rotator cuff thanks me for choosing aerosol; you’ll trade twenty minutes of spraying against two hours of stippling and still get better coverage.
Spray Paint Advantages
Why wrestle with a brush when spray paint turns wicker coverage from chore to craft? I’ve spray-painted enough resin wicker to know: aerosol reaches where bristles fear to tread, coating those woven crevices that swallow foam brushes whole.
Here’s what I’ve learned through sunburn and second coats. Start with an adhesion primer; plastic wicker laughs at ordinary paint. Then grab an exterior-rated formula that won’t surrender to UV or monsoons. I hold the can 6–8 inches out, working in light coats that whisper rather than shout.
First pass looks patchy; don’t panic. I alternate left-to-right, then right-to-left passes for even coverage, and by coat two or three, that gorgeous exlawn set piece emerges. Patience between layers beats one gloppy deluge every time.
Brush Application Technique
So how do you decide between aerosol and bristle when your patio set’s begging for mercy? I’ve wrestled with this choice more times than I’ll admit, and here’s what I’ve learned: spray painting wins for true wicker warfare, reaching crevices like a determined vine climbing lattice. But your brush technique isn’t useless; I’ve rescued many edges and flat planes with careful bristle work.
If you’re brushing, mist the surface first; this helps pigment seep into weaving gaps you’d otherwise miss. Work in light, overlapping strokes, or you’ll leave tracks worse than a garden hose dragged across sod. For true even coverage, though, I retreat to spray, maintaining six to eight inches and building in whisper-thin coats.
Whatever your weapon, I never skip bonding primer; adhesion’s the root of your finish’s survival.
Pick Spray Paint Built for Outdoor Wicker
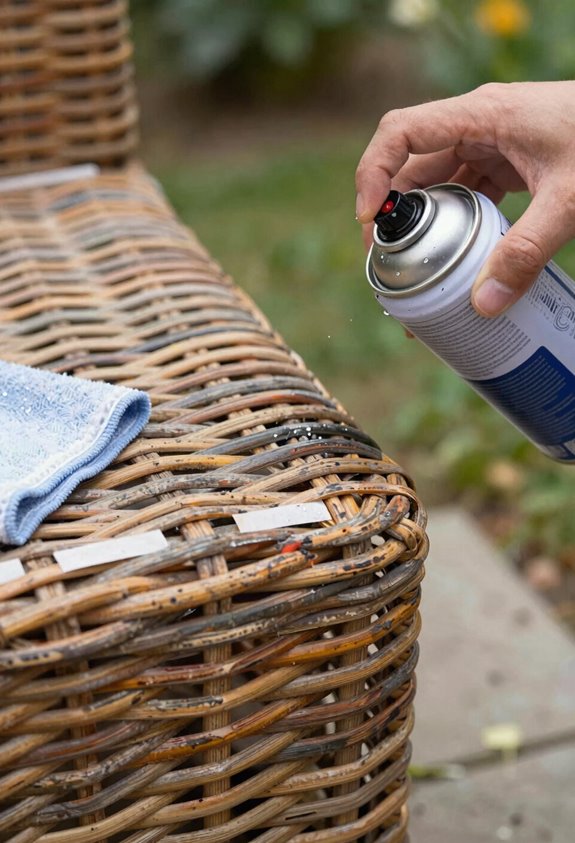
I’ve learned the hard way that not all spray paints play nice with outdoor wicker: plastic resin formulas bond where standard latex peels like sunburned bark, especially after monsoon season in Zone 9b tested my first “budget” makeover.
Check the can for UV stabilizers and outdoor ratings; I ignored that once, and my gorgeous exlawn chairs chalked within a season despite costing twice what proper marine-grade paint would’ve run. Durability hinges on material compatibility from day one, so I’ll show you how to read labels like a hawk and why skipping this step turns your weekend project into next spring’s do-over.
Material Compatibility
Not all spray paints play nicely with outdoor wicker, and I’ve learned this the hard way after watching a “multi-surface” enamel crack like a dried riverbed across my resin chairs come February.
Here’s what actually works: I grab spray paint labeled for plastic/resin compatibility, formulas flexing through freeze-thaw cycles without surrendering. For outdoor wicker, bonding primer isn’t optional; it’s adhesion insurance on those slick synthetic strands. I apply one coat, wait two hours, then hit it with exterior-grade paint in cast iron or driftwood, colors that hide the occasional missed crevice.
I’ve burned through $12 cans of interior paint on gorgeous exlawn sets, so read the label. Without that outdoor wicker designation, you’re repainting by spring.
Durability Factors
Why fight the same losing battle every spring when one smart paint choice keeps wicker looking sharp through Zone 7 freezes and scorching August afternoons? I learned this the hard way after watching my “weatherproof” patio set peel like a sunburned tourist.
When you spray paint outdoor wicker, exterior durability isn’t optional; it’s survival. I always grab formulas with bonding primer for plastic wicker built in; that slick resin weave repels standard paints like water off a duck. UV/moisture resistance matters more than color matching, frankly, unless you enjoy bleached-out basket-case furniture.
I apply 2–3 light coats, drying 20 minutes between passes, then seal the deal with clear topcoat protection. That final layer buys me two extra seasons before the next refresh.
Prime Resin Wicker Before Spray Painting
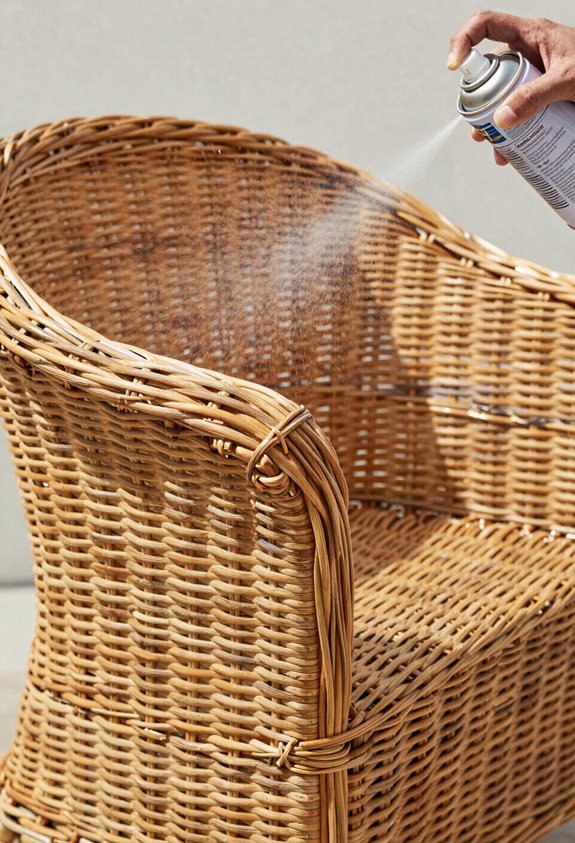
Before I lay down any color on resin wicker, I always reach for a bonding primer first, it’s the difference between a finish that lasts through monsoon season and one that flakes off like a bad sunburn. Priming resin wicker improves adhesion by creating a bonding surface for spray paints on plastic or resin materials.
I take my outdoor furniture to a protected patio area, shake the can vigorously, and spray that bonding primer in a sweeping motion six to eight inches from the surface, any closer and you’ll get drips; farther wastes product. I let it dry fully, typically thirty minutes to one hour, before any paint coats touch it.
Resist scratching to test it; that primer’s your sticking agent. Choose one labeled for plastic or resin wicker, and your patio setup looks good for years.
Spray Wicker From Multiple Angles
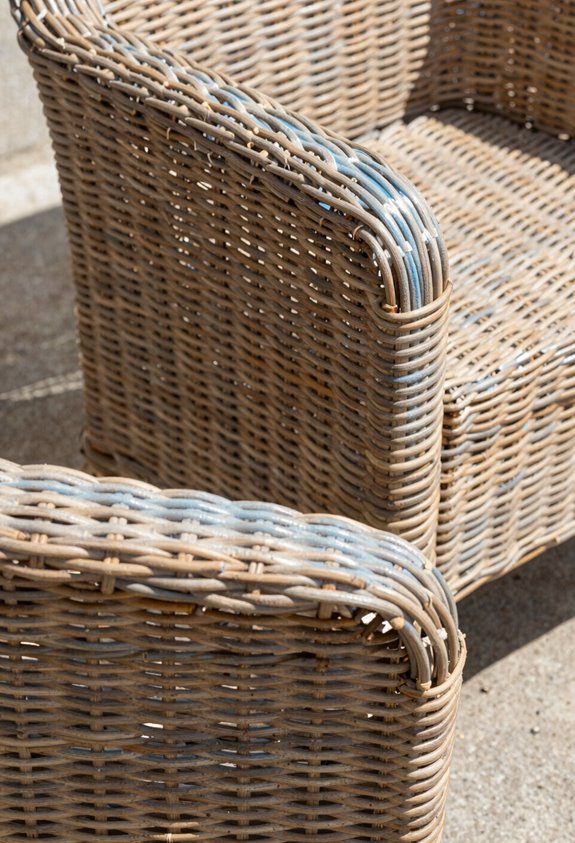
How do you catch every cranny in wicker without missing a spot? I’ve learned to spray wicker from multiple angles, and it’s changed my outdoor furniture results. Wicker’s woven structure hides surfaces that a single pass simply can’t reach, so I alternate left-to-right and right-to-left strokes while working.
I flip chairs upside down first; legs and undersides deserve the same attention as visible surfaces. This spray technique builds even coverage through patience, not heavy wet coats. I maintain 6–8 inches from the surface, applying multiple light layers with proper dry time between passes. Rushing invites runs that ruin the finish.
Finally, I inspect from different angles under good lighting, catching shadows that reveal missed spots. This method separates gorgeous pieces from amateur-hour regrets.
Seal Spray-Painted Wicker With UV Protection
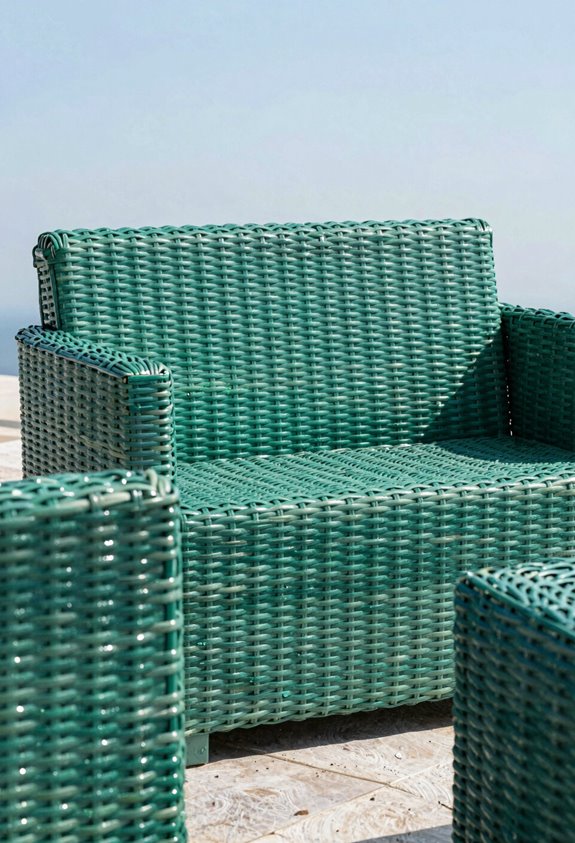
Where does all that hard work go if I skip the final step? Straight to chalky, faded regret; that gorgeous exlawn furniture turns ghostly by August. I’ve learned the hard way: UV protection isn’t optional for outdoor wicker.
I seal every piece with a clear topcoat labeled specifically for outdoor use, compatible with my base paint. This sealant blocks the solar barrage that bleaches color and degrades resin fibers. I wait the full cure time, usually 48 hours, before exposing my work to sunlight; premature exposure weakens the barrier.
In my Zone 8 garden, I reapply this UV-protective armor annually, sometimes biannually during brutal summers. The ten-dollar investment saves me from repainting entire chairs. Skipping this step means watching your craftsmanship dissolve into powdery disappointment.
Repair Chips in Resin Wicker Paint
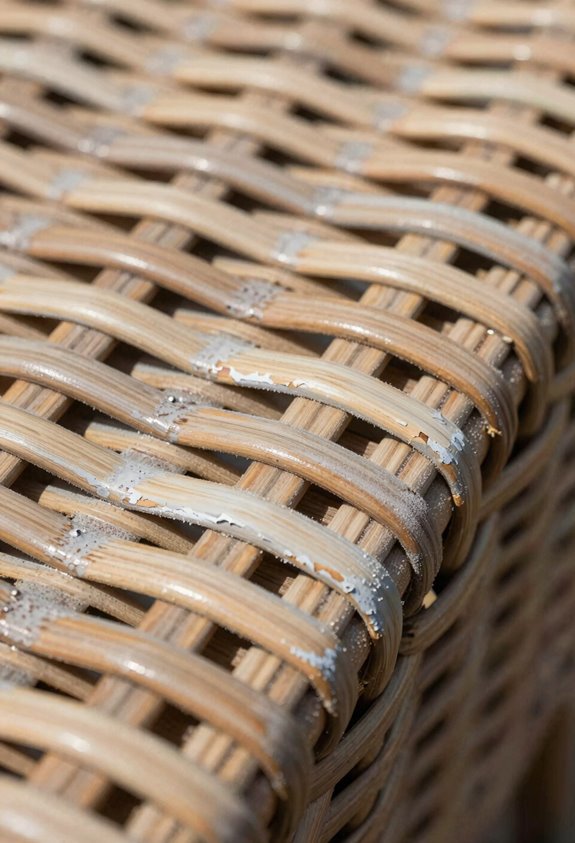
Why does resin wicker chip in the first place? I’ve learned the hard way that UV exposure, temperature swings, and my dog’s enthusiasm for the patio set all conspire against that perfect outdoor finish. Here’s how I tackle chips repair without starting from scratch.
I lightly sand the damaged area with 220-grit, then wipe with denatured alcohol. A quick hit of spray paint primer, bonding formula, since we’re dealing with plastic, creates that grip we need. I build 2–3 light coats of khaki camouflage spray paint from 6–8 inches away, waiting 30–60 seconds between passes. The weaving hides minor sins, but I’m patient; partial coverage after coat one is normal.
I seal with clear outdoor finish, knowing my gorgeous exlawn furniture demands touch-ups. USDA zone 7b winters are merciless, after all.
Decorate: Build a Paint Booth for Large Wicker Pieces
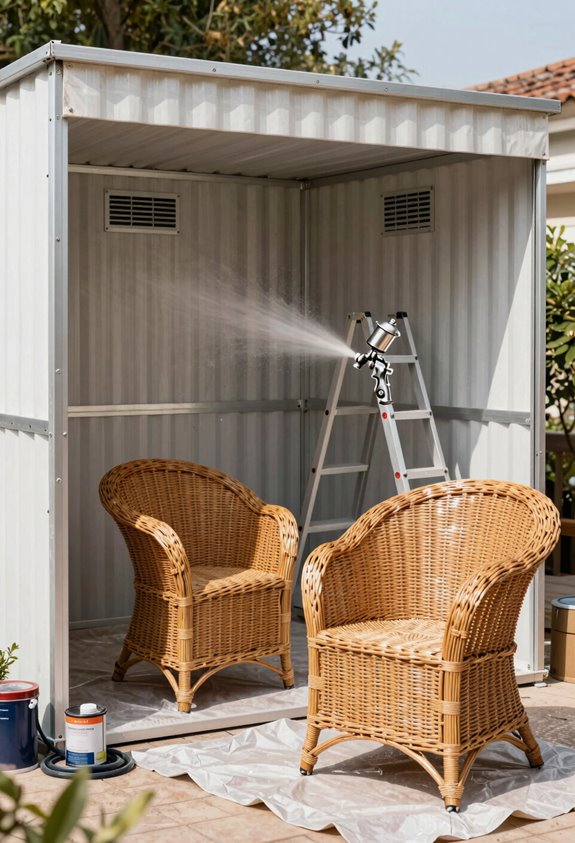
When you’re staring down a full patio set of resin wicker that needs resuscitation, the garage suddenly feels claustrophobic and your lawn becomes a liability. I’ve learned to build a paint booth that saves both my sanity and my grass.
- Shelter and shield: I stake plastic drop cloths around a covered patio, masking adjacent surfaces with painter’s tape. Overspray travels farther than you’d think.
- Elevate the piece: I wheel my wicker furniture onto saw horses or an inverted wheelbarrow; ground contact ruins fresh spray paint.
- Force the breeze: Position fans to create cross-flow outdoor ventilation, cutting drying time and fume accumulation markedly.
- Prime like you mean it: Apply bonding primer first in this protected zone, then build 2–3 light color coats with 30–60 seconds between passes.
Full cure demands patience: seven days for chip resistance that survives actual living.





