
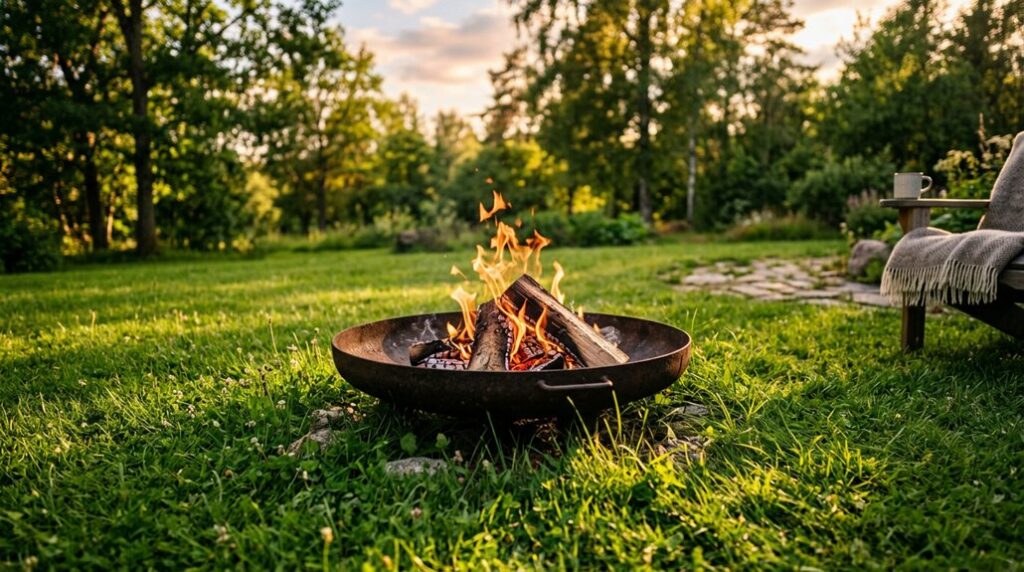
Icarus didn’t *start* with the sun, and I didn’t start with a patio, just a $89 gas pit and what I’d call a gorgeous ex-lawn.
After two seasons of trial, error, and one $340 sod replacement in USDA Zone 7b, I’ve learned grass survives fire pits only when you engineer the ground beneath them.
The real question isn’t whether you *can*, but whether you’ll pay in prevention or repairs, and I’ve done both.
Can You Put a Fire Pit on Grass?
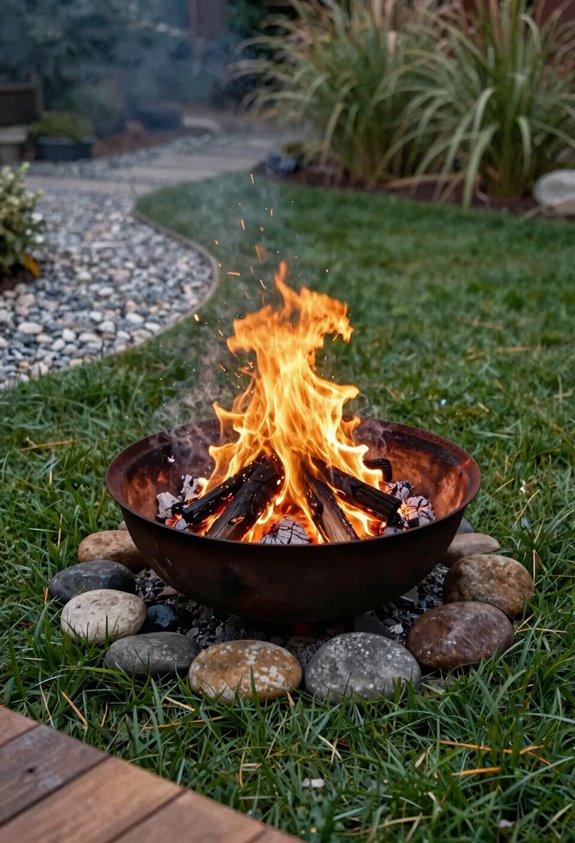
How hot does your lawn actually get when you park a fire pit on it? I’ve measured ground temps exceeding 200°F beneath the base during a typical session, hot enough to cook grass roots sitting 2–6 inches deep. You’ll wake to a gorgeous ex-lawn of circular yellow patches.
Here’s the reality: sustained heat transfer kills roots before you smell trouble. I’ve learned you need a proper protection system, my go-to layers sand, pavers, and a fire pit mat beneath the unit. Gas pits demand 10 inches of elevation minimum.
And artificial turf? Isolate that pit on non-combustible surface with a 10-foot buffer; mats alone will melt into expensive regret. Your grass belongs in the yard, not the compost bin.
Fire Pit Clearances: How Far From Your House, Fence, and Trees?
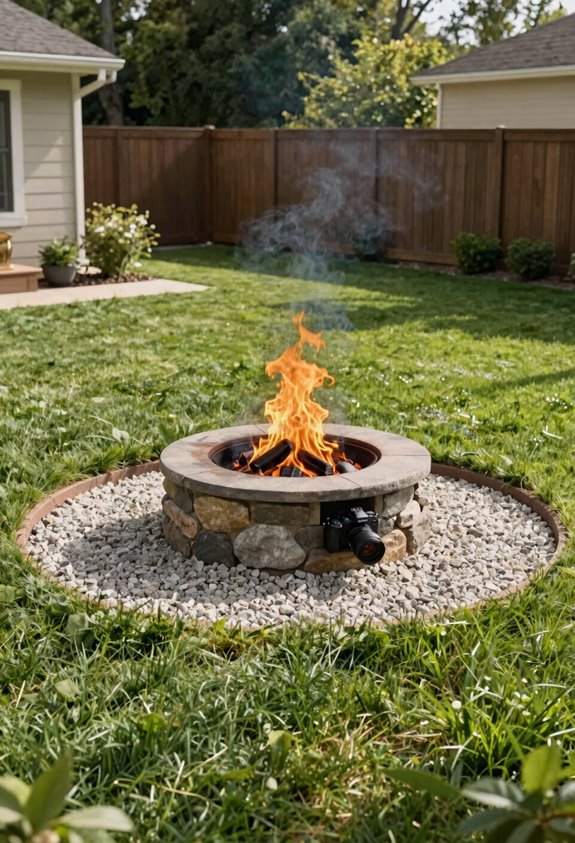
Where exactly should you park your fire pit so you don’t become the neighborhood cautionary tale? I learned fire pit clearances the hard way after scorching my gorgeous ex-lawn; ten feet minimum from structures, fences, and overhanging branches, per NFPA standards. I now measure twice, burn once.
For artificial turf, that ten-foot buffer from edges is non-negotiable; isolate your pit on non-combustible surfaces or watch synthetic fibers melt into modern art. Combustible materials within that radius need removal or a proper heat shield, especially dry vegetation that turns tinder-dry by August.
Check local codes before digging in; some jurisdictions demand permits for permanent installs, and HOAs often pile on extra requirements. Gas versus wood matters too; regulations shift with fuel type.
Protection That Works: Ranked From Mats to Permanent Zones
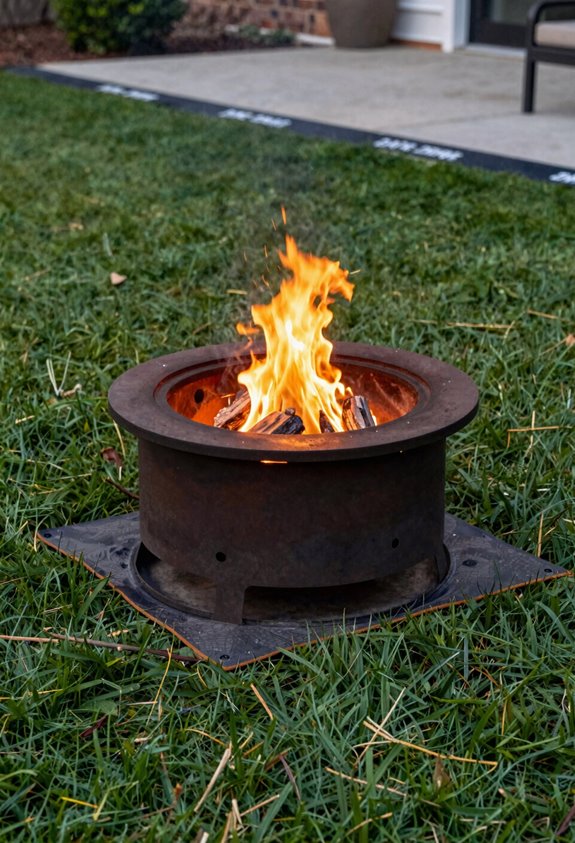
I’ve tested every grass-saving method from bargain-bin mats to full patio conversions, and I can tell you that choosing between temporary protection and a permanent zone isn’t just about budget; it’s about how much you enjoy repairing dead turf. Fire pit mats work fine for gas units under 1,000°F, but I learned the hard way that wood-burning pits need layered defenses: sand base, pavers, and elevation, or you’ll be staring at a gorgeous exlawn by August.
If you’re burning weekly, skip the incremental approach and commit to a permanent zone; your grass, and your weekends, will thank you.
Mat Choices Compared
Why settle for one layer of protection when you can stack them like a fire-resistant parfait? I’ve watched my gorgeous exlawn turn crispy, so I learned fast that a fire pit mat alone gives you grass protection up to 1,000°F, fine for gas pits, but wood burners laugh at that. Metal shields beat fabric mats on heat resistance, though placement matters: under, never beneath while burning.
My go-to stack is sand (2–3 inches), flat pavers, then a mat on top. It’s portable, requires zero permits, and handles radiant heat like a champ.
| Layer | My Trust Level |
|---|---|
| Fire pit mat only | Nervous parent energy |
| Pavers + mat | Weekend warrior approved |
| Sand + pavers + mat | Sleep soundly tonight |
Wood fires need elevation—10 inches minimum—or you’ll discover mats have limits.
Permanent Zone Integration
How long can you keep stacking temporary solutions before you’re just delaying the inevitable? I learned this the hard way after my third scorched gorgeous exlawn patch.
Permanent zone integration starts with a 2–3 inch sand base to absorb conducted heat, then pavers to block radiant heat, layered like geological strata protecting your turf. This beats dragging out mats every Saturday, though I’ll confess I’ve combined all three: sand, pavers, mat, when my nephew brought his ridiculous high-BTU burner.
For artificial turf, you’ll need 10-foot buffers since conducted heat travels sideways underground. Mats alone won’t save your investment there.
My permanent gravel circle with steel edging? Zero setup time now, and my weekends belong to gathering, not ground prep. Sometimes the boring solution wins.
The DIY Heat Barrier: Sand, Pavers, and Why It Works
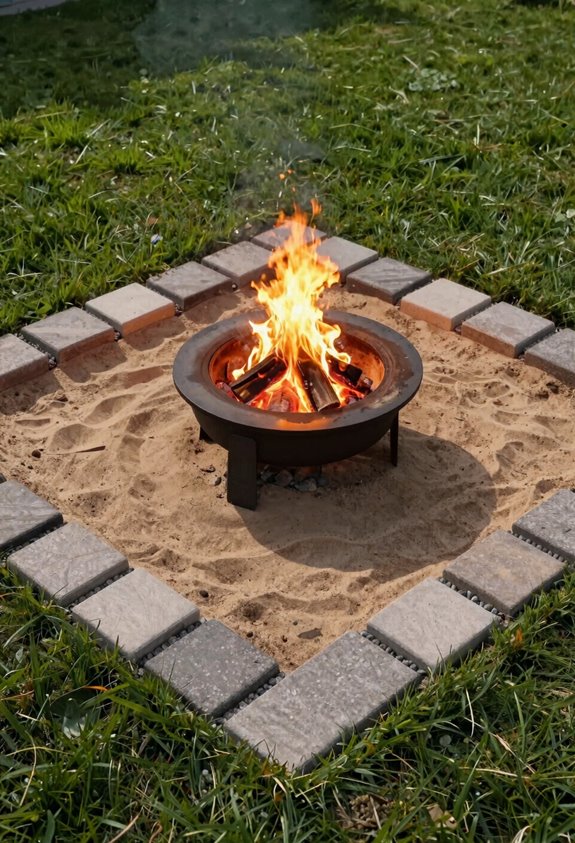
A weekend of backyard flame-throwing taught me that grass roots don’t forgive sloppy prep, which is exactly why I now haul bagged sand like it’s precious topsoil. I’ve learned that a proper fire pit heat barrier starts with 2–3 inches of sand, which absorbs conducted heat before it reaches roots sitting 2–6 inches below. Flat pavers on top block radiant heat and give you a stable platform.
| Layer | Purpose | My Hard Lesson |
|---|---|---|
| Sand base (2–3 in) | Absorbs ground heat | Skimped once, got gorgeous ex-lawn |
| Pavers on top | Blocks radiant heat, stabilizes | Uneven pavers wobble; level them |
| Fire pit on pavers | Prevents soil contact | Direct ground contact = scorched crowns |
This layered heat barrier works for any fire pit type, and come morning, you’re not sodding dead patches.
Wood vs. Gas: Which Fire Pit Type Spares Your Lawn?
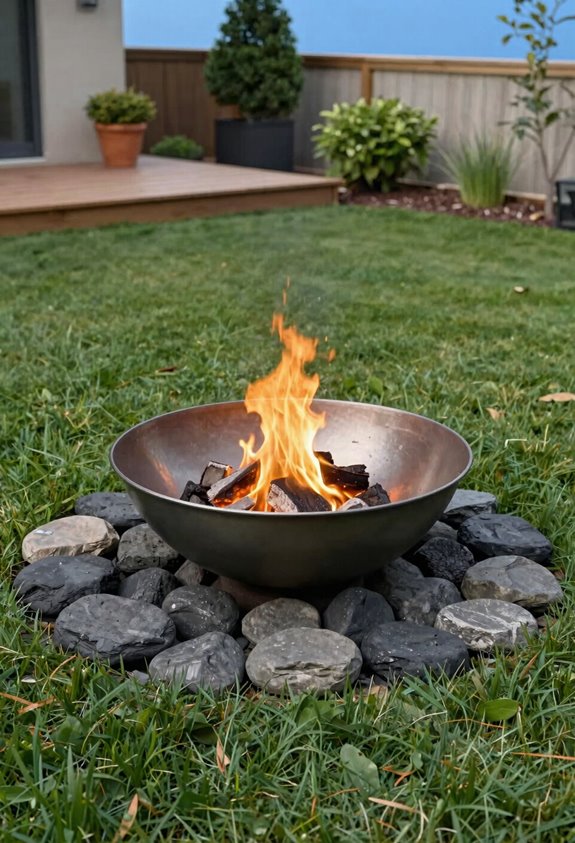
So which fire pit type won’t turn your Bermuda into Bermuda toast? I’ve tested both, and gas wins, for grass protection, anyway.
Gas fire pits emit lower Radiant Heat at the base level, so your turf survives with proper elevation. I keep mine 10 inches off the ground minimum, and I pair it with a heat shield mat. Zero scorching in three seasons.
Wood-burning pits? They blast higher Radiant Heat, and those embers don’t negotiate. My cast iron bowl nearly created a gorgeous ex-lawn before I wised up. Now I’d only use wood with spark screens (non-negotiable), sand layers, pavers, and serious barriers, and never when it’s dry or windy.
For Grass protection, gas asks less of you. Wood demands perfection.
Artificial Turf? Fire Pit Rules Change Completely
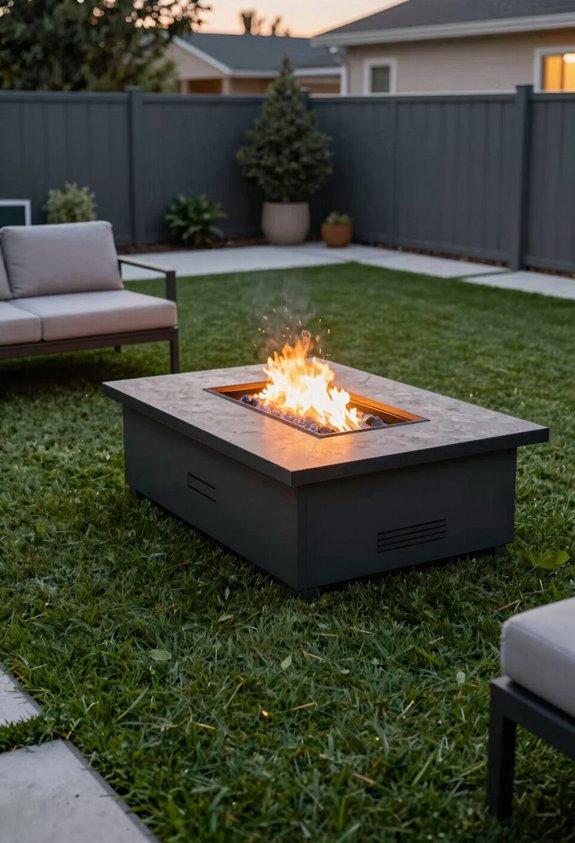
I learned the hard way that artificial turf doesn’t burn; it melts, and at temperatures far lower than you’d expect, which turns your gorgeous ex-lawn into a expensive, fused mess that won’t recover. You’ve got to build a proper non-combustible island: I now use a 6-inch sand base topped with concrete pavers, which sits in a cutout section of turf with that critical 10-foot buffer zone on all sides; no shortcuts with flimsy mats allowed. Keep your fire pit elevated at least 10 inches above that surface, and you’ll stop radiant heat from turning your synthetic fibers into molten plastic before the marshmallows even toast.
Melting Point Danger
Just how badly can one stray ember scorch your investment? I’ve watched synthetic turf melt like cheap candle wax from a single spark; those artificial fibers surrender at 175°F to 200°F, leaving permanent pockmarks on your gorgeous ex-lawn. Heat damage isn’t subtle; it spreads in ugly, irreversible patches that mock every dollar you spent.
Embers don’t negotiate. I’ve learned that mats alone won’t save you; the radiant heat transfers straight through, and before you’ve roasted your second marshmallow, you’ve got a molten crater. The fix? Complete isolation. I elevate my pit ten inches minimum, layer sand, pavers, then a mat, and maintain that ten-foot buffer from turf edges. Concrete or gravel pads work; wishful thinking doesn’t. Your turf belongs to you, not the fire.
Non-Combustible Surface Required
Beneath the flames of a fire pit, artificial turf becomes a liability masquerading as lawn. I’ve watched neighbors learn this the hard way, radiant heat melts synthetic fibers from inches away, leaving permanent scars on their gorgeous ex-lawns.
The fix demands complete isolation on a non-combustible surface. Forget those fire pit mats; I’ve tested them, and they’re insufficient for artificial turf. Instead, install a dedicated concrete or gravel pad, or cut out the turf entirely and set pavers. Elevation matters, create that buffer layer between heat and synthetic fibers.
I’ve cut turf sections measuring 4-by-4 feet minimum, then filled with crushed gravel or poured thin concrete slabs. Cost runs $50-$150 versus thousands in turf replacement.
NFPA guidelines and most local codes mirror my experimental failures: complete isolation from synthetic materials isn’t optional, it’s survival.
Buffer Zone Essentials
The pad underneath your fire pit isn’t where this story ends; it’s where the real calculations begin. I’ve watched too many gorgeous exlawns melt into plastic puddles because someone skipped the buffer zone math.
For artificial turf, you’ll need serious separation: ten feet minimum from turf edges, and that’s non-negotiable. Mats alone won’t save you; I learned that with a $400 mistake in USDA Zone 7. Cut out the synthetic grass and install pavers, or build a dedicated concrete pad; complete isolation from those combustible fibers is essential.
Your fire pit demands the same NFPA clearances whether you’re burning over Kentucky bluegrass or petrochemical perfection: ten feet from structures, overhanging branches, and any combustible. Elevate the pit, add a heat shield, and keep a hose handy. The buffer zone isn’t paranoia; it’s polymer preservation.
Before You Light: Your Pre-Session Checklist
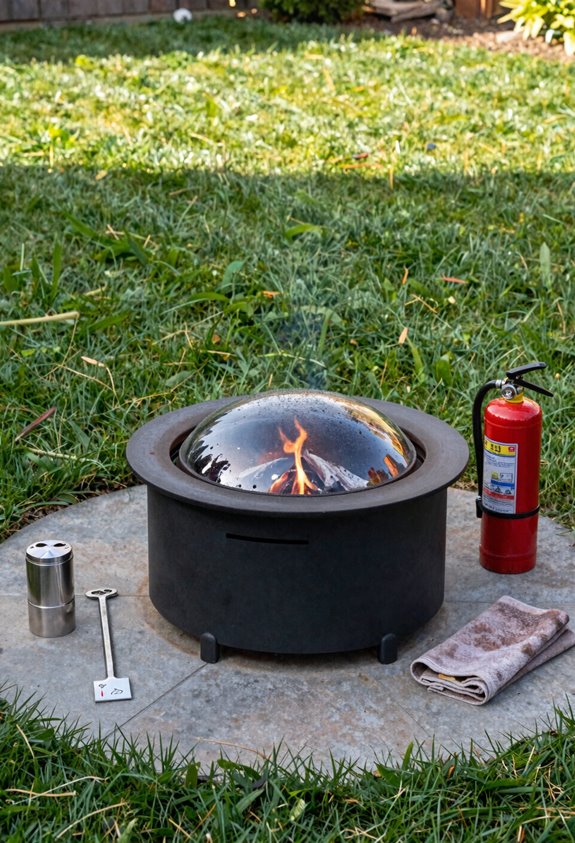
Where exactly should I set this thing so I don’t turn my backyard into a scorched-earth policy? I’ve learned fire pit placement demands level ground. Any wobble risks tipping and sends embers sailing toward my lawn. I clear a combustible-free zone and maintain ten feet from artificial turf or structures; my neighbor’s gorgeous ex-lawn taught me that lesson.
I check local regulations first. Some jurisdictions demand permits for permanent installations, and I’d rather not explain my rogue masonry to code enforcement. I inspect wind conditions religiously; anything over 8 mph or red flag warnings means postponement. I keep water, hose, or extinguisher within reach, and I always deploy a heat-absorbing mat underneath for essential grass protection. Preparation separates the host from the arsonist.
During and After: Session Routines That Save Your Grass
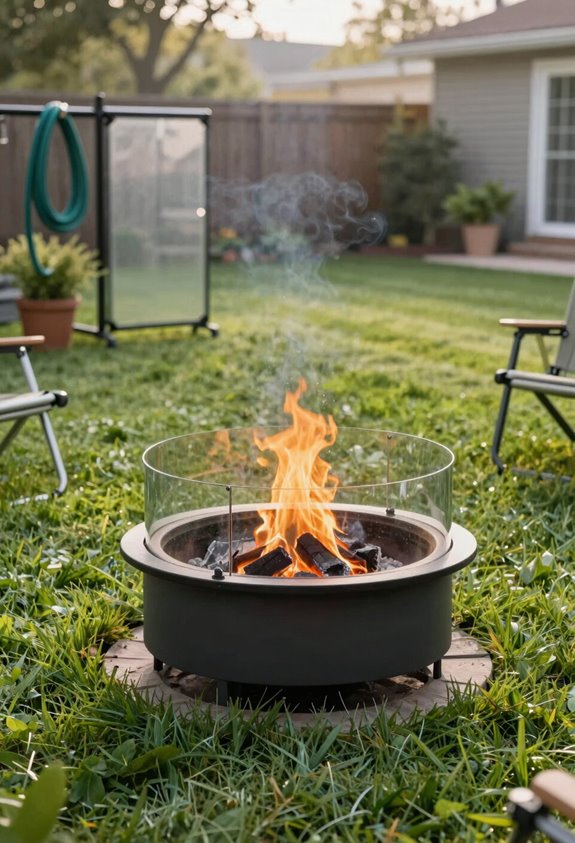
I’ve learned that protecting your lawn during a fire pit session requires the same obsessive attention you’d give a temperamental heirloom tomato in August heat. I’ll walk you through my pre-session setup checklist: elevation clearances, mat placement, and that sand-paver-mat layering system I perfected after scorching a perfect circle into my Kentucky bluegrass three seasons ago. Then I’ll cover active monitoring practices that keep embers from turning your gorgeous ex-lawn into a USDA Zone 5 cautionary tale, plus post-session recovery steps that actually work.
Pre-Session Setup Checklist
How much preventable heartbreak have I sown into my Kentucky bluegrass over the years? Too much, friend, scorched rings that turned my gorgeous exlawn into a cautionary tale. I’ve learned that fire pit grass safety demands ritual, not luck.
Before I strike any match, I clear a ten-foot radius of dry debris, then soak the surrounding turf until it glistens. I’ve seen embers dance farther than intuition suggests. My setup now rests on a protective base, either a commercial mat or my layered sand-and-paver system, which I elevate ten inches for gas units.
Level ground matters; a wobbling pit spills trouble. For wood-burning sessions, I deploy a spark screen because flying embers respect no property lines.
This preparation isn’t paranoia, it’s membership in the community of people who enjoy flames without sacrificing tomorrow’s green.
Active Monitoring Practices
When the match finally strikes, your real work’s just beginning. I’ve learned that the fire itself demands less attention than everything happening around it.
I keep my sessions under three hours and watch for wind shifts above 8 mph, since embers travel farther than you’d think, and I’ve chased too many across dry turf. I rotate my pit every fourth use to distribute heat stress; my Kentucky bluegrass in Zone 6 shows yellow halos within 48 hours if I don’t. Between sessions, I inspect my heat shield for cracks. I learned that lesson after a $400 “oops” patch job.
I maintain that 10-foot cleared radius religiously, and I check soil temperature with my hand: if it’s too hot to hold after extinguishing, I’ve already damaged roots below.
Post-Session Recovery Steps
Where exactly does the damage show up first? I spot yellowing blades within that 2–6 inch perimeter where radiant heat cooks roots shallow, turning my gorgeous ex-lawn into a crispy souvenir. For solid grass protection, I’ve learned post-session recovery demands immediate action: douse the zone thoroughly, relocate my pit every couple burns, and sweep out ashes before they smolder through any pavers or sand base I’ve laid down.
| Task | Timing | Purpose |
|---|---|---|
| Inspect for browning | Right after cooldown | Catch heat stress early |
| Water surrounding turf | Within 30 minutes | Rehydrate and suppress embers |
| Shift pit location | Every 2–3 sessions | Prevent cumulative root damage |
| Check protective layer | Before next use | Maintain heat barrier integrity |
If my grass still protests, I’ll dial back to shorter, lighter evenings until the turf recovers, because nobody invites friends over to admire dead patches.
Yellow Patch Under Your Fire Pit? How to Fix Heat Damage
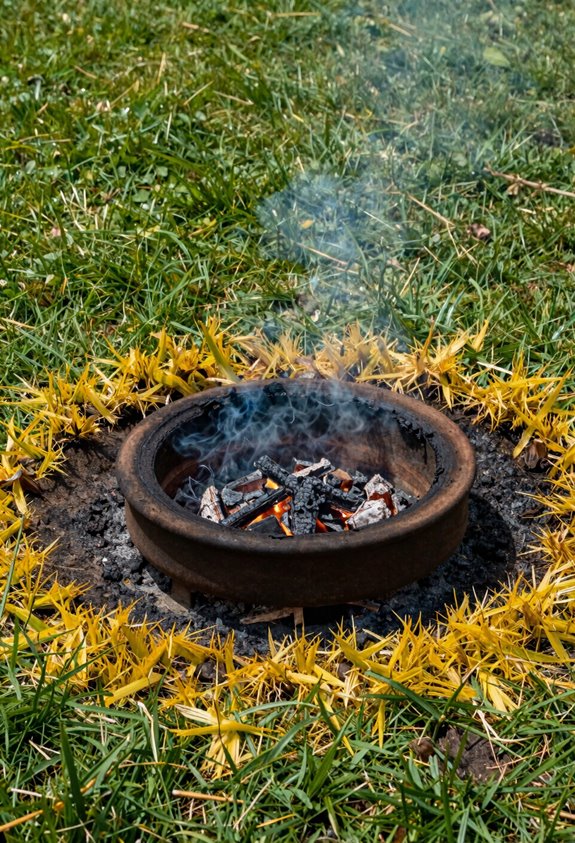
Why does my lawn look like a crop circle the morning after I’ve hosted friends around the fire pit? I’ve learned the hard way that those perfect yellow rings are heat damage screaming at me. Grass roots sit just 2 to 6 inches down, and when ground beneath the pit exceeds 200°F, sustained heat radiates outward and cooks them. The result? Grass patches that crisp faster than forgotten s’mores.
Heat stress dries blades, triggers root die-off, and can even shift soil chemistry, none of which your gorgeous ex-lawn deserves. I’ve watched my fescue surrender overnight.
Now I stack protection: a sand base plus pavers, sometimes a mat underneath. It elevates and isolates, slashing conducted and radiant heat. For artificial turf, don’t risk meltdown at 175°F; use non-combustible barriers and a 10-foot buffer.
When to Stop Moving It: Signs You Need a Permanent Zone
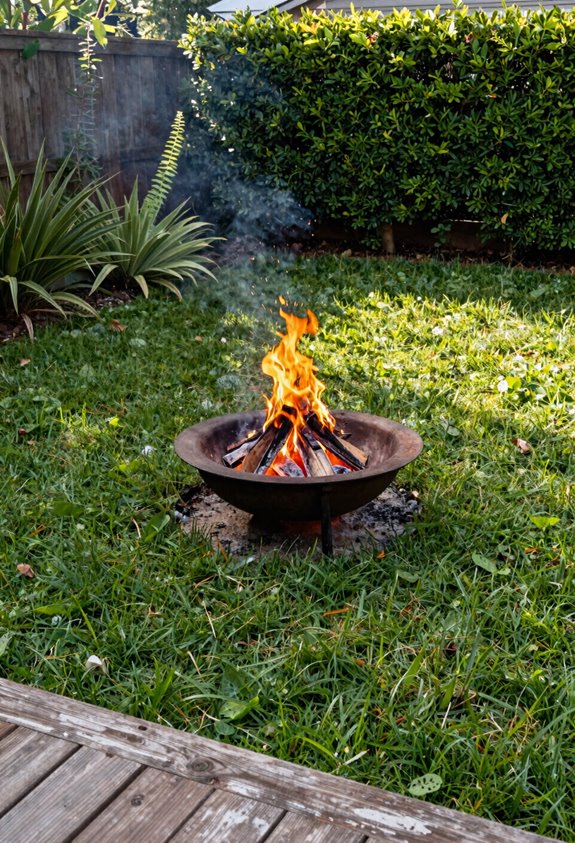
How many scorched circles must you nurse back to health before admitting defeat? I’ve watched my gorgeous exlawn surrender to repeated heat stress, and I’ve learned when DIY shifting fails.
You spot that telltale circular yellow or dead grass patch greeting you at dawn. You’re rotating the pit weekly like a desperate crop farmer avoiding damage. Recovery takes weeks longer each season, with uneven turf texture lingering. Soil compaction from constant paver shuffling chokes root systems.
After three seasons of this dance, I accepted reality. A permanent protective zone, concrete, gravel, or stone, beats nursing another dead zone. The upfront cost stings less than replacing sod annually. Build it once, and your lawn breathes easier.





